Make skin look perfect in one-click with these AI-powered Photoshop actions.
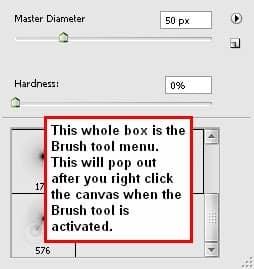
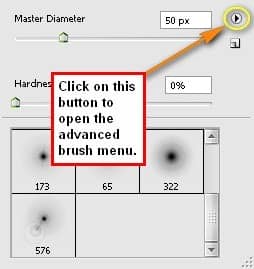
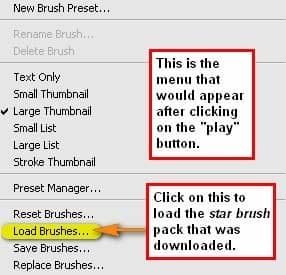
Now after the star brushes have been loaded, it’s time to choose the brush to be used. Choose this brush:
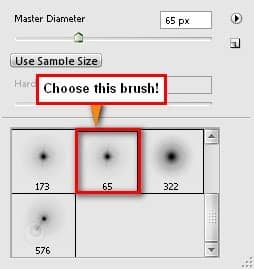
Then let’s set the brush settings to the following:
- Brush size: 40 - 60 px
- Hardness: star brush default
- Opacity: 100%
- Flow: 100%
Now we’re all set to paint! Follow the instructions on the image below:
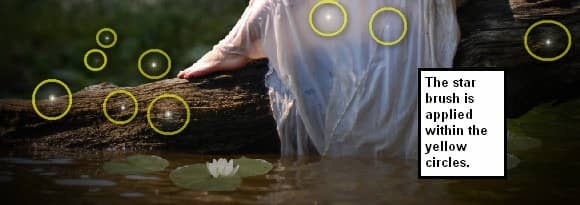
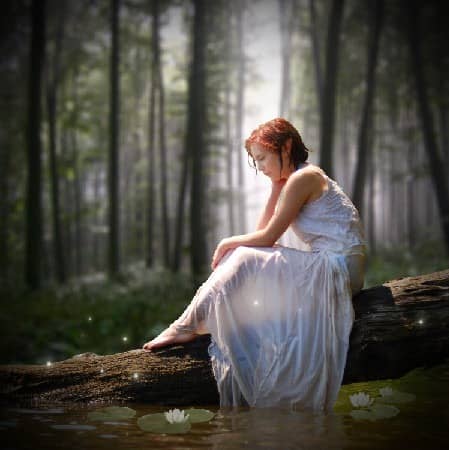
Next, let’s change the blending mode of the wisps layer. There are ways to enhance the Blending mode of a layer, one is from the Layer window and the second one or the more advanced way is through right clicking the layer. So, let’s right click on the wisps layer and choose Blending options... from the contextual menu.
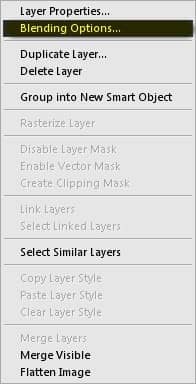
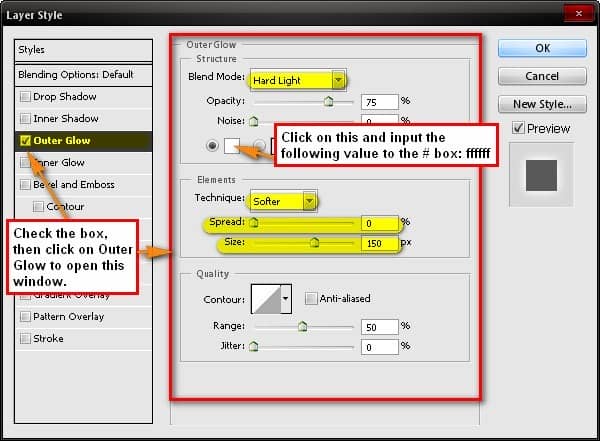
When the Blending Options… box opens, apply the following settings: Click on Outer Glow on the Styles menu.
- Outer Glow structure:
- Blend mode: Hard Light
- Opacity: 75%
- Elements:
- Technique: Softer
- Spread: 0%
- Size: 150 px
Step 7 - Retouch the image
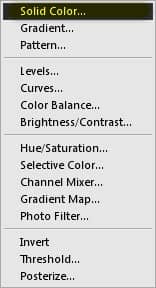
Now it is time, we enhanced the color of our image. We’re going to give it a fantasy artwork finish. Let’s start by adding Solid Colors. To do that, click on the Create New Fill Layer/Adjustment Layer button from the Layer window. When the contextual menu opens, click on Solid Color.
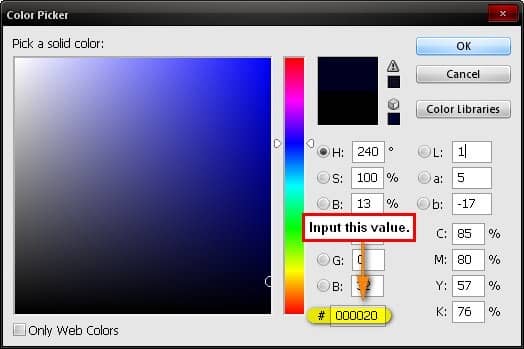
In the Color Picker window, enter in #000020
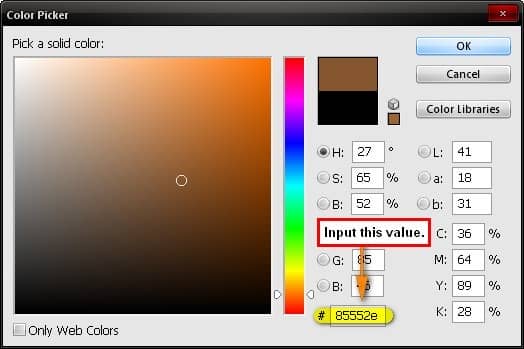
When you have it on the Layer window, change the Blending mode to Exclusion and the Opacity should still be retained at 100%. Next, let’s create the second Solid Color. Set the color to 85552e.
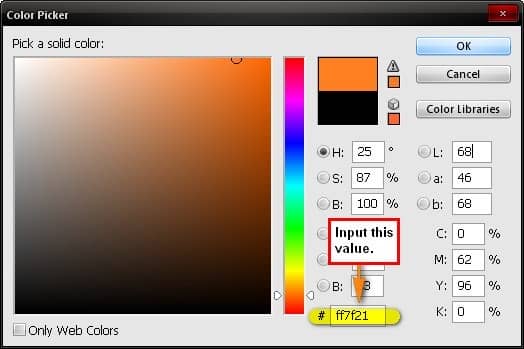
Then change the Blending mode to Soft Light and its Opacity to 40%. Next, let’s create Solid Color 3. Set the color to #ff7f21.
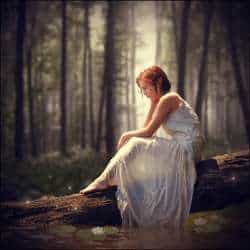
Then, change the Blending mode to Soft Light and the Opacity to 10%. The result of these solid colors blended together should be similar to the image below:
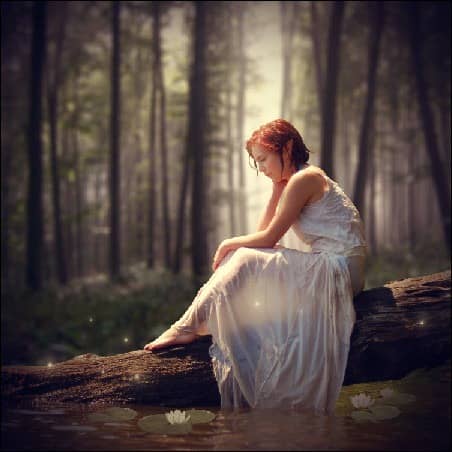
Next, let’s use a Color Balance adjustment layer from the Create New Fill Layer/Adjustment Layer button. Click on Color Balance from the contextual menu.
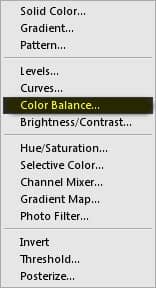
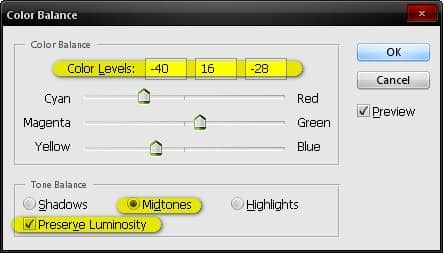
When the Color Balance box opens, apply the following:
- Color Levels: -40, +16, -28
- Tone Balance: Midtones
- Preserve Luminosity: Checked
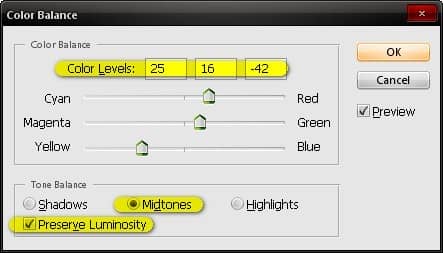
Next, let’s create another Color Balance adjustment layer but this time input the following values:
- Color Levels: +25, 0, -42
- Tone Balance: Midtones
- Preserve Luminosity: Checked
Now, let’s create a Brightness/Contrast adjustment layer.
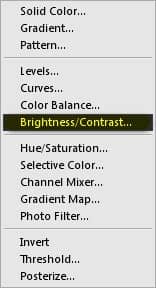
When the Brightness/Contrast box opens, input the following values:
- Brightness: 5
- Contrast: 5
Next, let’s create a Curves adjustment layer. (For a recap on how to use the curves tool, refer to step 2)
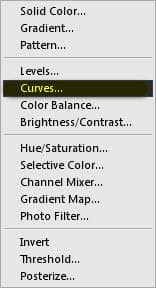
Input the following:

One comment on “Magical Forest Photo”
excellent