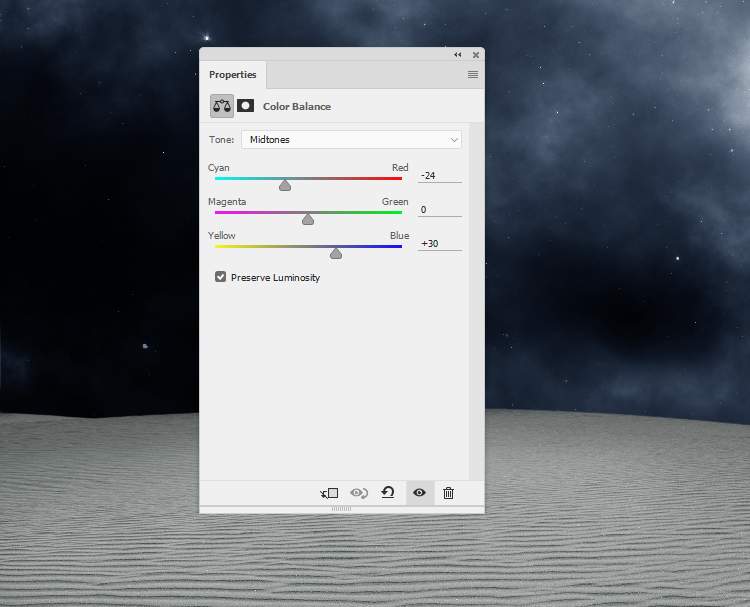
Step 10
Add a Curves adjustment layer to brighten the left side of the background. On this layer mask, use a soft black brush to erase the right to keep its lightness.

Step 11
Open the hole image and use the Quick Selection Tool (W)to take the fountain to place it in the midground. Add a mask to this layer to erase the bottom of the fountain and leave the surface visible only.

Step 12
Make a new layer below the hole one and use a soft black brush to paint shadow for the hole. Use a layer mask if needed to remove any unwanted details.
Step 13
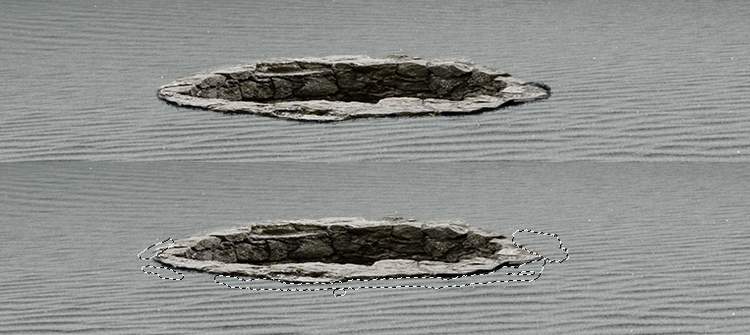
Create a new layer above the hole one (set as Clipping Mask) and use the Clone Tool (S)to remove the unwanted detail below:
Step 14
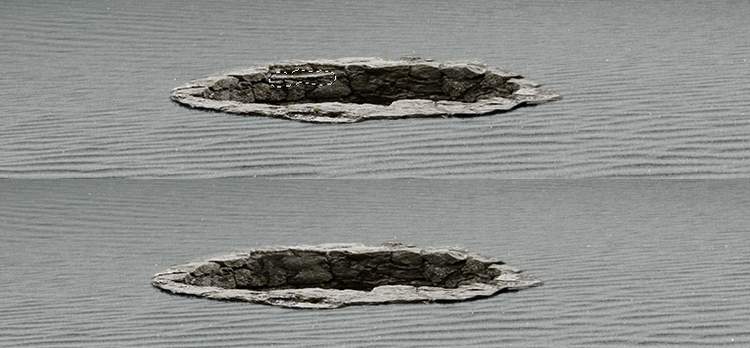
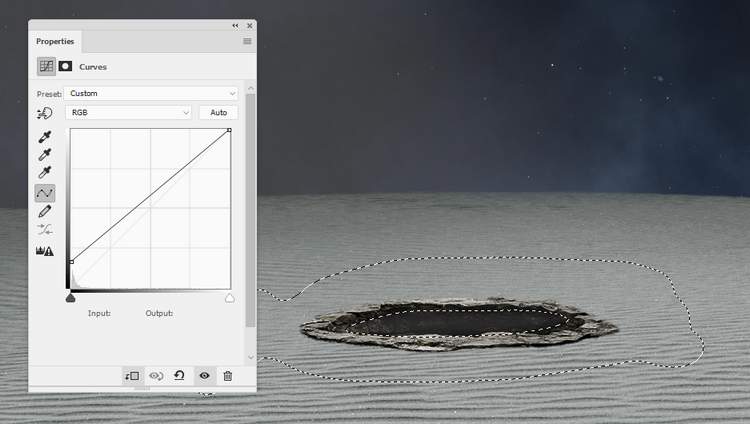
Create a Curvesadjustment layer to darken the part inside the hole. On this layer mask, use a soft black brush to reduce the dark effect on the surface of the ground.
Step 15
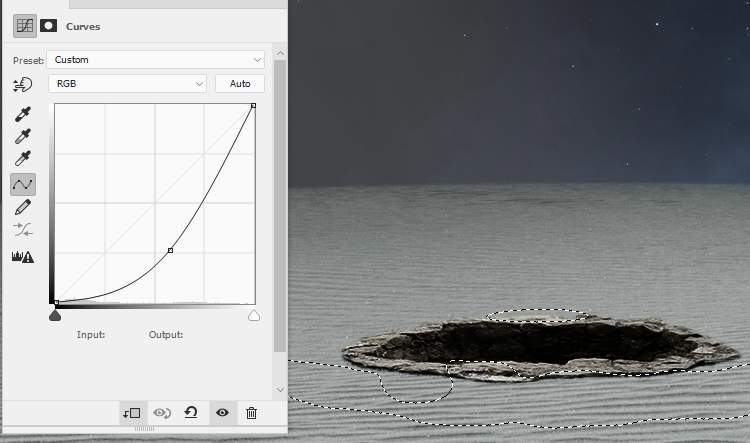
Make another Curvesadjustment layer to reduce the contrast of the area inside the hole. On this layer mask, paint on the rest to reveal the lightness.
Step 16
Create a new Gradient Mapadjustment layer on top of the layers and pick the colors#4d0d14and #00601band lower the opacity of this layer to20%.

Step 17
Add a Curvesadjustment layer to brighten the area around the hole. Paint on the rest so it won’t be affected by this adjustment layer.

Step 18
Make another Curvesadjustment layer to darken the both sides of the scene. Paint around the hole so it won’t be darkened by this adjustment layer.

Step 19
Create a Photo Filteradjustment layer and pick the color #1100ec.

Step 20
Add a Color Balanceadjustment layer and alter the MidtonesandHighlightssettings:


Step 21
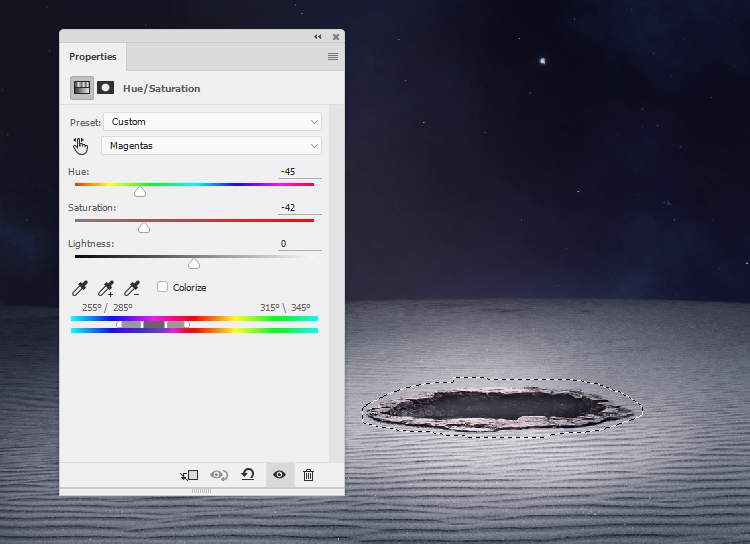
Make aHue/Saturationadjustment layer to change the color of the hole to a cooler one.
Step 22
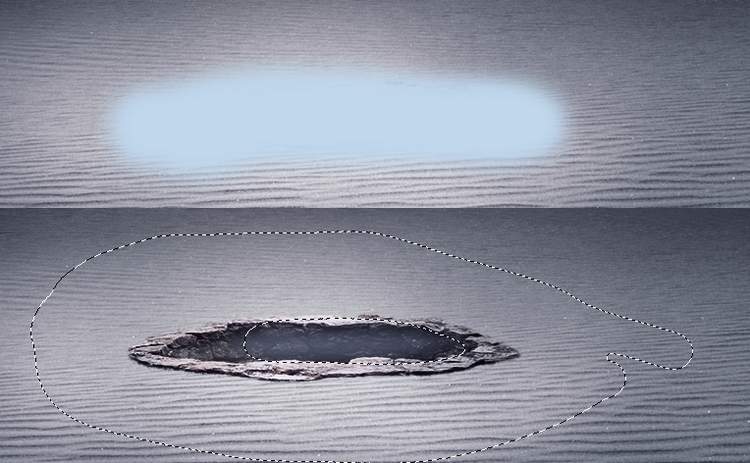
Create a new layer on top of the layers and use a soft brush with the color #c1d8edto paint over the hole. Change this layer mode to Overlay 50%and use a layer mask to erase or reduce the light on the surface and ground, leaving the effect visible subtle only inside the hole.
Step 23
To make the light column from the hole , create a new layer and use thePolygonal Lasso Tool to create a shape like below. Set the feather of this selection to 2 pxand fill this selection with the color #eef2f7. Add a mask to this layer and use a soft black brush to erase the light outside the hole and reduce its opacity, especially on the top so it looks like a light column.
3 responses to “How to Create a Sci-Fi Lighting Scene with Photoshop”
-
thank you so much for your efforts!
-
Very NICE!! I love your tutorials!
Thank you! -
Amazing..


Leave a Reply