Make skin look perfect in one-click with these AI-powered Photoshop actions.
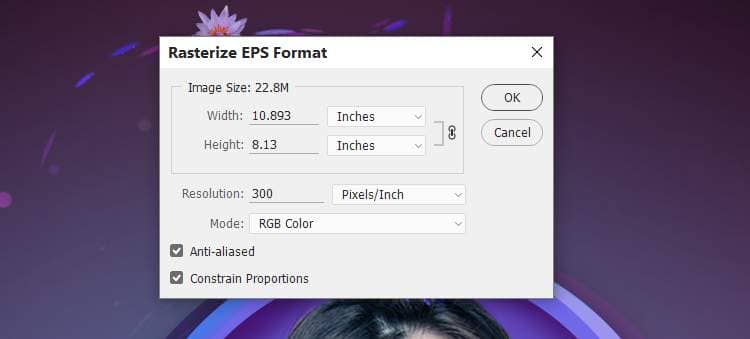

Step 26
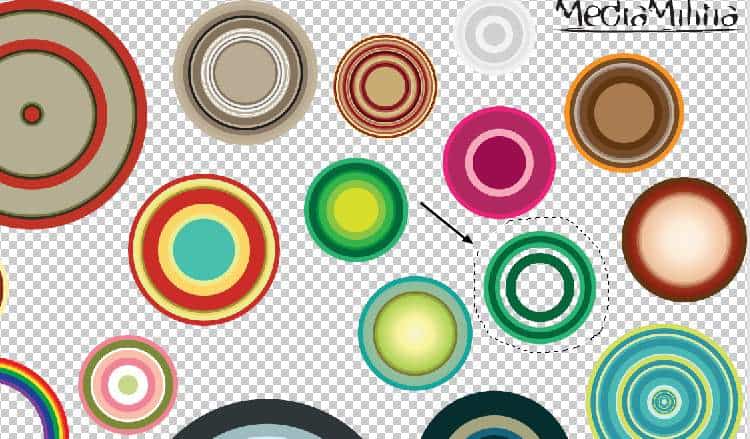
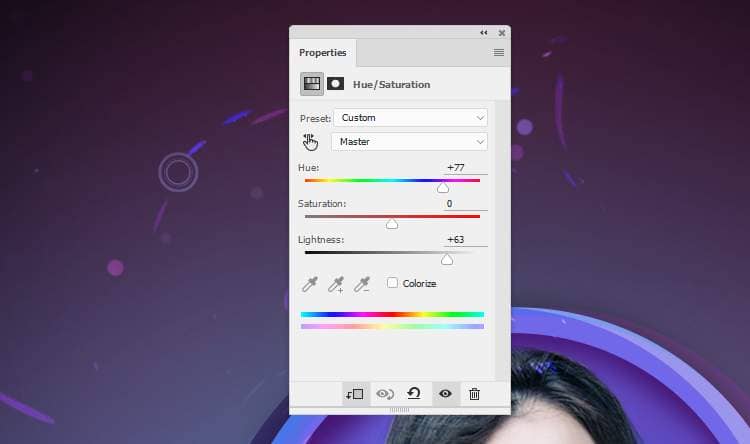
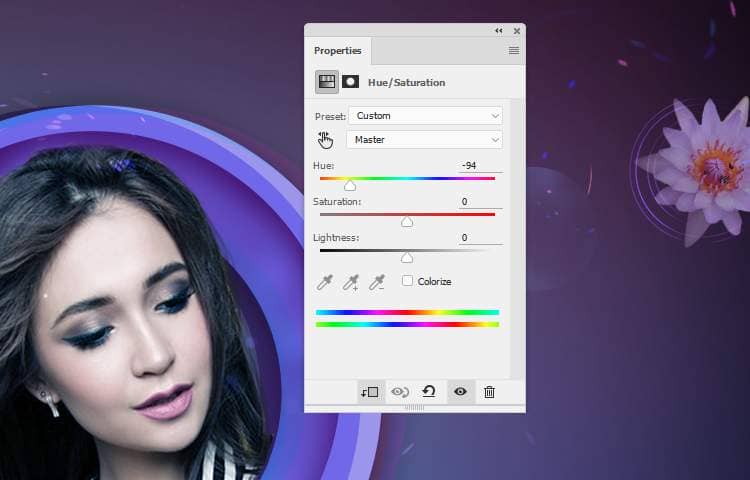
Change the mode of this layer to Overlay 100% and use a Hue/Saturation adjustment layer to change the color of this circle.
Step 27
Select the red circle from the circular vector image in the bottom of the middle to add to the big waterlily on the right of the canvas. Change this layer mode to Linear Dodge 100% and add a mask to this layer. Use a soft black brush to remove the part covering the waterlily.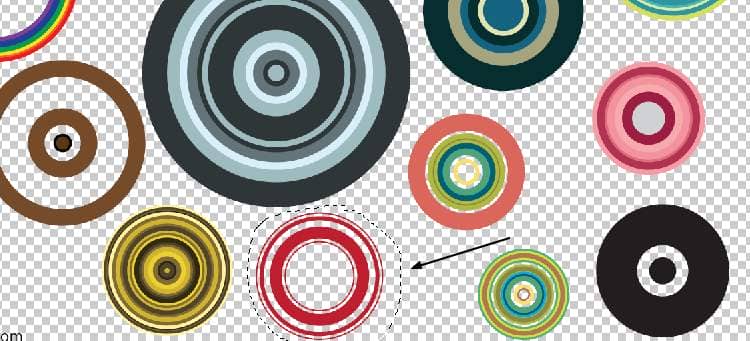

Step 28
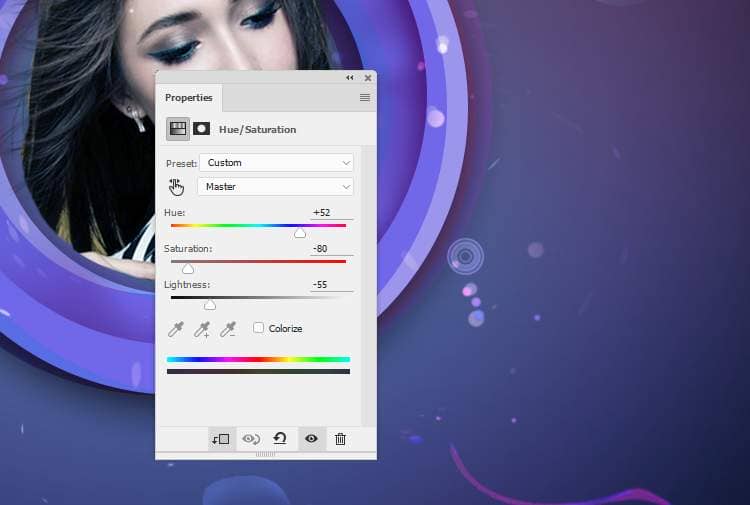
Select the blue circle from the circular vector image on the top left to add to the lower right area besides the middle circles. Change the mode of this layer to Linear Dodge 100% and use a Hue/Saturation adjustment layer to change the color and lightness of this circle.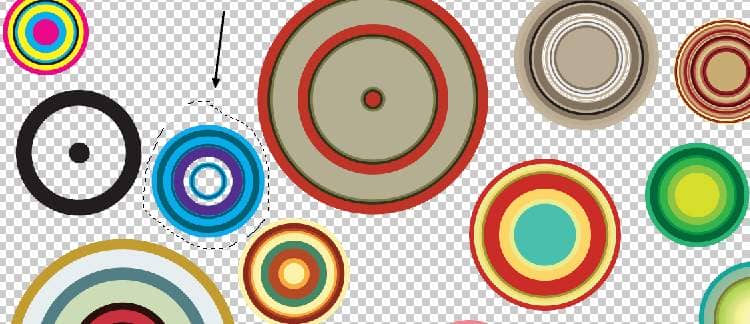

Step 29
Open the set 0002 and select the second circle in the third line to add to the middle bottom of the main document.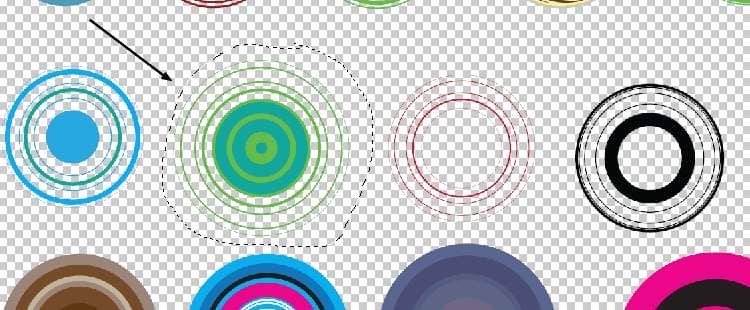

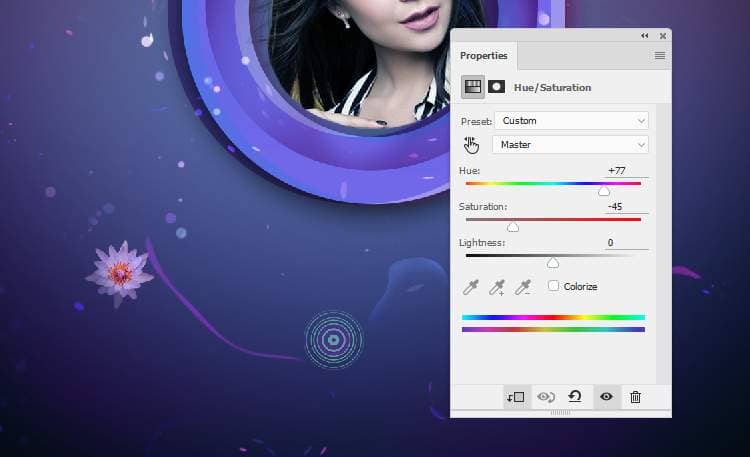
Step 30
Select the green circle in the second line to place it in the left of the middle circles and change the mode to Overlay 100%.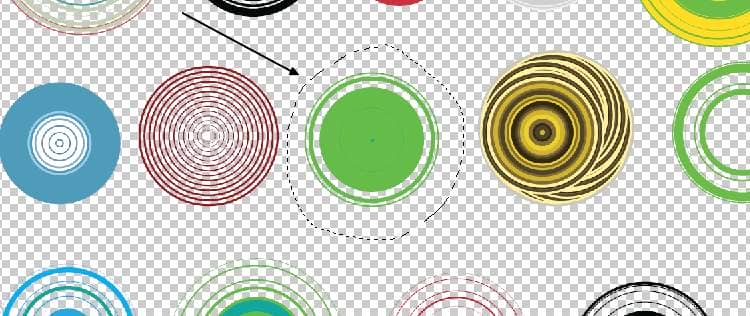

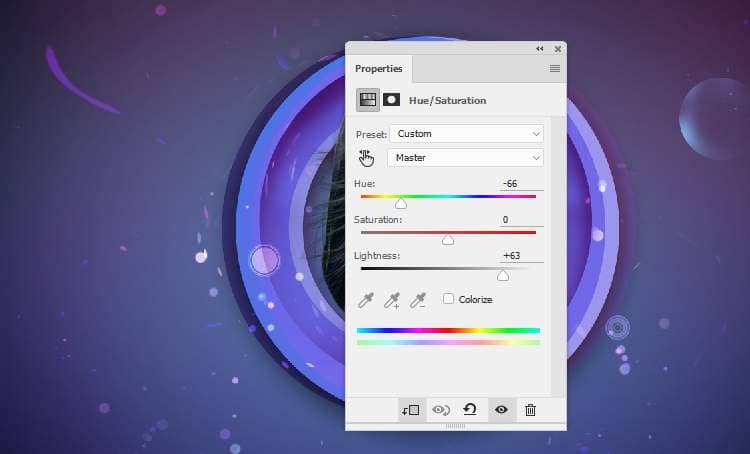
Step 31
Make a new layer on top of the layers and activate the Custom Shape Tool. Select Triangle Frame and pick the color #63a1ec to draw a triangle on the lower left of the middle circles.
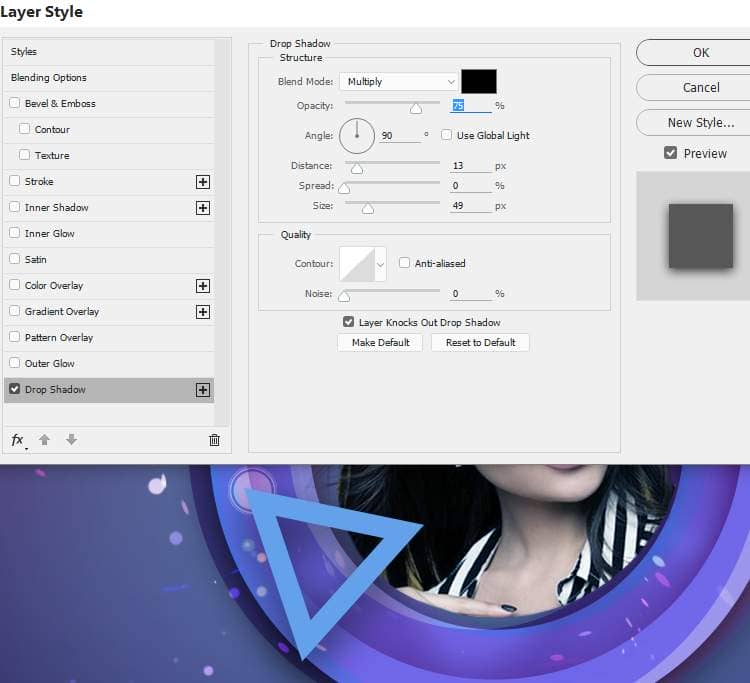
Step 32
Duplicate this layer and move it downward a bit: Change its layer mode to Overlay 50%.

Step 33
Continue duplicating this layer and move it upward a bit. Change the mode to Overlay 30% and apply the Drop Shadow as done with the previous layers and the Stroke effect with the following settings: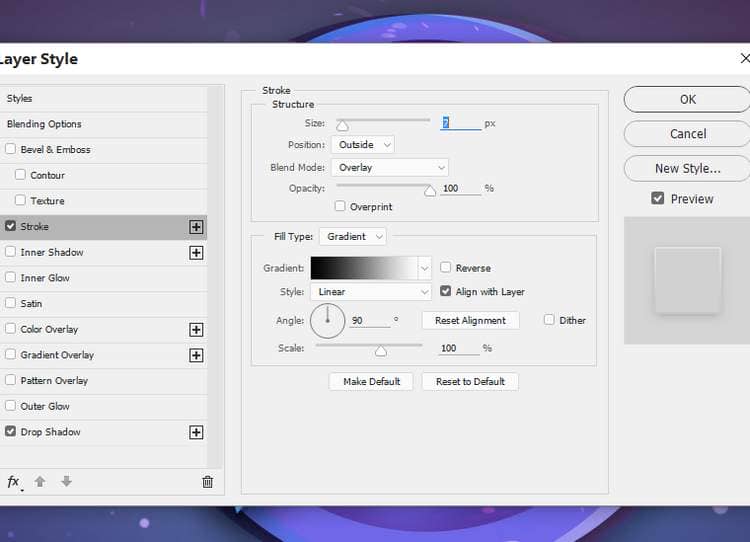

Step 34
Duplicate the first layer and move it to the top of the layers and right click this layer, choose Clear Layer Style. Change the color of the shape to #260741 and the layer mode to Hard Light 50%.

Step 35
Make a new layer below the triangle ones and hit P to activate the Pen Tool . Use the Pen Tool with Path mode to draw a shape as shown below. Press Ctrl+Enter to turn the path into a selection and fill with the color #52c7f9.
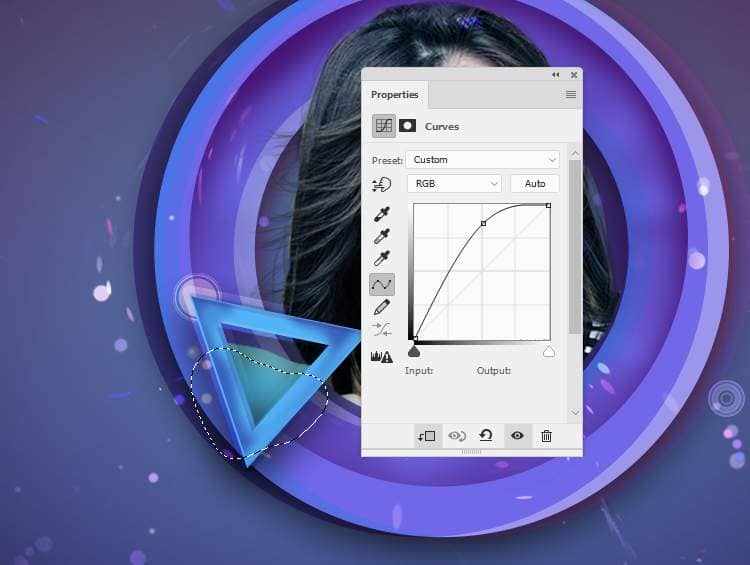
Step 36
Create a new layer and use the Elliptical Marquee Tool (M) to draw a circle on the canvas. Use a large soft white brush to paint inside this circle.


One comment on “How to Create a Sleek Digital Art of a Portrait with Fun Elements”
Jasurbek