How to Create a Sleek Digital Art of a Portrait with Fun Elements

How to Create a Sleek Digital Art of a Portrait with Fun Elements

Step 38

Open the light ray image and hit Ctrl+J to duplicate this layer. Select the Liquify Tool  and use the Forward Warp Tool to turn the light ray into a curve as shown below:
Drag this part into the main canvas using the Move Tool and place it in the bottom left. Change this layer mode to Linear Dodge 100% and use a layer mask to remove the hard edges.

Step 39

Duplicate this layer and flip vertically (Edit > Transform > Flip Vertical). Place it in the top right of the canvas and use Ctrl+T to make it a bit larger. 
Use its layer mask to erase the lower part of this curve.

Step 40

Create a group for these two layers and change the group's mode to Linear Dodge 100%. Make a Levels adjustment layer to increase the visibility of the curves.

Step 41

Make a new layer and and use a soft brush with the color #bb96d2 to paint on the left of the canvas. Reduce the brush size and change its color to #f0eafb to paint inside this brush part.  Convert this layer to a Smart Object and use Ctrl+T to make it thinner. Move it to the flying hair part of the model.  Duplicate this layer, flip it horizontally and move it to another side of the hair.  Use Ctrl+T with the Warp mode to bend these light parts to fit the form of the head.

Step 42

Make a new layer and use a soft brush with the colors #d263a7 and #d263a7 to paint around the model and middle circles. Change the mode of this layer to Soft Light 100%. Add a mask to this layer and use a soft black brush to reduce the color effect on the bottom of the circles.

Step 43

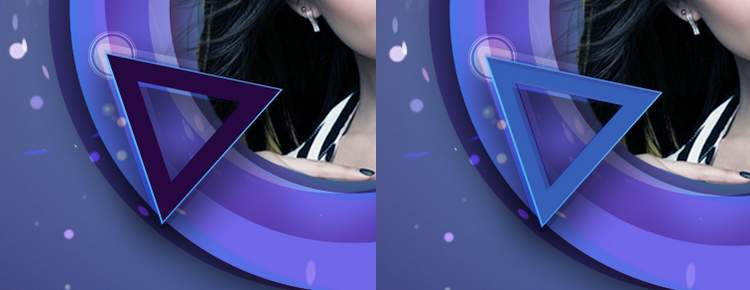
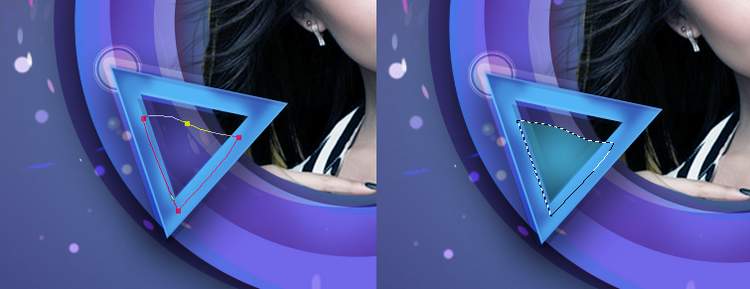
Create a new layer and use a soft brush with the color #d08fd1 to paint on the top left of the triangles. Change this layer mode to Linear Light 100% and use a layer mask to reduce the color effect on some parts below:

Step 44

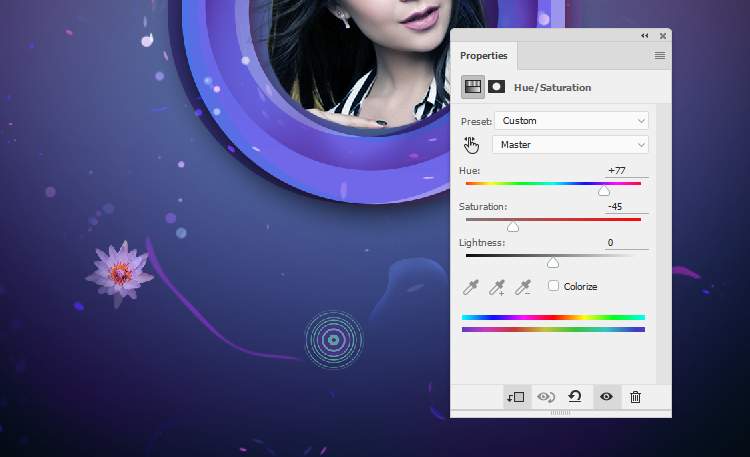
Make a new layer and use a hard brush with the color #0085ba to spot on the left of the main canvas. Add a mask to this layer and use a soft black brush to reduce the opacity on the bottom and side, leaving it visible very subtle.
Create six layers and use a hard brush with the colors #50244f, #77c7e7, #ffa8ff, #9f5776, #379997 and #3fb8a0 to paint some circles around the canvas. I've used the Liquify Tool to tweak some circles.
Add a mask to each of these layers and use a soft black brush to reduce the circles' opacity, making them look like bubbles or fade into the background.

Step 45

Make a Gradient Map adjustment layer and pick the colors #e10019 and #00601b . Lower the opacity of this layer to 20%.

Step 46

Create a Color Balance adjustment layer and change the Midtones settings:
Add a Curves adjustment layer to increase the contrast and vibrance of the whole canvas.

Step 47

Make a Selective Color adjustment layer and change the Magentas settings to reduce the color effect on the bottom middle of the middle circles.. On this layer mask, paint on the rest to keep its colors and vibrance.

Final Result

Download the PSD

Water Portrait Tutorial.zip

Pages: 1 2 3 4

One comment on “How to Create a Sleek Digital Art of a Portrait with Fun Elements”

Leave a Reply

Your email address will not be published. Required fields are marked *

cross