Make skin look perfect in one-click with these AI-powered Photoshop actions.
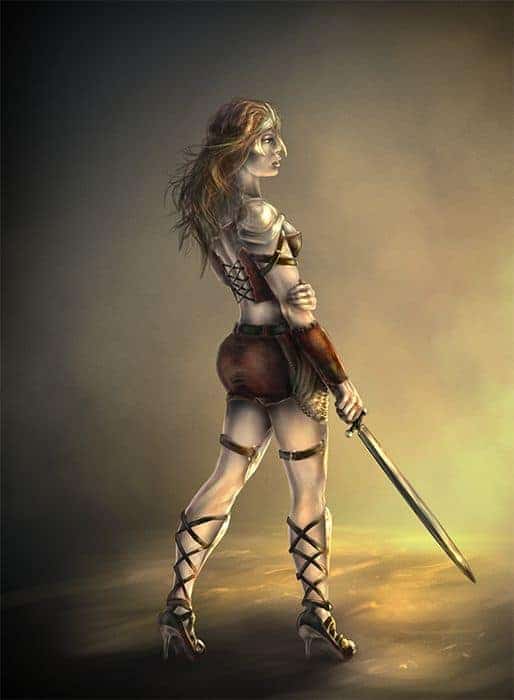
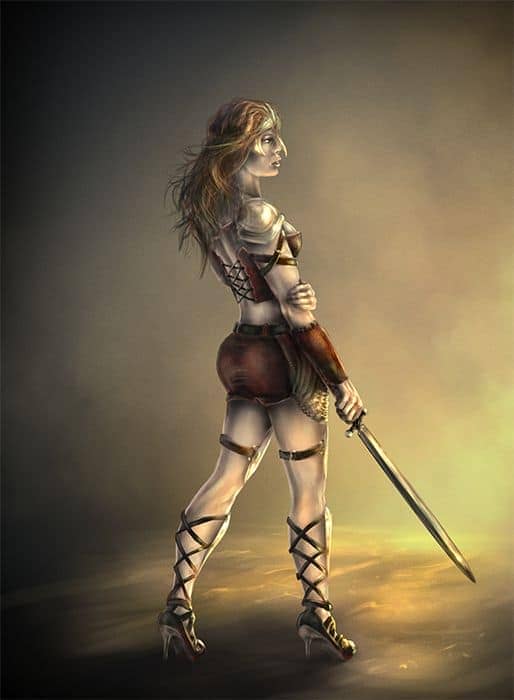
Let's face it - everyone likes fantasy. And girls. And fantasy girls. Not everyone can draw them though. Follow this tutorial and hopefully you'll learn a lot about painting your own fantasy character!
Preview of Final Results
Tutorial Resources
- Dan Lu Visi's brush pack - DanLuVisiArt
- Pose references - senshistock
Step 1
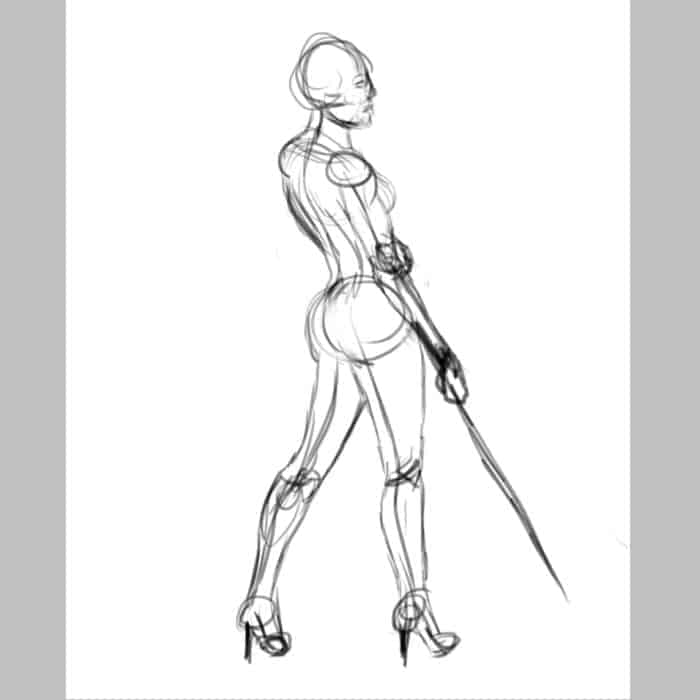
Start with a basic sketch of the pose of your character. No details, just rough lines. If you don't feel so sure about your anatomy/pose skills, don't hesitate to use one of SenshiStock references (link above). One tip about it: if your goal is to be able to draw any pose without references in the future, don't just trace the picture, place it next to you and try to draw the lines you see. DON'T DRAW OVER THEM! You'd get a perfect copy this way, but it would not teach you anything.
Step 2
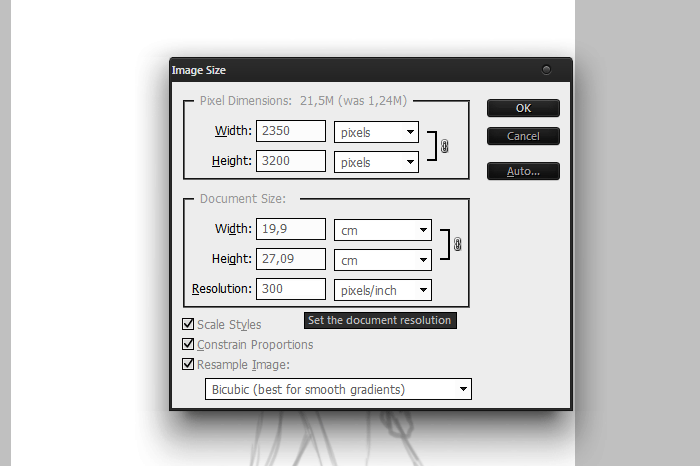
When your sketch is done, change the resolution of your picture to 300 dpi (go to Image > Image Size or just click Ctrl + Alt + I). The bigger the picture, the more detailed your work can be, so use the biggest one your computer can handle. Final picture should be less than 25% of the original size.
Step 3
Now you need to prepare a base for the character's body. Choose hard brush (you can use one of Dan Lu Visi - link above) with 100% Opacity and Flow, and draw the border of the silhouette on a new layer. You can use #c6b19c color, it's a base color of skin.
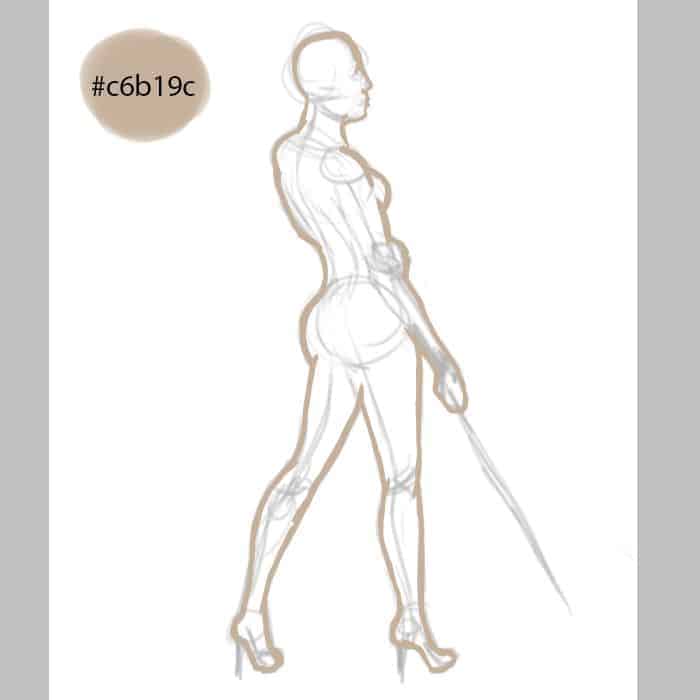
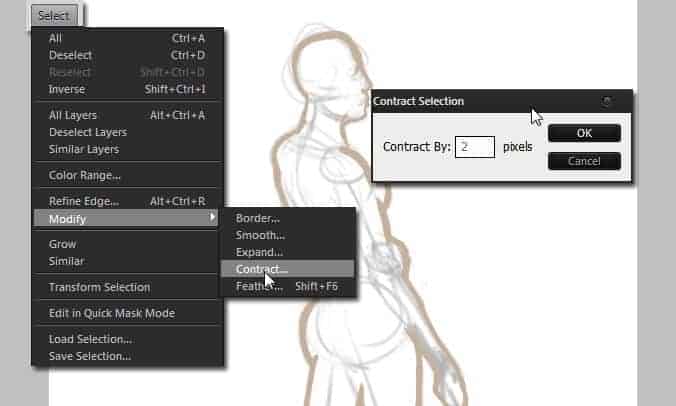
Use Magic Wand (W) to select everything around the silhouette, then click Ctrl+ Shift + I to inverse the selection. If you filled the selection now, you'd probably fully fill the soft edges you can't even see (because you used a brush, not a pencil), but they need to be there for anti-aliasing effect. So, go to Select > Modify > Contract and choose 2-5 pixels. This way you'll recede from the soft edge and will be able to fill the inside without any problems (use Paint Bucket Tool (G) or go to Edit > Fill).
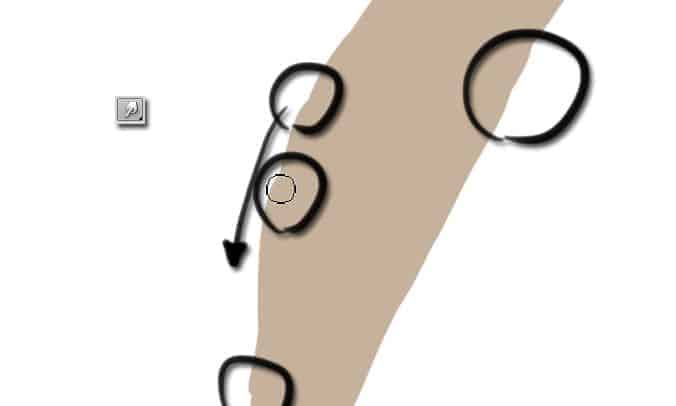
Now use Zoom Tool (Z) to check if you did any mistakes in the silhouette. Smudge Tool (S) is good for this, but use it very carefully - don't make your edges blurry.
Step 4
Now it's time for a background. When you design a character, you don't want the background to be too disturbing, still, without it the character looks fake (as if it don't live in any world). To get a nice effect you can use a dark-light trick - one part of the background is dark, and the light source is quite strong and visible. So, our warioress is standing on the ground - paint it with hard brush with low Flow - and there's a sky behind her - paint it with soft brush/cloud brush. Use glum, unsaturated colors, as it's just a background for the real background.
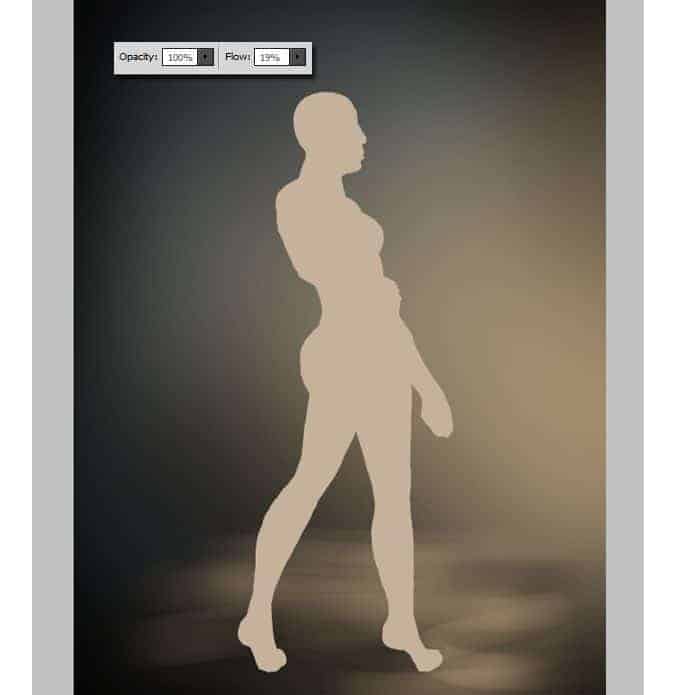
Define the background with more saturated colors. In my scene it's night (so the sky is dark-blue) and there's a fire somewhere near (maybe the warioress has something to do with it?). Blue-orange is the most classic combination and it works everywhere, trust me. Even in the day scene it's good to use both colors to light (orange as sun's light, and blue as sky's reflection).
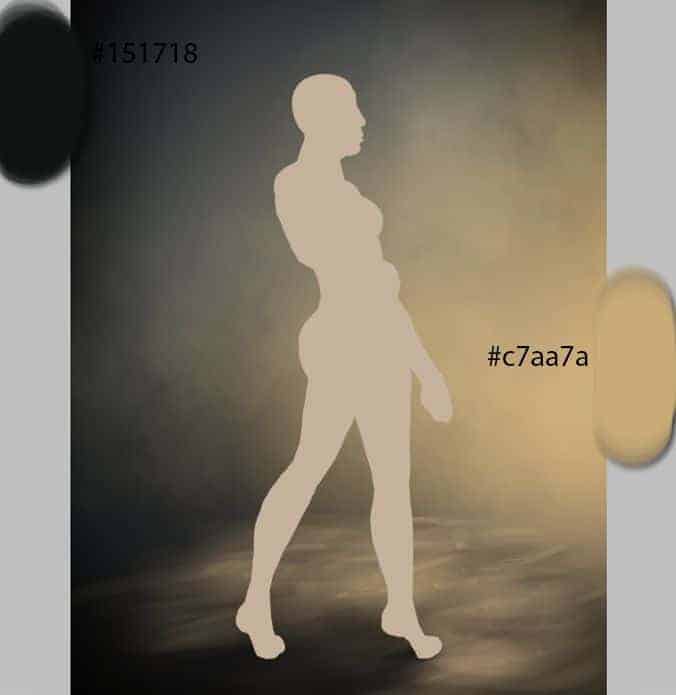
Now I'll show you a trick for strong lights - pick a light color and choose Linear Light mode for your brush. Before touching anything, make sure your background is on one layer. Then paint the light on it, using this mode frugally, since too much light could kill the scene (unless it's your style, then go on).

10 comments on “Create a Fantasy Warrior Painting From Scratch”
Unable to download the "Pose References" file ... Please advise. Thanks
Doing things like this from scratch really makes you appreciate the work that goes into it.
Some Fantastic images here, some really creative, some excellent timing.
kaka
amazing tutorial. Just bought the graphic tablet, so I was not sure, how to handle no line art, this helped a lot. Thanks
I was just looking about that, thanks for worth sharing.
haven't tried it yet but going to in a few days. just want to say thanks for taking your time to do this and looks great I hope to be able to do it to :)
why this type brushes not work properly waagraphics.com
what brush do you use to scketch ?I' m super amatuer on this !
interesting...i like it