Luminar AI lets you turn your ideas into reality with powerful, intelligent AI. Download the photo editor and see how you can completely transform your photos in a few clicks.
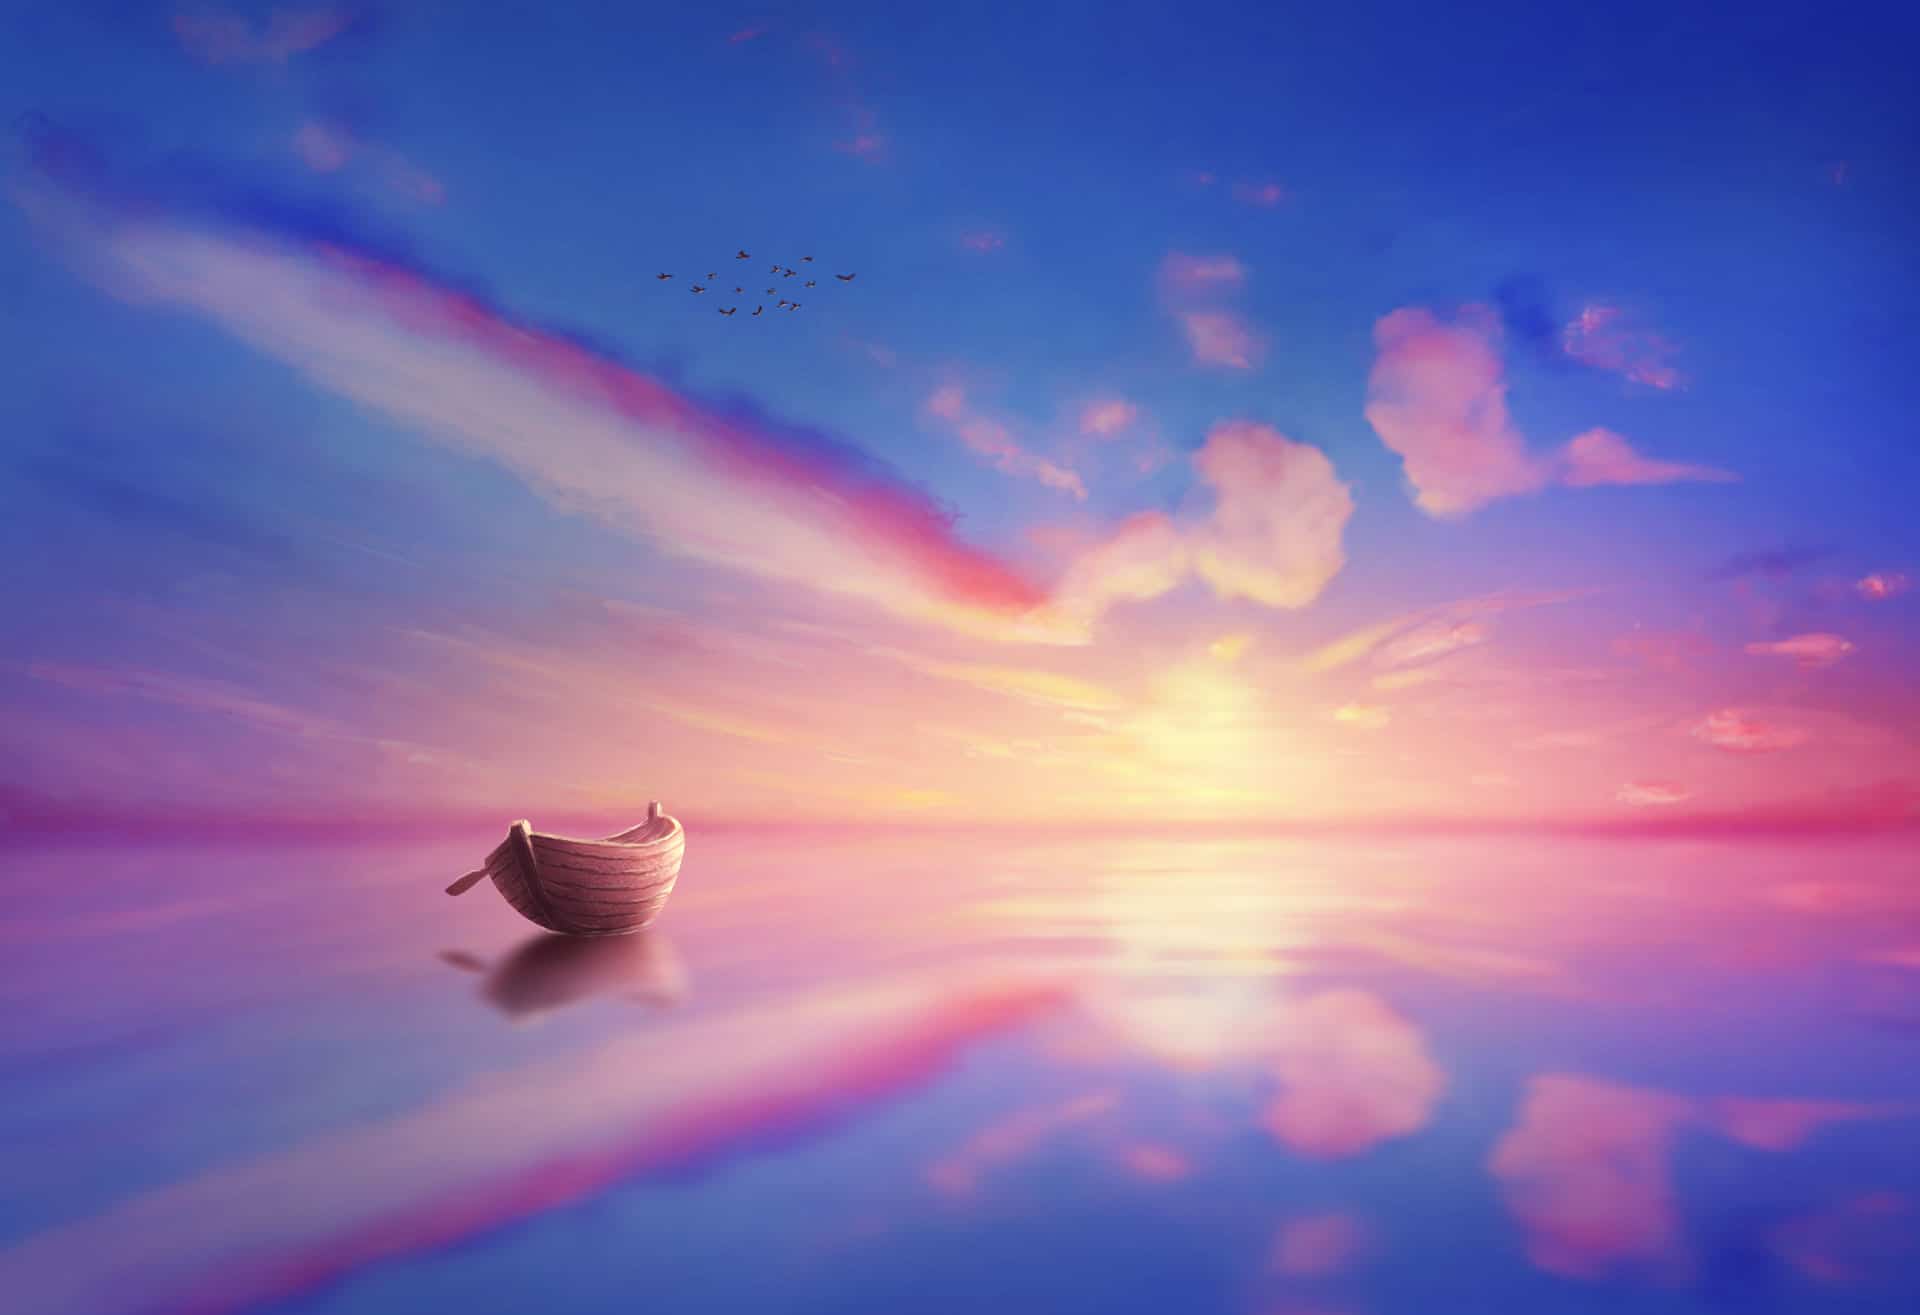
In this tutorial, I'll show you how to paint a sunset scene using standard brushes. We'll paint the sky first, after that using it as a lake surface and paint more details, lighting and shadow. Later, we'll paint the boat, row and make their reflection. Finally, we'll paint some birds in the sky.
Preview of the Final Result

Tutorial Resources
Step 1
Create a new 3000x1300 px document in Photoshop and fill it with white. We'll paint the sky first, after that using it's reflection to make a lake surface. Hit Ctrl+Shift+N to make a new layer and activate the Gradient Tool (G). Choose Linear Gradient with the colors #647dbb and #a0c5dd. Drag a line from left to right to get a similar result like below:

Step 2
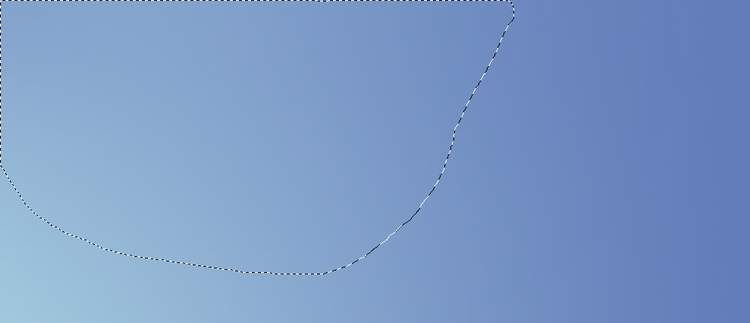
Make a new layer and use a soft brush with the color #637dbb , the opacity about 20% to paint on the top left of the canvas to darken it a bit.
Step 3
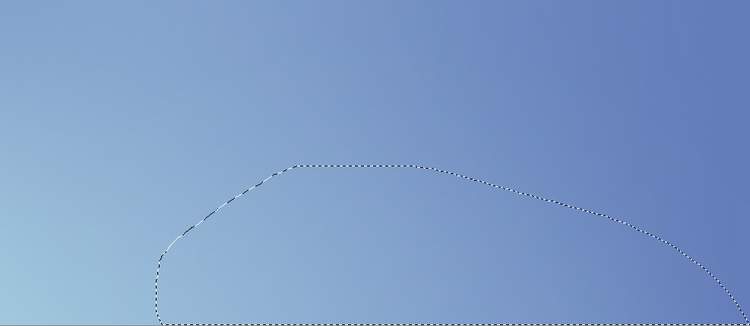
Create a new layer and use a soft brush with the color #a4cadf, the opacity about 20% to brighten the bottom of the middle a little.
Step 4
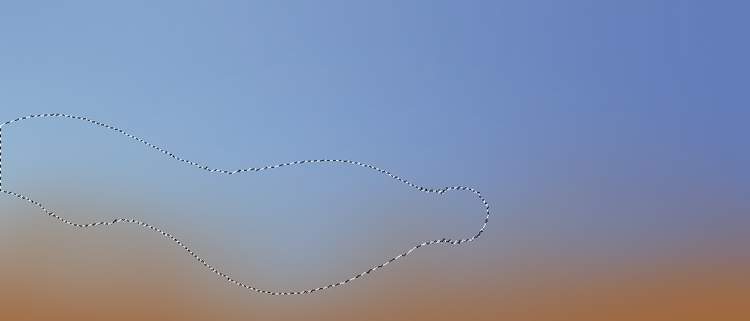
Make a new layer, use a soft brush with the color #a2693c (picked from the original sky image) and paint along the bottom of the canvas. Click the second icon at the bottom of the Layers panel to add a mask to this layer and use a soft round brush with black color to reduce the brush's opacity on the left.


Step 5
Make a new layer and use a soft brush with the color #fd9001 to paint on the middle of the bottom and use a layer mask to erase the top of the effect.
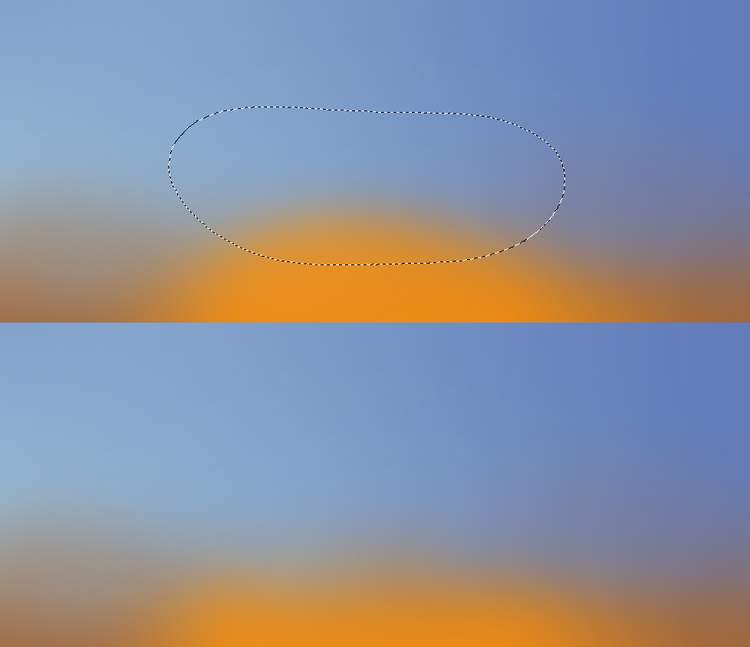
On a new layer, use a soft brush with the color #c6ac9d to paint along the bottom of the canvas.

Step 6
Make a new layer and use a small brush with the color #d67751 to paint small parts of the clouds from the left to the right. Change this layer mode to Overlay 100%.

Step 7
Create a new layer and use a medium-soft brush with the color #dab473 to paint several clouds following the guide of the reference image. Reduce the brush' opacity and hardness when painting the lighter parts and change this layer mode to Hard Light 100%.

On a new layer and use the same brush to paint small details on the right bottom. Change this layer mode to Overlay 100%.

Step 8
Make a new layer and use a soft brush with the color #975f61 to paint on the long cloud on the left and around it. Change this layer mode to Overlay 100%.


On a new layer, use a soft brush with the color #da9073 to paint on the clouds on the left. and the lower middle Alter this layer mode to Hard Light 100%.

Step 9
Make a new layer and use a soft brush with the color #90765d to paint more details on the sky. Change this layer mode to Overlay 100%.

Create a new layer and change the brush color #f6ef6d to paint some small highlight on the middle bottom as we aim to add the sun there.

Step 10
Create a Gradient Map adjustment layer on top of the layers and pick the colors #e10019 and #00601b. Lower the opacity of this layer to 20%.

Step 11
Add a Color Balance adjustment layer and alter the Midtones, Shadows and Highlights settings:


Step 12
Make a Curves adjustment layer to increase the light and vibrance of the sky.

Create a Selective Color adjustment layer and change the Reds, Cyans, Blues and Magentas values:


Save as a jpg file for the next steps and name it "sky" or whatever you want.
Step 13
Create a new 3000x2055 px document in Photoshop and fill it with white. Drag the sky image into the white canvas using the Move Tool (V) and place it in the upper of the canvas. Convert this layer to a Smart Object.

Step 14
Duplicate this layer and flip it vertically (Edit > Transform > Flip Vertical) and move it down to the lower section of the white canvas. Use the Free Transform Tool (Ctrl+T) to enlarge the bottom of this part to fit the perspective of the lake.

Step 15
Go to Filter > Blur > Gaussian Blur and set the radius to 6 px:

Apply a Motion Blur wit the following settings to make the sky refection blurred and appear like a lake.

Step 16
Create a Color Fill layer above the lake one and set it as Clipping Mask and pick the color #c66dbf. Lower the opacity of this layer to 20%.

Step 17
Make a new layer and use the Rectangular Marquee Tool (M) to grab a selection on the horizon between the sky and lake. Set the feather radius to 3 px and fill this selection with the color #687197 and change the layer mode to Color Burn 100%.


Add a mask to this layer and use a small soft black brush to erase this part, especially the middle and both sides until you get a similar result like below:

Step 18
Create a new layer and use a brush with the color #ca5d89 to paint along the line in the horizon. Use a layer mask to erase most of this line, leaving the effect visible subtly on the both sides.

Step 19
On a new layer, use a soft brush with the color #687197 , the opacity about 15-20% to paint around the left horizon. Change this layer mode to Color Burn 100% and use a layer mask to reduce the effect on the middle, leaving the color effect visible on the edge only.

Step 20
Add a new layer and use the Elliptical Marquee Tool to make a circle onto the area with the bright small clouds and set the feather radius to 3. Fill this selection with the color #f9edad and add a mask to this layer. Use a layer mask to reduce the sun's visibility , making it appear behind the clouds.


Step 21
Make a new layer, use a hard brush with the color #f9edad to paint some lines on the sun area. Change this layer mode to Soft Light 100% and apply a Motion Blur filter with the following settings:


Add a mask to this layer to reduce the sun'visibility.

Step 22
Create a new layer below the sun ones and use the same brush to paint the sun's reflection on the lake. Change this layer mode to Overlay 70%.

Step 23
Make a Color Balance adjustment layer on top of the layers and change the Midones and Highlights values. On this layer mask, paint around the edges to erase or reduce the effect, leaving it visible mostly around the sun.


Step 24
Create a Curves adjustment layer to darken the scene. On the layer mask, paint around the sun to keep the light there.

Make another Curves adjustment layer to increase the contrast of the whole scene.

Step 25
Add a Selective Color adjustment layer and change the Cyans and Blues settings:


Step 26
Create a new layer and use a soft brush with the color #273578, the opacity about 10-15% to paint on top and bottom of the canvas. Change this layer mode to Multiply 100% and use a layer mask to reduce the effect on the top or any areas if needed..


Step 27
Make a Curves adjustment layer to darken the scene. Paint around the sun area to reveal the light there.

Step 28
Add a new layer and use the Pen Tool (P) to draw a shape like a boat which is towards the sun. Fill this selection with the color #773941.

Step 29
Make a new layer above the boat shape one and set it as Clipping Mask. Use a darker brush's color (I've chosen #432125) to paint on the back of the boat

Create a new layer and use the small brush with the same color to paint some curves along the form of the boat. Add a layer mask if you need to correct some errors.

Step 30
Add a new layer and use a bright brush's color (#f6c8ac) to paint some bright lines along the existing lines and curves.

On two new layers, use the colors #432125 and #f6c8ac to paint more details and texture for the boat.

Step 31
Make a new layer, change the mode to Overlay 100% and fill with 50% gray.

Activate the Dodge and Burn Tool (O) with Midtones Range, Exposure about 10-15% to refine the light and shadow on the boat. You can see how I did it with Normal mode and the result with Overlay mode.

Step 32
Create a new layer and use a small brush with the color #f8cea8 to paint highlight for the contour of the boat.

Step 33
Make a Curves adjustment layer to brighten the boat. On this layer mask, paint on the back/hidden side of the boat so it won't be affected by this adjustment layer.

On a new layer, use a soft brush with the color #e7f3c3 to paint on the front of the boat which is towards the light. Change this layer mode to Overlay 100%.

Step 34
Make a Color Balance adjustment layer and alter the Midones and Highlights values:


Select all of the boat layers and hit Ctrl+G to make a group for them. Add a mask to this group and erase the bottom of the boat to hide it below the water surface.

Step 35
To make the boat's reflection, duplicate the boat group and right click this layer, choose Merge Group. Flip it vertically and move it below the boat. Use Ctrl+T to transform the form a bit. Set this layer below the boat's group.

Add a mask to this layer and use a soft black with a lowered opacity (about 20-25%) to reduce the top of the reflection a bit.

Step 36
Apply the Gaussian Blur and Motion Blur filters with the following settings:


Step 37
Create a new layer below the boat's group and use a hard brush with the color #803949 to paint a row of the boat.

Make a new layer (set as Clipping Mask) to paint a soft shadow below the row.

On a new layer, use a small brush with the color #ffdeb7 to paint the light contour of the row.

Step 38
Make the row's reflection as done with the boat. Create a new layer above the row's reflection and use a soft brush with the color #ffdeb7 to paint the reflection of the light on the row.

Step 39
Create a new layer on top of the layers and use a small brush with the color #ffdeb7 to paint some small ripple below the boat's bottom.

Step 40
Create two new layers on top of the layers and use a small brush with the color #3e1823 to paint some small flying birds above the longest clouds.

On each of these layers, use a small brush with the color #ffdeb7 to paint highlight for the birds. Duplicate the light layers if needed to make the effect stronger and more visible.

Final Result

2 comments on “How to Paint a Sunset Scene with Adobe Photoshop”
An interesting idea, but some of the instructions are ambiguous. How big a brush? Is the opacity supposed to be for the brush or the layer?
Hello,
Het is erg veel werk maar ook zeer leerzaam.
Hartelijk dank. With regards, Hans Keijzer.