

Turn any photo into a dot grid artwork with these Photoshop actions. You'll get great results with dots that change size. They get larger in brighter areas and smaller in darker areas. Free download available.
Step 8
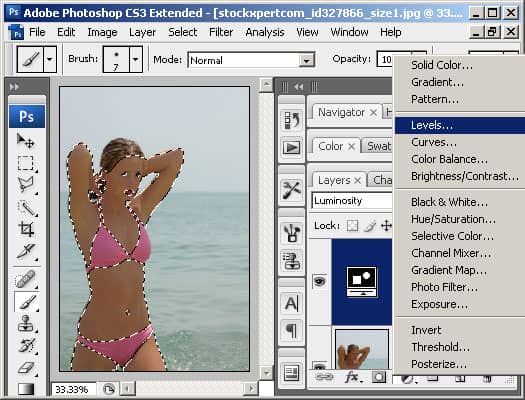
We're done smoothing out the uneven tones, but the overall skin tone has been altered. To fix this, we'll add a Levels adjustment layer to darken the skin back to the natural tone. Click on the  button in the layers pallet and select Levels.
Step 9
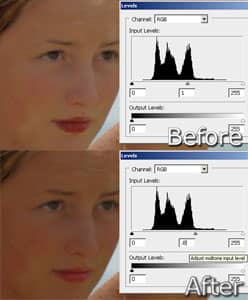
In the Levels window, adjust the middle input slider until the skin tone looks correct. A good area to look at while adjusting is the face.
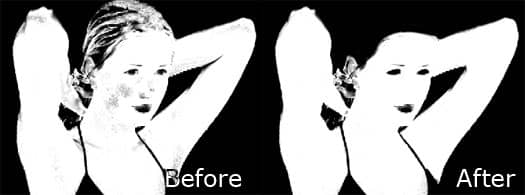
Final Results
Move your cursor over the images to see the unedited photo.


One comment on “Flat Skin”
Great :D