How to Create a Mysterious Forest Scene with Adobe Photoshop

How to Create a Mysterious Forest Scene with Adobe Photoshop

In this tutorial, I'll show you how to create a mysterious forest scene. We will start by adding a forest and constructing the staircase. Later, we will add the pagoda, the entrance, and the bird. To change the color and lighting of the entire scene, we will apply several adjustment layers. Next, we will import the lamps and paint the lighting effects. After that, we will use several adjustment layers to enhance the result.  

Preview of the Final Result

Tutorial Resources

Step 1

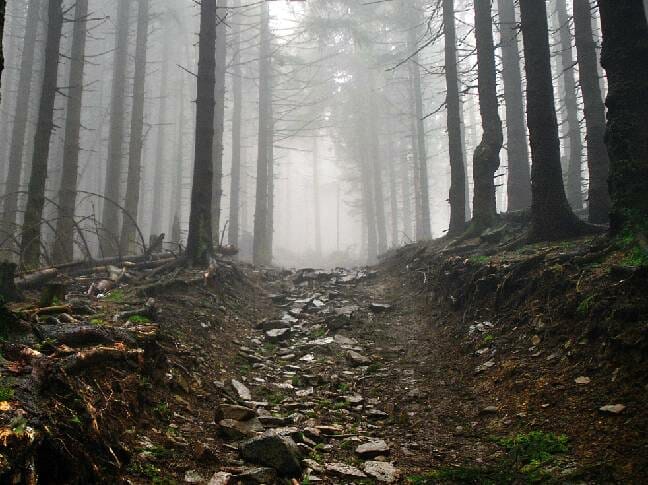
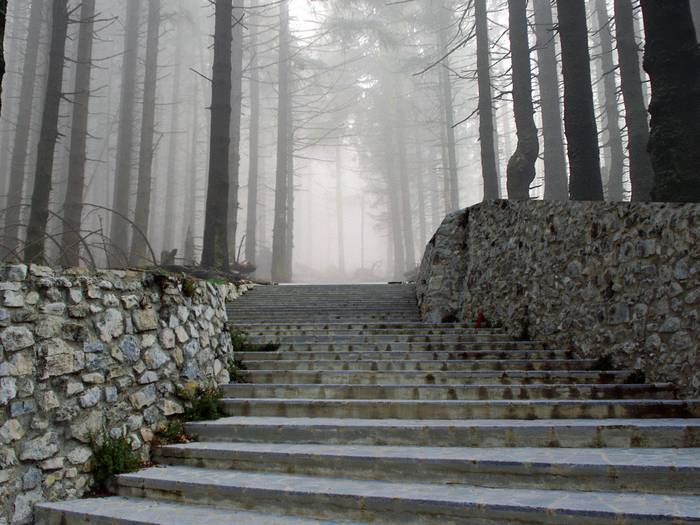
Create a new 2000x1500 px document and fill it with white. Open the forest image and drag it into the white canvas using the Move Tool (V)

Step 2

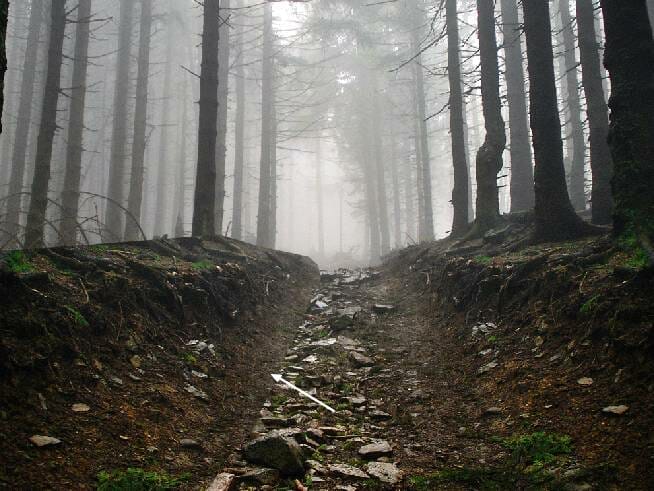
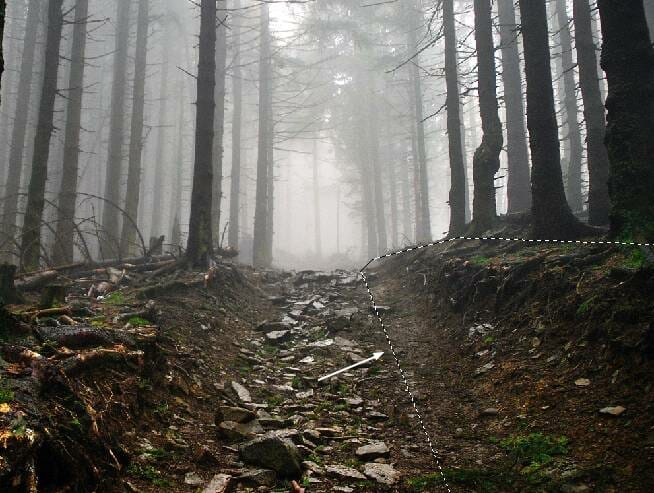
Activate the Polygonal Lasso Tool (L) to select the right of the forest path  Press Ctrl+J to duplicate this part into a new layer and flip it horizontally  (Edit > Transform > Flip Horizontal) . Move it to the left of the forest. 
Step 3

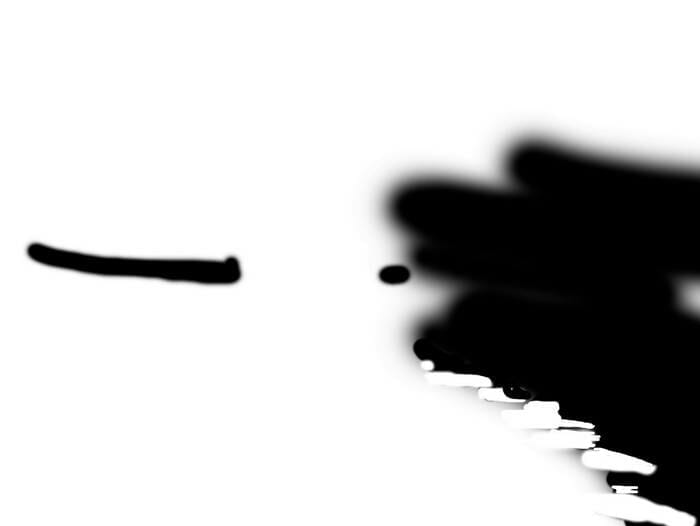
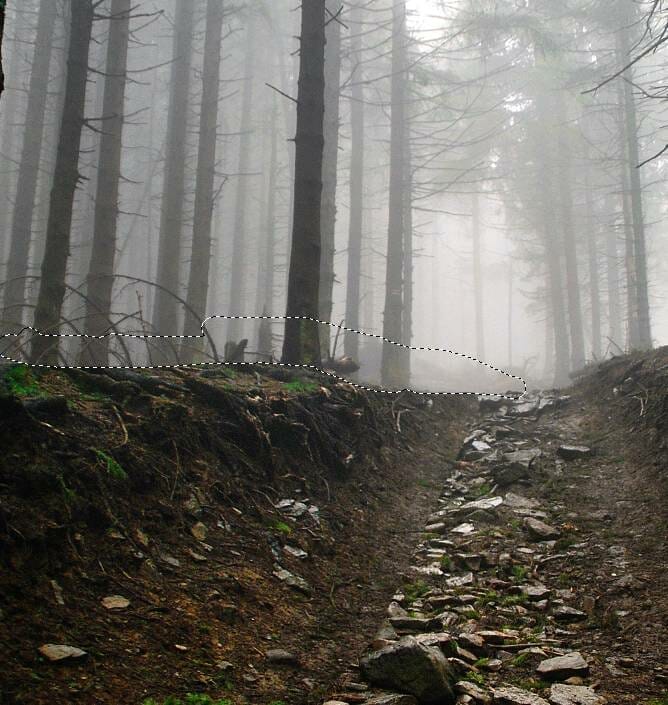
Click the second icon at the bottom of the Layers panel to add a mask to this layer. On this layer mask, activate the Brush Tool (B) and select a medium-hard round one with black color. Use this brush to erase the top of this part as shown below:
Step 4

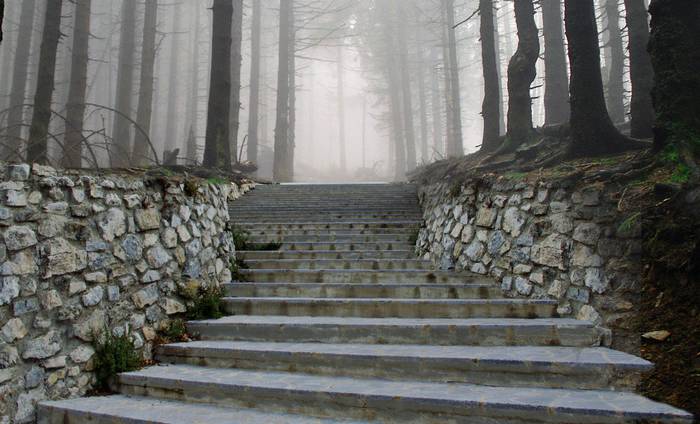
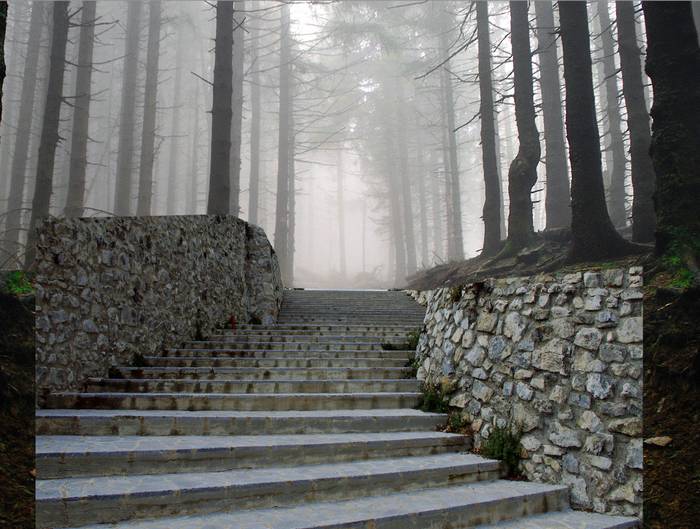
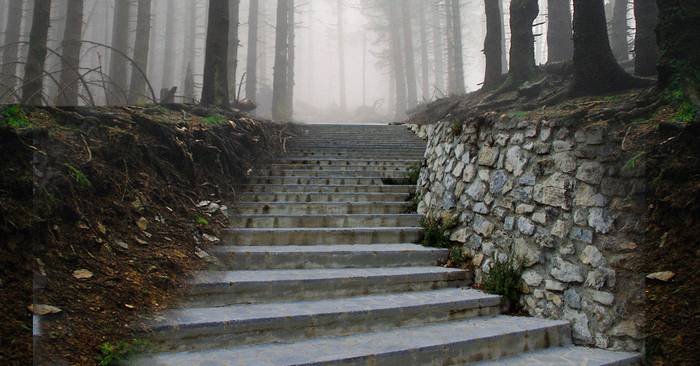
Open the staircase image and use the Polygonal Lasso Tool to select the staircase part only to add to the lower section of the main canvas. Add a mask to this layer and use a soft black brush to erase the wall on the left and blend the right wall with the existing ground .
Step 5

 Duplicate this layer and flip it horizontally. Move it to the right of the forest path and use both soft and medium-hard black brushes to refine the mask of this layer 
Step 6

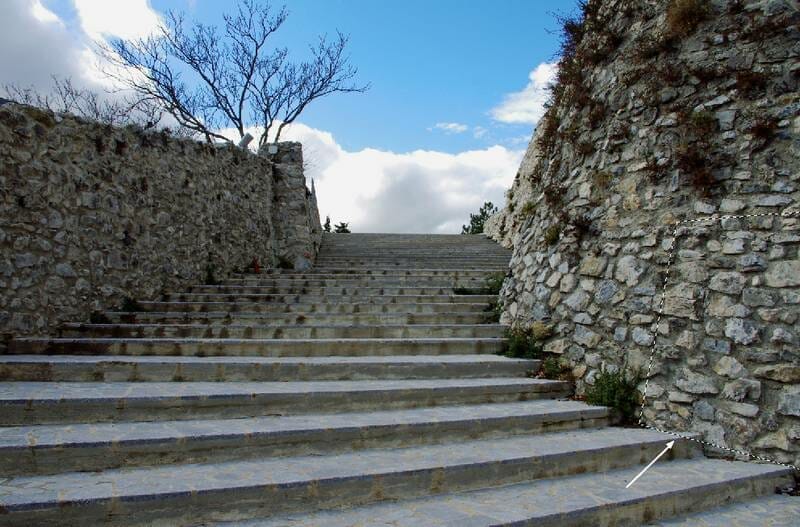
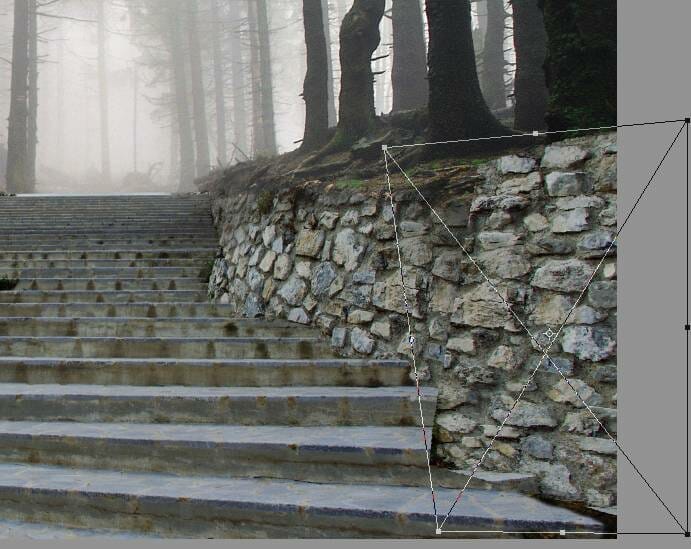
Come back to the original staircase image and take a part from the wall to add to the right edge of the forest to fill in the existing wall. Use the Free Transform Tool (Ctrl+T) to distort the wall part to fit the existing wall.
Step 7

Add a mask to this layer and use a soft black brush to blend this part with the existing surface.
Step 8

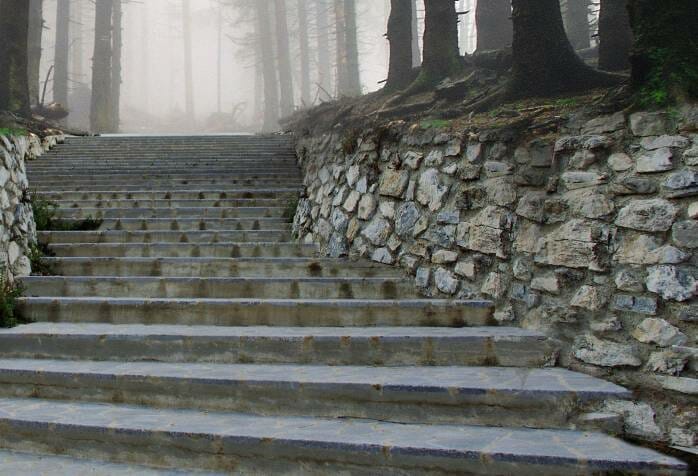
Make a new layer and use the Clone Tool (S) to remove the plants on the one of the steps on the left of the staircase.

Step 9

Select all of the staircase layers and the cloning one and hit Ctrl+G to make a group for them . Change the group's mode to Normal 100% and make a Curves adjustment layer within this group. Decrease the lightness and on this layer mask, use a soft black brush to remove the dark effect on the upper of the staircase.

Step 10

Open the pagoda image and isolate the pagoda only to add to the far middle of the background.. Add a mask to this layer and use a hard black brush to erase the unwanted detail on the top right of the pagoda and a soft black brush to reduce the lower's visibility of the pagoda.

Step 11

 Make a Curves adjustment layer above the pagoda one and set it as a Clipping Mask. Increase the lightness to make the top of the pagoda look like in the haze. On this layer mask, use a soft black brush to reduce the effect on the bottom.

Step 12

Cut out the entrance and place it above the top of the staircase. Add a mask to this layer and use a hard black brush to erase the unwanted details on the top and the bottom of the entrance. 

Step 13

Create a Curves adjustment layer (set as Clipping Mask) to increase the dreamy effect to the contour of the entrance to fit the softness of the background. The selected areas show where to paint on the layer mask. 

Step 14

 Isolate the bird and place him above the pagoda. 

Step 15

Make a Curves adjustment layer (set as Clipping Mask) and increase the light and haze of the bird to blend him with the misty background.

Step 16

Create a Gradient Map adjustment layer on top of the layers and pick the colors #e10019 and #00601b. Lower the opacity of this layer to 20%.

Step 17

 Make a Color Balance adjustment layer and change the Midtones and Highlights settings:

Step 18

Add a Curves adjustment layer to make the whole scene much darker.

Step 19

Create another Curves adjustment layer to make some light around  and above the pagoda. On this layer mask, paint on the rest to keep its shadow and contrast.

Step 20

Cut out the lamp and place it on the right edge of a step near the foreground.

Step 21

Duplicate this layer and move it to the left edge of the same step.

Step 22

Duplicate this layer again and make it a bit bigger using Ctrl+T. Move it to the left edge of the lower step .

Step 23

Continue duplicating the lamp layer many times and then scale them down . Arrange the lamps on the upper steps of the staircase following the rules: the far from the foreground the smaller.

Step 24

Create a new layer and use the Clone Tool to change the highlight of some lamps on the steps near the foreground to avoid them to be uniform.

Step 25

 Make a group for the lamp layers and the cloning one and change the group's mode to Normal 100%. Create a Curves adjustment layer within the group to darken the lamps. On this layer mask, use a soft black brush to reveal the highlight inside  the lamps .

Step 26

Make a new layer below the lamps' group, fill it with 50% gray and change its mode to Overlay 100%. Select the Dodge Tool (O) with Highlights Range, Exposure about 90% to bring more light to the wall parts beside the lamps. You can see how I did it with Normal mode and the result with Overlay mode.

Step 27

Create a new layer on top of the layers and use a brush with the color #f2a56c to paint light around the lamps and the stones of the wall parts which are near these lamps. Change this layer mode to Overlay 100%

Step 28

Make a new layer and use a soft brush with the color #2a1a02 to paint more glow for the lamps. Alter this layer mode to Linear Dodge 100% and use a layer mask to reduce or erase the unwanted effect.

Step 29

On a new layer, use a soft brush with the color #f2a56c to paint more light for the lamps and the environment around them. Change this layer mode to Overlay 100%.

Step 30

Create a new layer and use the same brush to paint more light effect for the stones of the wall part beside the lamps. Alter this layer mode to Overlay 100%.

Step 31

Continue adding a new layer and use a soft brush with the color #efc918 to paint more light for some lamps as shown below. Change this layer mode to Overlay 100%.

Step 32

Create a new layer and change its mode to Hard Light 100% Use the same brush with a small size (about 5-6 px) to paint more light details on the stones. Duplicate this layer and change the mode to Overlay 100% to make a stronger light effect.

Step 33

Make a new layer and use a soft brush with the color #a15916 to paint on the lower of the pagoda. Add a mask to this layer and use both hard and soft black brushes to refine the light effect of the pagoda. 

Step 34

Add a new layer and use a soft brush with the color #efc918 to paint more light inside the pagoda. Use a layer mask to refine this light, making it appear very subtle.

Step 35

Make a Gradient Map adjustment layer on top of the layers and pick the colors #2d0022 and #577cf2. Lower the opacity of this layer to 20% and on this layer mask, use a soft black brush to reduce the effect on the middle part above the pagoda.

Step 36

Create a Selective Color adjustment layer and change the Reds, Yellows and Cyans settings:

Step 37

Make a Curves adjustment layer to bring more light to the upper of the scene. Paint on the rest to keep its lightness.

Step 38

Create a Vibrance adjustment layer to enhance the whole effect.

Step 39

Make a new layer and use a soft brush with the color #c3d42a to paint more light for the some wall parts to increase more light for them.. Change this layer mode to Overlay 100%.

Final Result

Download the PSD

Mysterious Forest Tutorial.zip

90% Off Cyberpunk Preset Bundle
Sponsored

Make your artwork look like they're from an alternate universe. These Cyberpunk presets work with Photoshop (via the Camera Raw filter) and Lightroom. Download all 788 presets for 90% off.

5 comments on “How to Create a Mysterious Forest Scene with Adobe Photoshop”

Leave a Reply

Your email address will not be published. Required fields are marked *

cross