
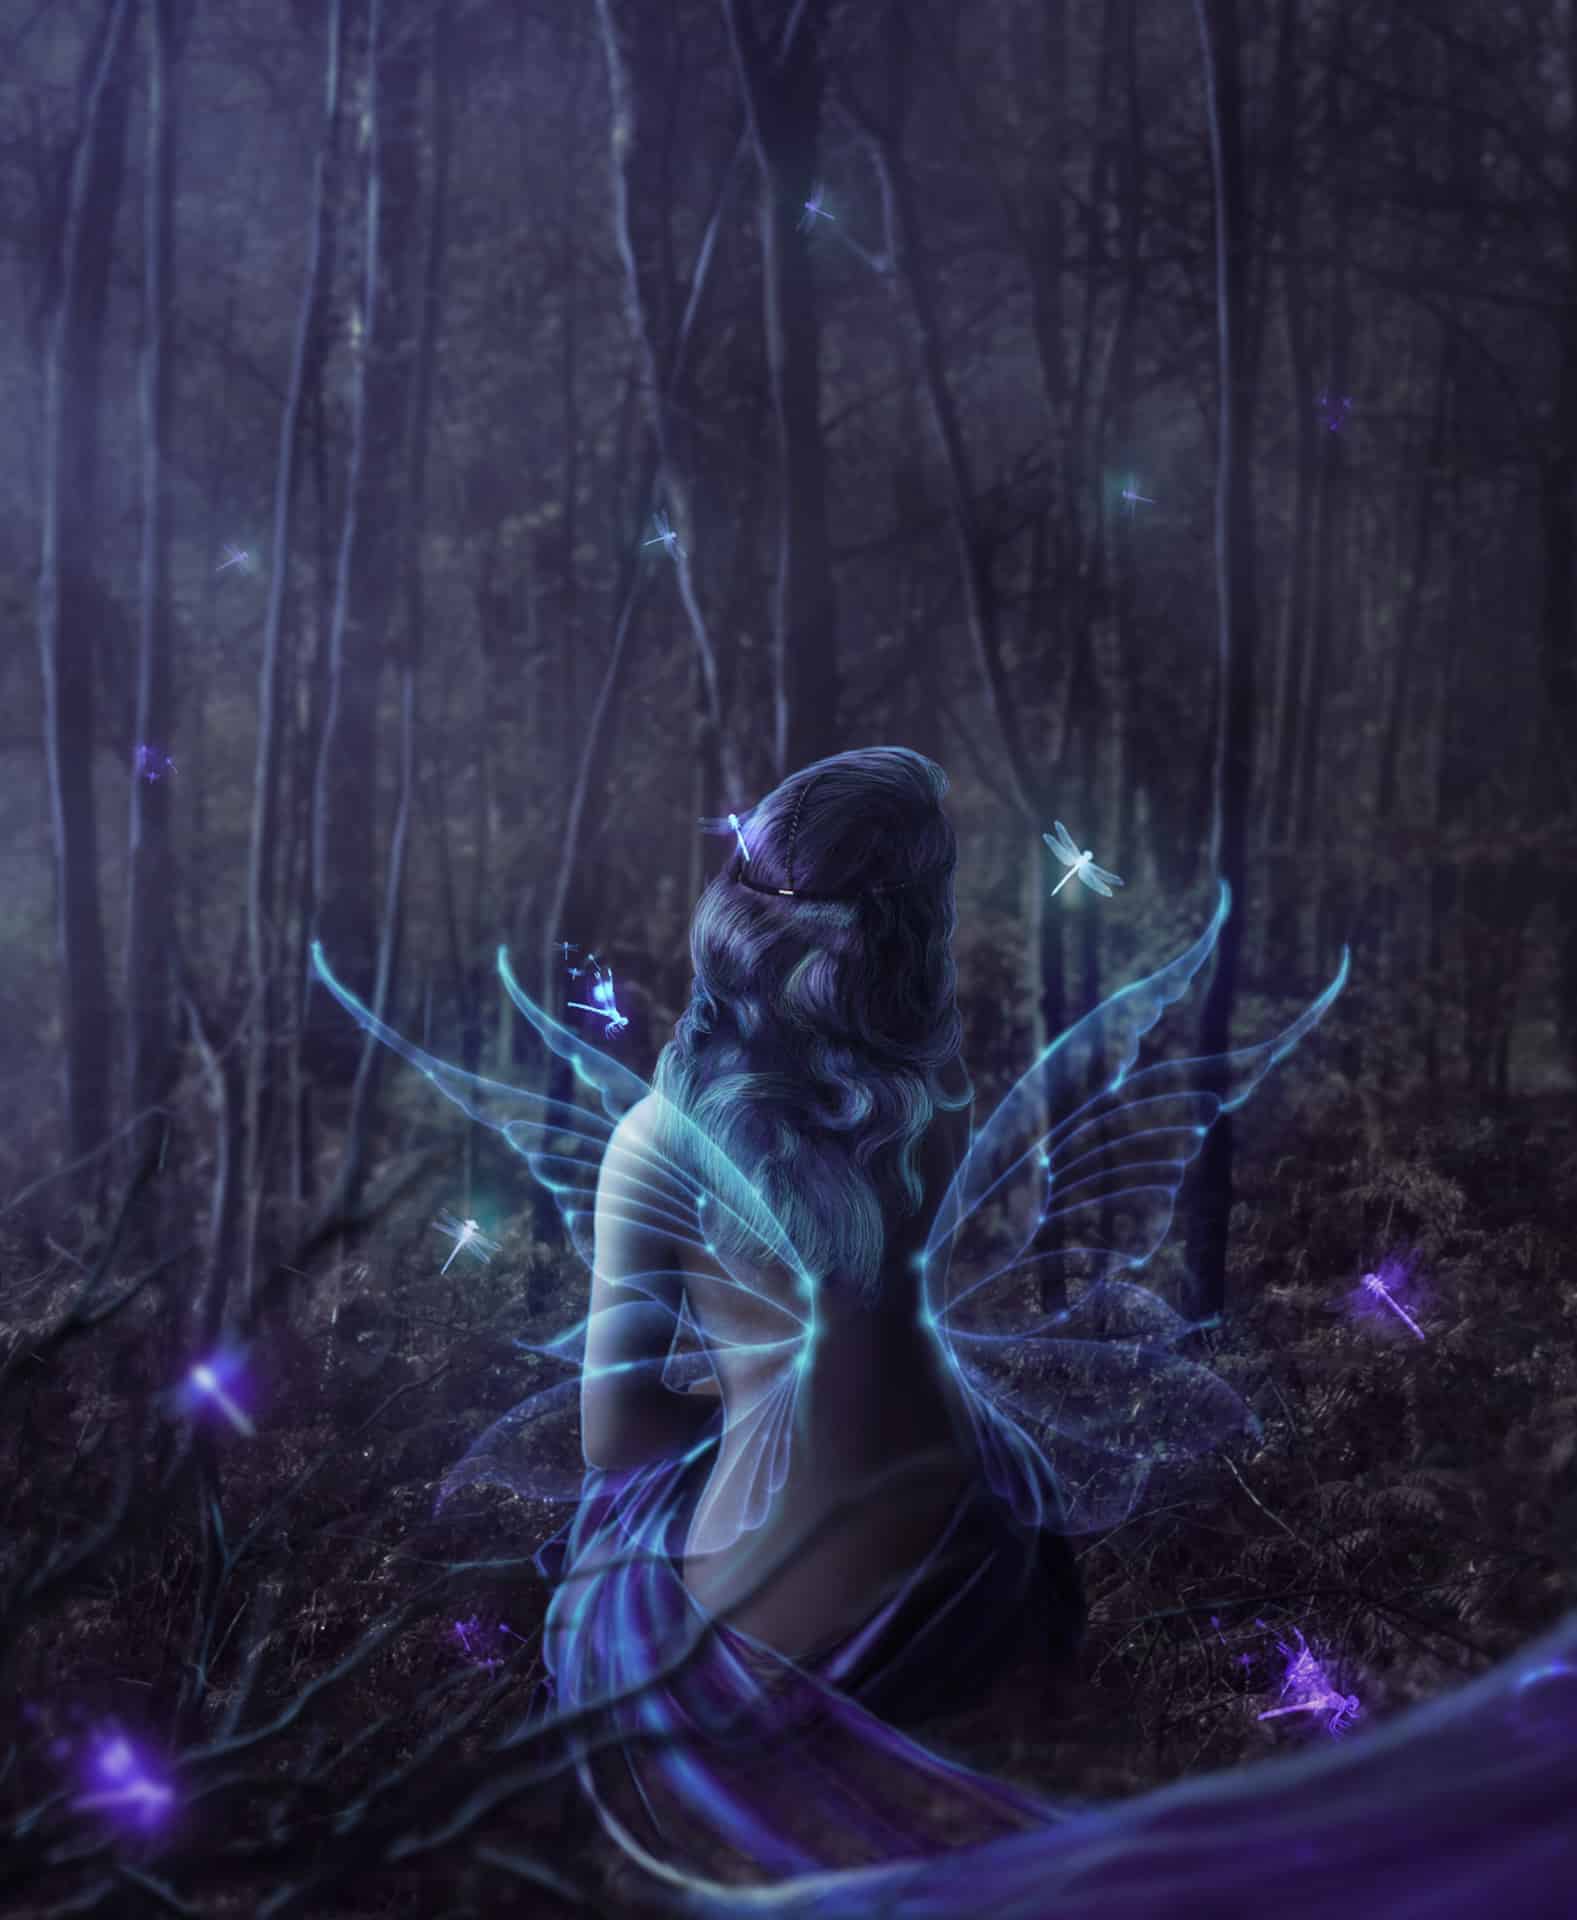

Learn how to make this eerie photo manipulation with fairy and dragonflies flying around her. I’ll show you, how to make amazing depth of field on your manipulation by simple steps. You will see, how to use different blurs and blending modes on your work. You will learn, how to make magical glow in Photoshop. Throughout the tutorial, you’ll learn techniques that will help you create better matte paintings and photo manipulations.
What you’ll be creating
You will create magical photo manipulation – Faerie in the woods. I really love playing with the lights in this work. You will learn special lightning techniques and blurring tips. You will need Photoshop CS 5.5 to follow this tutorial.

Tutorial Resources
- Deep Forest– rgbstock
- Burst of light– rgbstock
- Dragonfly Brushes– Gothic11shadow
- Fae wings stock– Leaush
- Oracle stock 9– Charligal Stock
- Dead tree png– GD08
- LAV Flutter Pack Blue 01– Geoectomy Stock
Step 1
Create new file. Use portrait size.

Step 2
Place “Deep Forest” stock into your file.

Step 3
From top menu choose Set it to 2,8 px.

Step 4
As you can see, you can mask filters on your layer, by clicking white canvas next to Smart Filter Title. With big soft brush mask center of the ground. Don’t be afraid to use brush with smaller opacity. You can obtain true depth on your work! :)

Step 5
Duplicate your “Deep Forest” layer. Click RMB on Smart Filter title and choose Clear Smart Filters.

Click with RMB on your layer. Then choose Rasterize layer.

Step 6
From top menu choose . I used this settings, but you can play with it, for gain other results :).

Step 7
Add mask to created layer (marked shortcut). Erase foreground and some trees on first plan.

Step 8
Decrease opacity of this layer to 35%.

Step 9
Now you will prepare your background to make night. Add Adjustment layer with Color Balance and set as is shown.

Step 10
Add new layer (Shift + Ctrl + N). In your color picker set black and white. From top menu choose . I also make some black strokes on the bottom of the layer for better blending.

Step 11
For making foggy effect you should change blending mode to Screen and decrease opacity to 22%.

Step 12
In the night everything have less contrast, than in the day. Add adjustment layer with Brightness/Contrast and decrease contrast.


