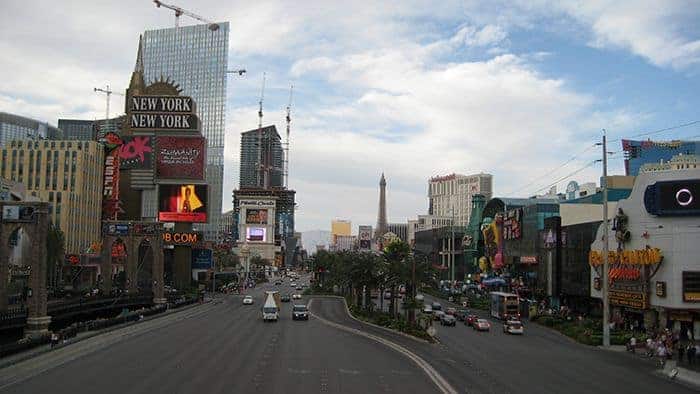
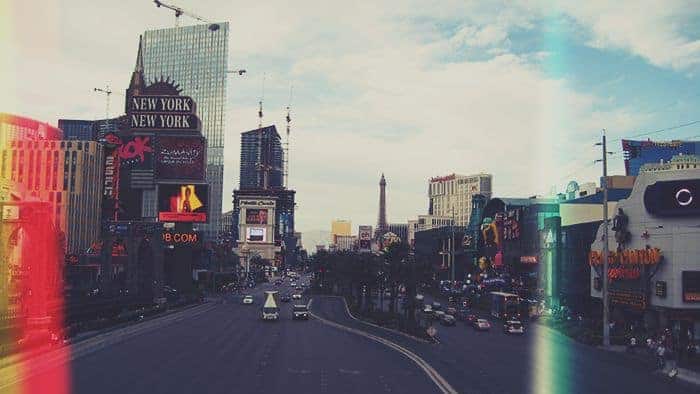
Make your professional photos look like it was taken with a cheap camera! These amazing Photoshop actions by SparkleStockwill give your photos the increasingly popular faded film effect whether you like it or not. There are 12 ultra faded film effects + 12 light leaks and they’re all created using adjustment layers – this means all layers are fully editable and nondestructive. Download and try them out today!
Ultra Faded Examples
These faded film effects are popular with many wedding and portrait photographers. They work great on high-contrast photos and they’re useful whenever your clients want the the retro/film look.


With the right effect, you can change the mood of your photo. Although the faded film can look drastic, they’re actually created with only 1-2 adjustment layers to give you the maximum dynamic range and image quality.


These faded actions can be used to make your photos more nostalgic. We found some of the light leaks to be too strong but you can reduce the opacity of it or reposition the light leak.


11 responses to “Freebie: 24 Ultra Faded Light Leak Photoshop Actions”
-
Hello, I downloaded the Lite version for now, but cannot run it. I double-clicked on both *.zxp files but the only thing that happens is another winrar window opening with no *zxp file this time. Could you please give me a tip on how to proceed? Thanks a lot
-
Try doubleclicking on the ATN file instead. The ZXP file is for Adobe Extension Manager.
-
-
Very inspiring! Keep up the great work.
-
Impressive Work…Love it.
-
Hello!
This is probably a dumb question but I can’t seem to reposition the light leaks, and it’s driving me crazy. Help?-
Hi Kelsey,
Not a dumb question at all! There’s two ways to doing it:
First way: Select all of the light leak layers then go to Layer > Convert to Smart Object. Now you can reposition the light leaks.
Second way: Double-click on each of the light leak layers (starting with the bottom layers first). This will open the Gradient Editor to which you can drag anywhere on your image/canvas to reposition the gradient.Hope this helps!
-
-
thx!!!
-
I don’t know why but adjusting the opacity to 90% looks about the same but with more details.
-
ngarm
-
The before picture of the couple looks better. It’s overly faded make it 50% opacity and it’ll be good. The second picture of the cityscape is a perfect example. Third picture is fakish but can be better. The last picture is precisely what KUSHANDWIZDOM does lol.
-
Not a huge fan of the light leaks but the ultra faded looks are amazing. Nice stuff!


Leave a Reply to noy tkCancel reply