3. Tidy up a face
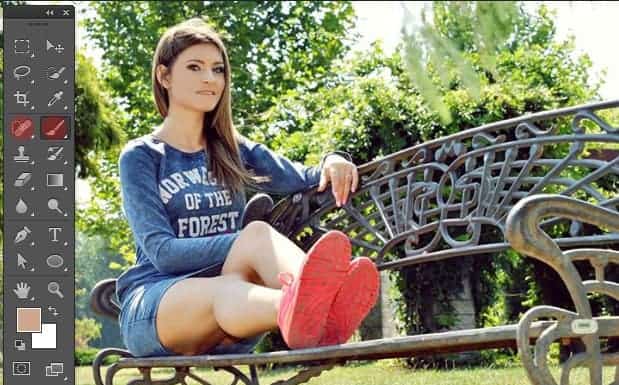
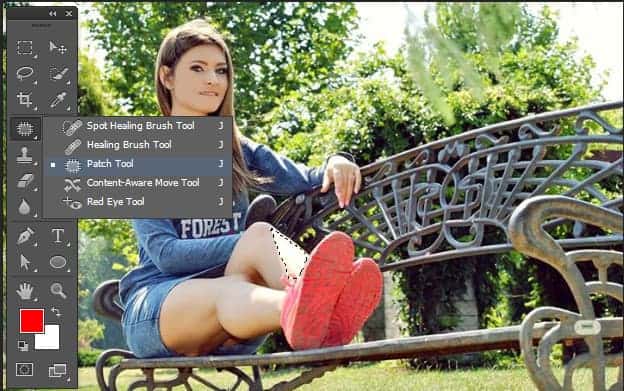
There are three tools that any pro retoucher would be lost without: the Spot Healing Brush tool, the Clone tool, and the Patch tool. Used in combination, they can clean up marks, scratches and spots in seconds.
In CS6 and above, the Patch tool has been given a massive boost with a Content-Aware option.
This makes it similar to the Content-Aware Fill command, but the tool is more useful for retouching, What’s more, as with the Clone, Spot Healing Brush and Healing Brush tools, you have the option to Sample All Layers, which means that all your patching, cloning and healing can be done on separate layers.

4. How to remove hot spots
You know those shiny parts you sometimes see on a person’s face where bright lights are reflected?
They’re called hot spots. Not only are they distracting, they can also make a person look sweaty, even when they’re not. Nobody wants to look like a Sweaty Beauty, but If we remove the hot spots completely we’ll lose some of the shimmer that helps to define the face.
The solution is to tone them down with a combination of the Patch tool and the little-known but very useful Fade command.
Duplicate your layer then grab the Patch tool, if you’re using CS6 or above, choose Patch: Normal in the Options bar, then make a rough selection around the hot spot. Drag the selection to a clean area of similar tone to remove the hot spot completely. Next, press Cmd/Ctrl+H to hide the marching ants, then go to Edit >Fade Patch Selection (or press Cmd/Ctrl+Shift+F) and lower the Opacity to about 40% to reveal a toned-down hot spot.

5. Change Body Shapes
Every portrait photographer knows there are certain things you can do to make a person look slimmer.
For example, getting a person to lean forwards or shooting from slightly above the face will reduce double chins, crossing legs while standing or making an L-shape with the feet will lead to a more forgiving body shape, and shooting into the ‘dark side’, i.e. having your light source behind and to the side (see the image) will make a face appear thinner.
I know it’s a touchy subject, but slimming with Photoshop is just another method for making a person look their best. I’m not talking about huge shifts in body shape, but a few quick nips and tucks to reduce bulges, shrink chins and trim flab. The best tool for the job is the Liquify tool. It’s very easy to master.
8 responses to “10 Tips and Tricks for Retouching in Photoshop”
-
Really outstanding. I’m glad to be here and I’m really happy to place this as a resource like it. Once again very helpful.
-
Great Job! Nice tips as well.thanks
-
Good read.
-
Very creative and useful tips….
-
Very creative tutorial……..
-
Good tips to follow and get results.Thank you.Can learn some new tricks.
-
Nice tips as well.
-
Very nice tutorial. I usually try and do these minor things myself, but often times end up messing with the photo more than a couple of times.


Leave a Reply