
Luminar AI lets you turn your ideas into reality with powerful, intelligent AI. Download the photo editor and see how you can completely transform your photos in a few clicks.

Step 4
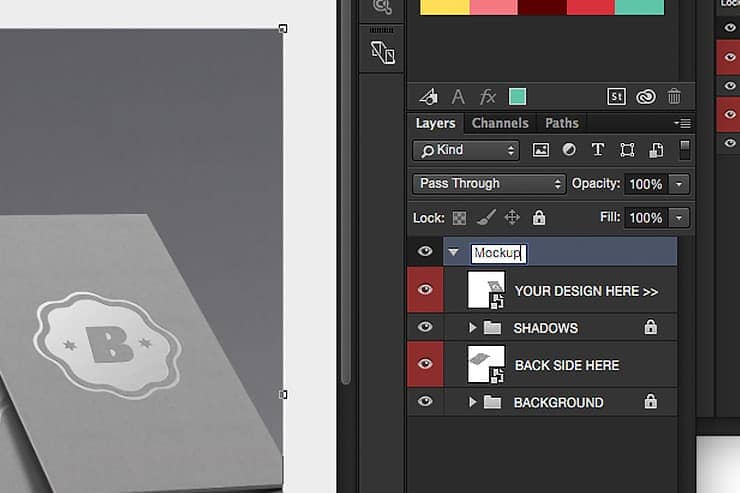
Now let's rename this artboard to help keep our project organized. Double click the section in the layers panel that reads 'Artboard 1' and rename it 'Mockup'
Step 5
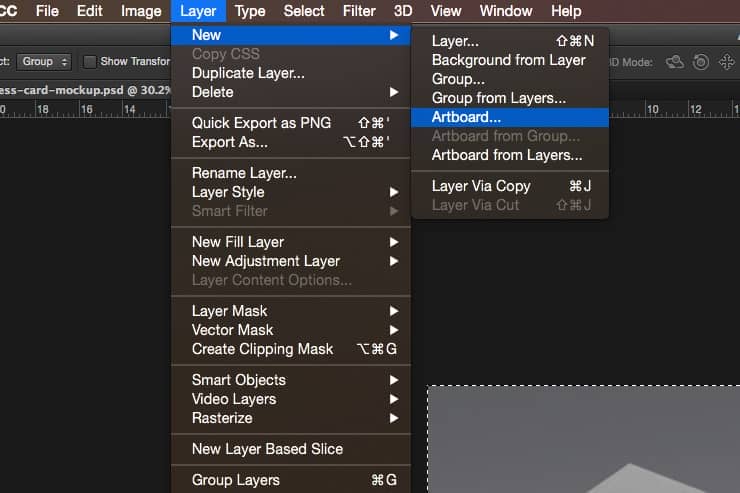
Now we'll need to add two more artboards for the front and back design of the business cards. Because Business cards have more specific requirements, we will add these artboards using a method that gives us a little more precision. Click Layer > New > Artboard...
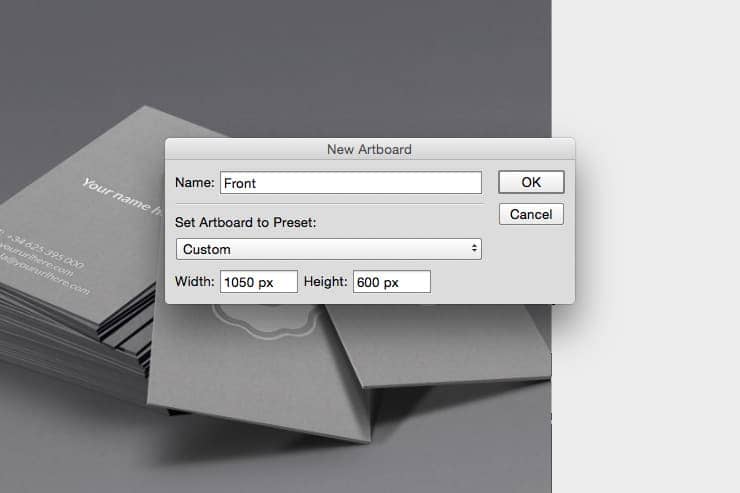
Step 6
Let's name this artboard 'Front'. Business cards are usually 3.5 in x 2 in, and since we'll be printing this, we'll want it at 300 dpi. If we multiply that out, we'll get 1050px x 600px. Set this artboard to 1050px wide by 600px tall.
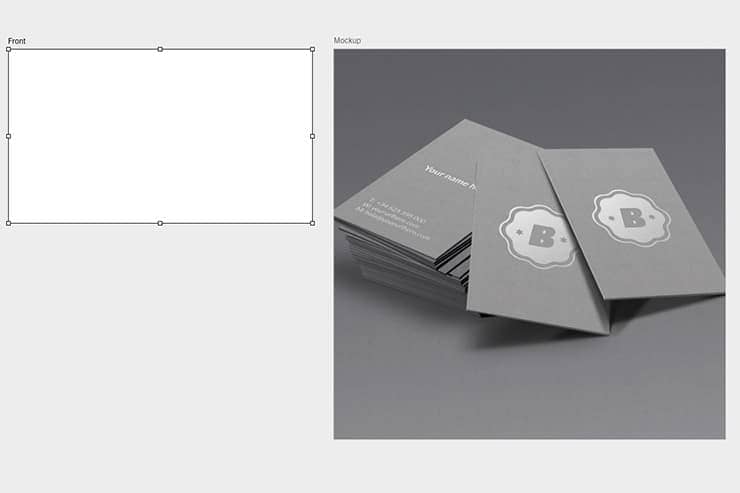
Step 7
After you create a new artboard, the artboard tool is automatically selected. With the artboard tool active, you can drag and scale artboards the same way you can transform layers with the move tool. Drag your newly created artboard somewhere where it won't overlap with any others.
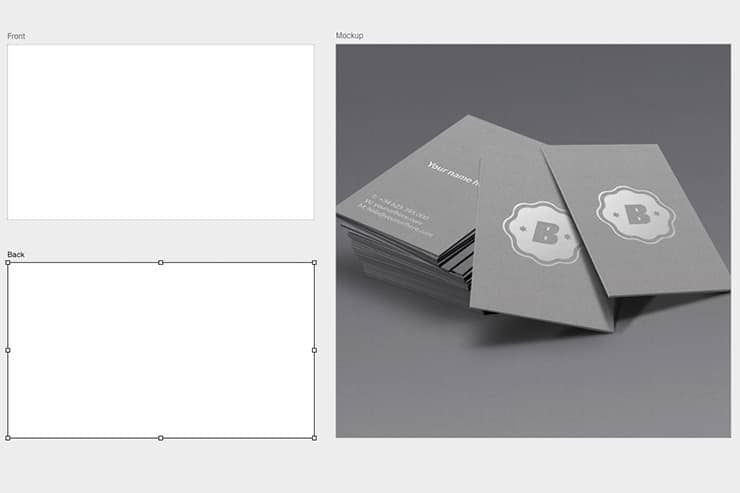
Step 8
Repeat steps 5-7 to create the back artboard. This time, name the artboard 'Back'.
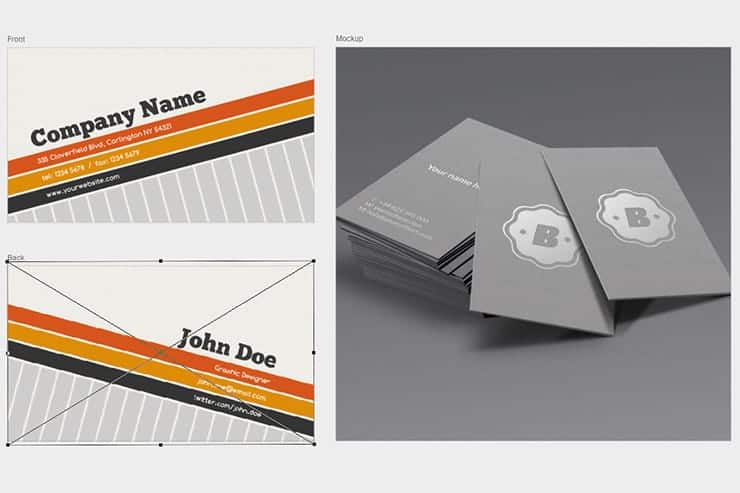
Step 9
You can now begin designing your own business cards within these artboards, or you can use the templates supplied at the beginning of this course. To add the supplied template, simply drag the downloaded PSD file into the corresponding empty artboard area (06-Front.psd to the 'Front' artboard, etc.). Center the template with the artboard, and push return to apply it. You'll notice that the content is automatically clipped to the size of the artboard.
Step 10
Once you've edited your templates and the mockup, it's time to export your files. Before artboards, we would have had 3 separate photoshop files that we would have had to export individually. With artboards, Photoshop will export each artboard a separate image. Click File > Export > Export As...
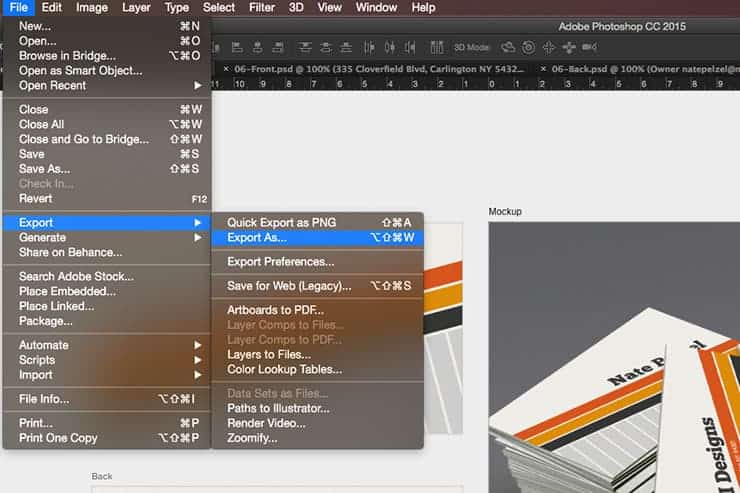
Step 11
You'll see the new artboard export menu pop up. It lists your artboards in the column on the left, and the export settings on the right. The default settings are usually fine. Click 'Export' on the bottom right to export your images.
5 comments on “Working with Photoshop's New Artboard Feature”
Good one
Great. Artborad giving you an infinite canvas
Can this be done in CS5?
Hey Terry,
Artboards are a brand new feature in CC 2015, so, this cannot be replicated in CS5 :/ Sorry!
nice