Make skin look perfect in one-click with these AI-powered Photoshop actions.
Step 12
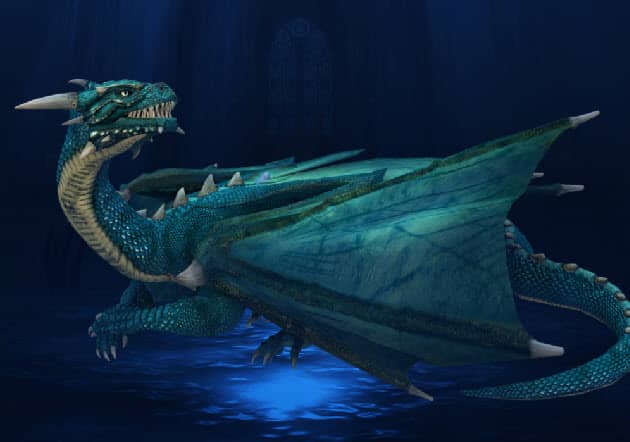
Create a new Levels Adjustment Layer and use the settings shown below to darken. Clip this layer to the dragon layer and fill the layer mask with black. With a white round soft brush at 90% opacity paint in the layer mask over the lower section of the dragon. Clip it to the dragon layer.
We are essentially correcting the lighting of the dragon layer – because the light will come from above we want the lower section more dark and the upper section lighter.
Step 13
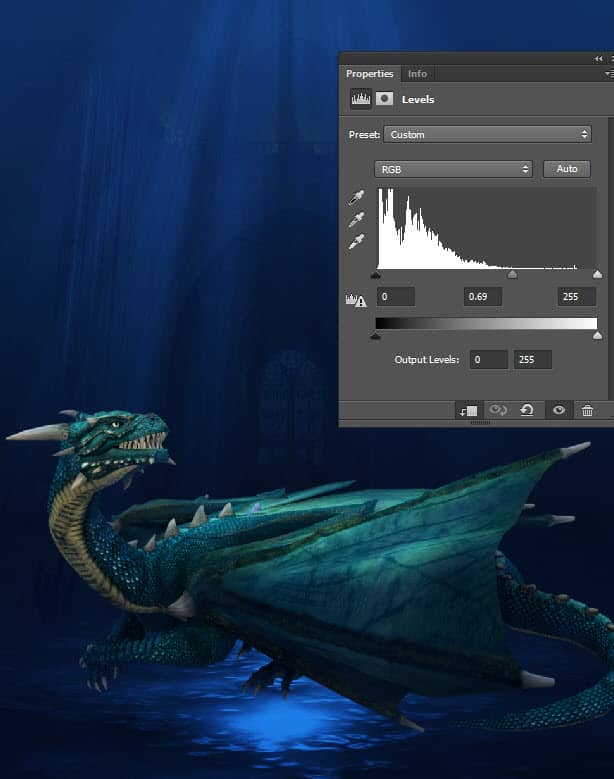
Let’s further improve the dragon’s lighting. Create a new layer and set the blending mode to Overlay. With a round soft brush at 20% opacity paint over the dragon’s highlights. Once you’re done paint with black over the existing shadows. Clip the layer to the dragon layer.
I used 3 layers to achieve the effect below (all of them set to Overlay) because I wanted to be able to delete a layer if something was not to my liking.
Step 14
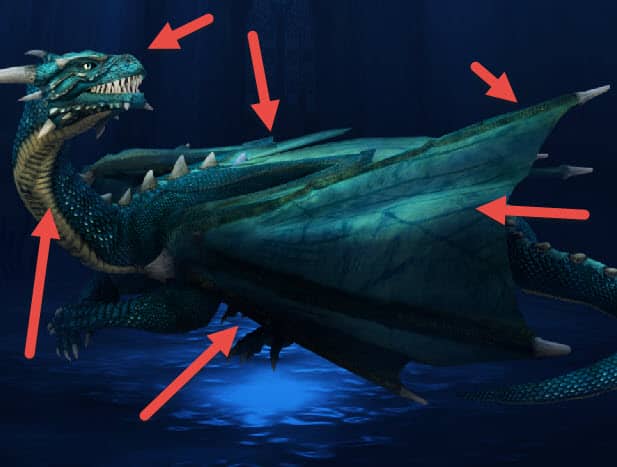
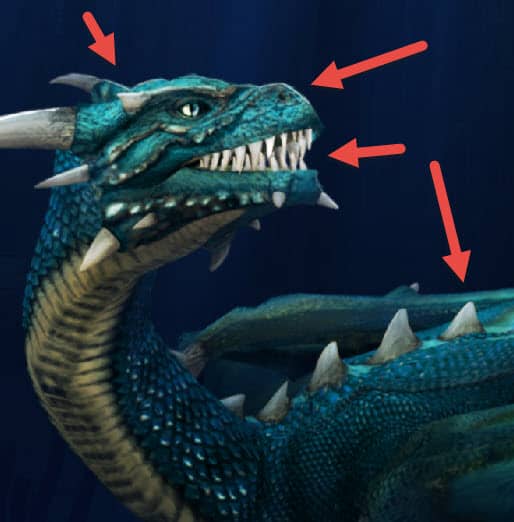
Create a new layer and set the blending mode to Dodge or Overlay. With the round soft brush at 80% opacity and 1px size paint some highlights on the edges of the dragon shape – especially in the upper sections. I also took the liberty to paint some highlights over the dragon’s teeth – he is supposed to be a menacing figure and white sharp teeth are a good way to express it.
Clip this layer to the dragon layer.
You should also paint some shadows on a new layer below the dragon layer – use a soft round brush at 50% Opacity.
Step 15
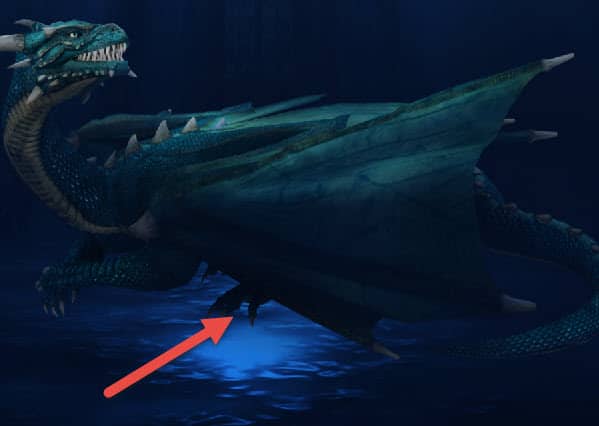
Ok, how do we go about blending the dragon with the scene? One obvious answer would be to lower the opacity but this will have the unwanted effect of the background scene showing through the dragon’s body. So we have to do it in another way.
Create a new layer but this time don’t clip it to the dragon layer. Sample a blue color from the background (#092046) and with the round soft brush at 20% opacity stroke repeatedly over the dragon – especially over the lower sections.
Step 16
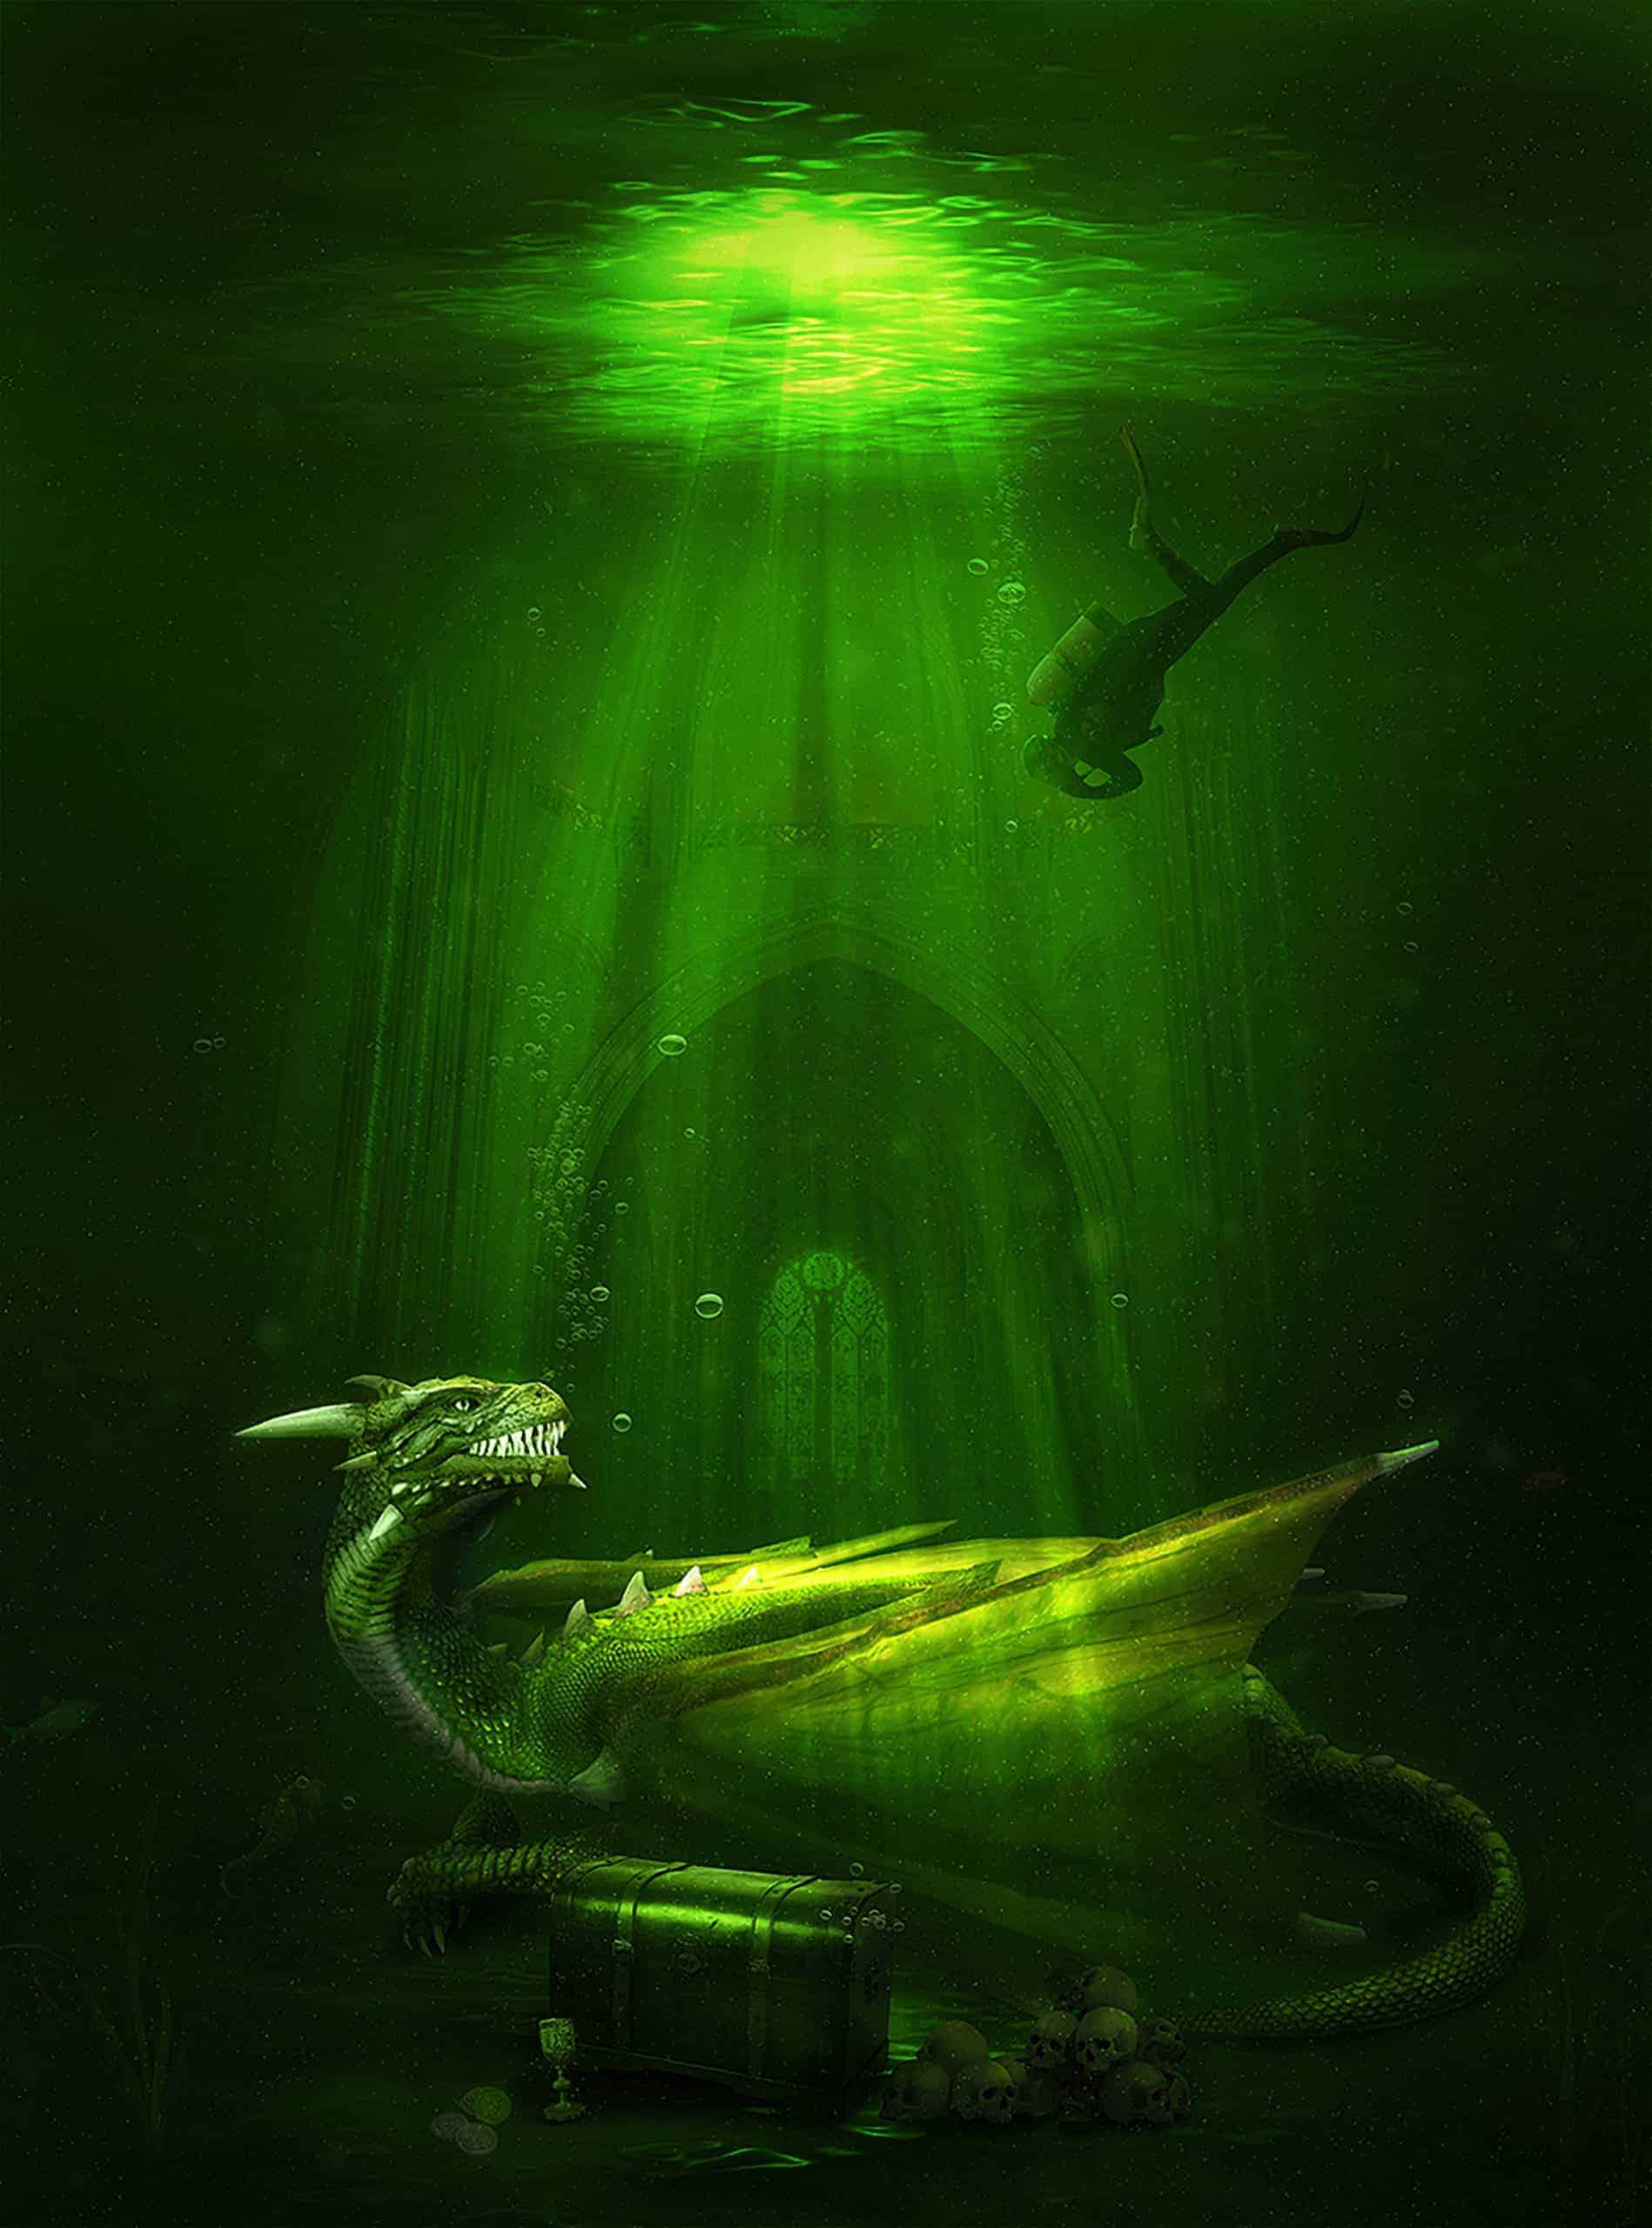
Let’s add the diver. Open the file “Diver” and make a selection of the diver with your favorite selection tool (you can use the Pen Tool to make a path around the diver and then Ctrl + Enter to transform the path into a selection). Copy and paste the diver into our scene and position him as shown below (with Fee Transform).

10 comments on “Create an Awesome Underwater Scene Depicting a Dragon and a Treasure Hunter”
The Cathedral image is broken. Pls fix otherwise great tutorial!
This is awesome !!This is SUPER helpful.I’ve been curious about this. Lovely tutorial too.
I love that end results. I am going to check those links now since some are saying they do not work.
Сегодня взялся за урок и дошёл до 15 шага. Спасибо большое:) Я человек простой из бедной семьи и потому скажу просто. Я балдею от урока!:)) Оставлю два варианта синий и зелёный, оба нравятся:)
Nice work.
That was awesome...I thought I knew most but I still picked up on a few things!
Simple things like Adding colour balance etc via the layers panel.
Thanks heaps!
Where can I post my version? Is it ok to put up on facebook?
Love your result but how do I access the materials to try your tutorial?
Thank you,
Интересно было бы поработать с этим уроком, результат красивый но исходники не работают.
Awesome article. Great content.
None of the image links are working..