Luminar AI lets you turn your ideas into reality with powerful, intelligent AI. Download the photo editor and see how you can completely transform your photos in a few clicks.

Step 10
Duplicate this layer and move it to the right a little. Use a layer mask to remove the rock at the left and lower the opacity to 40%:

Step 11
Add the rocks 2 images to our working document again and flip it horizontally. Move it to the top right of the image and lower the opacity to 20%.

The various opacities of the rock layers will add depth to the scene.
Step 12
To make the left rock (rock 1 ones) look a bit different from the right one, I used a rock part from the rocks 2 images. Place it onto the top of the rock:


Step 13
Open the rocks 3 images. Place it in the middle of the scene, between the existing rocks and lower the opacity to 20%. Set this layer under the rock 2 group.


Add a mask to this layer and erase the sea and the rocks at the two sides, leaving only the middle one visible:

Step 14
Drag the rocks 3 images again into our working document and lower the opacity to 30%. Use Cmd/Ctrl+T to transform it as shown below:

Use a layer mask to erase the hard edges and get a similar result below:

Step 15
Make a group for the rock 3 layers as done with the rocks 1. Use a Curves adjustment layer to darken the rocks and hide the details on them:

Step 16
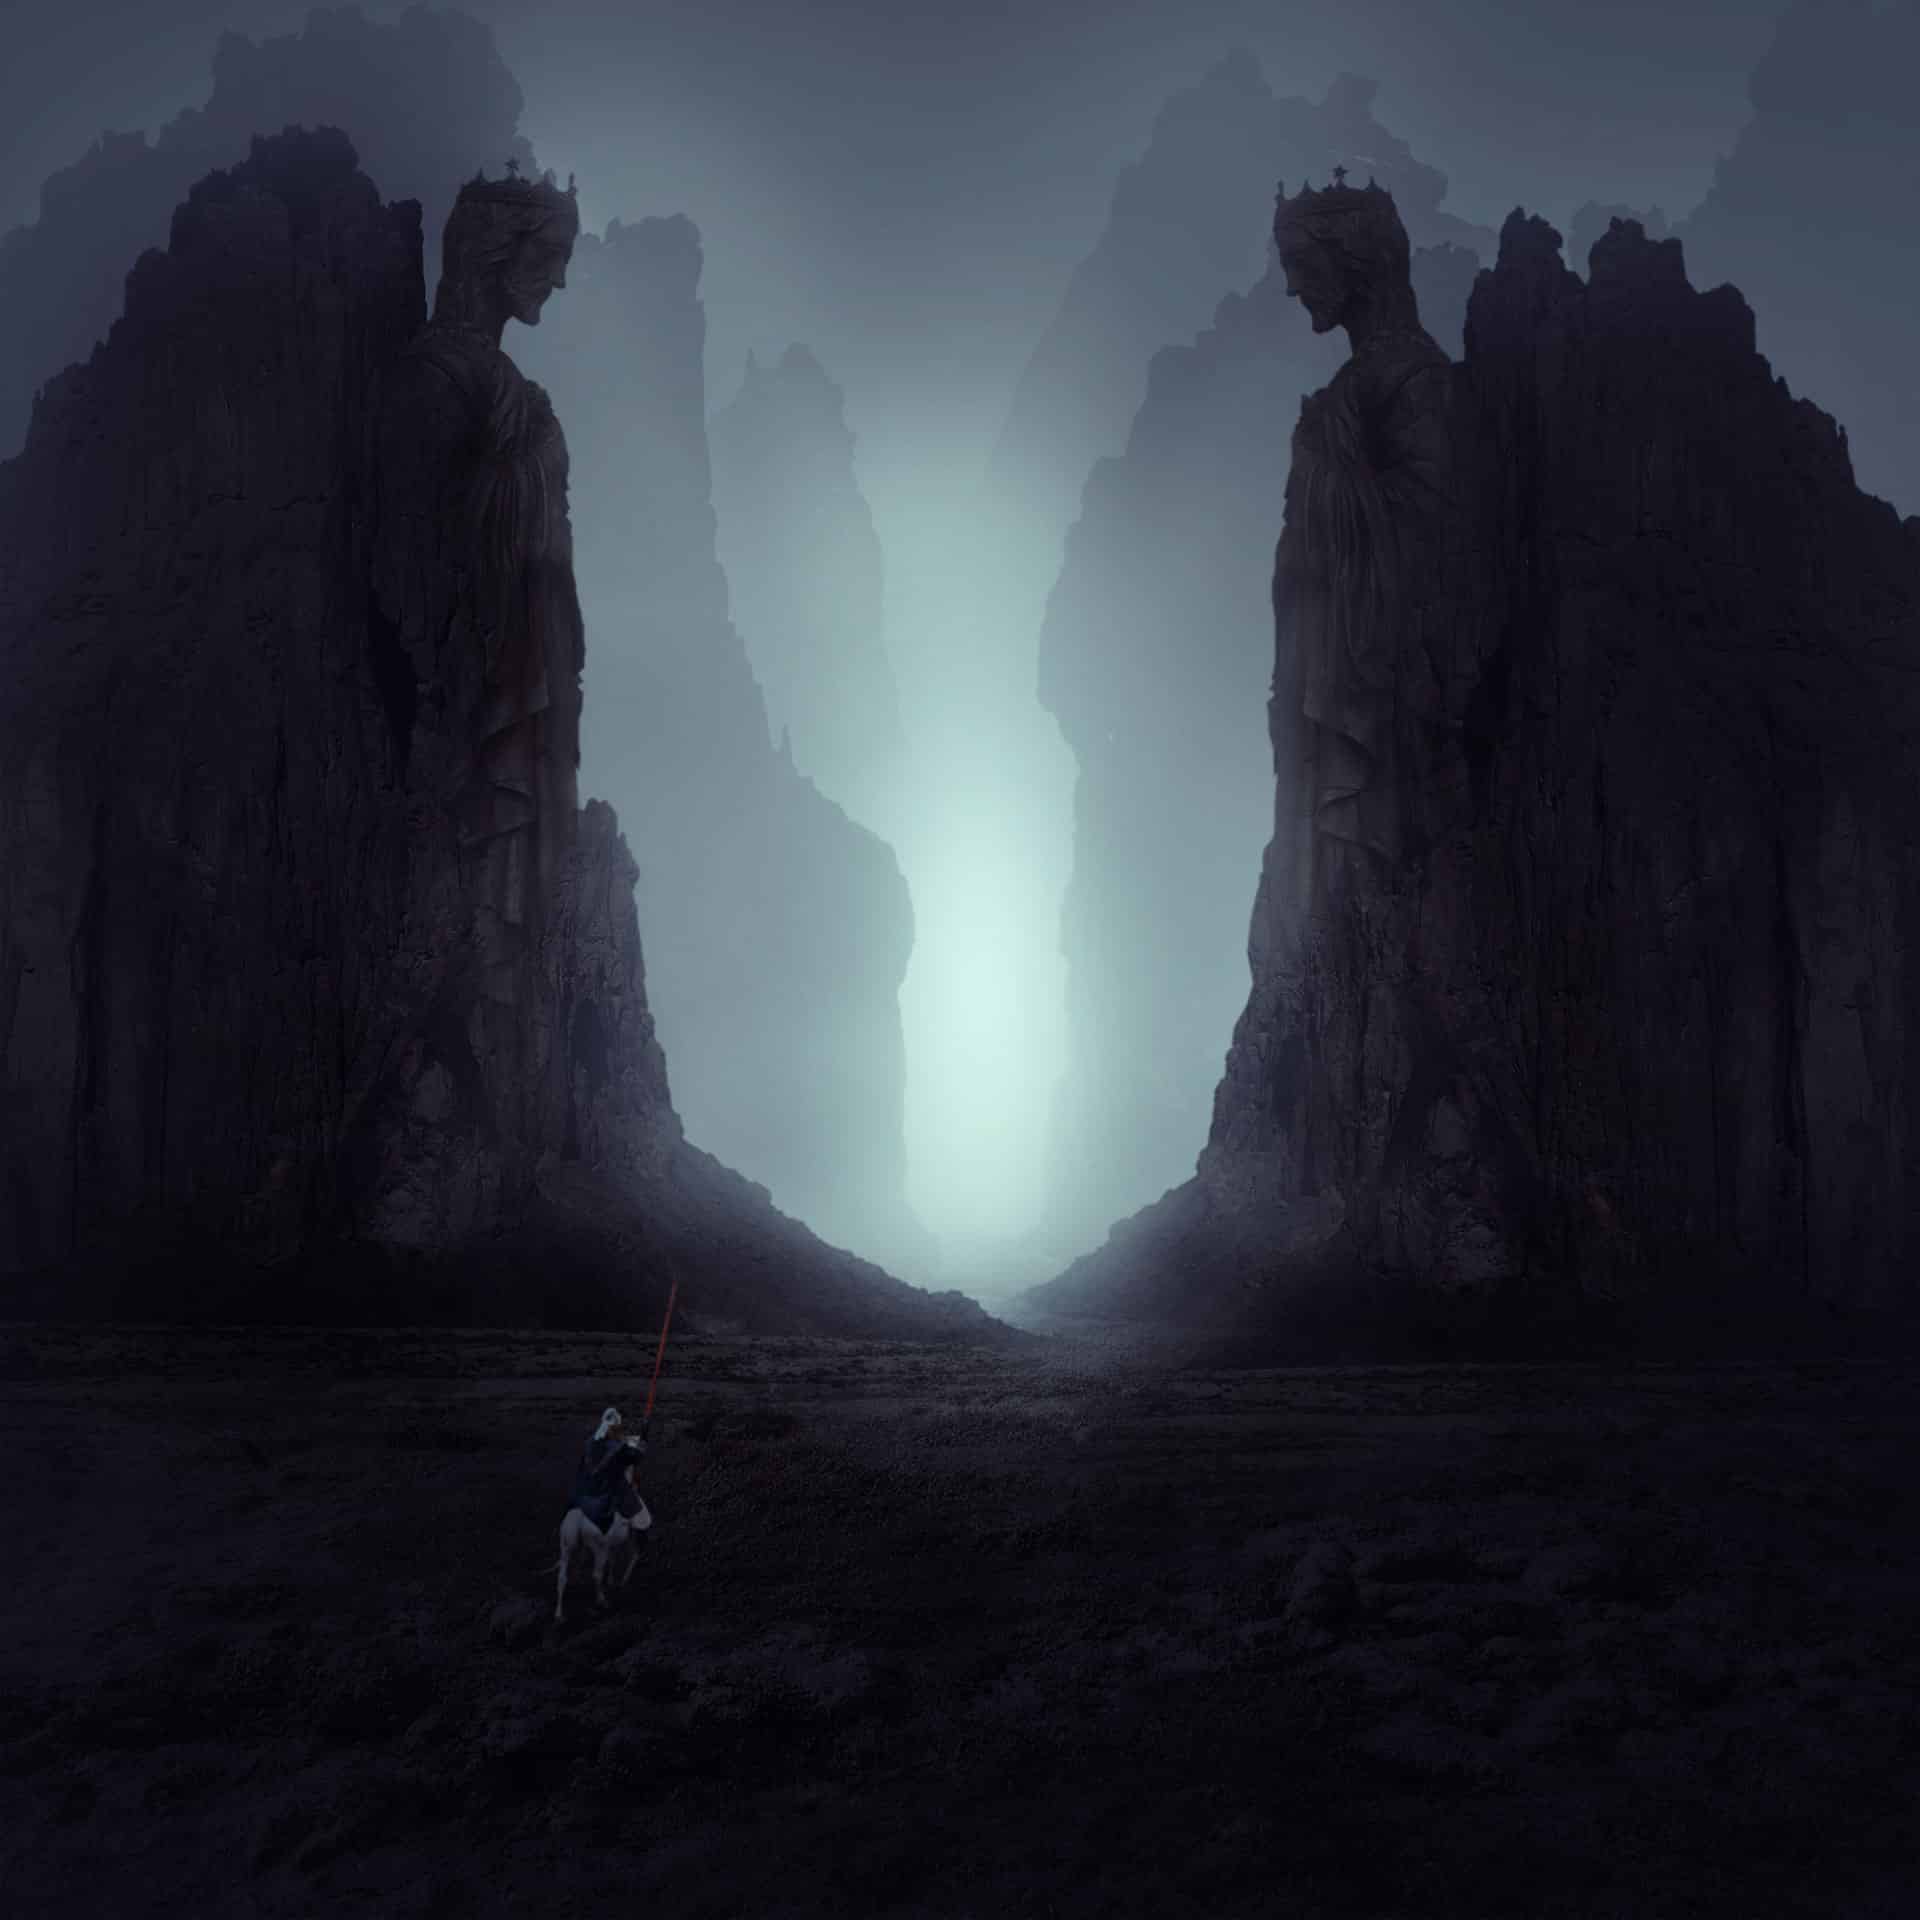
Place the statue onto the right rock and remove its background, also blend it with the rock using a layer mask:

Step 17
Duplicate this layer and flip it horizontally. Move it to the left and use a soft black brush to refine the mask to make it blended smoothly with the rock:

Step 18
Make a group for the statue layers. Use Hue/Saturation to desaturate them:

Step 19
Use Color Balance to add some red/yellow to the statues:

Step 20
Use a Curves adjustment layer to darken the statues and match them with the rocks completely:

Step 21
Place the knight image onto the ground and remove the background using a layer mask:

Step 22
Use Curves to darken the knight and on its layer mask use a soft black brush with the opacity about 20% to erase the lance:

Step 23
To add the mist to the scene, go to Layer > New Fill Layer > Solid Color and pick the color #a2a3a5:

On the layer mask, use a soft black brush to reduce the mist intensity on the ground and the area between the rocks. You can see how I did it with the layer mask and the result on the picture:


15 comments on “Create a Dark and Mysterious Landscape Matte Painting with Photoshop”
Awesome !!
LOVE that you used The Golden Circle; I was stationed in Iceland for a year, I've actually been there!
can anyone give me free download link of photoshop??
the neverending story
Tom Lambell-Brown
(photoshop tutorial) Click. Drag. Done.
this tutorial helps me a lot .. thank u <3
Who else loves this ?
Me!!
Nice tutorial.
Thanks to share this tutorial
Jenny, thanks once again for sharing your amazing vision. I have several of your tutorials and they are just fabulous. Best wishes for continued success!
Superbe magnifique ambiance
I like ??
Yes! :)
I like that