Turn any photo into a dot grid artwork with these Photoshop actions. You'll get great results with dots that change size. They get larger in brighter areas and smaller in darker areas. Free download available.
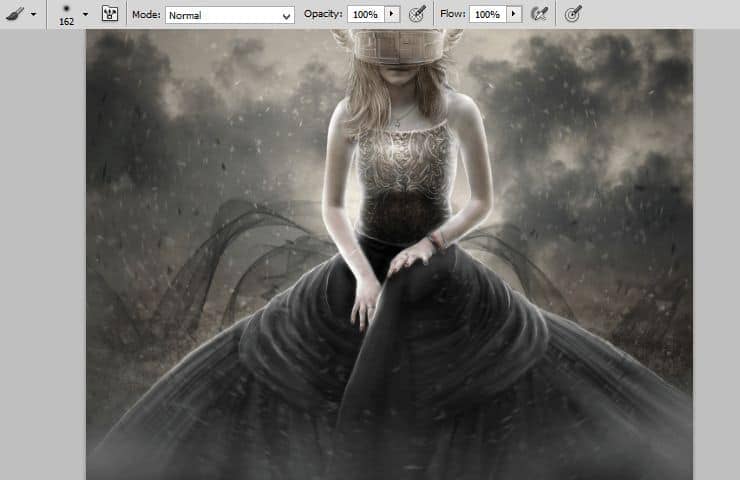
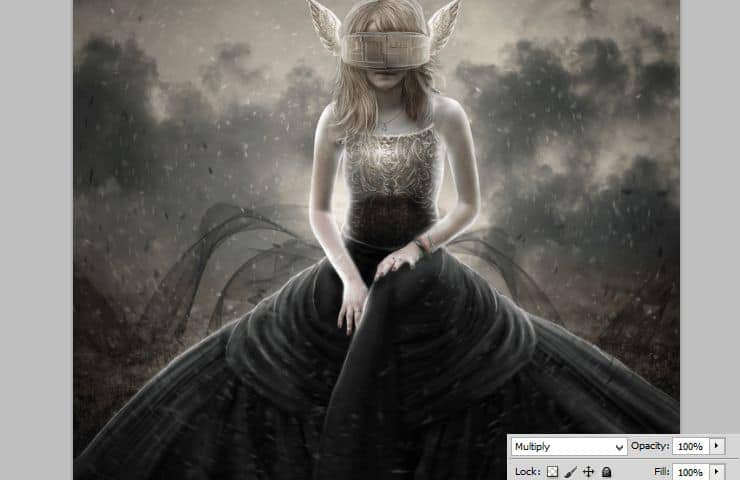
If you want you can change blending mode to Multiply - for darker mood on your work.
Step 57
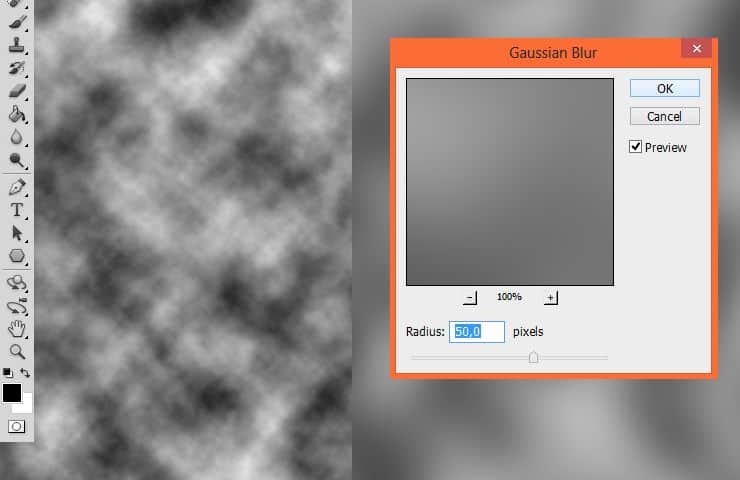
Create new layer. In color picker set black and white colors. From top menu choose Filter > Render > Clouds. Then choose Filter > Blur > Gaussian blur. Set it as shown.
Step 58
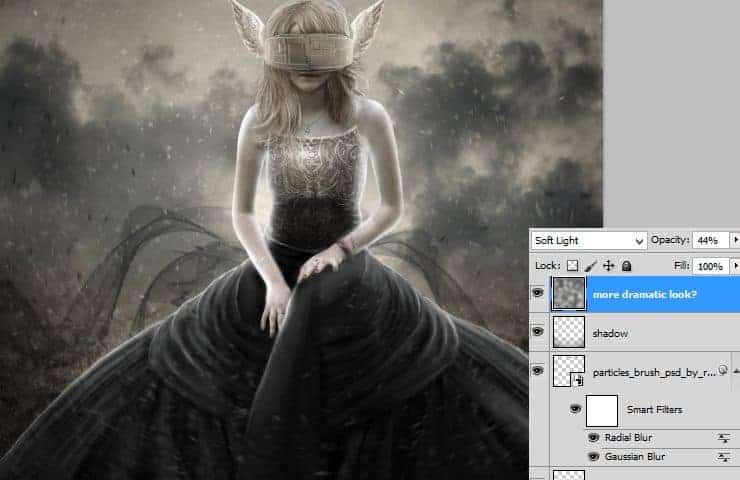
Change blending mode of created layer to Soft light and decrease opacity to 44%. It gives your image more dramatic look.
Step 59
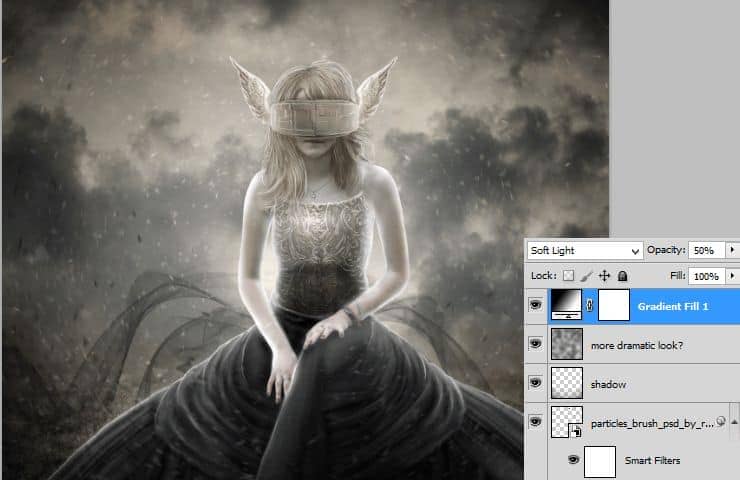
Create new adjustment layer with black and white radial gradient fill.
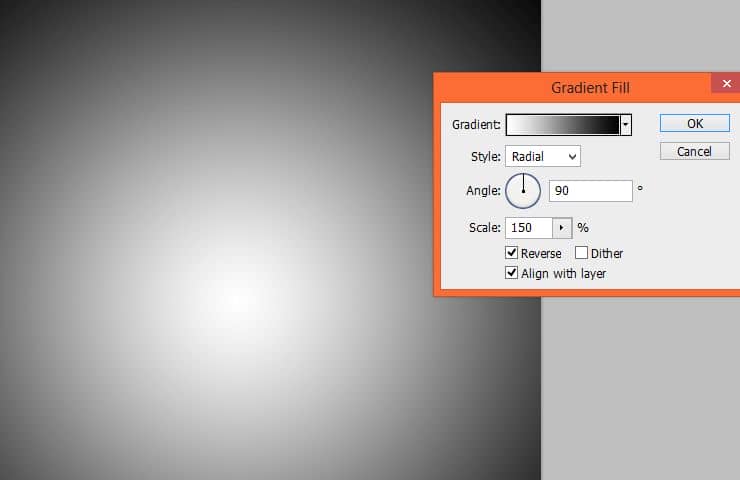
Then change blending mode and opacity to Soft Light, 50%.
Step 60
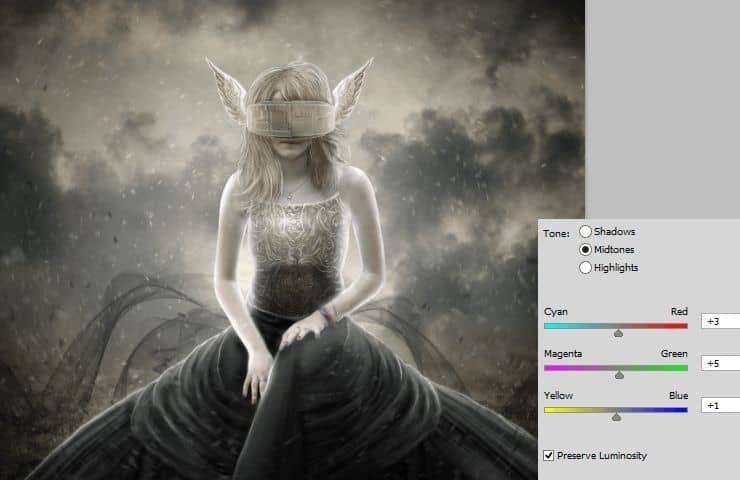
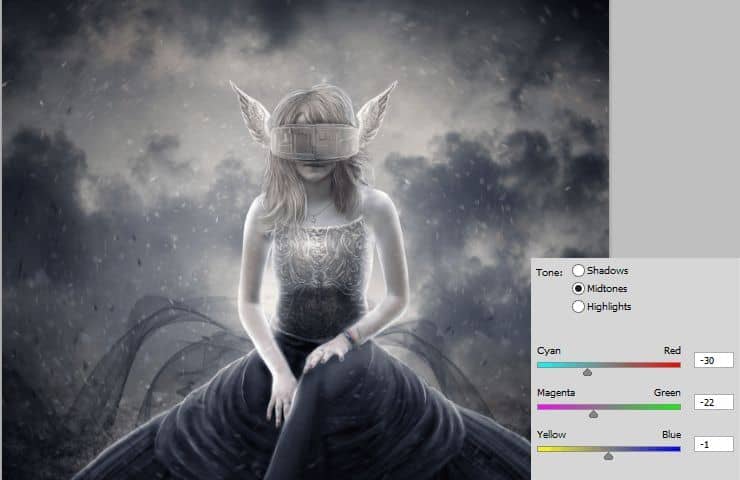
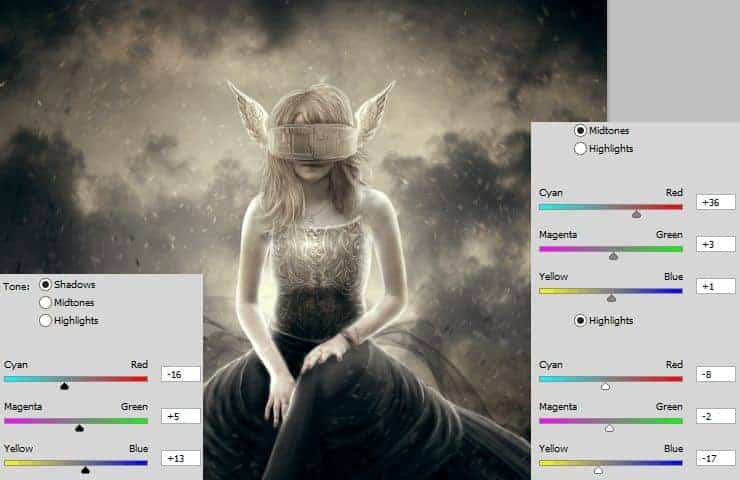
Now you can play with colors. Add Color Balance adjustment layer. In the picture are my settings.
Other capabilities:
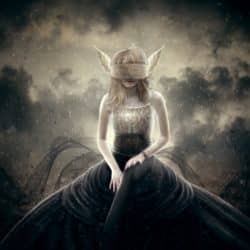
Final Results
![final-results[1] final-results[1]](https://cdn.photoshoptutorials.ws/wp-content/uploads/2014/06/finalresults11.jpg?strip=all&lossy=1&quality=70&webp=70&avif=70&w=1920&ssl=1)

 Thank you for following this template! You are amazing! If you like my art, like my
14 comments on “Create a Fantasy Photo Manipulation of Valkyrie”
Not sure about the mask, but everything else is pretty.
Where's the tutorial? I can see only a picture!
If you are using an ad or script blocker, please try using something else like uBlock Origin or temporarily turning it off. A couple ad blockers out there (including AdBlock Plus) incorrectly block parts of our website.
Cool Technique <3
Your photograph is perfect for Marie's clipping mask . . . beautiful.
Obrigado pelo turorial! foi um pouco demorado mas foi gratificante! ^^
ai está o meu trabalho: http://marloaugusto.deviantart.com/art/Gothic-Fantasy-by-Marlo-484732440
Nice technique. Really useful…thanks for the post…
good very nice
i need the black cloth plzzz
very nice
i need the black cloth plzzzz
gorgeous
Amazing tut! Thank you! :)
v nice monika