Turn any photo into a dot grid artwork with these Photoshop actions. You'll get great results with dots that change size. They get larger in brighter areas and smaller in darker areas. Free download available.
Step 24
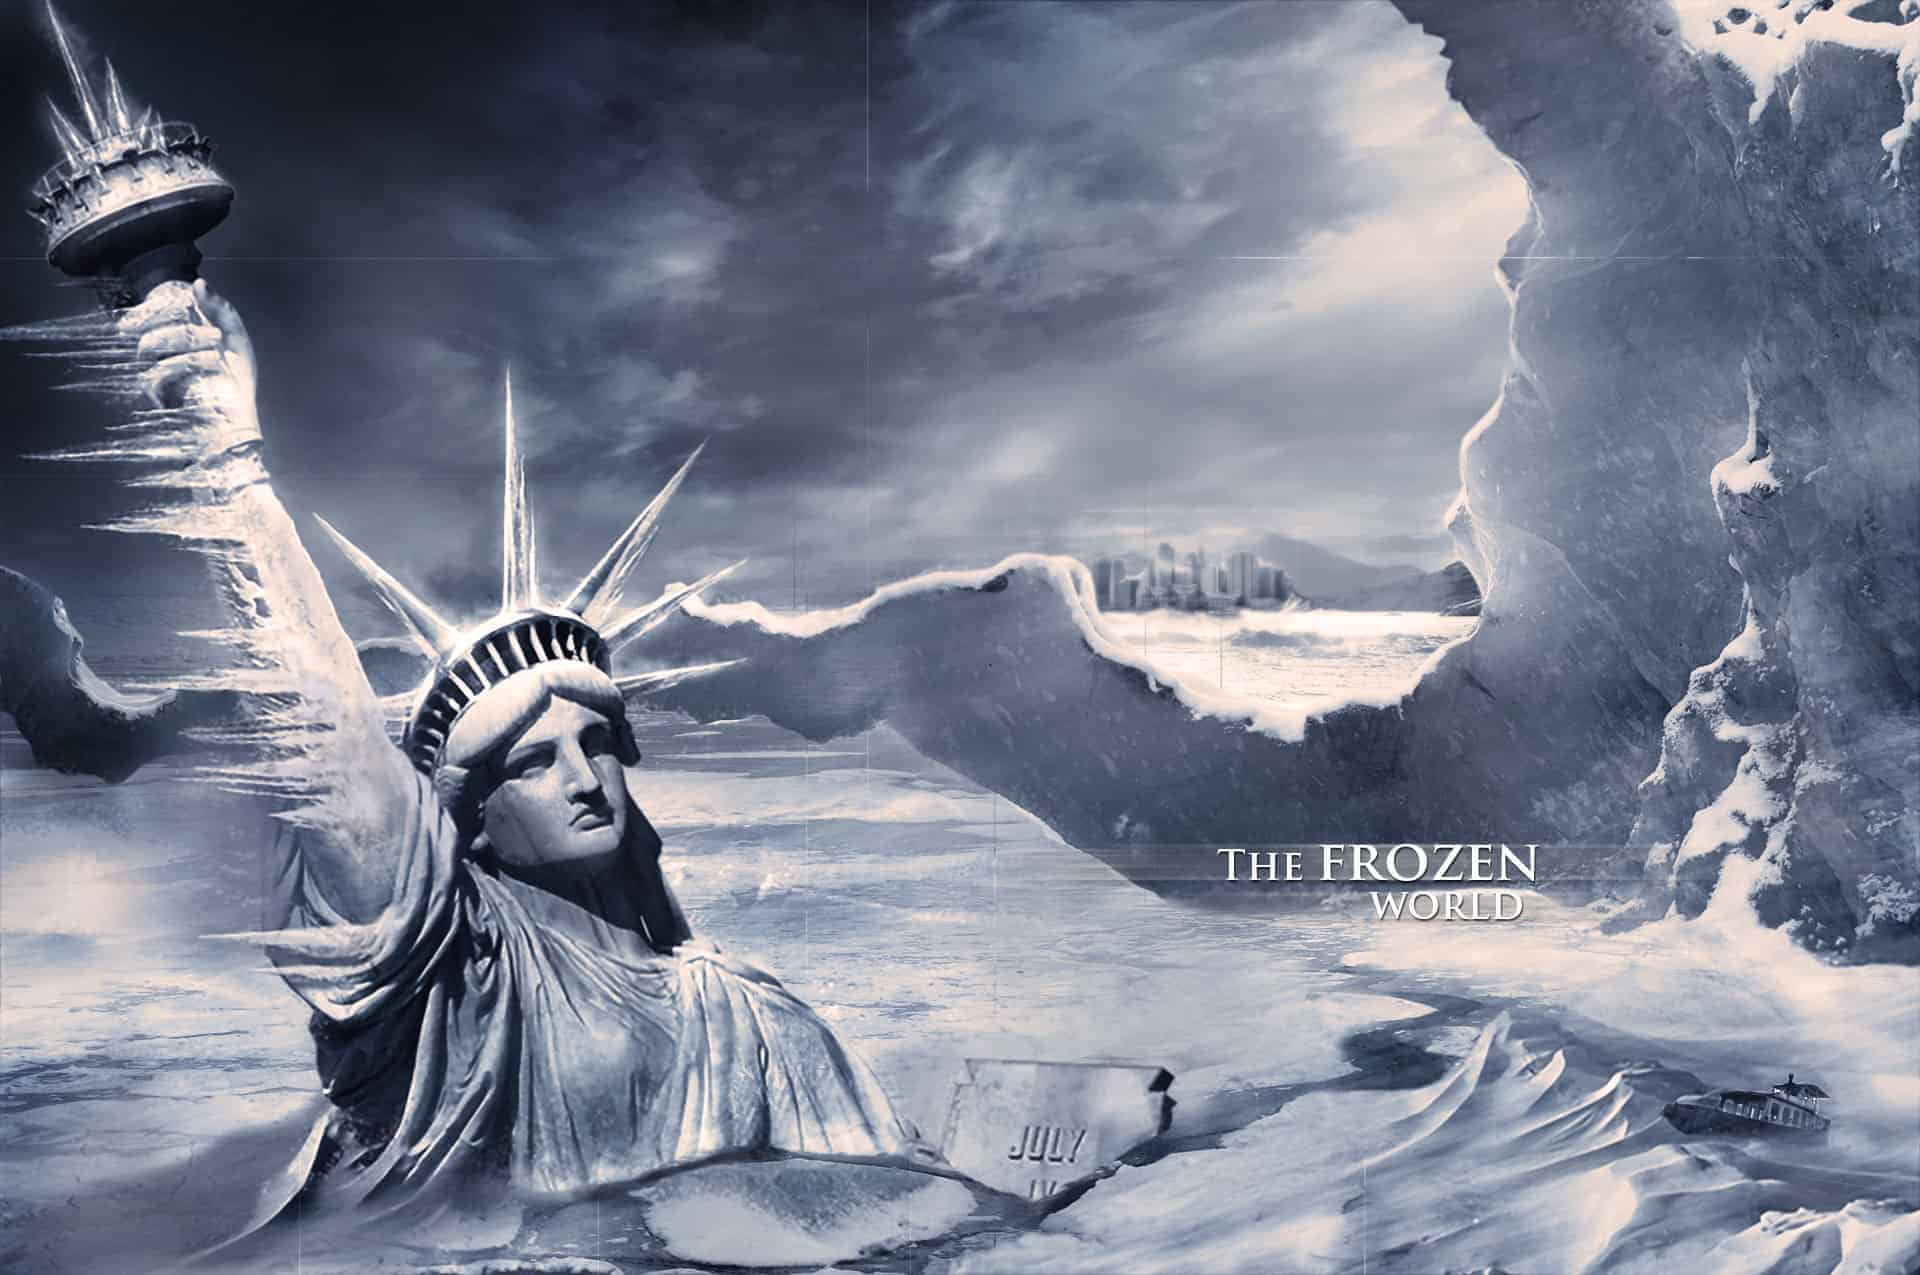
We will now add some icicles. Get the Icicles stock file and start cutting out independent icicles. Using the pen tool cut a couple of icicles.
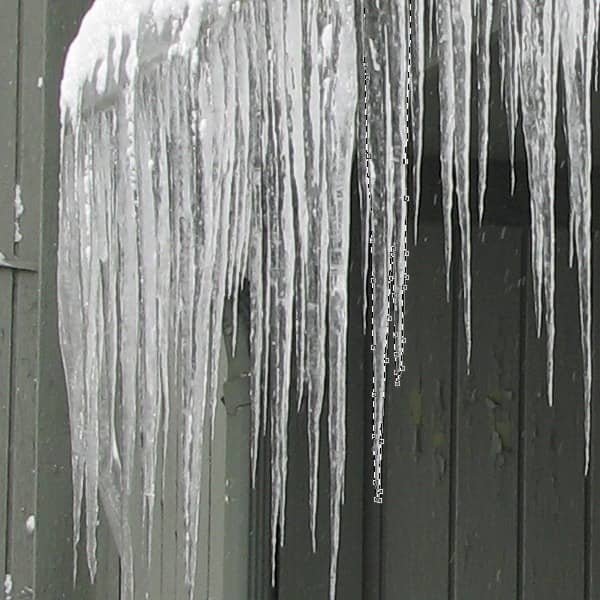
Step 25
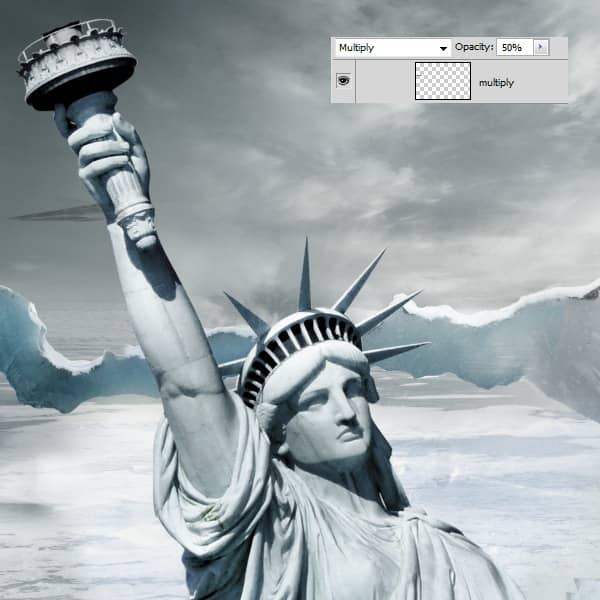
Position the icicle on the hand and put that layer on Multiply and set the opacity to 50%
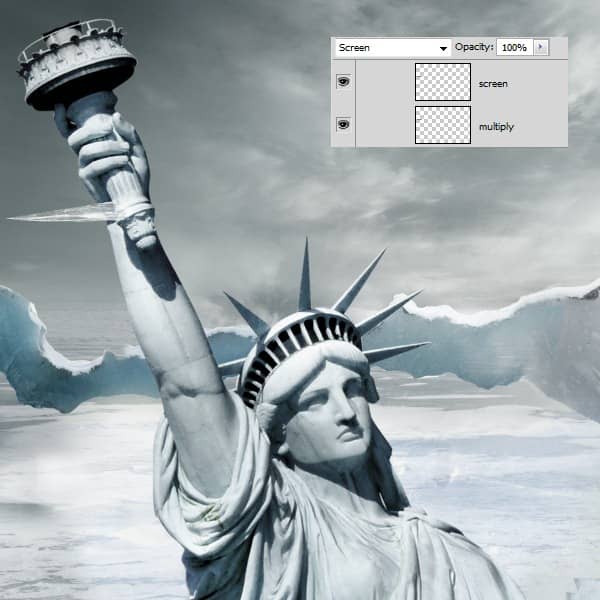
Duplicate the icicle layer (CTRL+J) and set the blending mode for the duplicated layer to Screen at 100% opacity.
Step 26
Group this two layers created at step 25 and duplicate the group a couple of times. Use Ctrl+T and make various transformations to the icicle until you have different size and shape icicles.
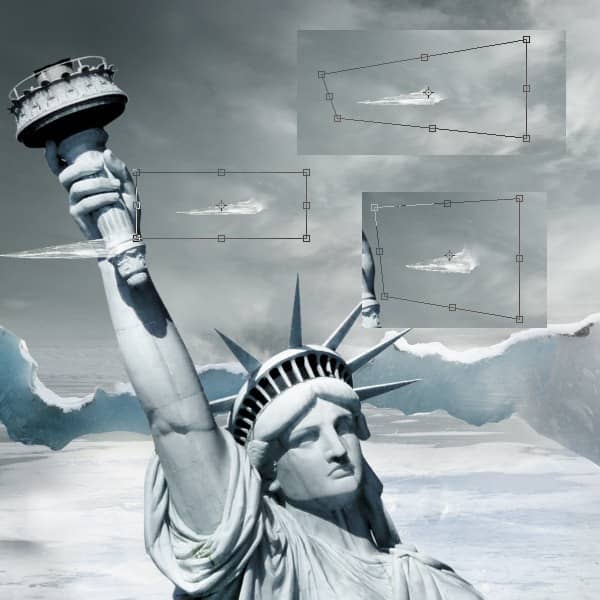
Arrange the icicles like in the image below.

Step 27
Duplicate some icicles and arrange them in a spiky formation to replace the fire.

Step 28
1) Cut another icicle from the Icicles stock photo and arrange it on the spike of the statue. 2) Set the blending mode to Screen. 3) Duplicate the this layer and leave the blending mode to Screen.
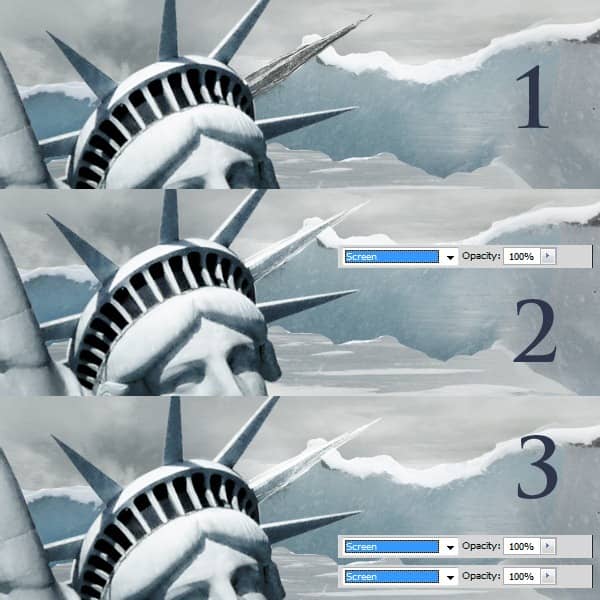
Group the two layers created above and duplicate this group. Transform this new group (CTRL+T) to make the icicle shorter and rotate it to fit exactly above the last spike on the right.

We will make this icicle look brighter. 1) Cut a group of icicles from our Icicles stock photo and position the icicle above the third spike from the right. 2) Set this layer to Overlay. 3) Duplicate this layer and set it on Screen.
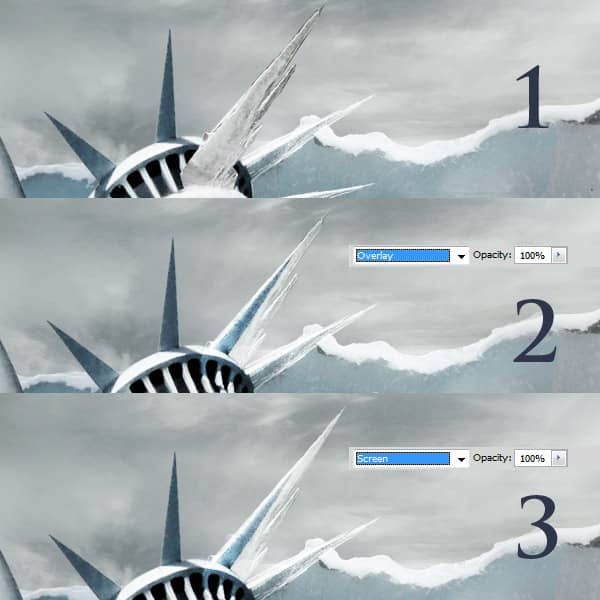
1) Group the two layers (CTRL+G) created above and duplicate the group. Flip this icicle horizontally and make it smaller using transform. Position it on top of the fifth spike from the right. 2) On a new layer make a white line using a sharp edge brush and another softer one near it like in the image below. This will add extra light on the right side of the icicle. 3) Position this extra light layer near the edge of the spike.
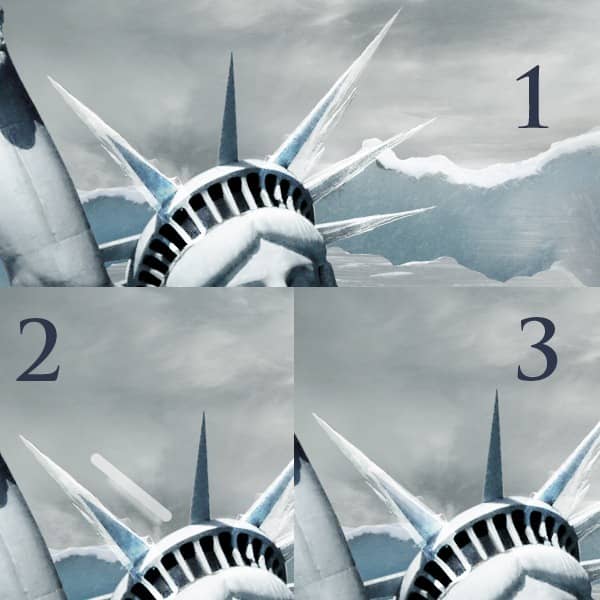
1) Cut another icicle group from our Icicles stock photo and position this on top of the middle spike. 2) Set it on Screen. 3) Duplicate the layer and set it on Overlay. 4) Duplicate again and set it on Screen. 5) I made a strong white margin for this icicle as well, using a very thin sharp edge brush. 6) I positioned the white line on the edge of the spike.

4 comments on “Create a Frozen Scene Inspired by "The Day After Tomorrow"”
Beautiful, creative and acutely enjoy able!
was keen to do this tutorial but some of the stock files are missing :(
FANTASTIC!!! :)
Wheres the Sky stock image??