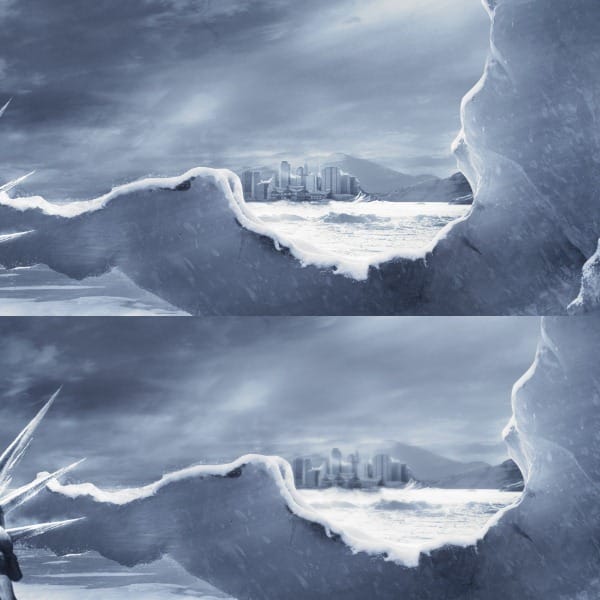
Step 43
On the top layer press CTRL+ALT+SHIFT+E to stamp the visible layers. Next go to Filters-Other-High Pass. Set the Layer’s Blending Mode to Hard Light and the opacity to 90%.

Step 44
Go to the Adjustment Layers-Photo Filter.
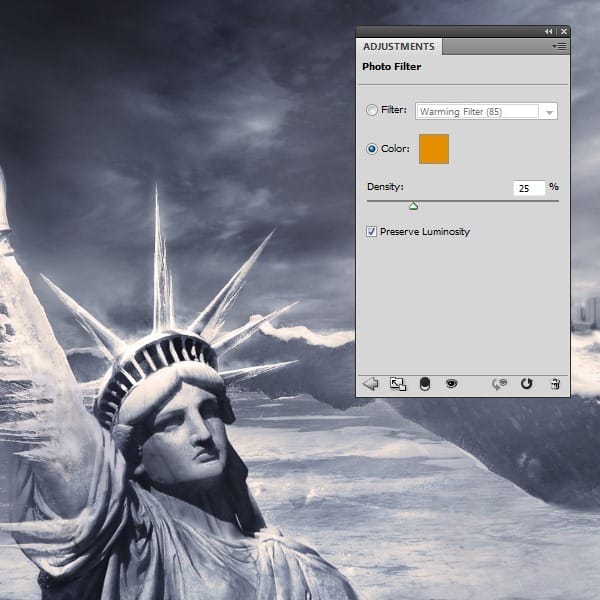
Step 45
Adjustment Layers-Hue/Saturation. Make the presets like you see in the image below.

Step 46
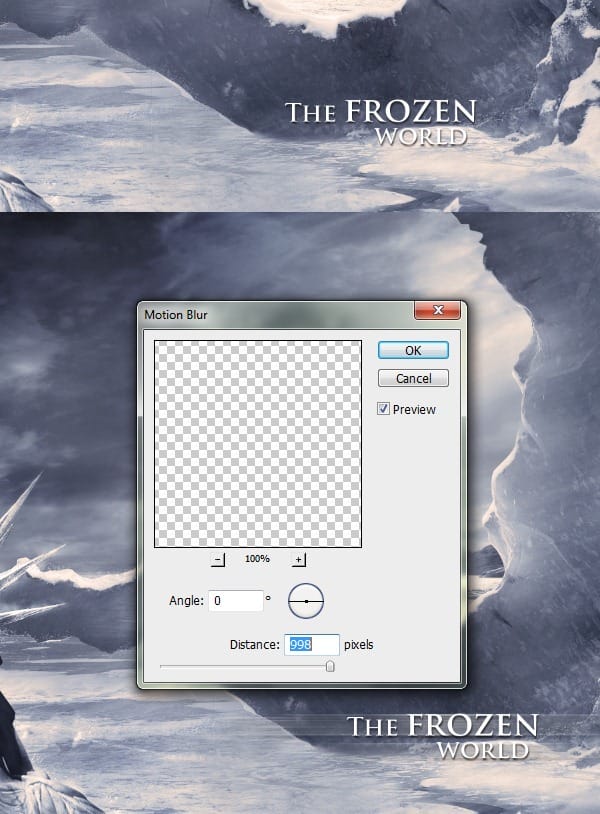
At this point our work is almost complete, we just need to add the text. Write the text with a simple font using white color and duplicate the layer. On the duplicated layer go to Filter-Blur-Motion blur and use the biggest distance. If you think this is too much you can use a smaller distance also.
Final Results
![final-results[1]](https://cdn.photoshoptutorials.ws/wp-content/uploads/2012/06/Frozen-Landscape-1024x680.jpg?strip=all&fit=1024%2C680&lossy=1&webp=82&avif=82&ssl=1)
Download the PSD
Earth Goddess Photoshop Tutorial
Resources
- Frozen Lake(background) – Arctic-stock
- Statue – SXC
- City – SXC
- Foggy Background – Darkdevil16
- Boat – SXC
- Frozen Lake 1 – Shinigami-stock
- Frozen Lake 2 – Shinigami-stock
- Iceberg 1 – Equinestockimages
- Iceberg 2 – Equinestockimages
- Iceberg 3 – Equinestockimages
- Iceberg Background – Equinestockimages
- Tree Snow Texture – Fenne-stock
- Snow 1 – Equinestockimages
- Snow 2 – Arctic-stock
- Snow 3 – Resurgere
- Snow 4 – Resurgere
- Icicles – Wonderdyke-Stock
- Mountain Cloud – Kuschelirmel-stock
Step 1
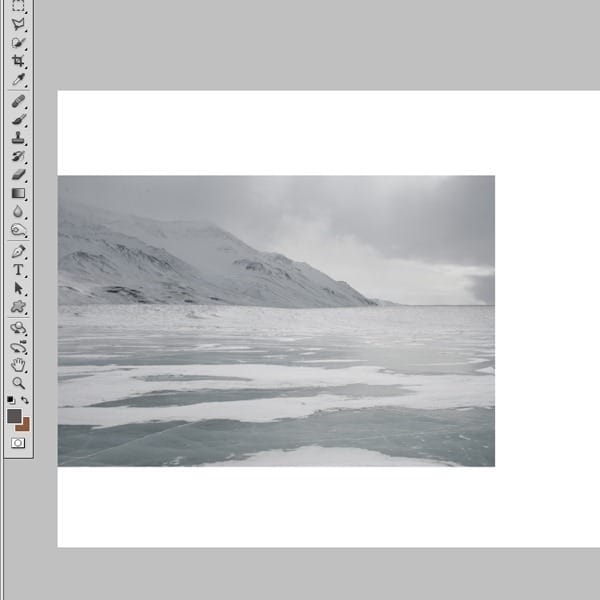
This tutorial is a bit long because we need to make all the images have the same color and contrast, but despite all that it is an easy tutorial and these techniques can be applied every time you want to create a winter photo manipulation. So, the first step is to create a new document and then drag in the frozen lake photo.
Step 2
Next, drag in the sky picture and place it in the upper left corner.
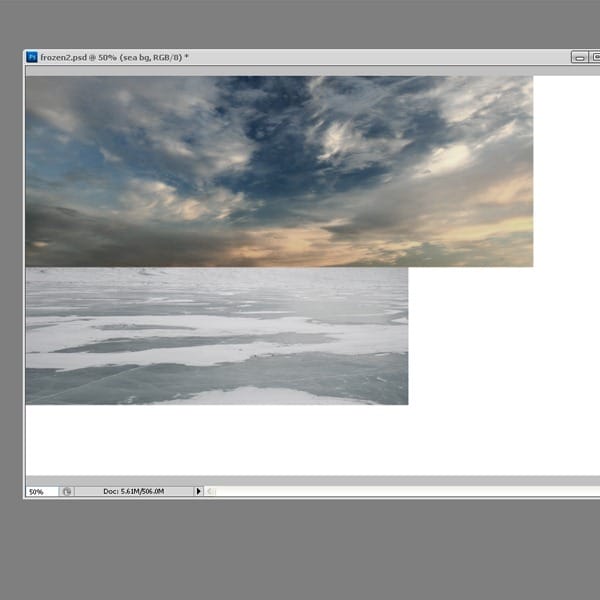
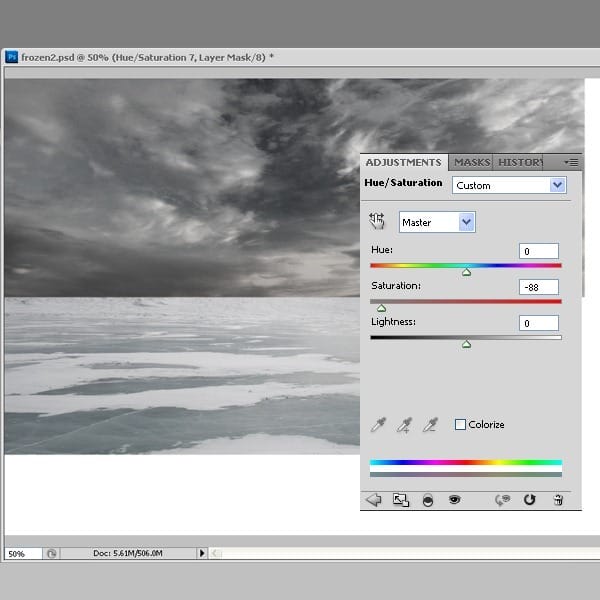
Now, as you can see the two pictures look like they don’t belong with each other because they don’t have the same colors, so we need to fix that. All the layers we will use for this process need to be clipped to the picture’s layer, so they won’t effect the other layers. Go to the Adjustment Layers-Hue/Saturation and desaturate the picture. Use the settings from the image below.
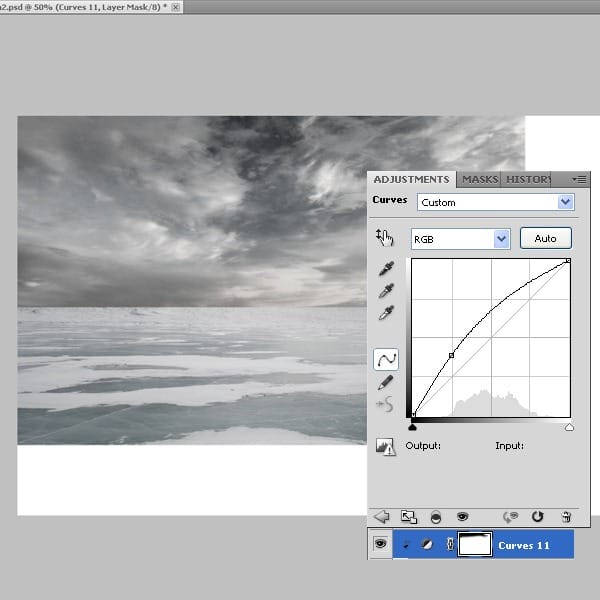
Next go to Adjustment Layers, select Curves and bring some light into the picture. Erase the upper part on the mask so it will remain a bit dark.
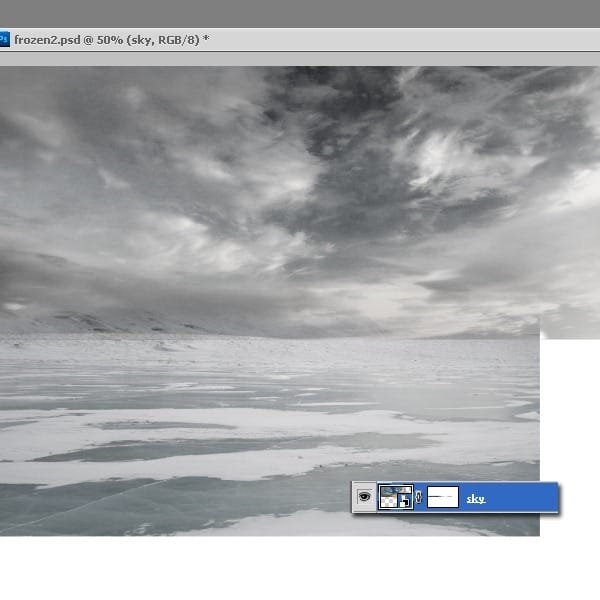
Now that the colors match we need to blend the images together. Create a mask on the sky’s layer and with a brush erase the lower edge.
Step 3
Open the Iceberg photo and place it like you see in the image. From this photo we will use only the mountains from the back.
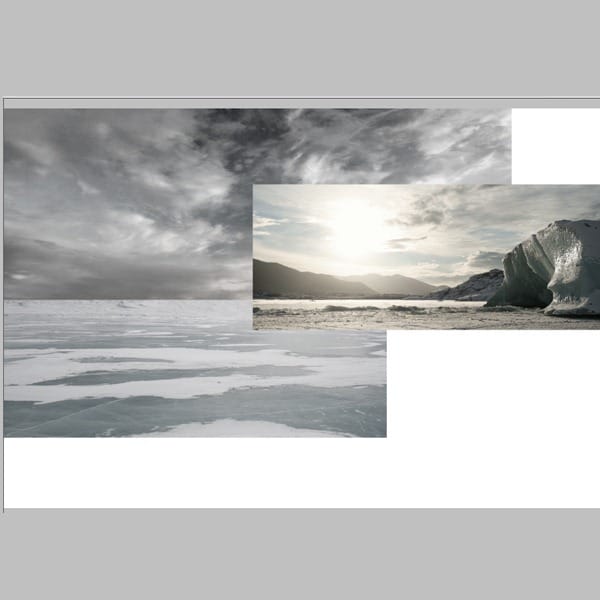
As we did for the picture above, we will create a clipping mask and change the colors and contrast of the picture. Below are some screenshots of the adjustment layers that we will use, including all the presets. 1) Adjustment Layers-Hue/Saturation 2) Adjustment Layers-Curves
4 responses to “Create a Frozen Scene Inspired by “The Day After Tomorrow””
-
Beautiful, creative and acutely enjoy able!
-
was keen to do this tutorial but some of the stock files are missing :(
-
FANTASTIC!!! :)
-
Wheres the Sky stock image??


Leave a Reply