Luminar AI lets you turn your ideas into reality with powerful, intelligent AI. Download the photo editor and see how you can completely transform your photos in a few clicks.
- Shadows 6 -1 -10
- Midtones 2 -10 -8
- Highlights 0 -7 -12
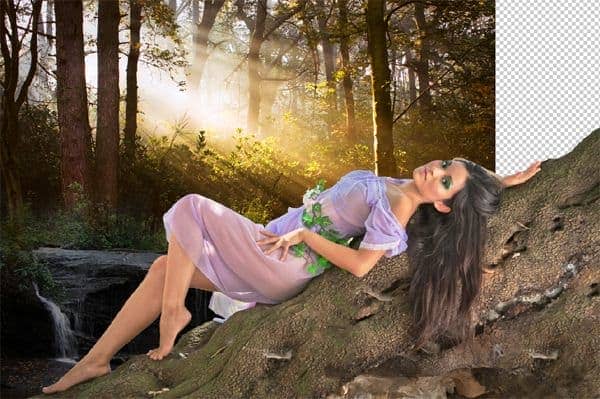
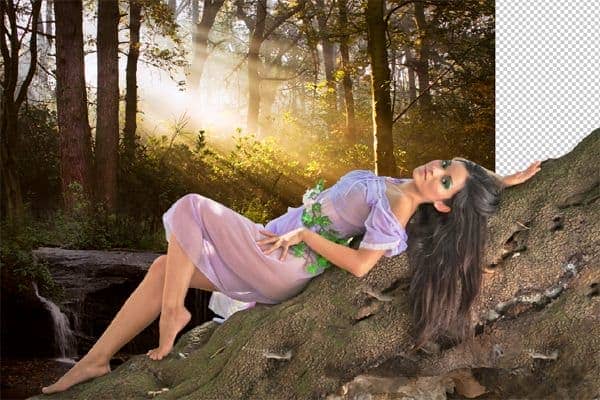
Step 13
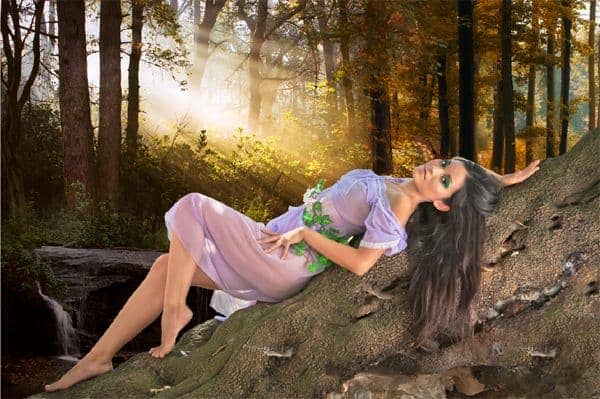
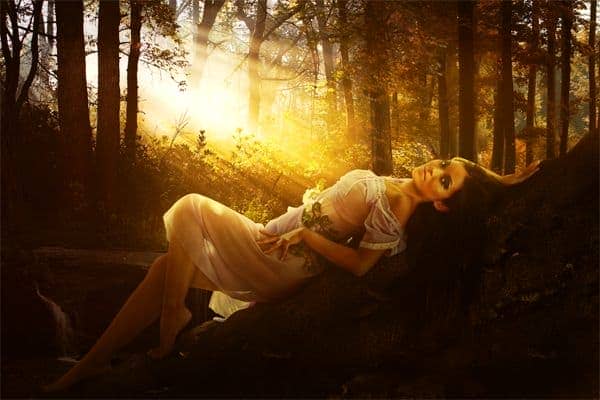
Open the Autumn Forest stock to complete the scene. Place it above the Waterfall stock and its adjustments.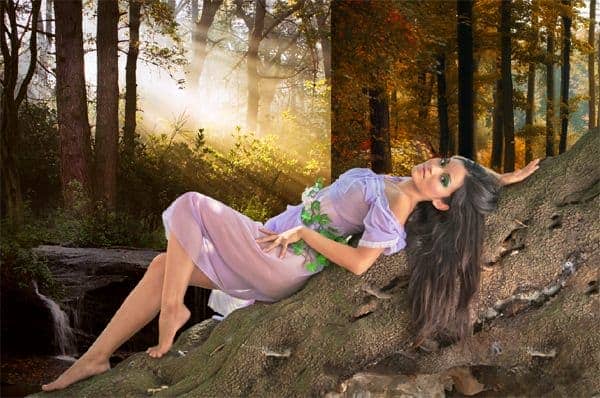
Step 14
Also this stock has to be blended with the rest. Like we did before we will add a Clipping Mask to it and paint with black the unwanted parts. Below you can see my Mask and my result.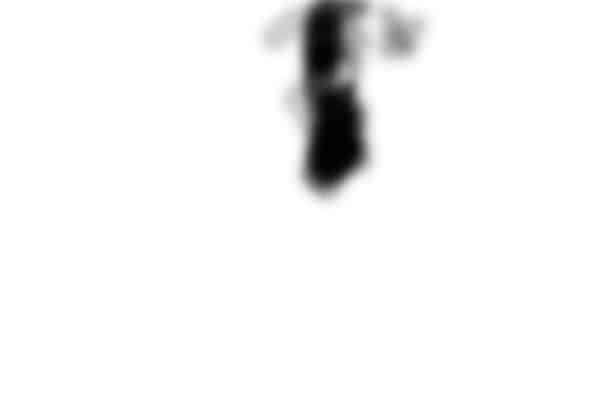
Step 15
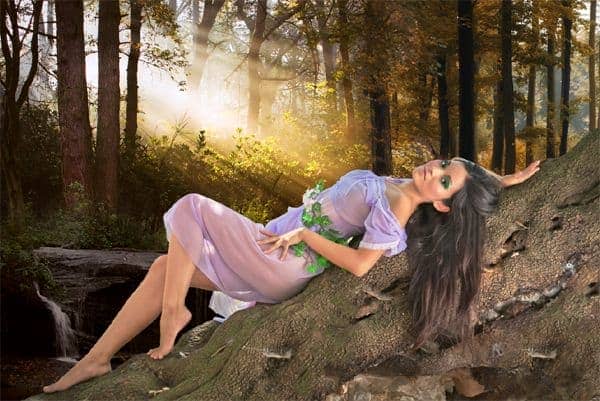
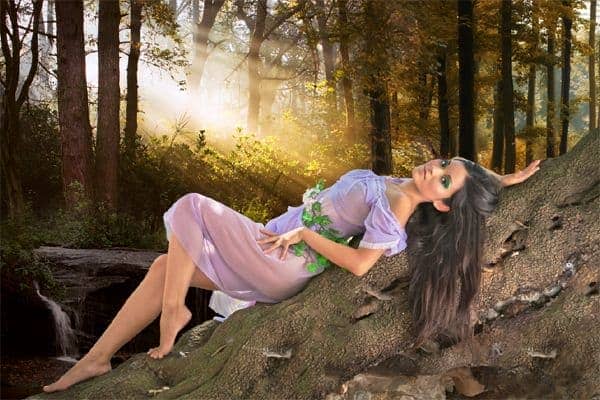
Once again we have to fix the colors and the lights. Add a Hue/saturation adjustment only for this layer putting these settings:- Master 0 0 2
- Reds 0 -31 17
- Yellows 0 -19 -8
- Greens 0 -12 -58
- Shadows 7 4 1
- Midtones -4 0 -5
- Highlights 0 3 -5
Step 16
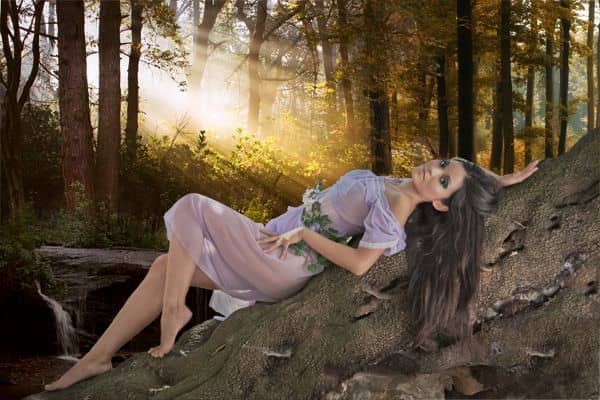
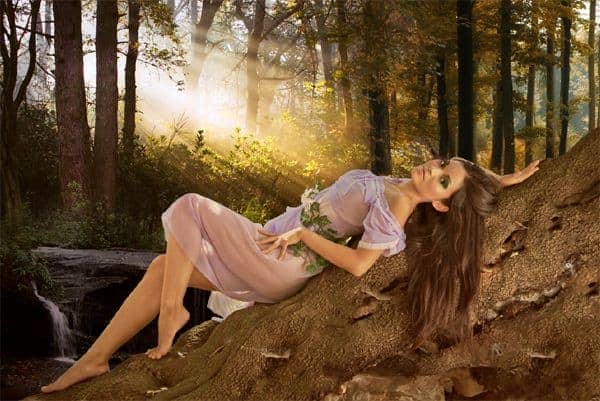
Now our scene is complete but the model doesn't fit it. Let's blend her! Add a Hue/Saturation adjustment only for the Model layer with these settings:- Master 0 -26 -17
- Green 0 -40 -40
- Shadows 12 0 -10
- Midtones 20 0 -16
- Highlights 9 0 -20
Step 17
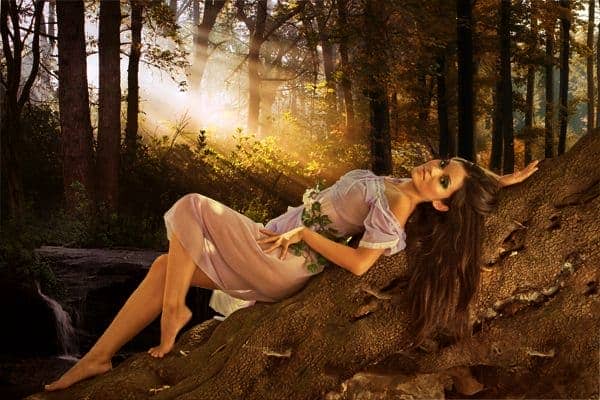
Now everything is fixed! Let's give the scene more intensity. Add a Gradient Map above every layer. Set it to Soft Light with Opacity and Fill at 80%.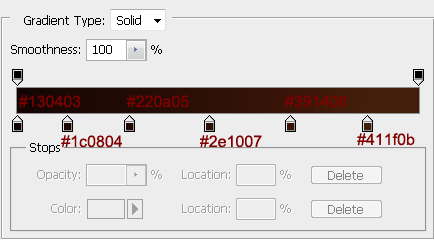
Step 18
The light source is strong but the light around is not. That's why we have to add a bit of luminosity. Create a new layer above all layers and set it to Hard Light. With color #d0a945 paint some light. I used a soft round brush. Below you can see where I painted. (The black background is only on the purpose to show you!).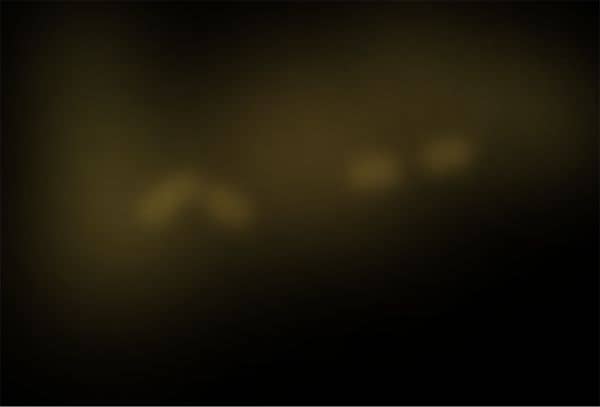
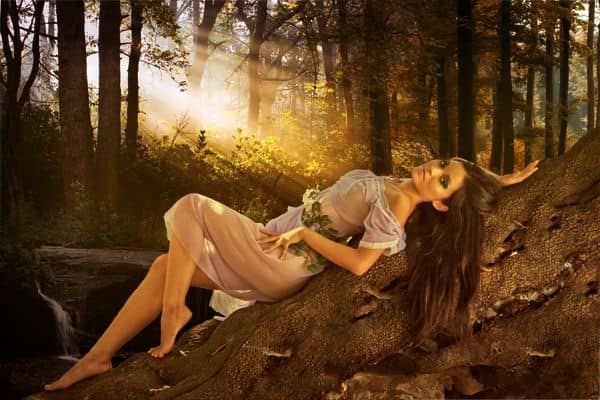
Step 19
I wanted to give the scene a more dramatic look. So I gave strength to the light source. Create a new layer. With the color #d0a945 paint some light over the light source. I used a soft round brush at 40% Opacity. Then set the layer to Overlay with Opacity and Fill at 80%.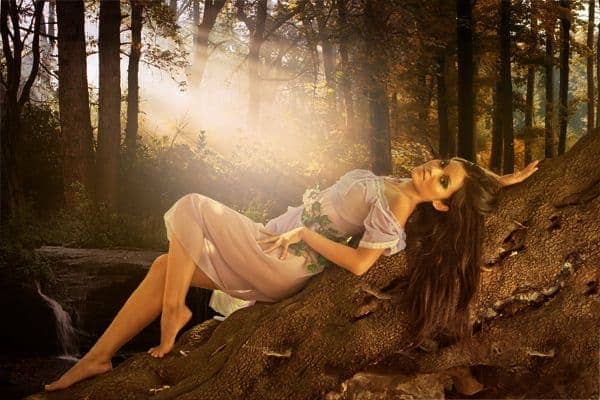
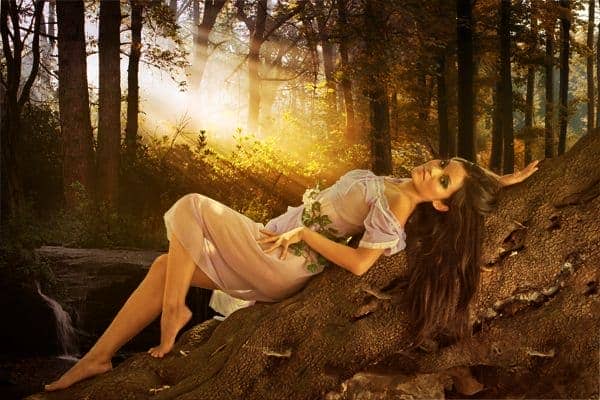
Step 20
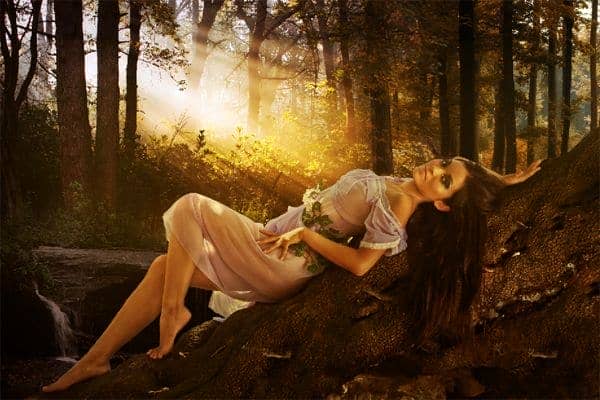
Now that the light is stronger also the shadow should be stronger. So let's add some shadow! We will do it for the model layer first and then for the rest of the background. Add a Curves adjustment only for the Model (above the Color Balance one). Drag the Curve down (Output 78; Input 151). Set the Curves to Luminosity. The whole model layer will get darker.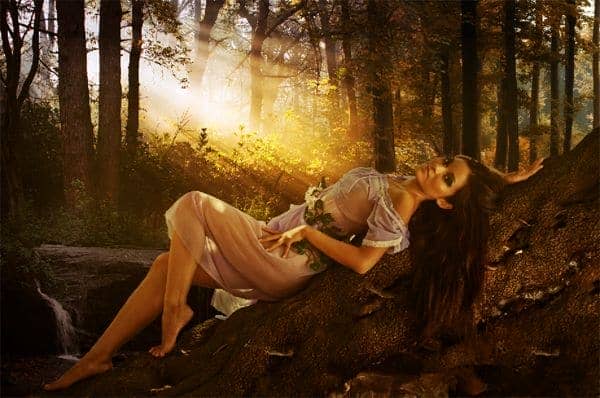
Step 31
We don't want the curve to effect the whole layer. That's why we will paint with black on the curves mask where we don't want the darkness.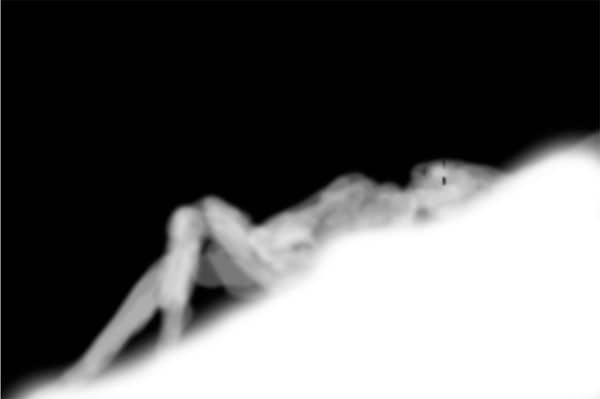
Step 32
The shadow isn't fixed yet. We need more darkness. Add a new layer above the curves one (again only for the model layer). Set the layer to Multiply. Pick the color #2d1708 and paint some shadows in the same area. I did it with a soft brush with Opacity between 20% and 40%. Below you can see where I have painted the shadow.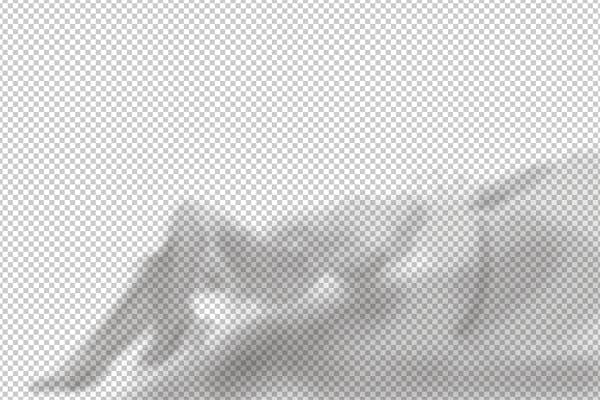

15 comments on “Create a Romantic and Warm Portrait Photo Manipulation in Photoshop”
Nice i want more tutorial step by step
for that "copyright infringement" removal of logo I will not try this exercise as I refuse to use a photograph that is not in the public domain.
Even when it is for "educational" reasons...
Wow! :(
I normally love your tutorials and you do great work teaching and inspiring.
But just removing a photographers logo??? You do know it is his or her property right? You can’t just “steal” it and remove the logo???! It’s there for a reason.
You as an artistic company should know that and be on the side of the artists and not the big company’s who think they can just use everything they can possibly Google.
I’m very very disappointed…
Nice illustrations, they make it really easy to scan the post for the important parts.
good joob .. i like it
This is one beautiful tutorial and such an amazing finale!
This is one tutorial I must have a go at above all others I've seen so far. I'll definitely be visiting your own site shortly.... I can't wait to see what's in store.
Thanks Fabrizio
awesome
Realy very nice create...
Hi, Your Photoshop tutorial web site is very creative & effective learning site. I am looking this site.
Thanks
Thank you for this beautiful romantic portrait.
My realization:
http://www.chez-mireilled.com/article-portrait-romantique-avec-photoshop-119359071.html
<3 <3 <3
thx 4 tuto!!
merci pour ce tutoriel
http://www.flickr.com/photos/99472326@N06/9397375580/
merci pour ce tutoriel ma participation
http://www.flickr.com/photos/99472326@N06/9397375580/
cordialement
author looks ok with artwork on deviantart
"I used it here [link] Thx for the stock :)"
"thanks you so much :hug:"
and other artworks with tagremoval he said thank you
safe to assume?
You didn't mention whether or not you have permission to remove the photographer's tag. Apparently you don't think it is necessary to provide that information. It is strangely important to me.