Download Lightroom presets and LUTs, absolutely free. Use the presets to add creativity and style to your photos.
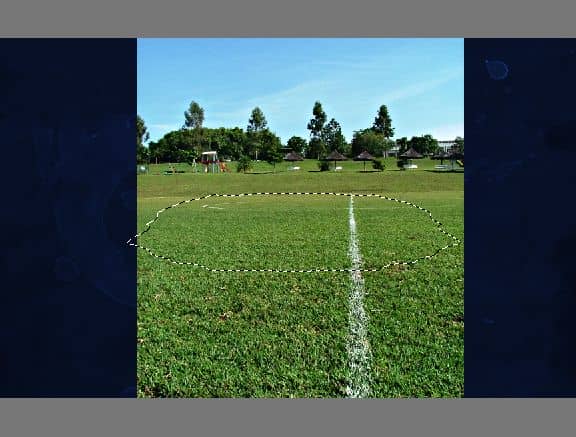
Step 11
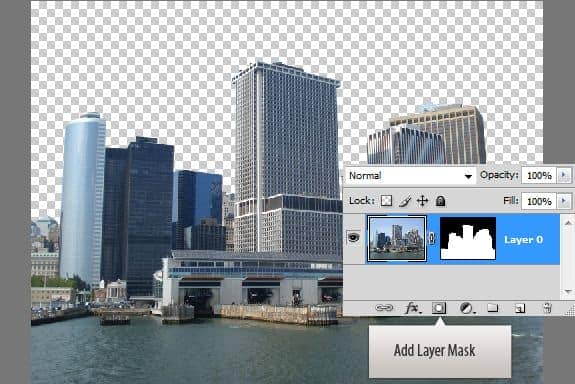
Once the selection in on click on the "Add layer mask" button at the bottom of the Layers Palette. You should get the below result.
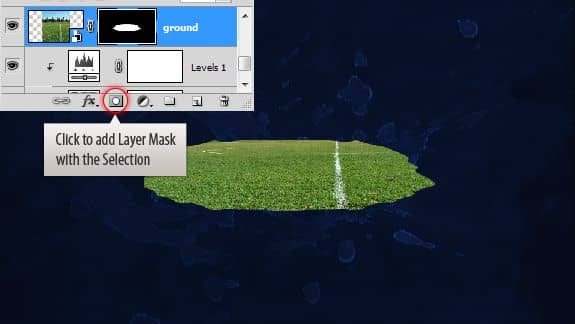
Step 12
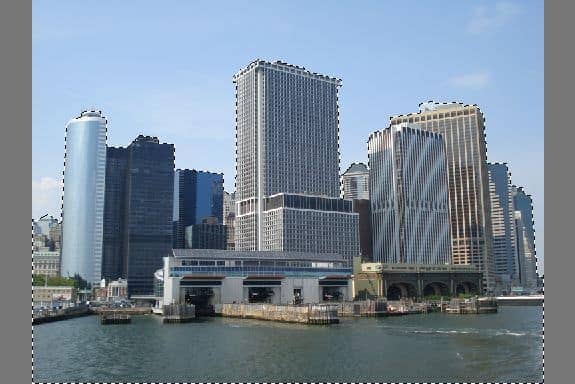
Open up the New York skyline image. In the Layers palette right click on the layer thumbnail and choose "Layer From Background" option. Now select the buildings using your preferred selection tool. I used Magic Wand tool and Polygonal Lasso tool in combination to select mine.
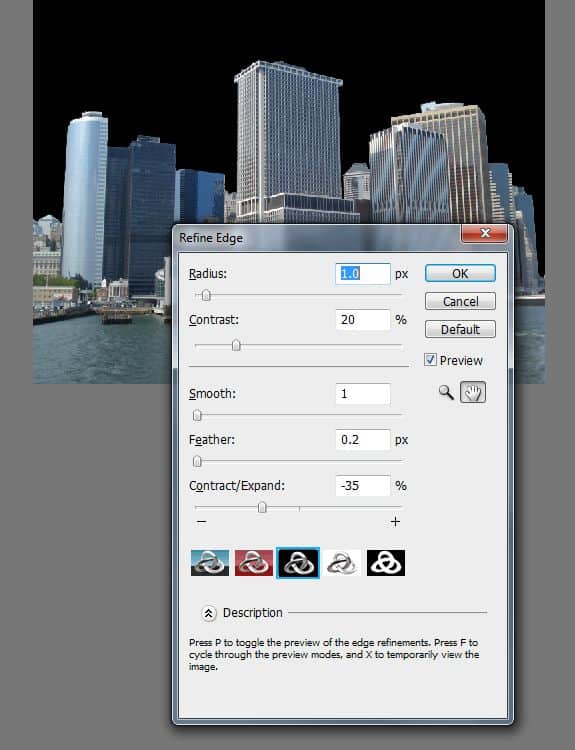
I would like to further adjust the selection using the "Refine Edge" command (Select > Refine Edge). After adjustments click "OK" to confirm.
Step 13
Add layer mask using the selection.
Step 14
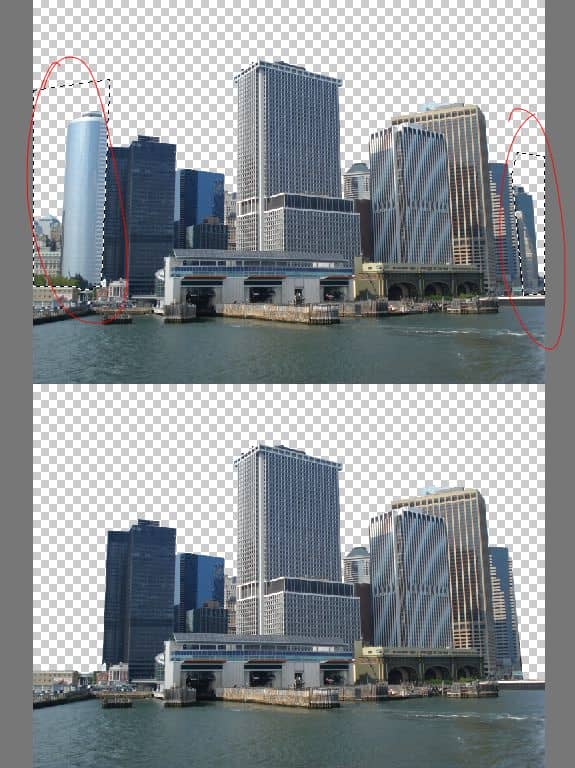
Select the buildings on the sides. Click the Layer mask that is already there, fill the selection with black to hide them.
Step 15
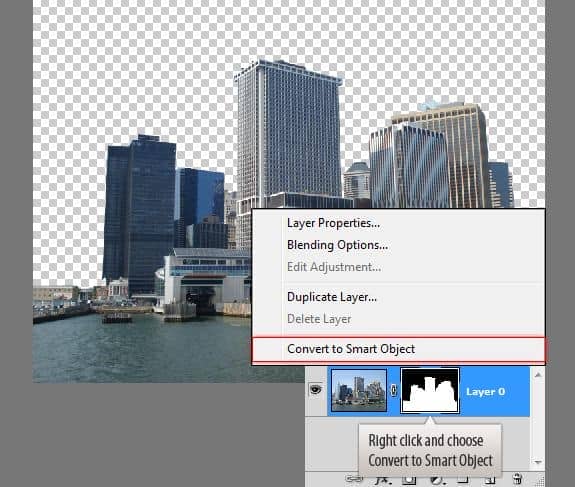
Before moving this into our design we need to convert it into a Smart Object. So that we can transform it freely. Right click on the layer and choose "Convert to Smart Object".
Step 16
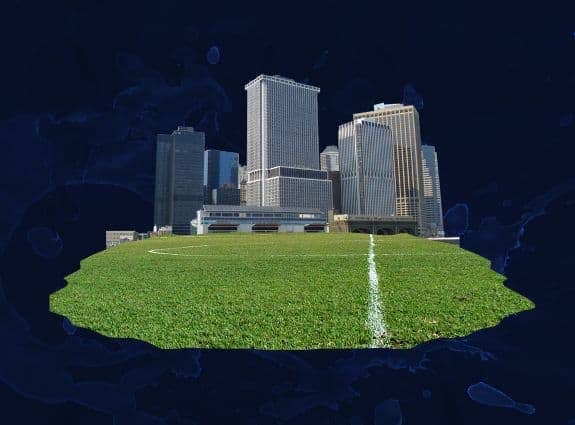
Now move the buildings Smart Object into the main file. Resize it and place it behind the ground layer.
Step 17
Import the water color texture ( Watercolors_Vol1 - Watercolors_V1_1032.jpg) in to the document using the "Place" command.
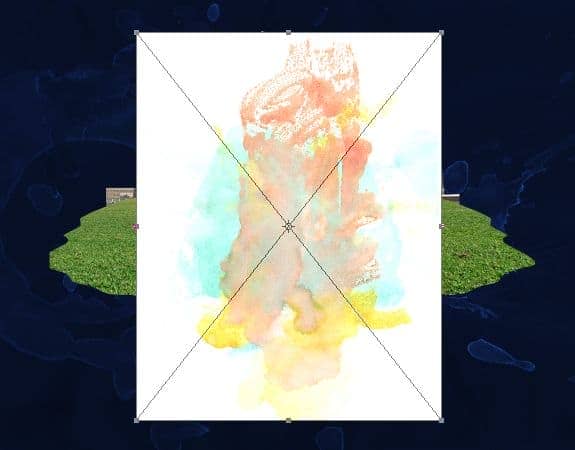
Rotate the texture.
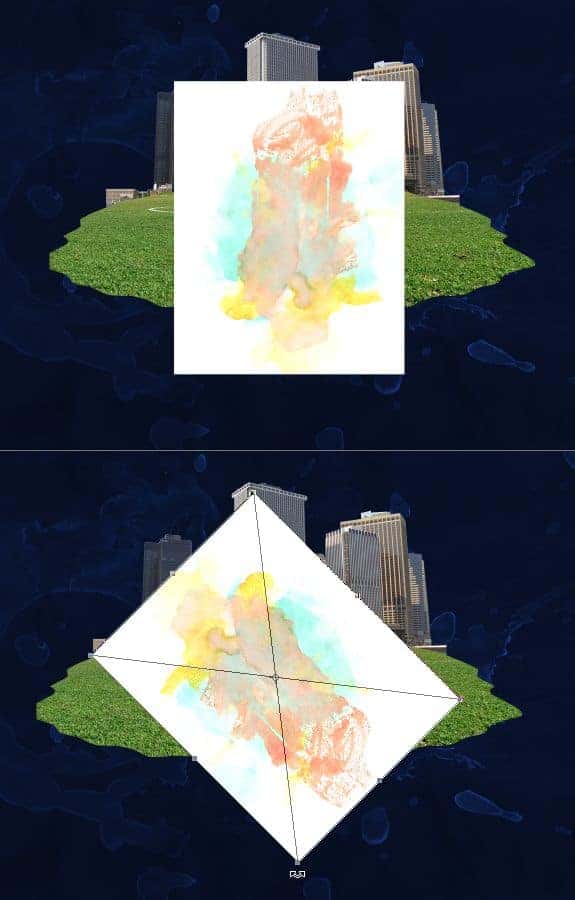
Step 18
Place it behind the buildings layer.
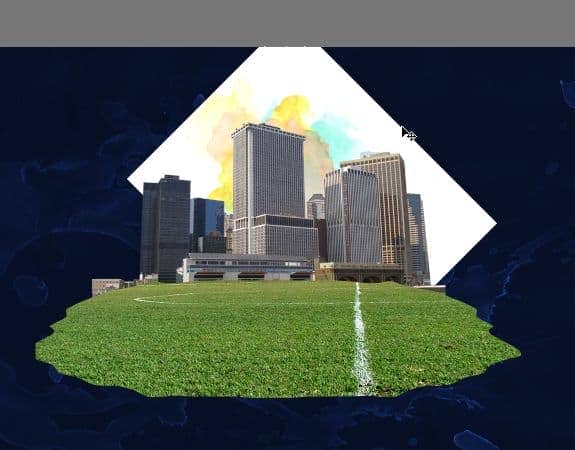
Step 19
Desaturate the layer by applying the "Hue/Saturation" adjustment layer.
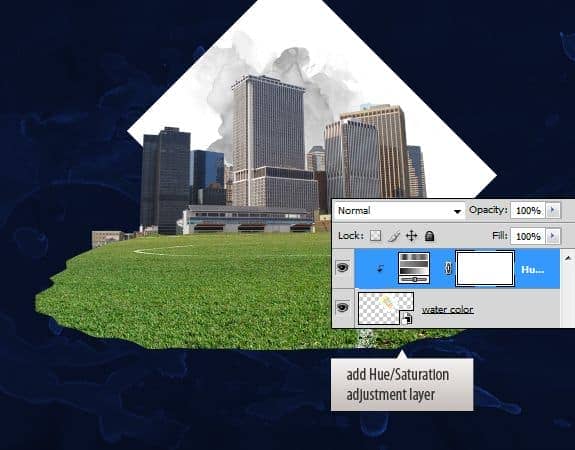
Step 20
Now double click the water color Smart Object layer. Press Ctrl+ I to invert it. Save and close the window.
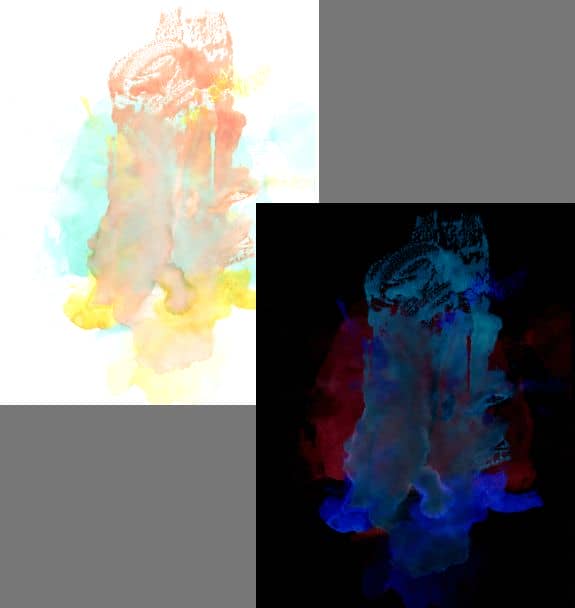
Your image should look like this.
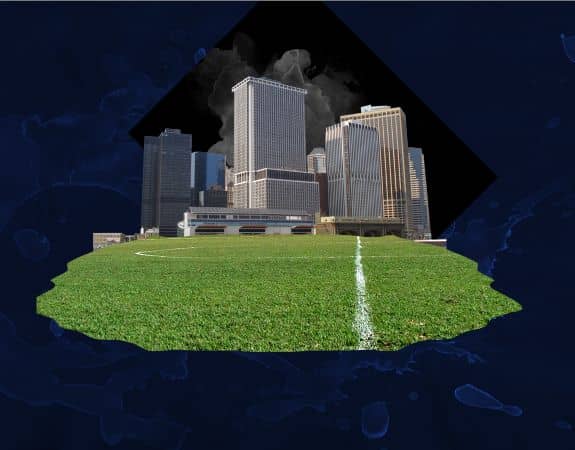
Step 21
Now change the blend mode to "Screen".
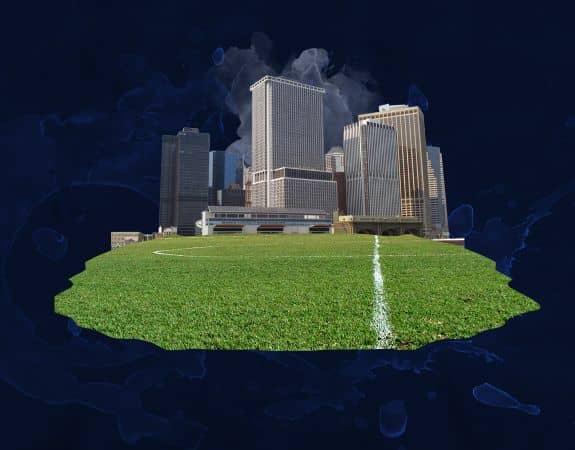
Step 22
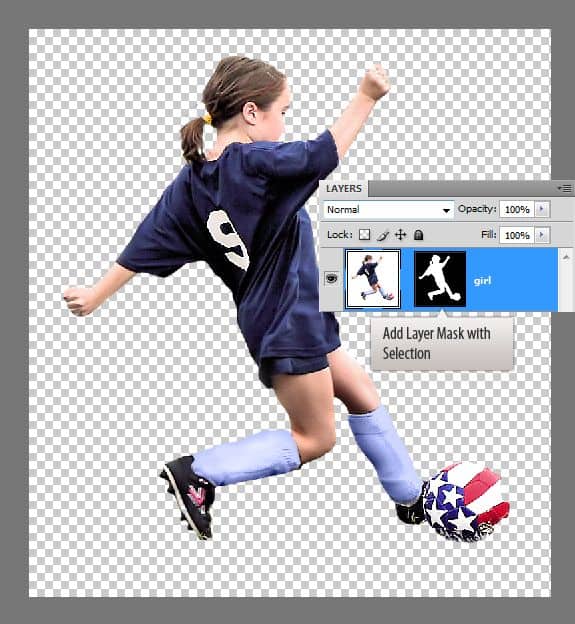
Open up the girl stock image. Select the girl. Since we have a monotone background we can use the Magic Wand tool or use the "Color Range Command". You may need to refine the selection further like we did earlier. This will remove any edge artifacts and gives a much cleaner selection.
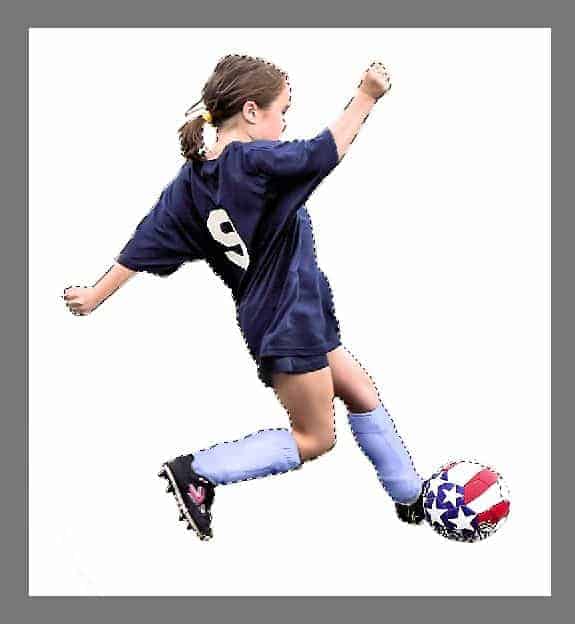
Step 23
Add Layer Mask using the selection.
Step 24
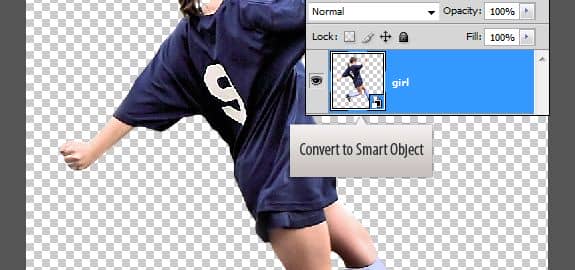
Convert to Smart Object.
Step 25
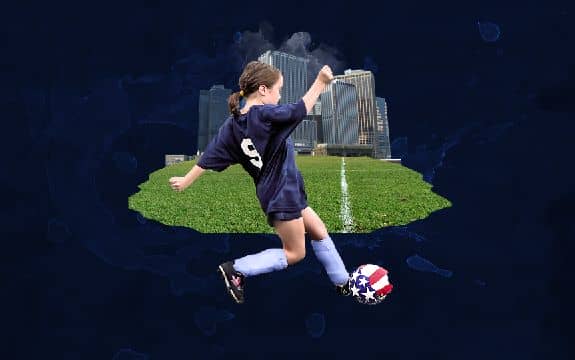
Move the girl into main file. Place it above the ground layer.
Step 26
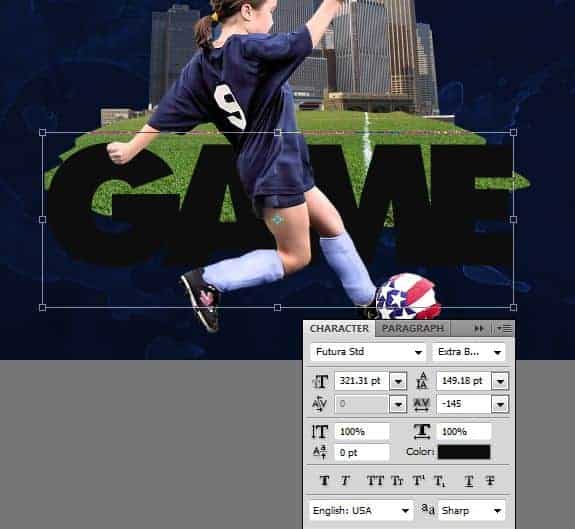
Add the word "GAME". I used "Futura STD Extra Bold". If you don't have it use a similar font that is bold enough. Adjust Kerning using the Character Palette.
Step 27
Add the words "Love The".
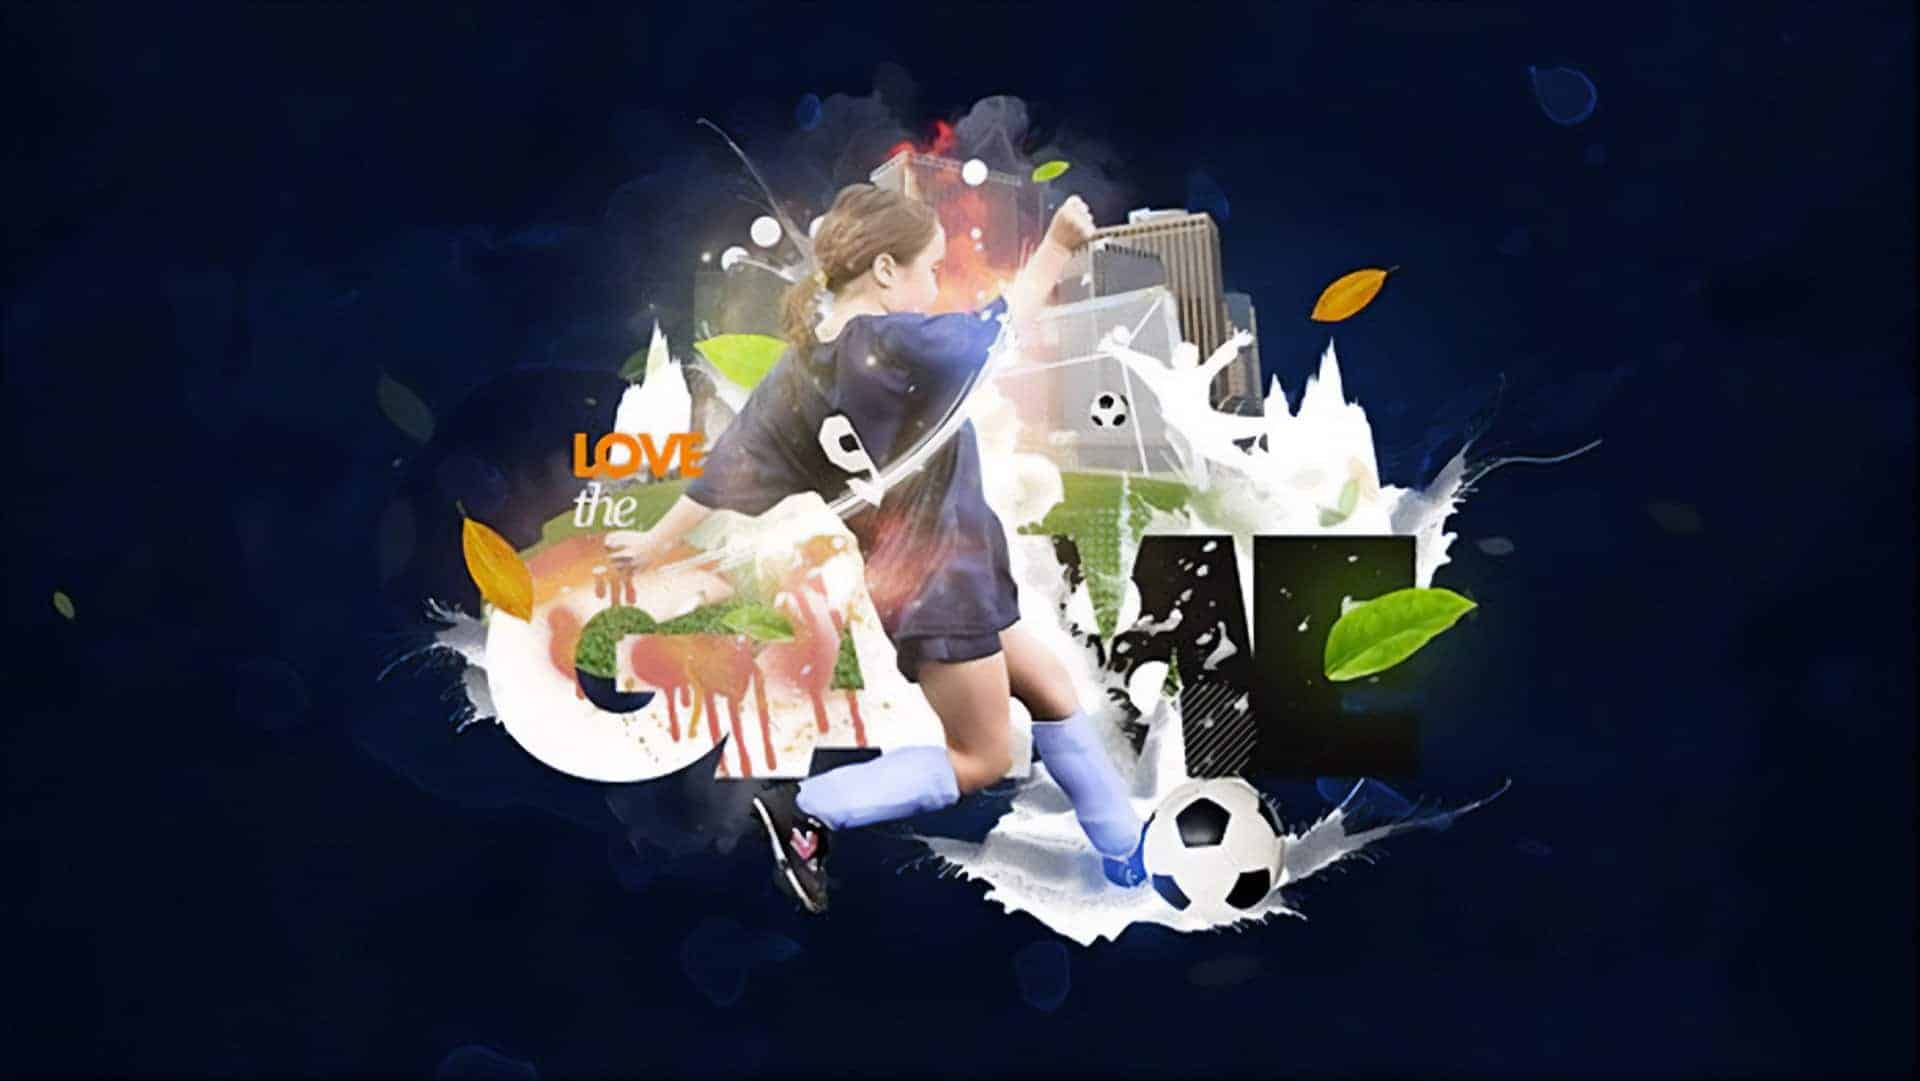


8 comments on “Create a Sports Wallpaper with Splatter Effects”
Great, thanks for all the helpful info!
DONT KNOE HOW 2 USE IT
Way too hard for me :(.. But nice tutorial anyway
Thank you so much for your simple and clear tutorial. As a newbie to PS, I didn't know that the blend to screen feature can be so useful! Thank you!!! ;-)
also goalkeeper silhouette is missed. and Steps mess. Step 31 goes after Step 20. Author should be more careful.
Thank you for the comment - I really appreciate you pointing out the errors! I've fixed the steps but there were some stock images link that I couldn't find the links to. It appears that the author does not have links to some of the resources and recommends that you find your own.
Few stock images are missed. I think you should include every stock image that you used in Resources section.
No brown mountain, no flame, no ball...
good