Step 28
Load the ball stock image into Photoshop. Mask out the background. Convert the layer into a Smart Object.

Step 29
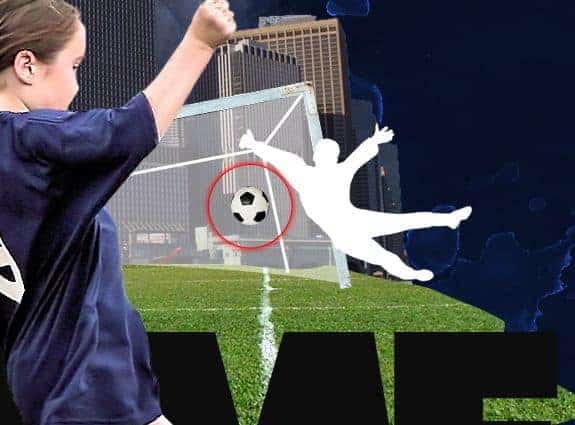
Drag the ball smart object into the main file. Resize it appropriately. Place above the girl layer covering the original ball below.

Step 30
Add Curves Adjustment layer to the ball and slightly adjust the mid tone brightness. Clip it to the ball layer.

Step 31
Open up the goal post image, select the front post.

Step 32
Apply Layer Mask with the selection. Then Convert it into Smart Object.

Step 33
Place it below the girl layer.

Step 34
Create a new layer below the goal post frame. Quickly make a selection and fill it with white to give an impression of a net. Reduce the layer’s opacity to 50%.

Step 35
Select the Line Tool and draw the frame of the goal post.

Step 36
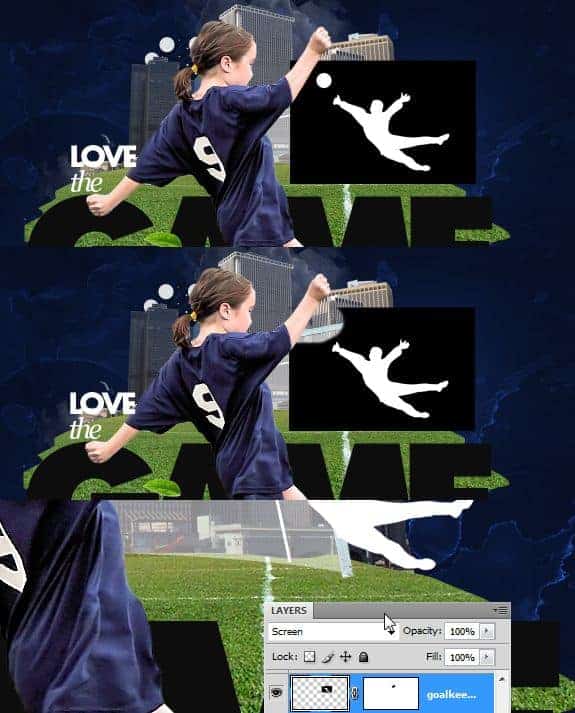
We have the goal keeper silhouette here. Since it has the black as background and white as foreground I set the blending mode to screen. This will get rid of the blacks and retains the whites. You can get a similar image or create your own silhouette from a real image.

Step 37
Duplicate the ball layer and reduce the size and place it near the goal keeper like he is jumping to catch the ball.

Step 38
I have got this mountain peek like image with the white background. I used the Magic Wand tool to select and created a new layer and filled the selection with black. You can find a similar image or simply draw the shape in Photoshop.

Step 39
Bring the shape into the main file. Invert the layer and convert into a Smart Object.

Step 40
I rotated the shape and resized it. Duplicated it placed behind the buildings layer.

Step 41
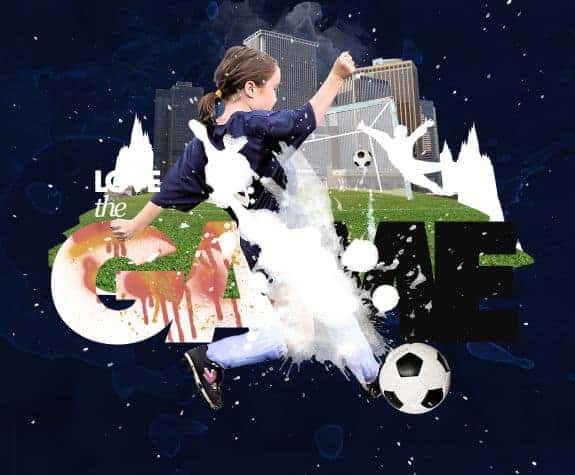
Place the dripping paint texture (Spray Paint pack – Media_Militia_-_Spray_Paint_Textures_05.jpg)as Smart Object. Position it above the type layer.

Step 42
Clip the paint layer to the type layer(Ctrl + Alt + G).

Step 43
Now place the splatter image above the type layer.

Step 44
Double click on the thumbnail. Press Ctrl + I to invert. Save and close it.

Step 45
Set the blend mode to “Screen”

Step 46
Clip it to the type layer.

Step 47
Open up the splatter texture image. Select a splatter and copy it.

Step 48
Get back to the main file, paste the texture below the girl layer.
8 responses to “Create a Sports Wallpaper with Splatter Effects”
-
Great, thanks for all the helpful info!
-
DONT KNOE HOW 2 USE IT
-
Way too hard for me :(.. But nice tutorial anyway
-
Thank you so much for your simple and clear tutorial. As a newbie to PS, I didn’t know that the blend to screen feature can be so useful! Thank you!!! ;-)
-
also goalkeeper silhouette is missed. and Steps mess. Step 31 goes after Step 20. Author should be more careful.
-
Thank you for the comment – I really appreciate you pointing out the errors! I’ve fixed the steps but there were some stock images link that I couldn’t find the links to. It appears that the author does not have links to some of the resources and recommends that you find your own.
-
-
Few stock images are missed. I think you should include every stock image that you used in Resources section.
No brown mountain, no flame, no ball… -
good


Leave a Reply