Download Lightroom presets and LUTs, absolutely free. Use the presets to add creativity and style to your photos.
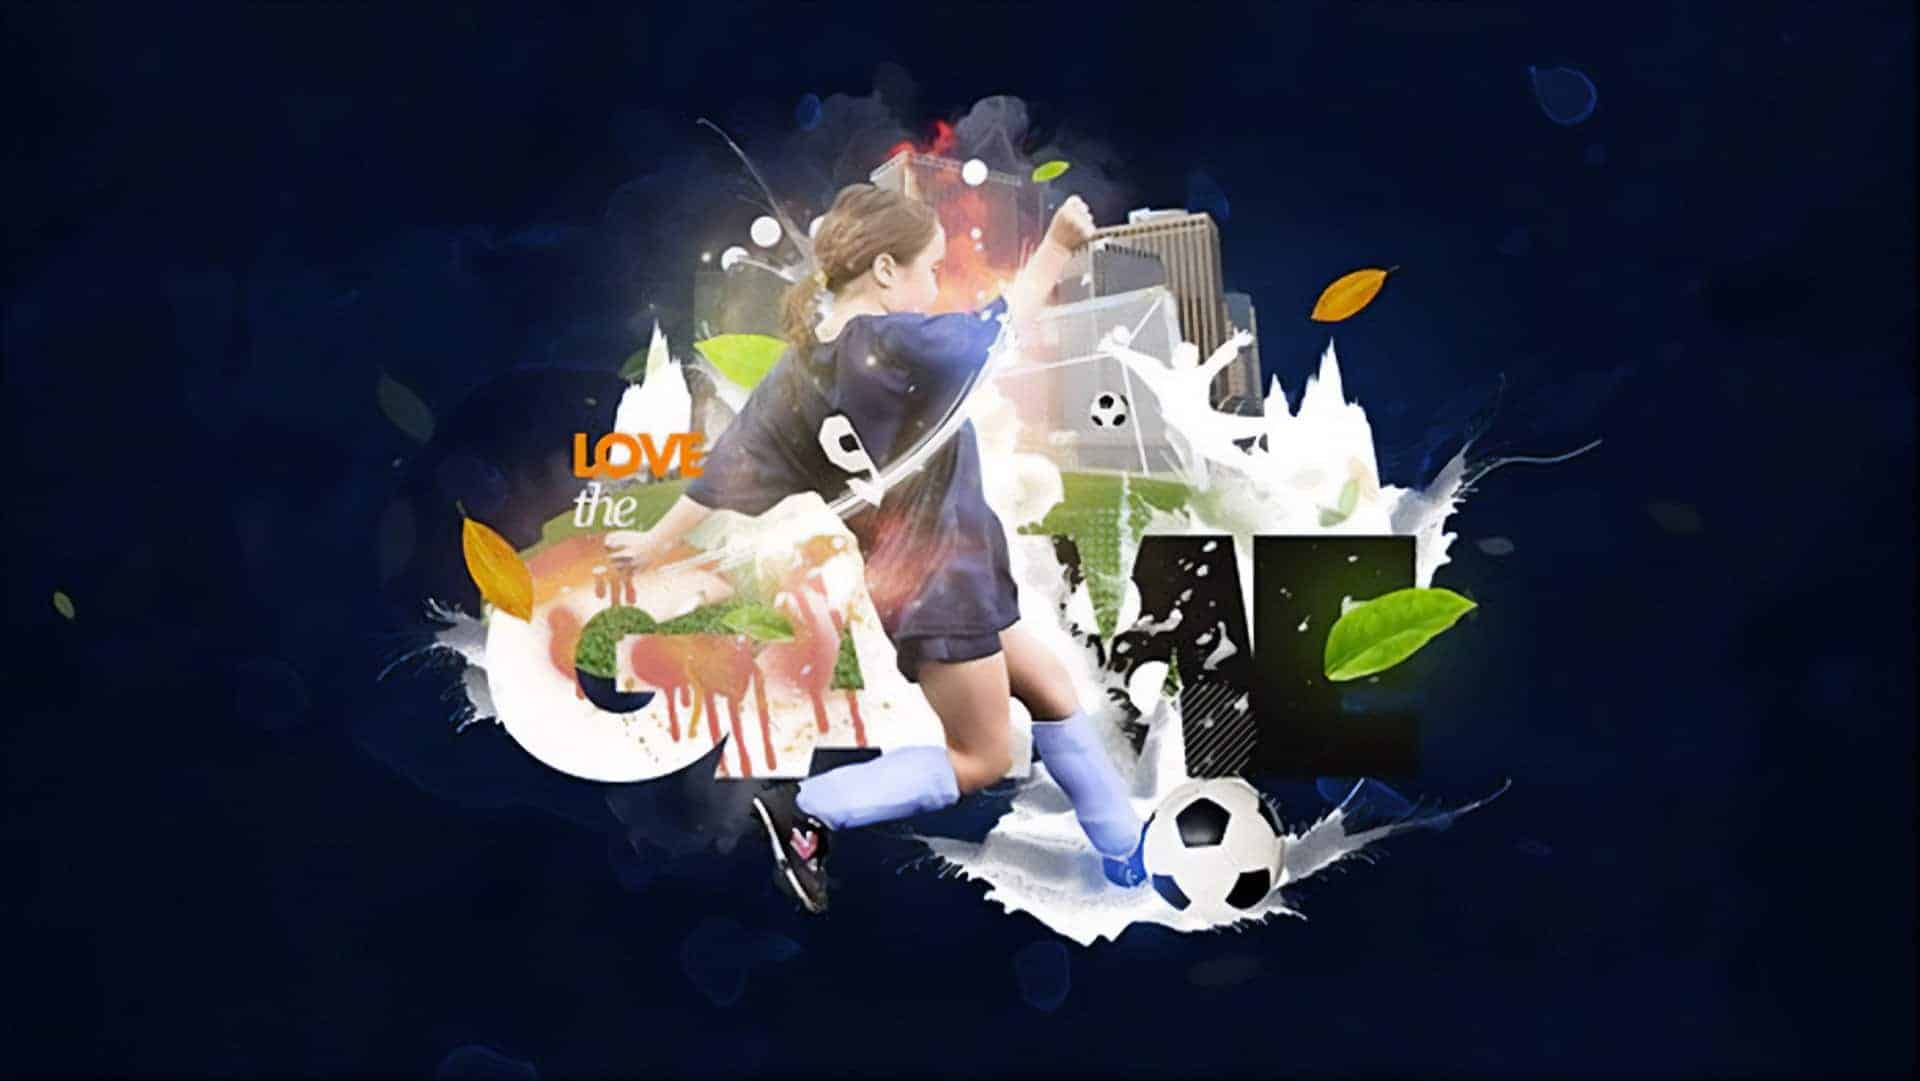
Learn to create this energetic and dynamic sport based wallpaper in Photoshop. You can learn how to put different elements like splatters, stains, particles, textures together and make it all look like one piece. Along the way it demonstrates non destructive image editing and manipulation techniques which are highly useful in day to day tasks.
Preview of Final Results

Resources
- Girl- SXC
- Tea Stain Texture- Frameofthoughts (Deviantart)
- Ball- SXC(Alternative}
- Plant- SXC
- Splatter 1- SXC
- Splatter 2- SXC
- Splatter 3- SXC
- Galaxy- Pauline Moss Stock (Deviantart)
- Goalpost- SXC
- Ground- SXC
- Skyline- SXC
- Spray Paint Pack- Mediamilitia
- Water Color Texture Pack- Mediamilitia
Step 1
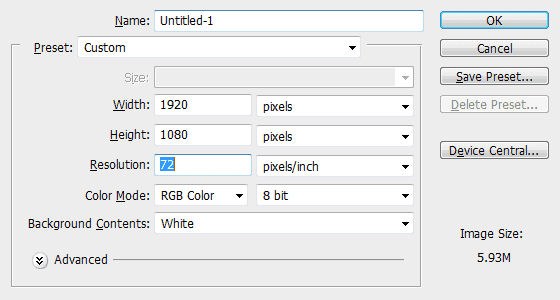
Create a new file with the below dimensions. This is going to be a wide screen wallpaper
Step 2
Create a new layer in the Layers palette. Set the foreground color to #040916. Hit Alt + Backspace to fill the current color.

Step 3
Let's add a texture to the background to make it look a bit dynamic. Import the texture directly into our file as a Smart Object using the "Place" command. Choose File > Place and locate the texture. This imports the image as a Smart Object which we can transform and apply filters to without harming the actual contents of the image.
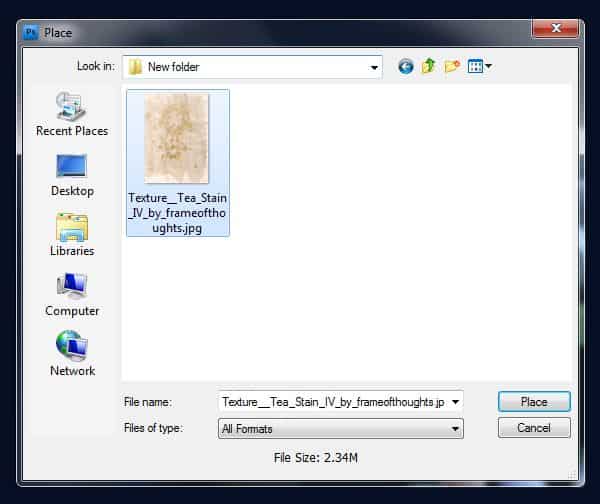
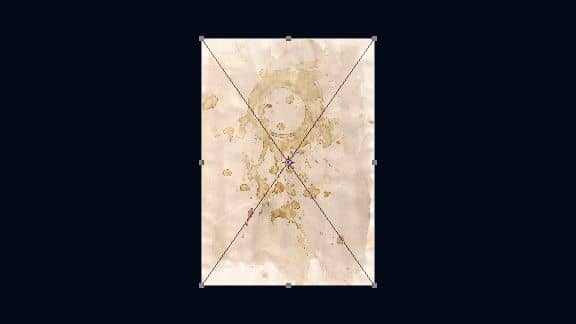
Now the texture is placed in our document.
Step 4
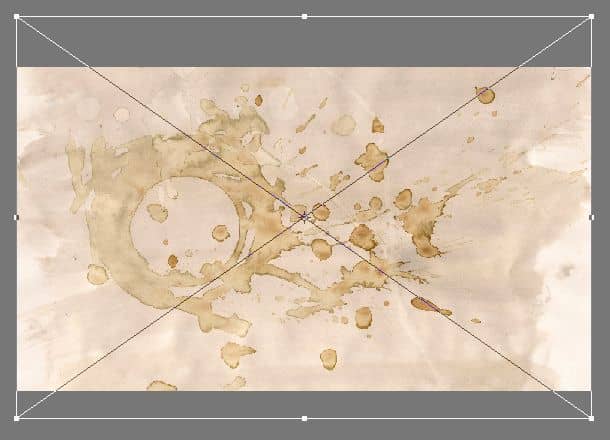
Hit Ctrl + T, hold by the corner and rotate it 90 degrees anti clock wise or simply right click and choose "Rotate 90 degrees CCW" option.
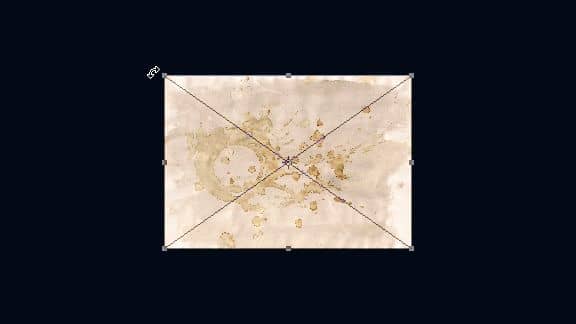
Resize the texture to cover the entire document area and hit "Enter" to confirm the transformation.
Step 5
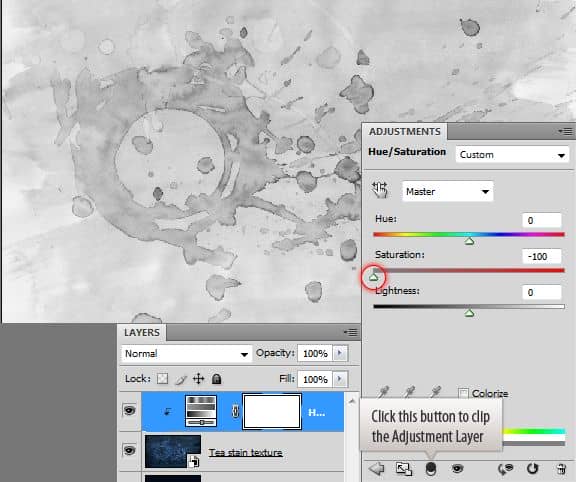
Now desaturate the texture. Apply "Hue/Saturation" adjustment layer on top of the texture. Set the saturation to -100 using the slider. Then clip it to the texture layer by clicking the "Clip to the Below Layer Option" or by pressing Ctrl + Alt + G.
Step 6
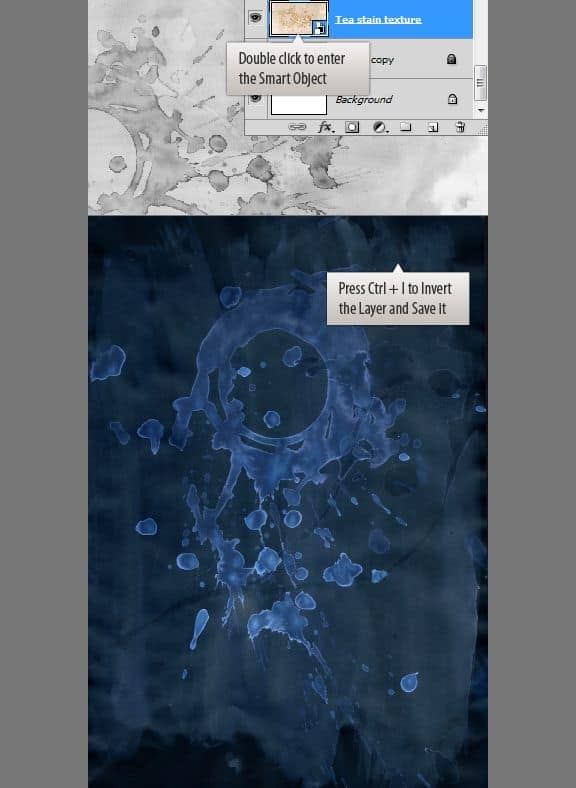
We need to invert the texture layer. Since it is a Smart Object we can't directly invert it. Double click on the thumbnail to see the contents. Now press Ctrl + I or go to Image > Adjustments > Invert to invert the image. Press Ctrl + S to save and close the smart object document.
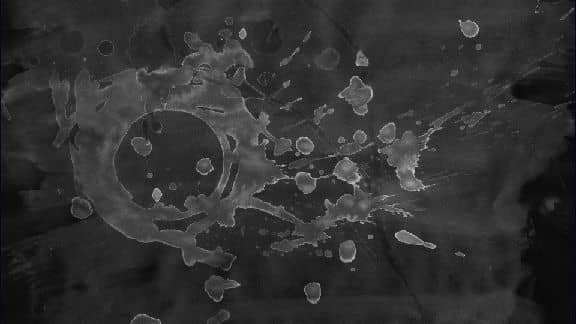
Your image should look like below.
Step 7
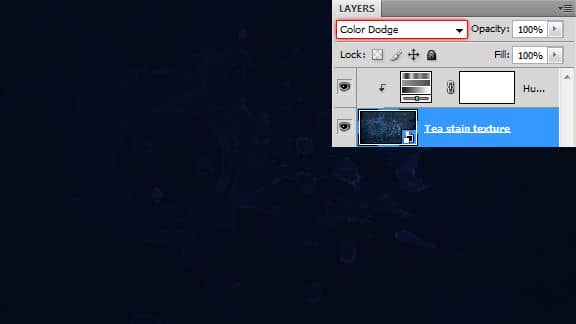
Set the blend mode to "Color Dodge"
Step 8
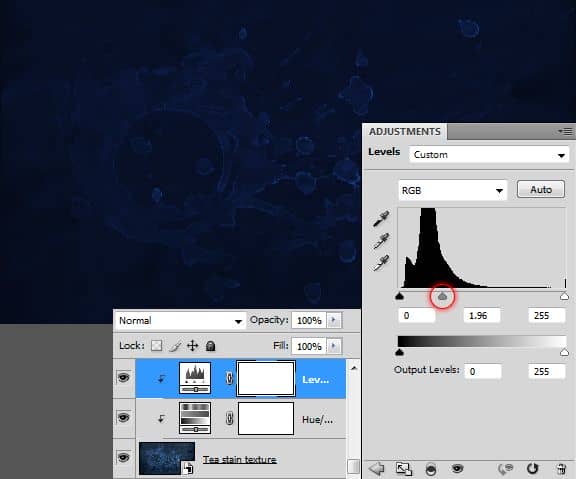
Increase the visibility of the texture. Add Levels adjustment layer to the texture and adjust the mid tone values.
Step 9
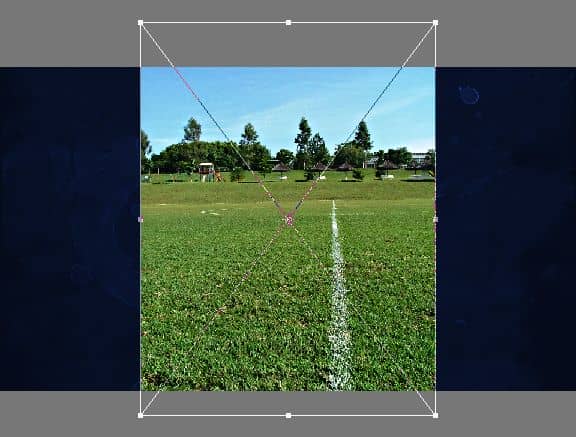
Import the ground layer using the place command like earlier.
Step 10
Make a similar selection using the Lasso Tool. No need to be perfect, just keep it identical.


8 comments on “Create a Sports Wallpaper with Splatter Effects”
Great, thanks for all the helpful info!
DONT KNOE HOW 2 USE IT
Way too hard for me :(.. But nice tutorial anyway
Thank you so much for your simple and clear tutorial. As a newbie to PS, I didn't know that the blend to screen feature can be so useful! Thank you!!! ;-)
also goalkeeper silhouette is missed. and Steps mess. Step 31 goes after Step 20. Author should be more careful.
Thank you for the comment - I really appreciate you pointing out the errors! I've fixed the steps but there were some stock images link that I couldn't find the links to. It appears that the author does not have links to some of the resources and recommends that you find your own.
Few stock images are missed. I think you should include every stock image that you used in Resources section.
No brown mountain, no flame, no ball...
good