Make skin look perfect in one-click with these AI-powered Photoshop actions.
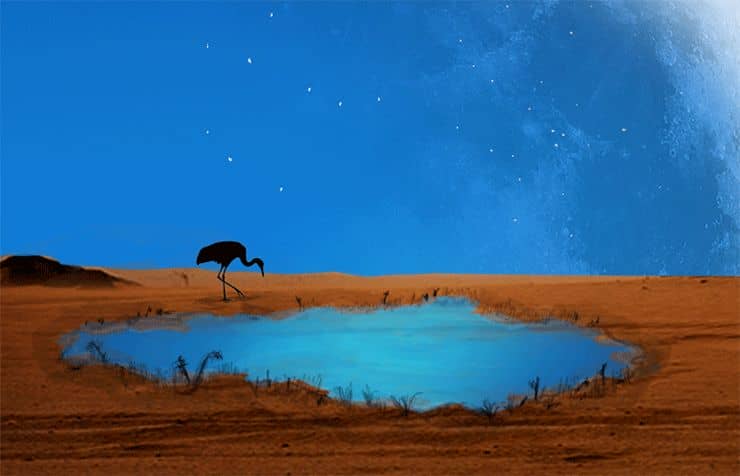
Step 49
Select the Brush and choose one of the Camel brushes. Choose black as a foreground color and create a new layer .Click once on it to draw the camels. Resize and position the camels as shown below.
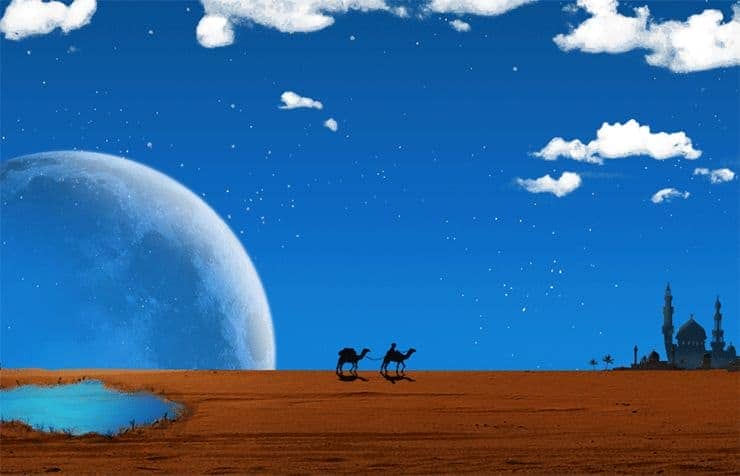
Step 50
Open the Palm file again and copy/paste the palm into our document. Convert it to Smart Object. Add a layer mask and with a black brush paint a little at the bottom of the palm trunk so that it will blend nicely with the terrain. Make 2 extra duplicates by pressing Ctrl + J twice. Resize and position each pals above the oasis lake (as shown below).

Step 51
Open the Palm file again and copy/paste the palm into our document. Convert it to Smart Object. Add a layer mask and with a black brush paint a little at the bottom of the palm trunk so that it will blend nicely with the terrain. Make 2 extra duplicates by pressing Ctrl + J twice. Resize and position each pals above the oasis lake (as shown below).

Step 52
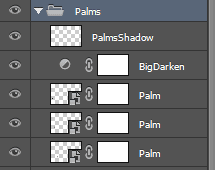
Let’s add some shadow to our palms. Create a new layer and place it inside the Palms group. Change the blending mode to Multiply and with a black chalk brush at 60% Opacity draw some shadows for the palms. Remember that the light is coming from the left up so the shadows should be directed towards right and down.

Step 53
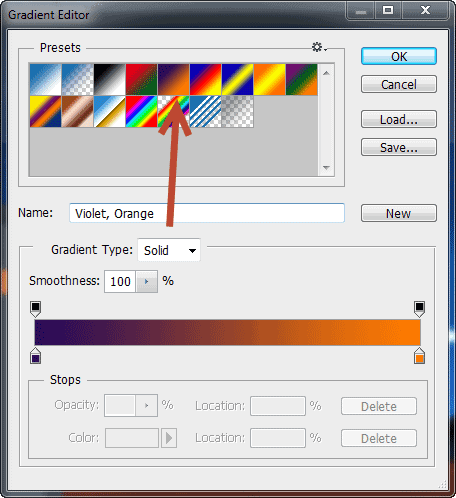
Ok, so now we are done with the composition of our scene. Time to add some color effects. Let’s start by setting a night mood to our scene. Create a Gradient Map Adjustment layer and choose the indicated preset. Change the blending mode to Soft Light and lower the fill to 66%.

Step 54
Let’s boost up the contrast. Add a Brightness/Contrast Adjustment layer and drag the Contrast slider to the right until we reach a value of 45.
Step 55
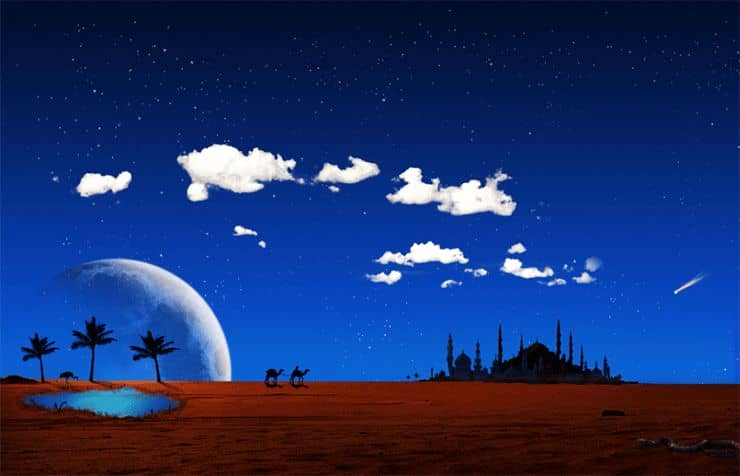
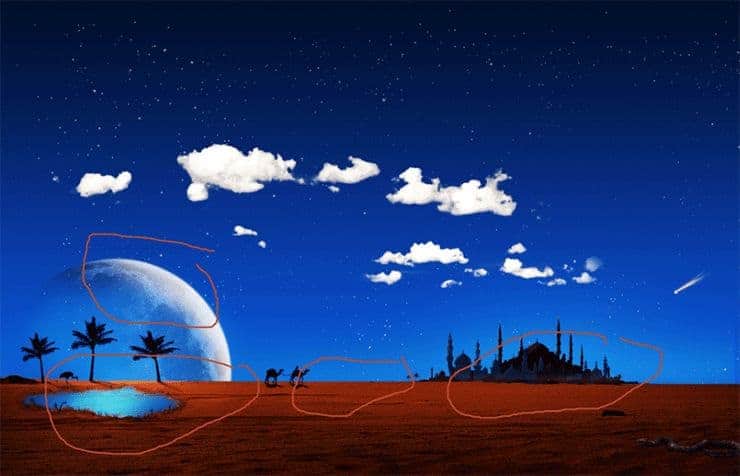
Light areas in a painting draw the eye and establish the interest points. Create a new Curves Adjustment layer and drag the curves up to lighten. Click on the layer mask, press D to set default colors and press Alt + Backspace to fill the mask with black. Now choose a soft white brush at 30% opacity and paint over the horizon, the moon, the oasis and the city.
Step 56
Sampling a color from a scene, filling a layer with that color and setting the layer blending mode to Color Dodge will give a nice punch to the colors. Let’s do this in our scene. Sample a dark blue from the sky (#1c71ae), create a new layer and fill it with the sampled color. Change the blending mode to Color Dodge.

Step 57
In order to further increase the focus on the sky let’s darken the terrain a bit. Create a Curves Adjustment layer and drag the curve down a little to darken. Choose the Gradient tool and press D to set default colors. Click on the layer mask and holding Shift drag from the top of the scene to the bottom area.
Step 58
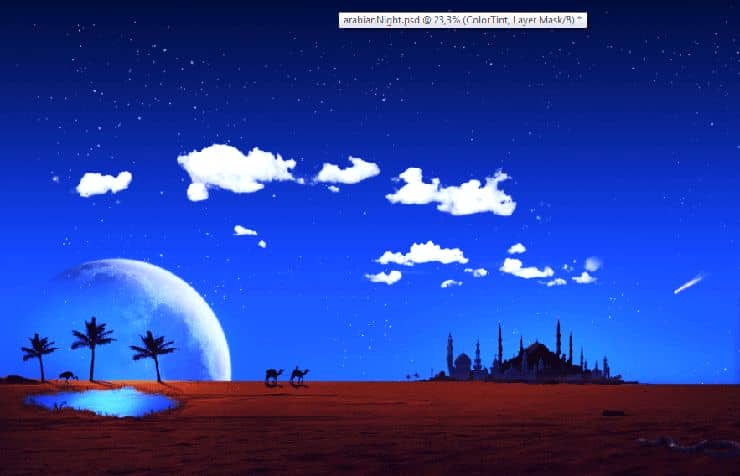
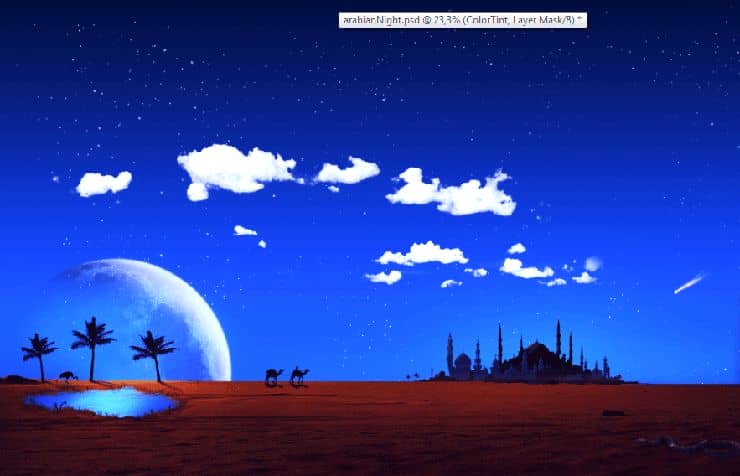
Finally, let’s add some color tint. Create a new Gradient Map Adjustment layer an choose the same preset as we choose at step 53. Change the blending mode to Linear Dodge and lower the Opacity to 23%. That’s it.

Final Results
![final-results[1] final-results[1]](https://cdn.photoshoptutorials.ws/wp-content/uploads/2014/07/finalresults11-1.jpg?strip=all&lossy=1&quality=70&webp=70&avif=70&w=1920&ssl=1)
Download the PSD
Tutorial by Adrian Scheff



19 comments on “How to Create Vivid Arabian Night Composite in Photoshop”
File please..
Hello
link to the download ?
This is some half-assed work indeed. The stars can been seen straight through all over the moon. The clouds are overblown to white and badly blended. This looks like the work of a troll to me. I mean come on.
There’s no link to the download file!!!
The PSD file ...
its so informative tutorial.
its really helpful tut i learn many things from this.
wtf is this shit? looks like something a kid in elementary school would draw = /
There's no link to the Clouds image... : ((
This is a really inspiring collection for all, I like it, thanks for shearing!
Thank you for the great tutorial! It has been very helpful to see a few techniques in action.
Really amazing photo manipulation tutorial.
Nice tut!
what a hard im just a highschool