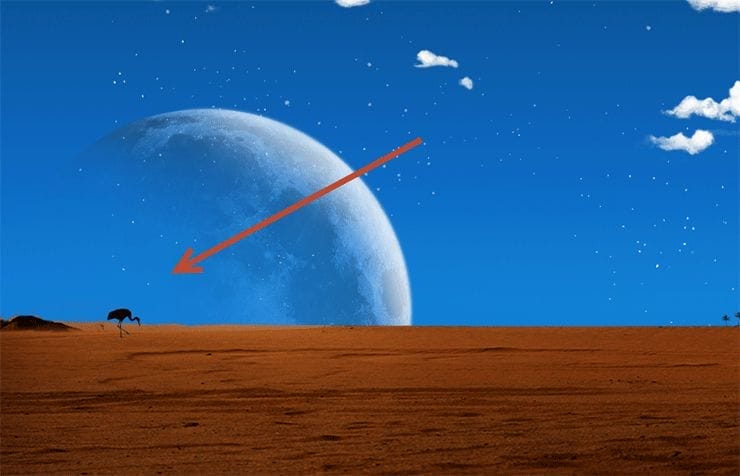
Step 41
Create a new layer, put it below the Crane layer and change the blending mode to Multiply. Draw some light shadows with a black brush at 20-30% Opacity. Group the crane related layers and name the group Crane.

Step 42
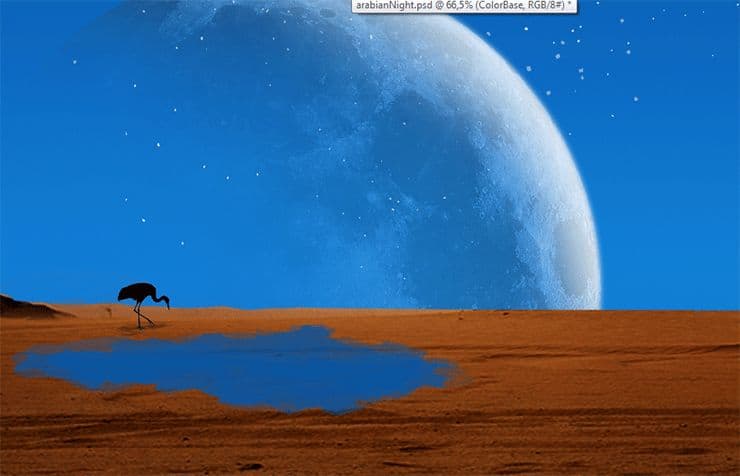
A desert without an oasis would be a poor desert. Since there are no oasis photos we can use in this case we will draw the oasis. It’s not as hard as it seems, you’ll see. In almost any drawing the water should have the color of the sky. Sample a color from the blue sky (with the brush tool selected hold Alt and click to sample). Create a new layer and name it Color Base. With the chalk brush at 90% Opacity paint an approximate rough ellipse as indicated below. I also added a layer mask and further mask the edges in order to blend with the desert.

Step 43
Create a new layer and name it Water Basic Reflection. Clip it to the Color Base layer and change the blending mode to Color Dodge. Using #1c71ae color and a round soft brush at 40-50% Opacity paint over the water surface. Paint more in the middle.

Step 44
Create another layer and clip it to the Water Basic Reflection layer. Change the blending mode to Color Dodge and name it Moon Reflection. Sample a color from the moon (a lighter blue) and draw some lines in the middle of the water surface. If the effect is too strong lower the fill to 50-60%.

Step 45
When the sand is wet it will be a darker color than the dray sand. Let’s create some wet sand effect on the shores of our lake. Create a new layer and with a black chalk brush at 30% Opacity draw some loose lines around the lake.

Step 46
Add some extra moon highlight by creating a new layer, setting the blending mode to Color Dodge and painting just a little bit in the very center of the lake with a light blue color.

Step 47
Let’s add some glow to our lake. Create a new layer and set the blending mode to Overlay. Using a soft round brush at 5% Opacity paint a little bit with white over the center of the lake.

Step 48
Usually there are some sort of plants growing around lakes. Create a new layer and with a black chalk brush at 2px size and 80% Opacity squiggle a few herbs here and there. Group all the oasis related layers and name the group Oasis Lake.
19 responses to “How to Create Vivid Arabian Night Composite in Photoshop”
-
File please..
-
Hello
-
link to the download ?
-
This is some half-assed work indeed. The stars can been seen straight through all over the moon. The clouds are overblown to white and badly blended. This looks like the work of a troll to me. I mean come on.
-
There’s no link to the download file!!!
-
The PSD file …
-
-
its so informative tutorial.
-
its really helpful tut i learn many things from this.
-
wtf is this shit? looks like something a kid in elementary school would draw = /
-
There’s no link to the Clouds image… : ((
-
This is a really inspiring collection for all, I like it, thanks for shearing!
-
Thank you for the great tutorial! It has been very helpful to see a few techniques in action.
-
Really amazing photo manipulation tutorial.
-
Nice tut!
-
what a hard im just a highschool
-


Leave a Reply