Make your artwork look like they're from an alternate universe. These Cyberpunk presets work with Photoshop (via the Camera Raw filter) and Lightroom. Download all 788 presets for 90% off.
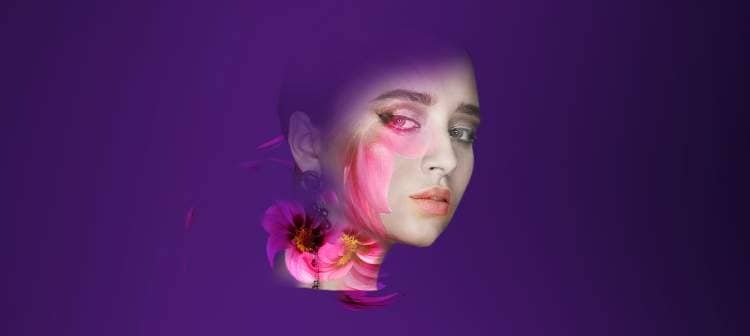
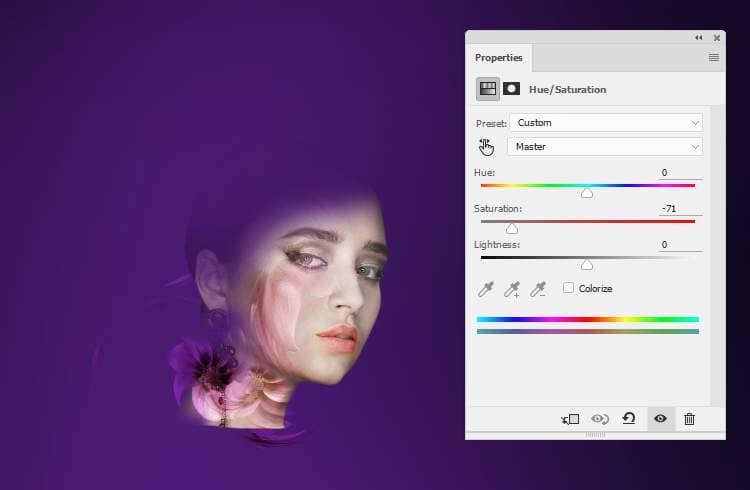
Step 18
Open the flowers 2 image. Use the Polygonal Lasso Tool to select the flowers and leaves only to add to the lower of the model and cover the hard edge.
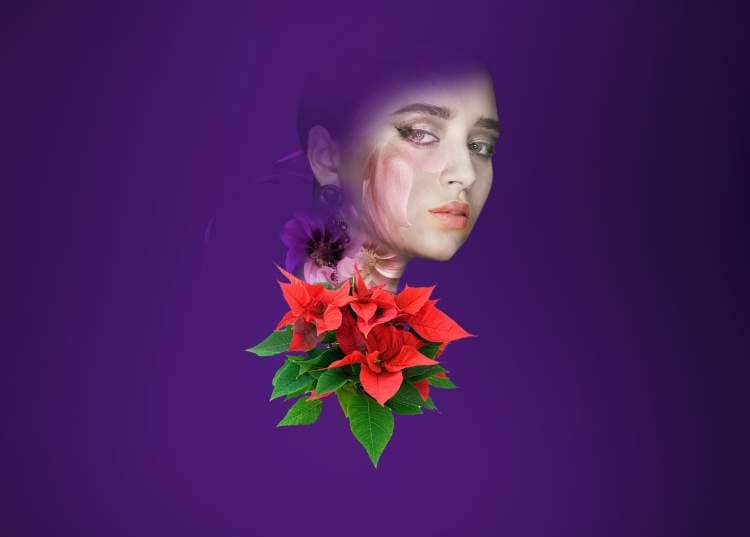
Step 19
Add a Hue/Saturation adjustment layer to change the color of the flowers and leaves. Alter the Reds and Greens values.
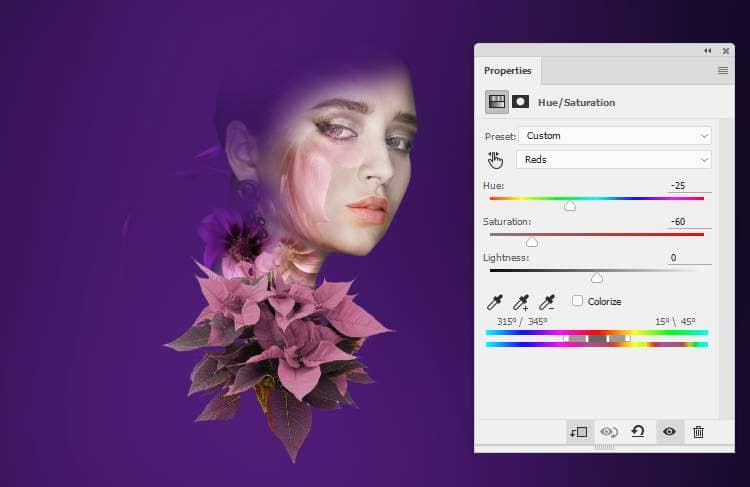
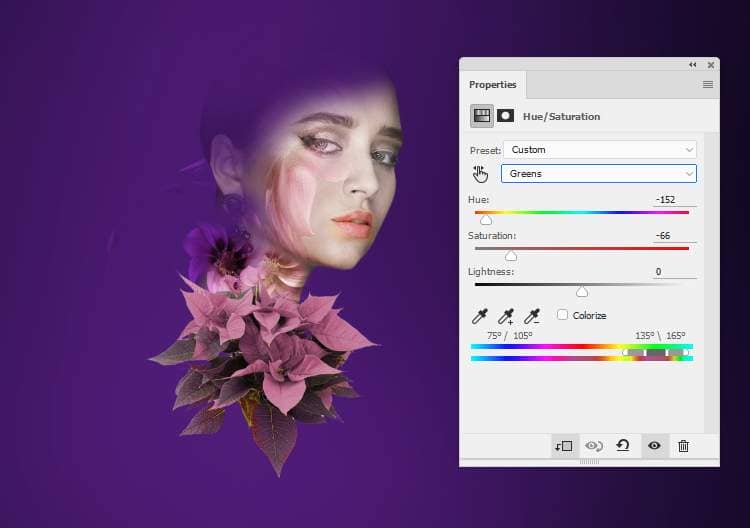
Step 20
Make a Curves adjustment layer to brighten the flowers . On this layer mask, paint on the upper area or any details you feel too bright.
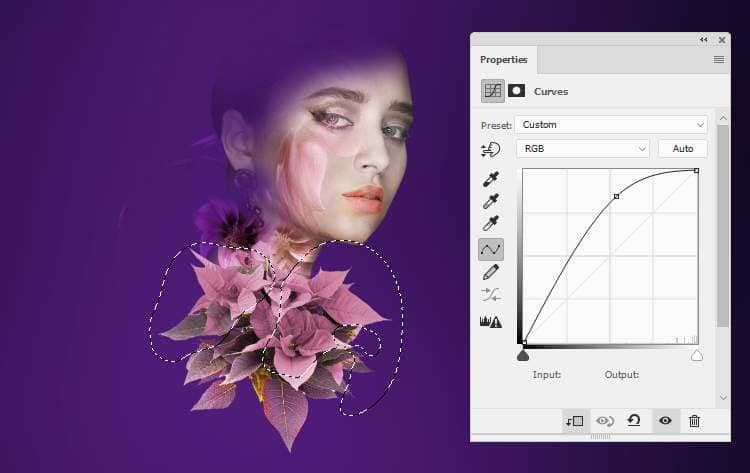
Step 21
Create another Curves adjustment layer to increase the flowers' contrast. The selected areas show where to paint on the layer mask.
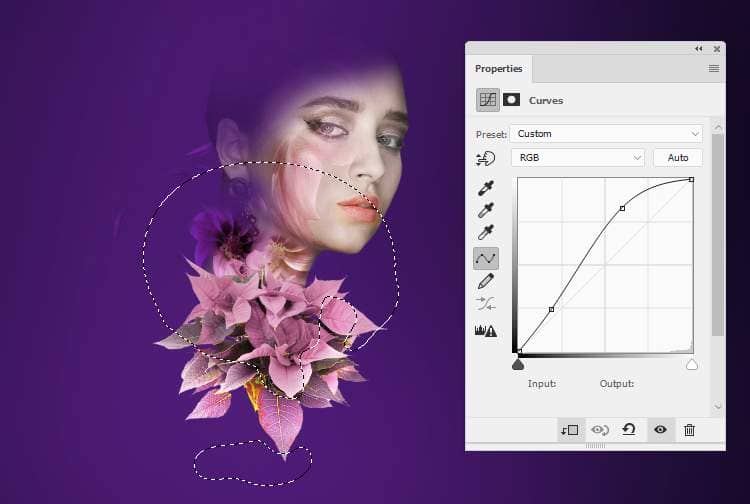
Step 22
Add a new layer, change the mode to Overlay 100% and fill with 50% gray. Use the Dodge Tool to paint some light/highlight on the flowers and leaves.

Step 23
Create a new layer on top of the layers and use a soft brush with the color #c3a7be to spot on the canvas. Lower the brush's size and use another brighter color (#ded1d3) to paint on the middle of the previous spot.

Use Ctrl+T to tweak this light spot into a curve one. Place it onto the neck area and change the layer mode to Hard Light 100%.

Step 24
Open the light 1 image and drag it into the canvas using the Move Tool. Use the Liquify Tool to tweak this light into a hair shape as shown below.
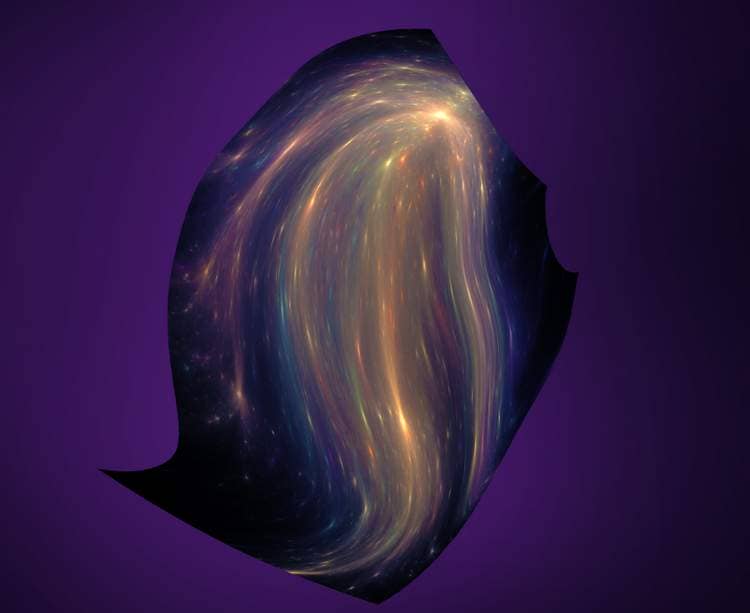
Change this layer mode to Screen 100% and use a layer mask to erase the part on the face and the flowers 2.
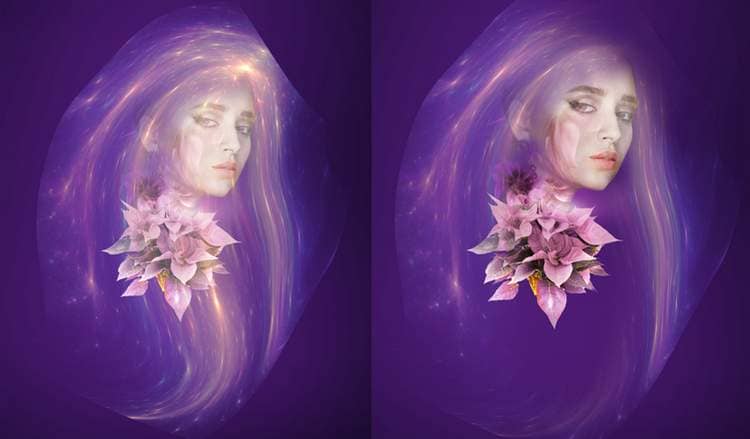
Step 25
Duplicate this layer several times to fill in the hair. Use a layer mask if needed to remove any details you feel unecessary.
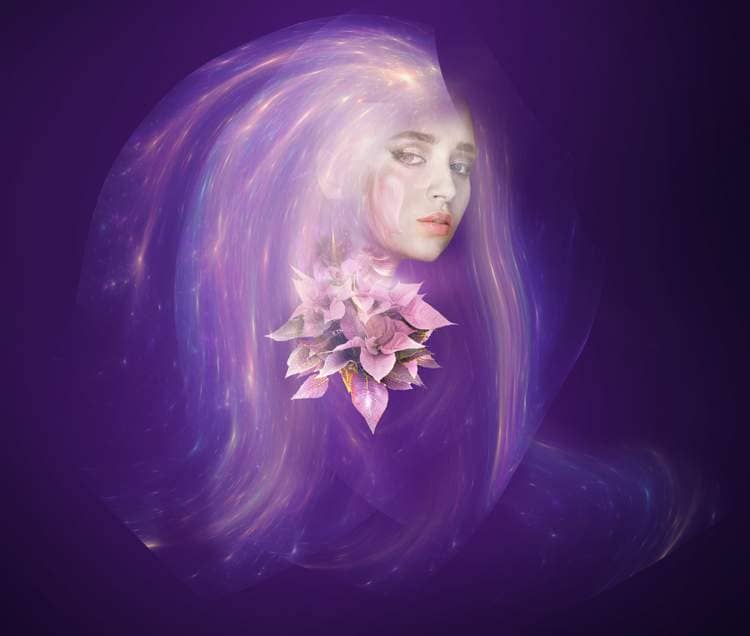
Step 26
Make a Curves adjustment layer (set as Clipping Mask ) for the selected hair part to increase its contrast.
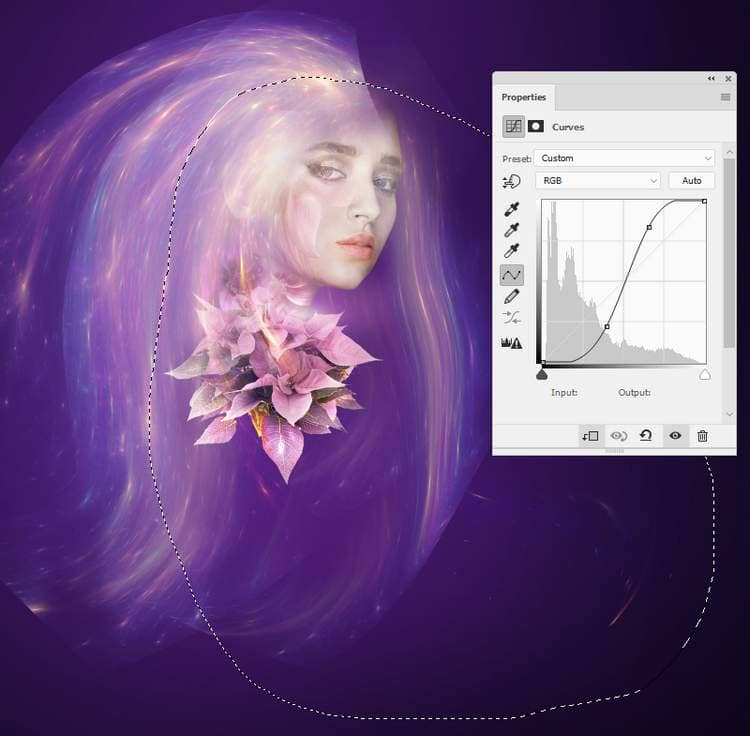
Step 27
Make a group for the hair light layers and change the group's mode to Screen 100%. Use a Hue/Saturation adjustment layer to change their color a bit.
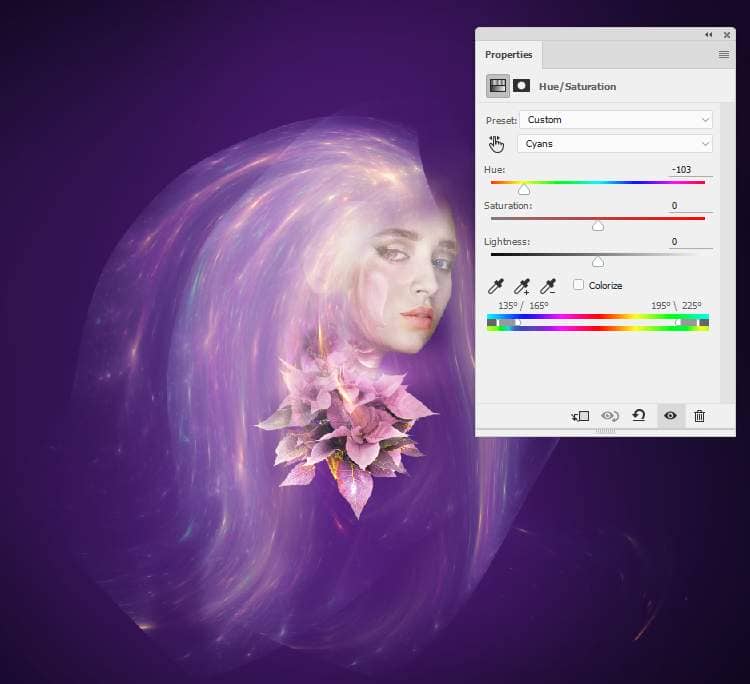
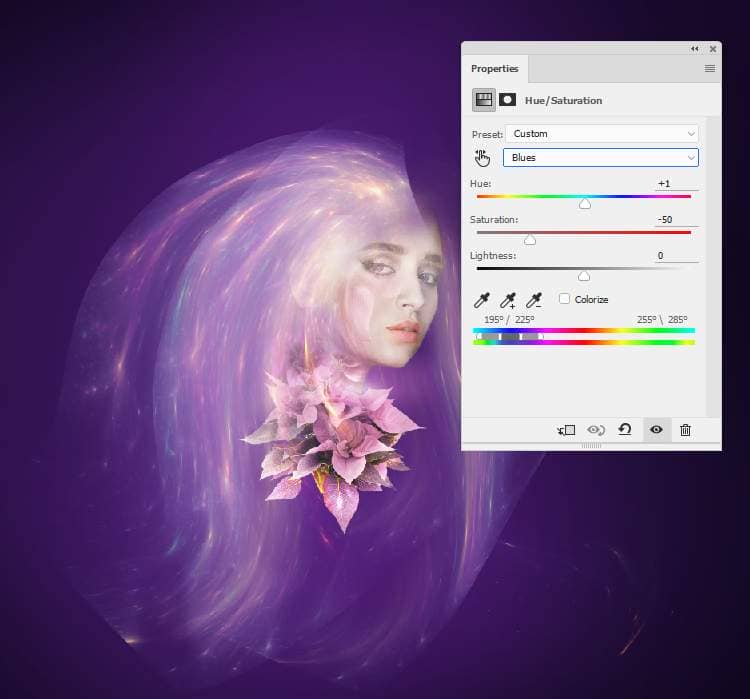
Step 28
Add a Levels adjustment layer to remove all of the hard edges remained.
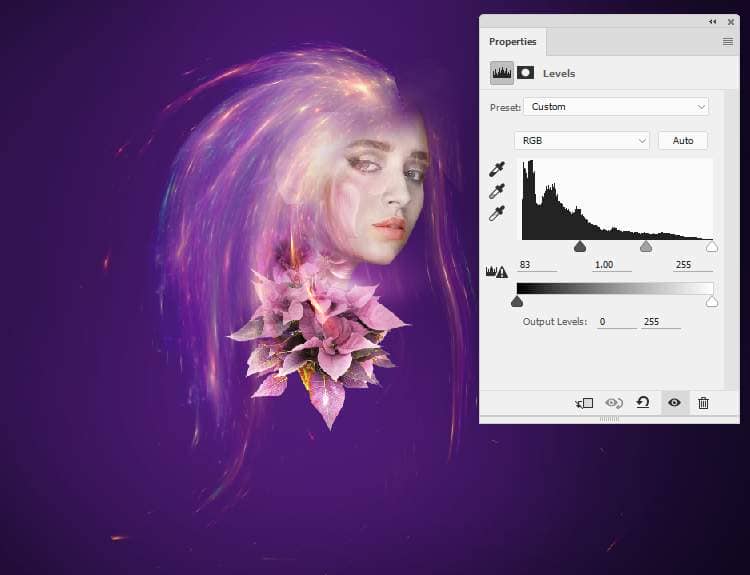
Step 29
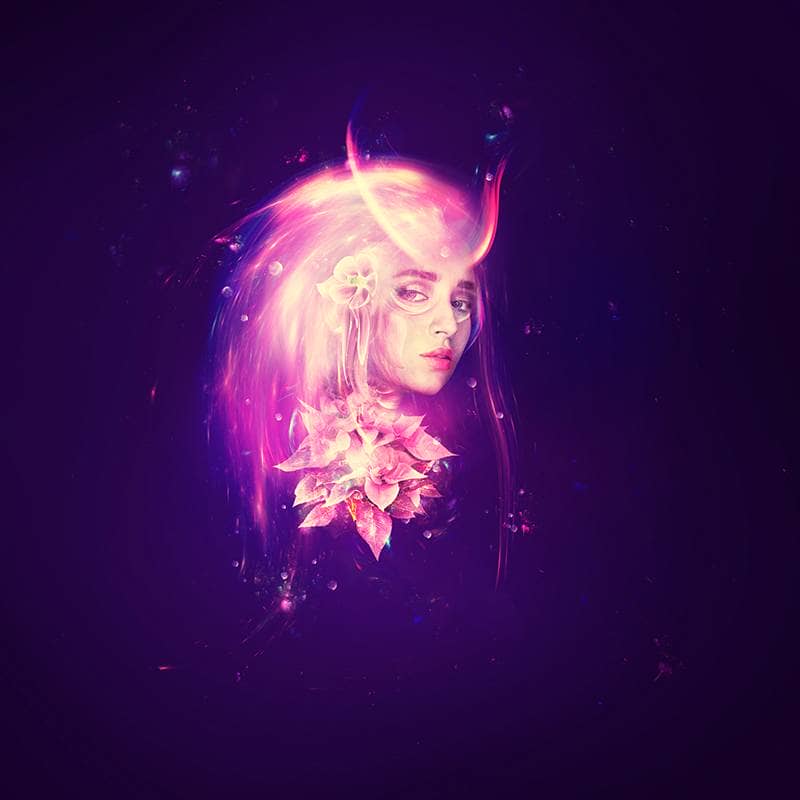
Make a new layer and place it below the the hair light group. Take a soft brush with the colors #d379cc and #e8c9cc and use the same method as done in the step 23 to make a light spot and tweak it using Ctrl+T.

Step 30
Move it to the hair area and change the layer mode to Screen 100%. Duplicate this layer twice and move them along the hair following the flow of the hair.


7 comments on “Photoshop Tutorial: Create a Glowing Cyberpunk Portrait with Light Streaks”
excellent work. I salute your creativity
We need videos pls
Oh, fun! LOL Thank you!
easy dubs go crazy go stupid
please my photoshop cc didnt have portraiture please how can i make my image smooth and clear
Nice one.
Wowwwww