Turn any photo into a dot grid artwork with these Photoshop actions. You'll get great results with dots that change size. They get larger in brighter areas and smaller in darker areas. Free download available.
Step 42
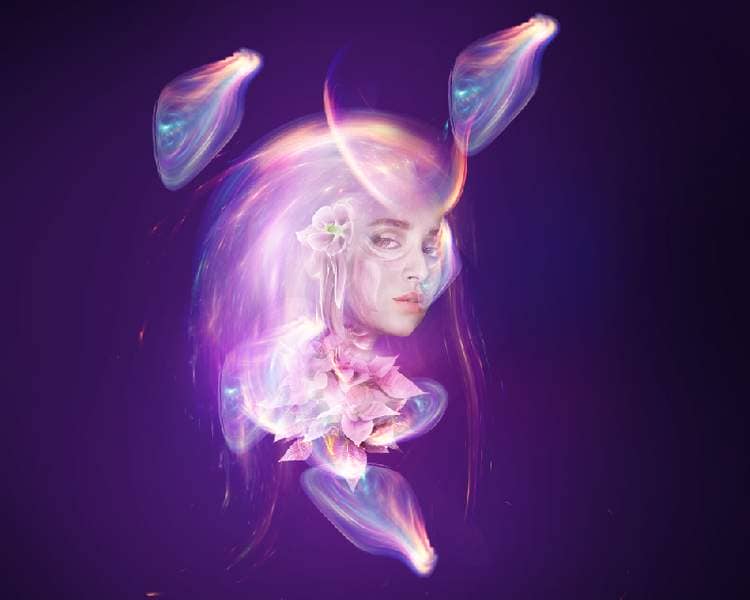
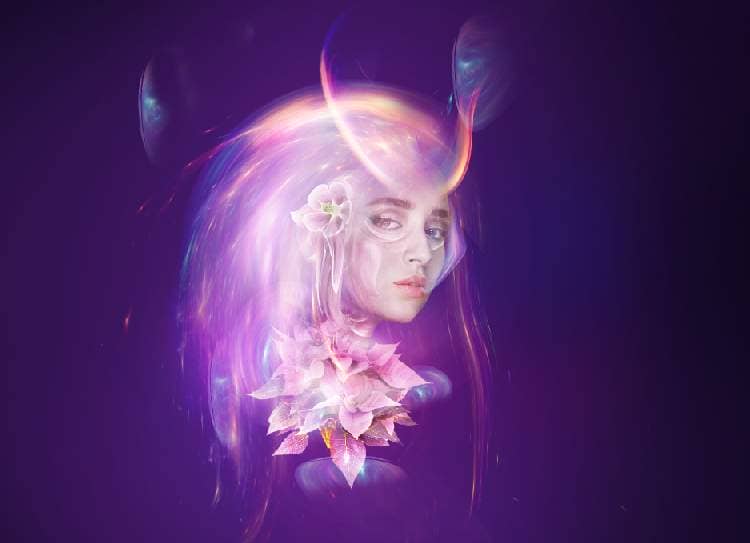
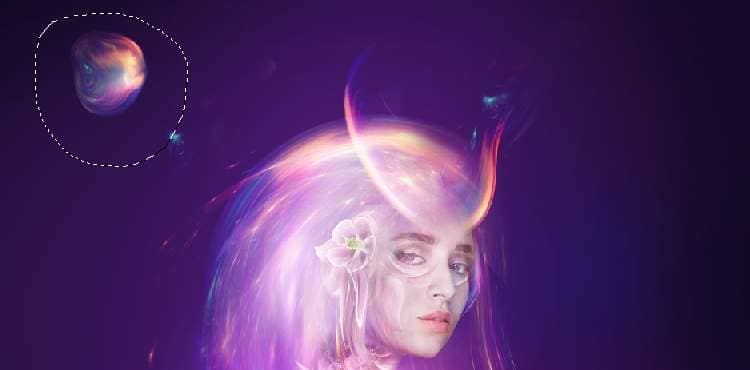
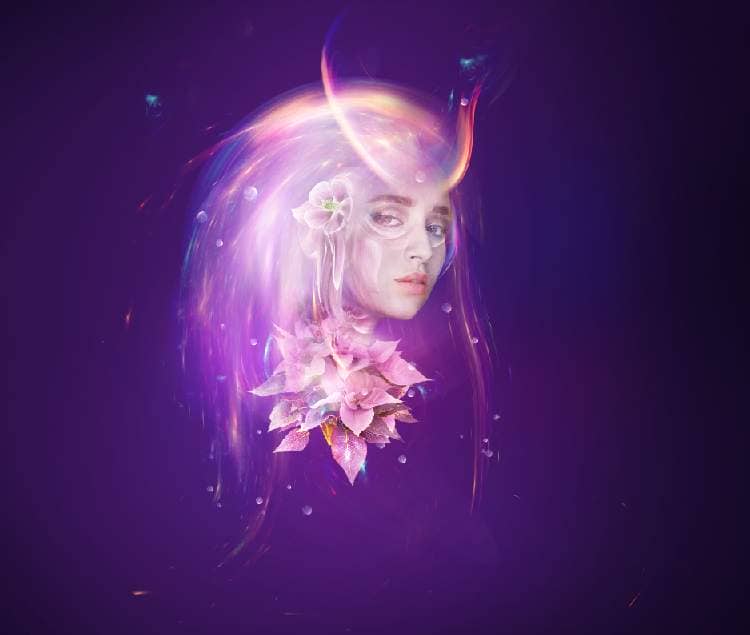
Continue tweaking the light into a shape below. Resize it to be much smaller and duplicate it many times. Arrange them around the model to make them look like tiny drops to decorate the model..
Step 43
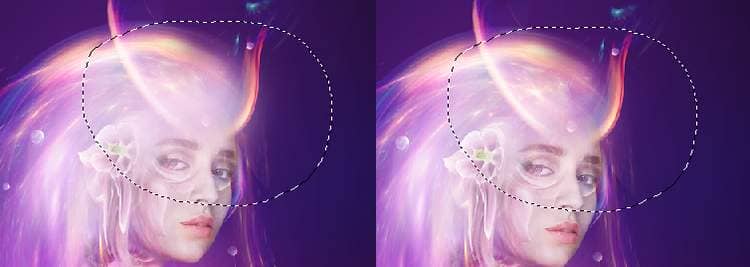
Create a new layer on top of the layers and use a soft brush with the color #f8e3f7 to paint on the horns area to brighten it a bit. Alter this layer mode to Soft Light 100%.
Step 44
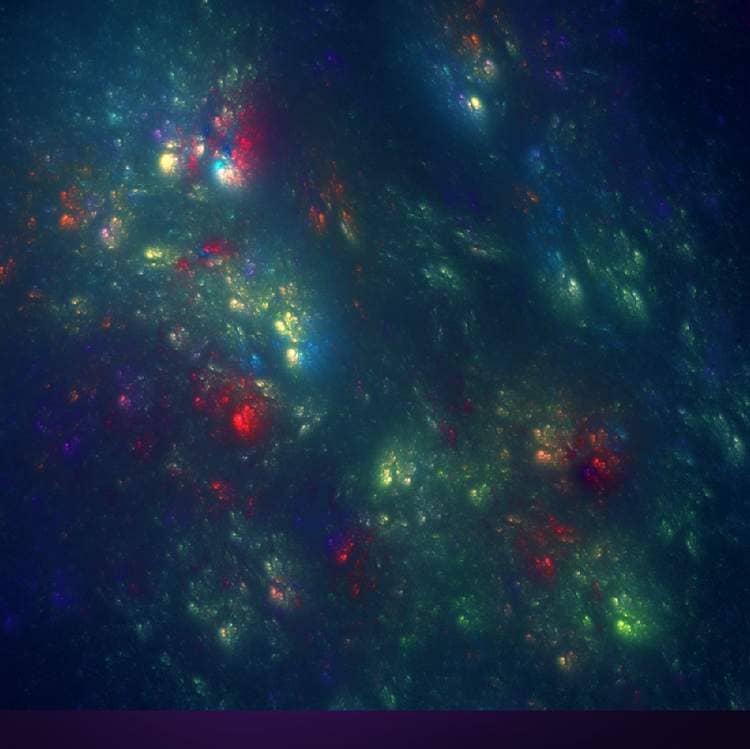
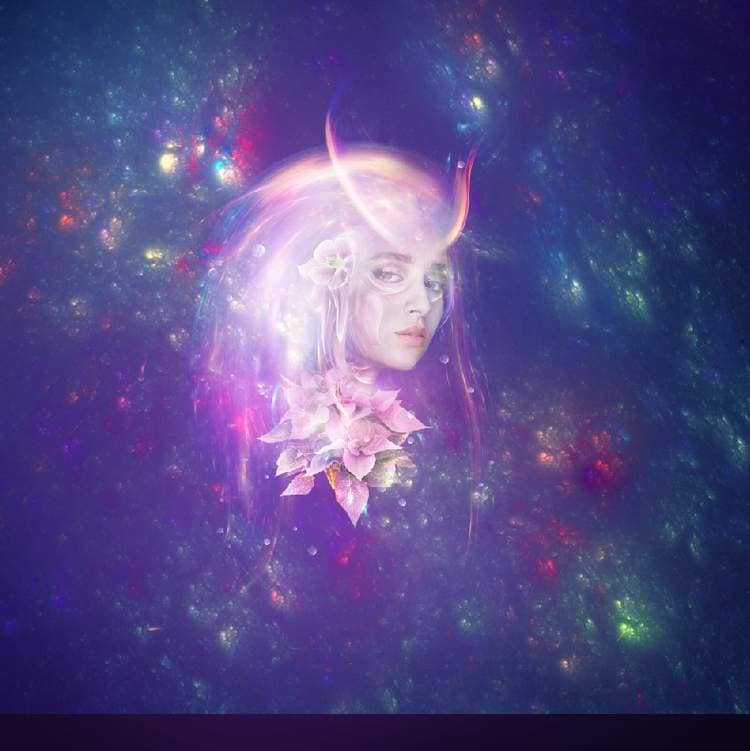
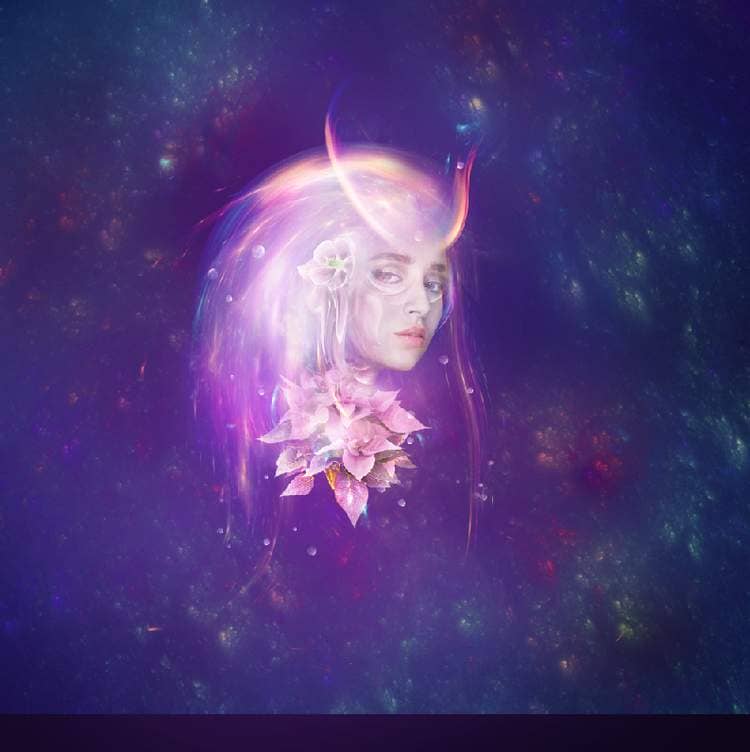
Add the nebula image to the main canvas and change this layer mode to Screen 100%. Add a mask to this layer to reduce its opacity and lightness.
Step 45
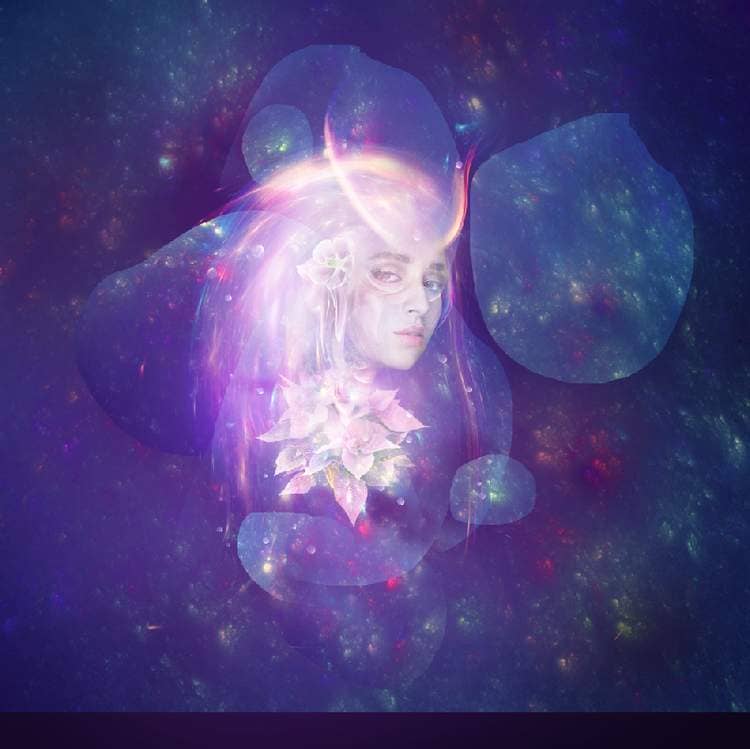
Take different parts from the nebula image to add around the model to add more details to her and alter their mode to Screen 100%.
Step 46
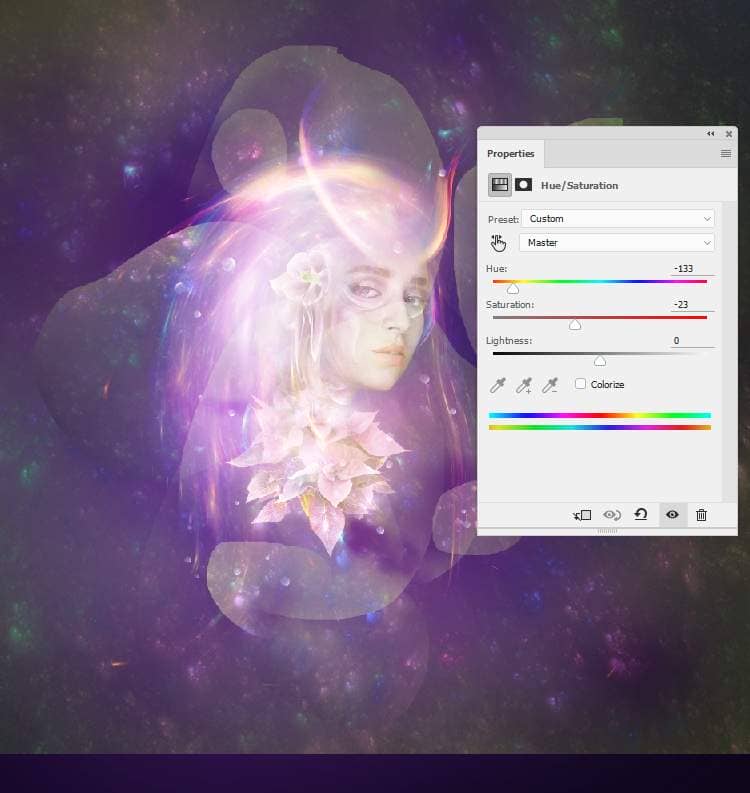
Group all of the nebula layers into a folder and change this group's mode to Screen 100%. Make a Hue/Saturation adjustment layer to make the color of the nebula effect changed.
Step 47
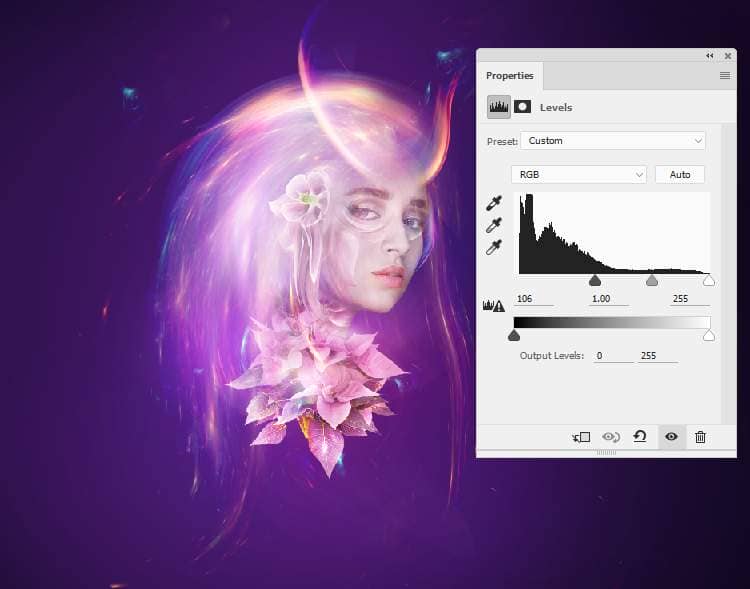
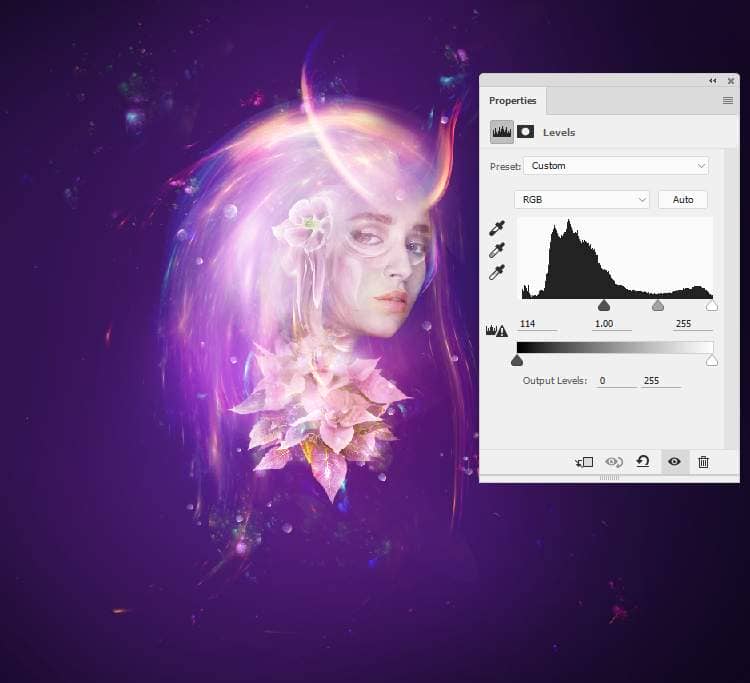
Add a Levels adjustment layer to remove all of the white edges remained.
Step 48
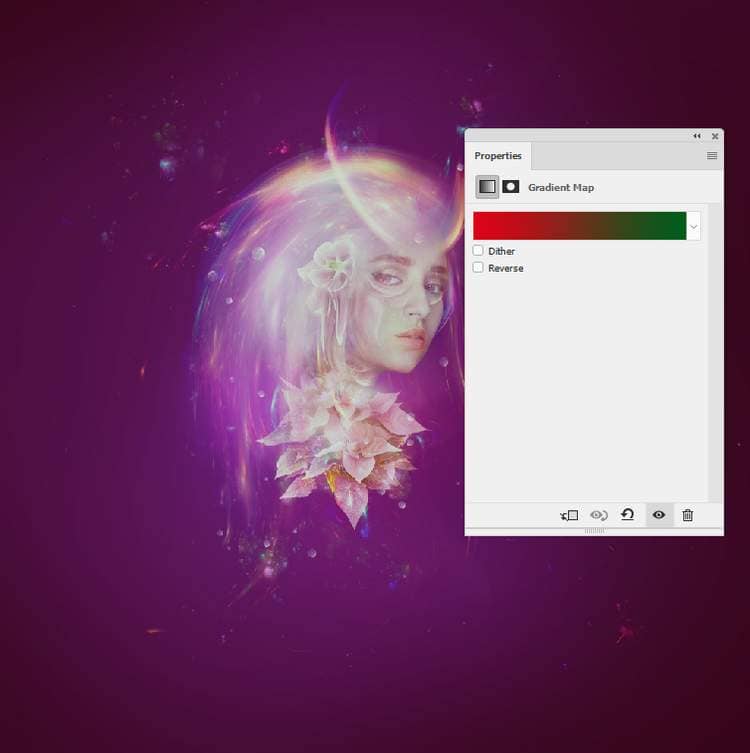
Make a Gradient Map adjustment layer on top of the layers and pick the colors #e10019 and #00601b. Lower the opacity of this layer to 20%.
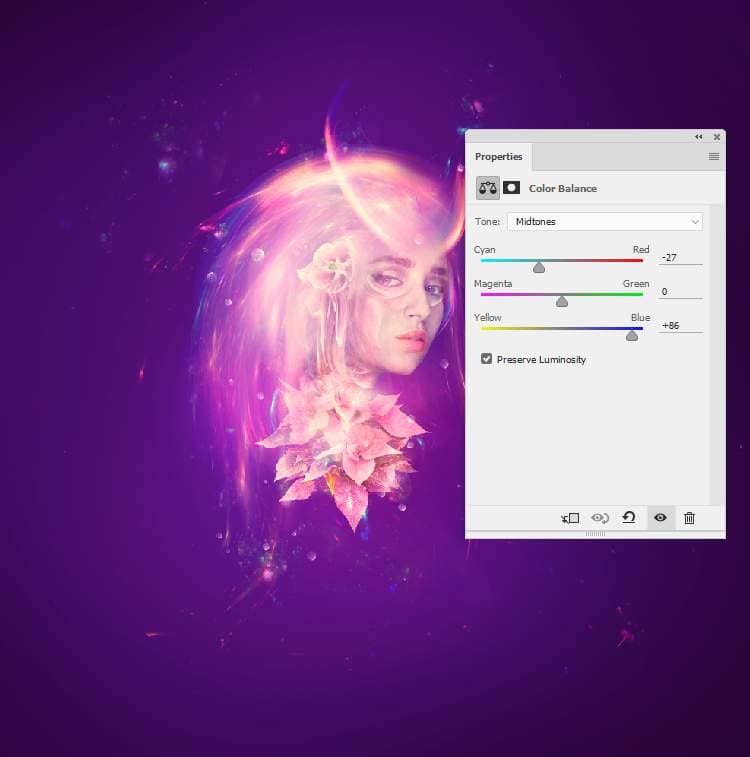
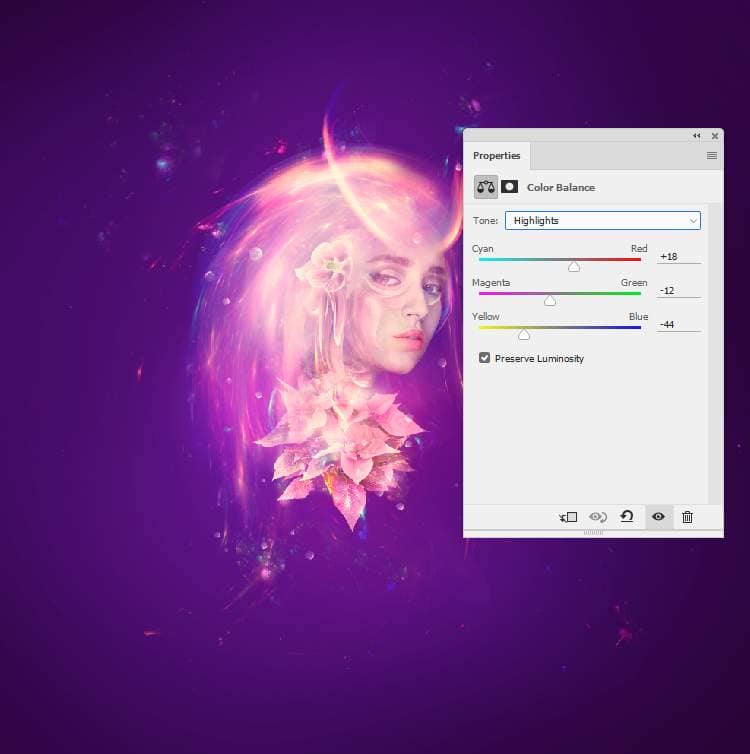
Add a Color Balance adjustment layer and alter the Midtones and Highlights settings:
Step 49
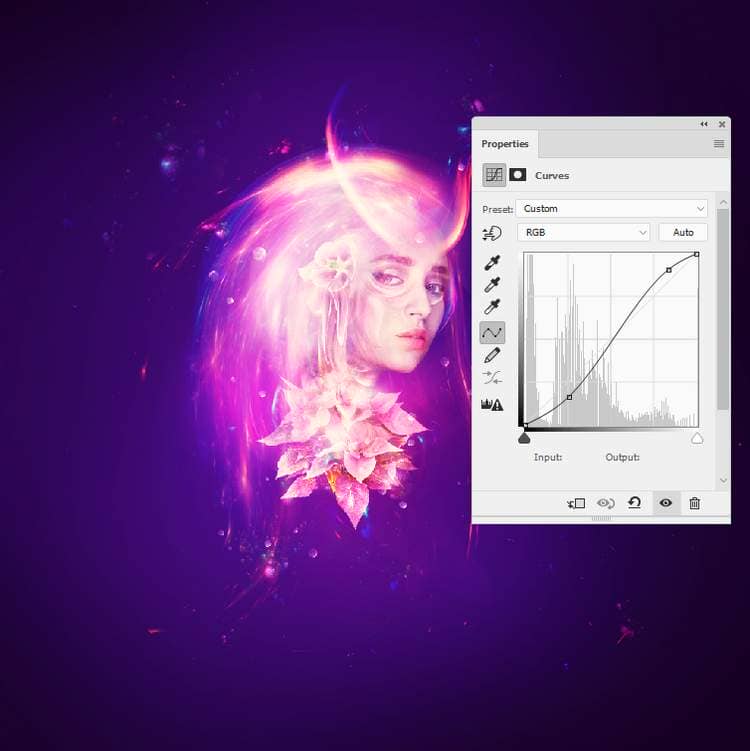
Use a Curves adjustment layer to increase the whole scene contrast.
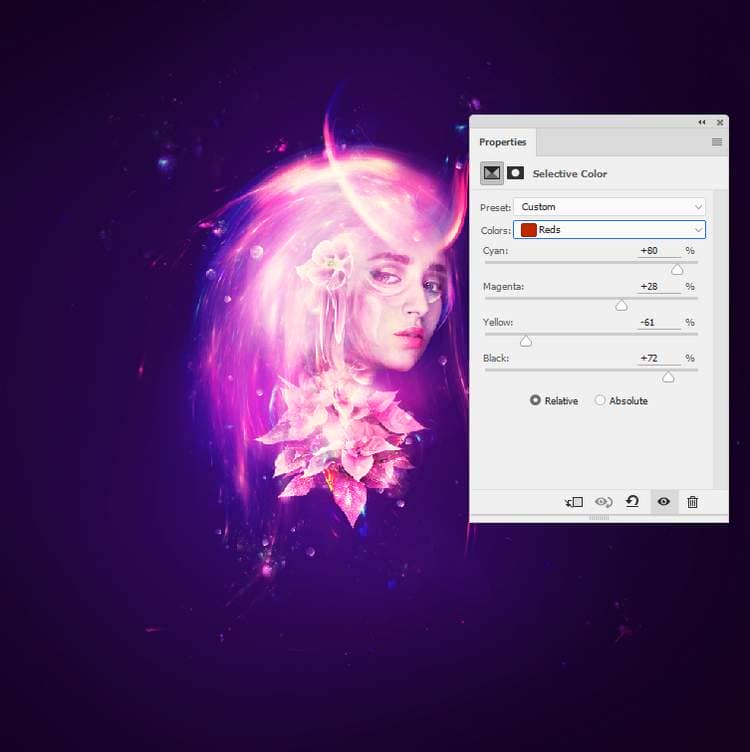
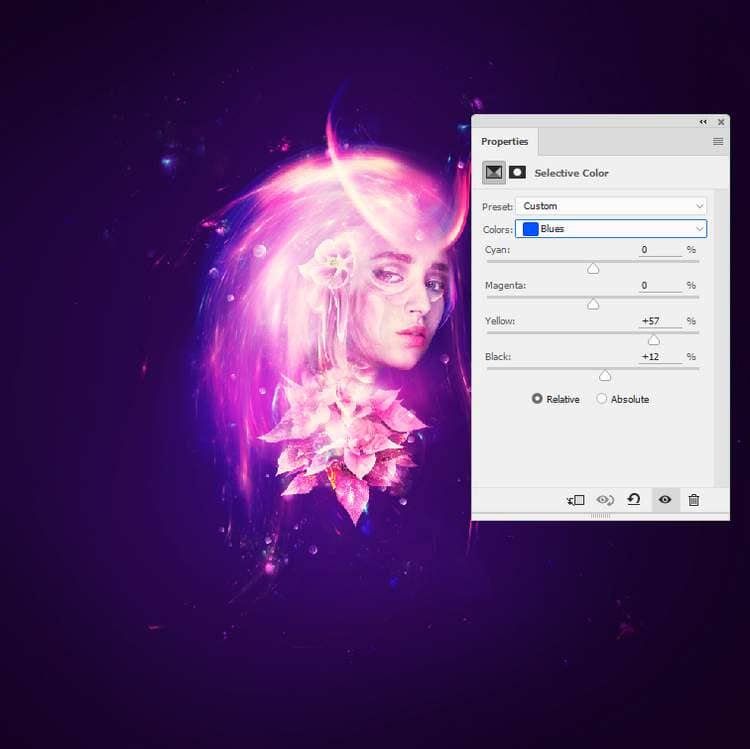
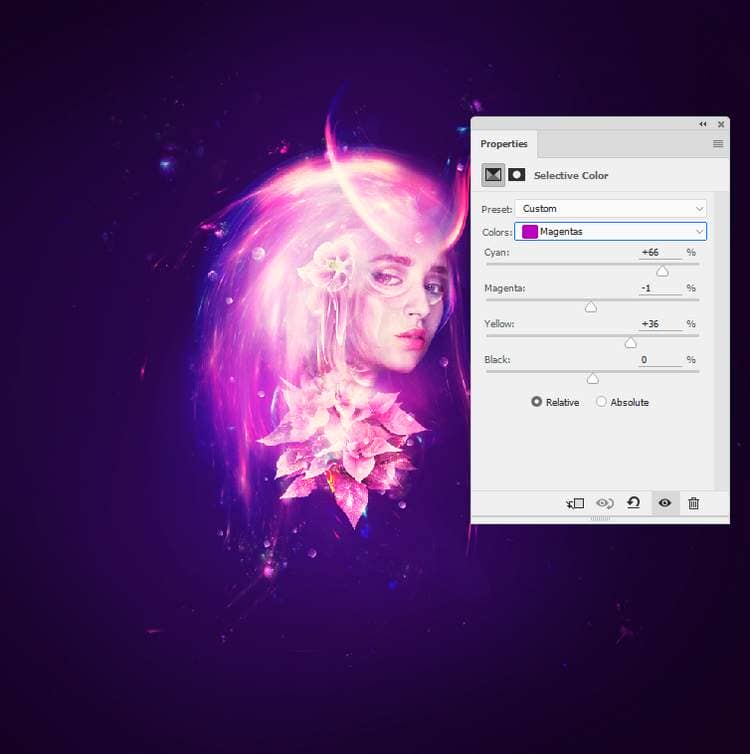
Create a Selective Color adjustment layer to alter the Reds, Blues and Magentas values:
Step 50
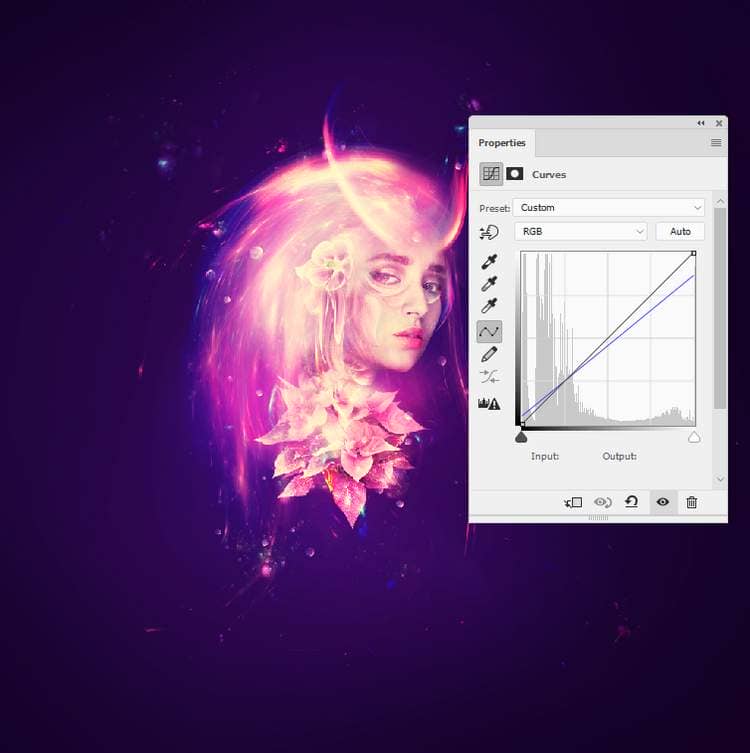
Make another Curves adjustment layer to enhance the final effect.
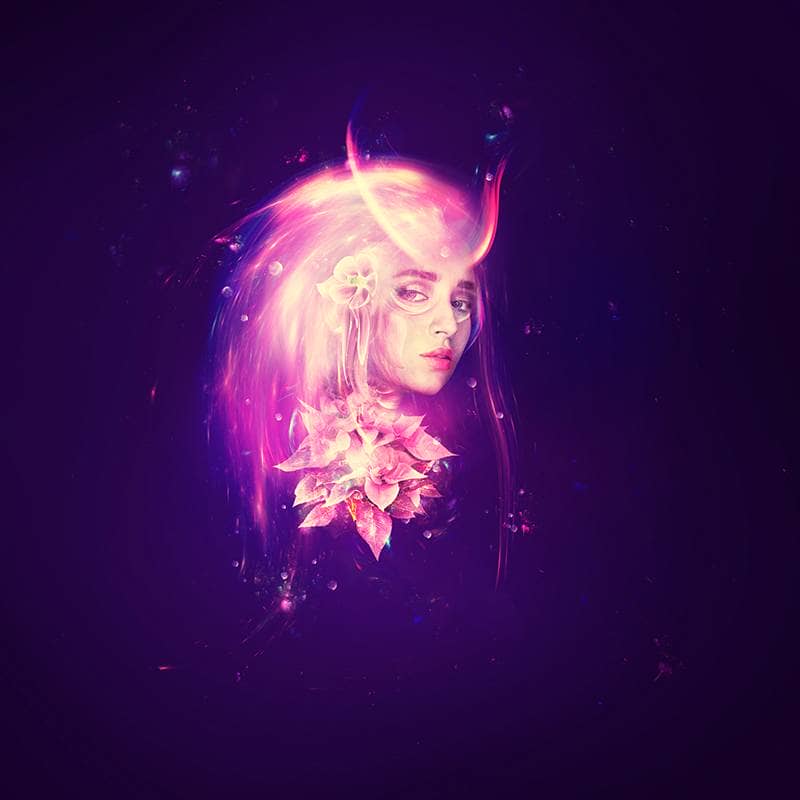
Final Result
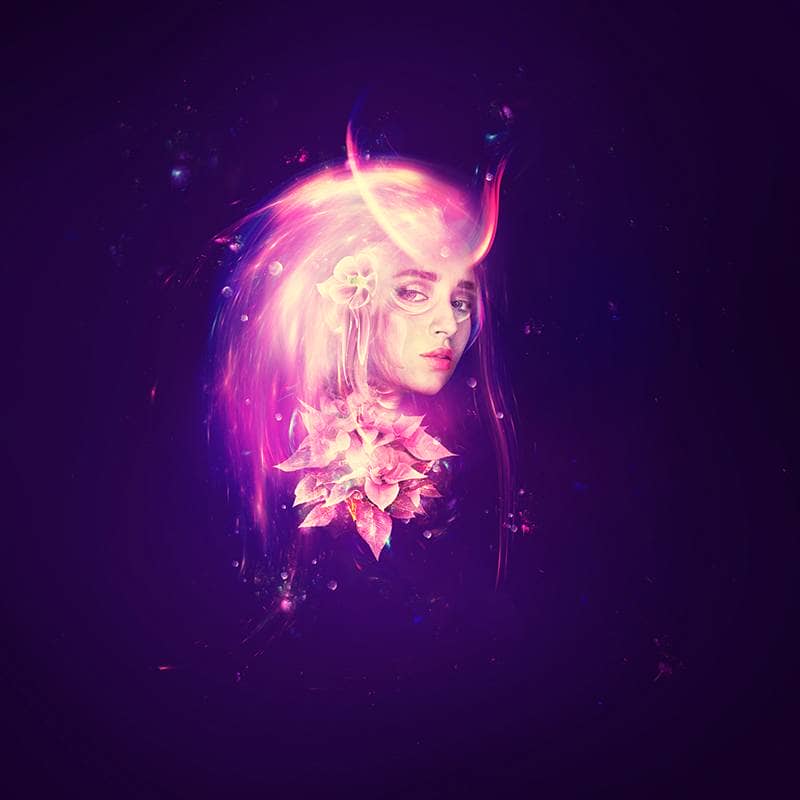
Download the PSD
Tutorial by Jenny Le
Thank you for reading this tutorial, I hope that you've enjoyed it. If you want to view my other arts and tutorials you can follow me on Facebook or look at my Deviantart page.

7 comments on “Photoshop Tutorial: Create a Glowing Cyberpunk Portrait with Light Streaks”
excellent work. I salute your creativity
We need videos pls
Oh, fun! LOL Thank you!
easy dubs go crazy go stupid
please my photoshop cc didnt have portraiture please how can i make my image smooth and clear
Nice one.
Wowwwww