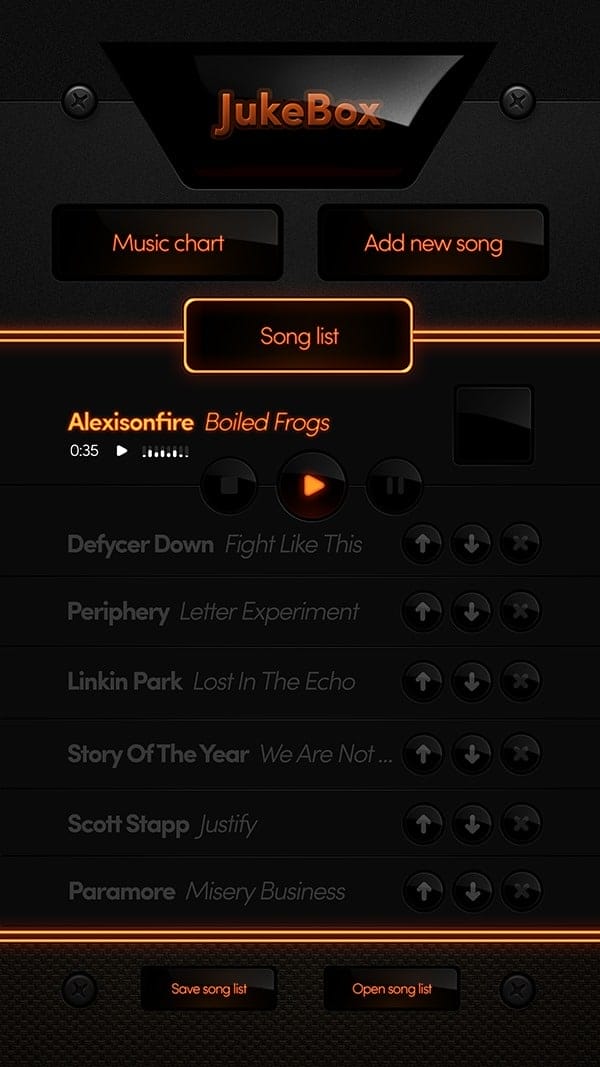
This tutorial will show you how to create your own music interface that lets you manage songs on your device, whether it’s a phone, computer or a tablet. By learning few cool design tricks you can bring your own interface ideas to life. This tutorial will show you how to create two screens for your interface; a loading screen and the main interface with the song list.
Preview of Final Results
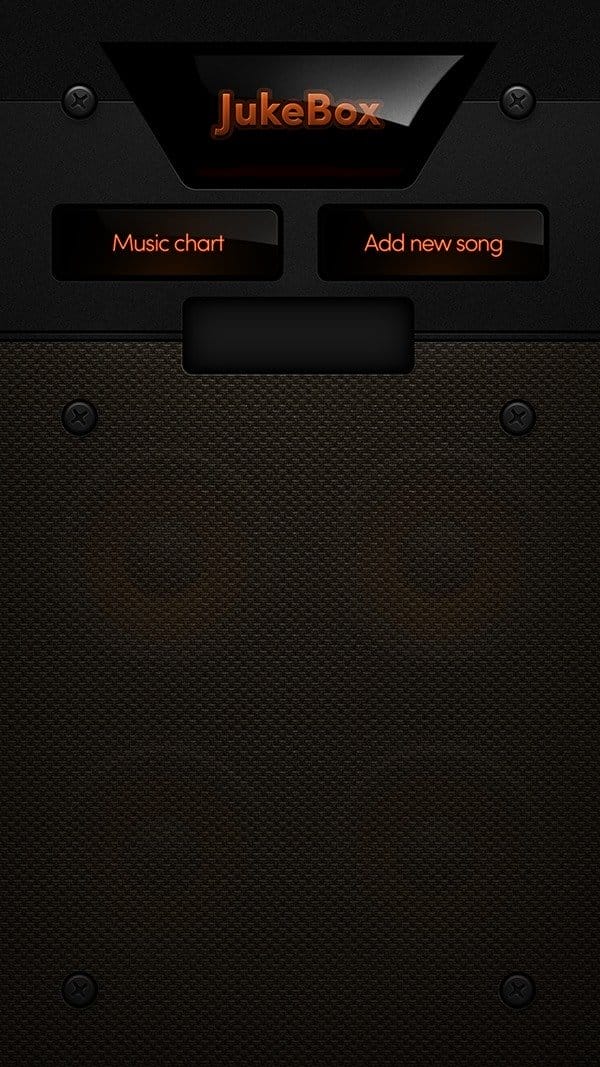
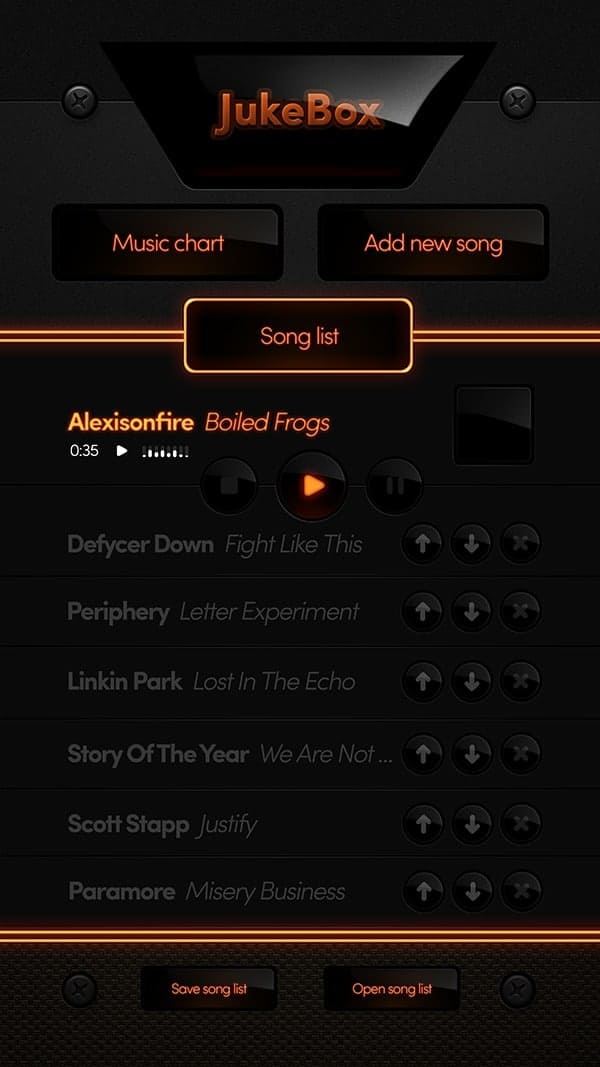
Tutorial Resources
- Speaker – 123rf.com
- Carpet fabric – cgtextures.com
Step 1
Alright, let’s start by creating a little bit bigger canvas than our desired final screen. Let’s set it to 1080×1920 and resolution of 72 px/inch. For the background color choose black.

Step 2
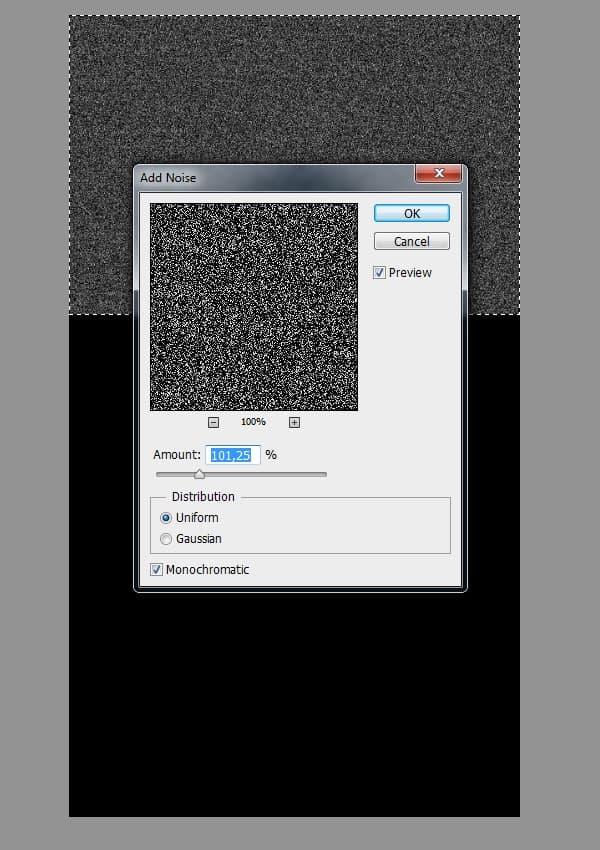
Grab Rectangular Marquee Tool (M) and draw a selection covering the whole top of the canvas (for around 1/3 of the whole image). Use Paint Bucket (G), then fill up the selection with black color. Next go to Filter > Noise > Add Noise.
Step 3
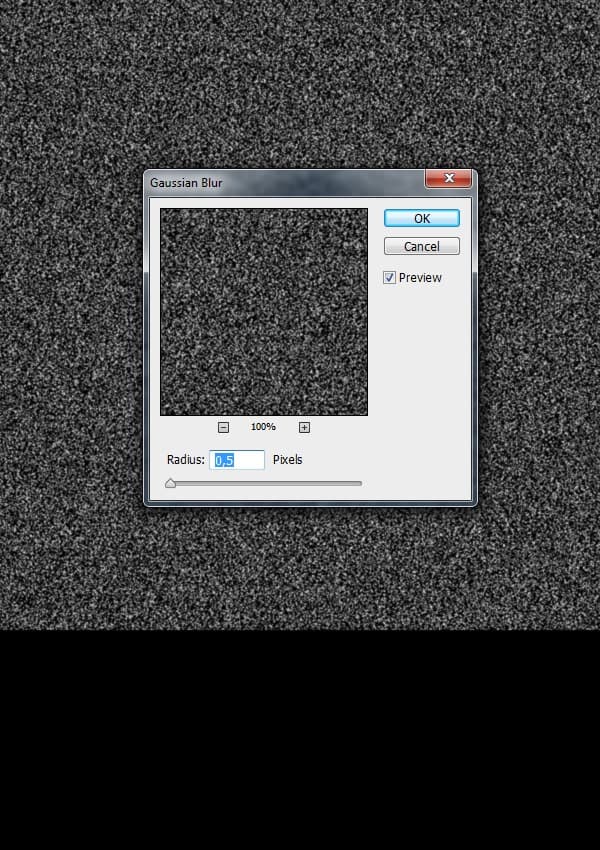
Now go to Filter > Blur > Gaussian Blur and add the blur of around 0,4 radius.
Step 4
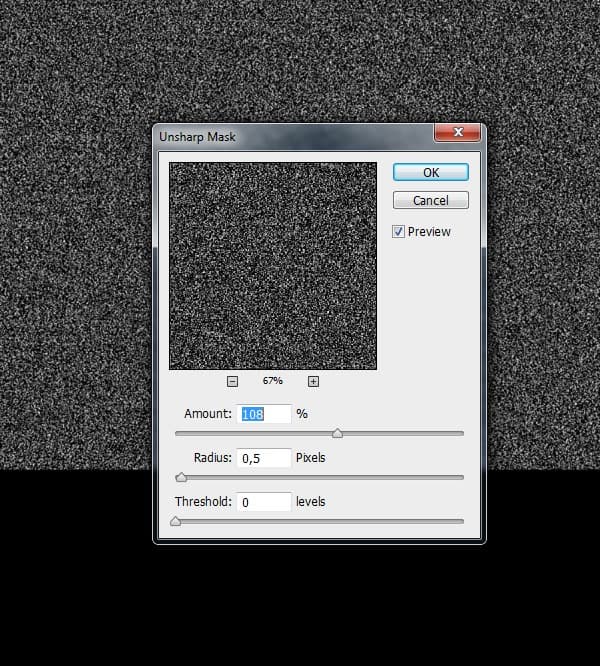
Then go to Filter > Sharpen > Unsharp Mask and sharpen it as shown below.
The whole point of this is to make that texture a little smoother than the noise is itself. If you feel that the texture could use more sharpen, then go ahead and press Ctrl+F, this will apply the last used filter (which was Unsharp Mask), this way the effect will be stronger.
Step 5
Basically it doesn’t really matter how much of noise you gave in the first place, as this is adjustable. Depending on how much you want your background texture to be visible, you need to set the Opacity of our layer that contains the noise. I’m gonna go ahead and in the Layers Palette lower it to around 4%.
If you want your texture to be even more visible you can add a little bit more sharpness (as in step 4).

Step 6
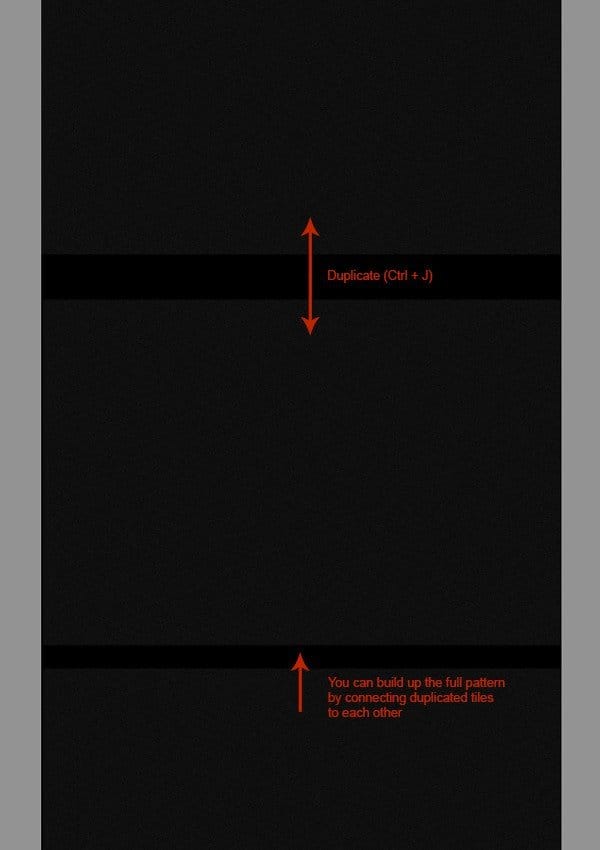
Now because the noise texture is seamless you can easily duplicate it (Ctrl+J) and connect each tile to create any type of background.
Step 7
Try to connect them as indicated in the previous step and move them a bit to the top so the whole design has one small gap like in the screen below.

Step 8
Now create new layer above, grab Rectangular Marquee Tool (M) and select the whole bottom part of the background (starting from the gap ledge). Then pick Brush Tool (B), set its Opacity to 100%, Flow to 1% and Hardness to 0%. Use white color and softly paint on the new layer, inside the selection (as indicated).
15 responses to “How to Create a Beautiful Audio App User Interface”
-
Thank you
-
The instructional exercise was extremely useful… Here I figured out how to make a UI of an applications. I’m extremely grateful to you.
-
Sensacional
-
Great
-
This tutorial was really helpful… Here I learned how to make an user interface of an apps. I’m really thankful to you.
-
Helo Wojciech,
Great. Only with elements of Photoshop this strong statement. And–an insane fleiss work.
-
alexisonfire YEAH!
-
this is cool
-
-
Nice technique. Really useful…thanks for the post…
-
Great job! Interesting process, love to make it.!
-
good job but it dificult for me
-
i want to learn photoshop so that i can also share it with others
-
can you plz send me some ps shortcuts on my email id.
-
I want to learn Photoshop and wave page dissing. I am very happy to see your system.
-
I want learn all posses of Photoshop. If you share with me by bangla language, I will very pleased.I also want to learn wave page dissing

Leave a Reply