Turn any photo into a dot grid artwork with these Photoshop actions. You'll get great results with dots that change size. They get larger in brighter areas and smaller in darker areas. Free download available.
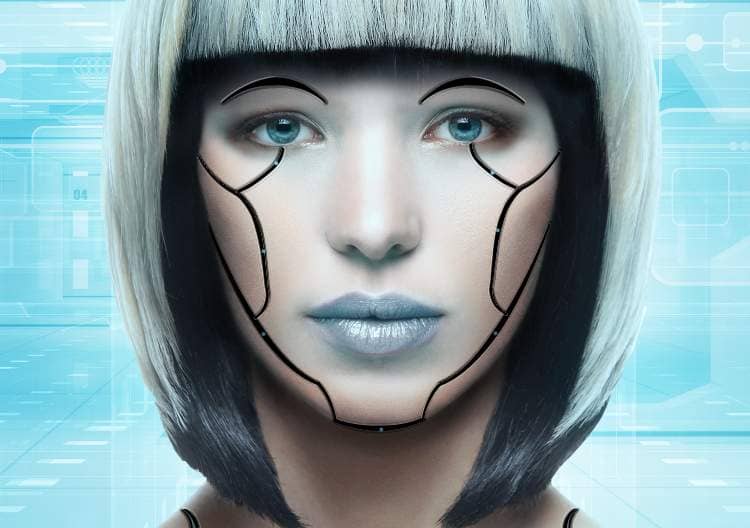
Step 30
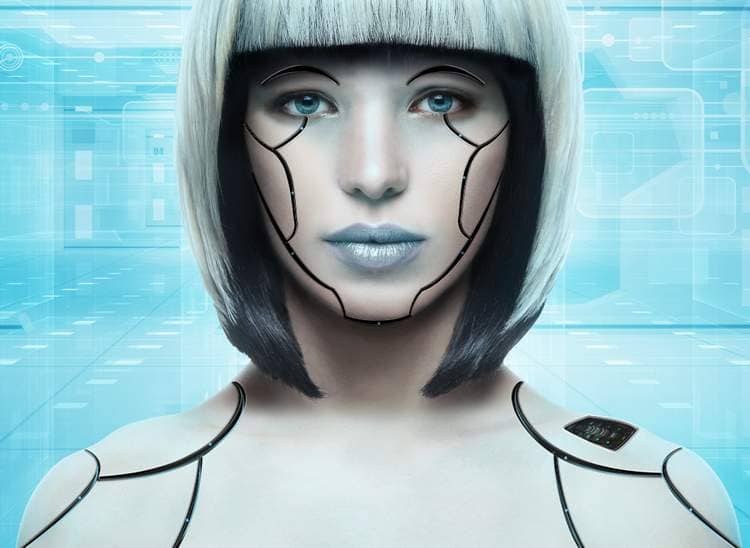
Make a new layer below the strokes group and use a soft brush with the color #808080to paint on the cheeks, chin, nose, neck and shoulders. Change this layer mode to Color 30%.
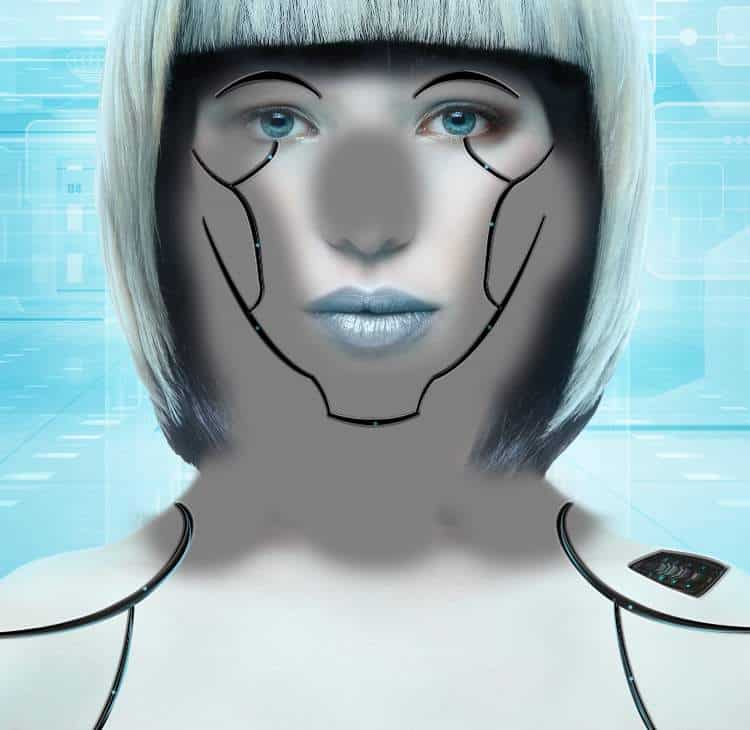
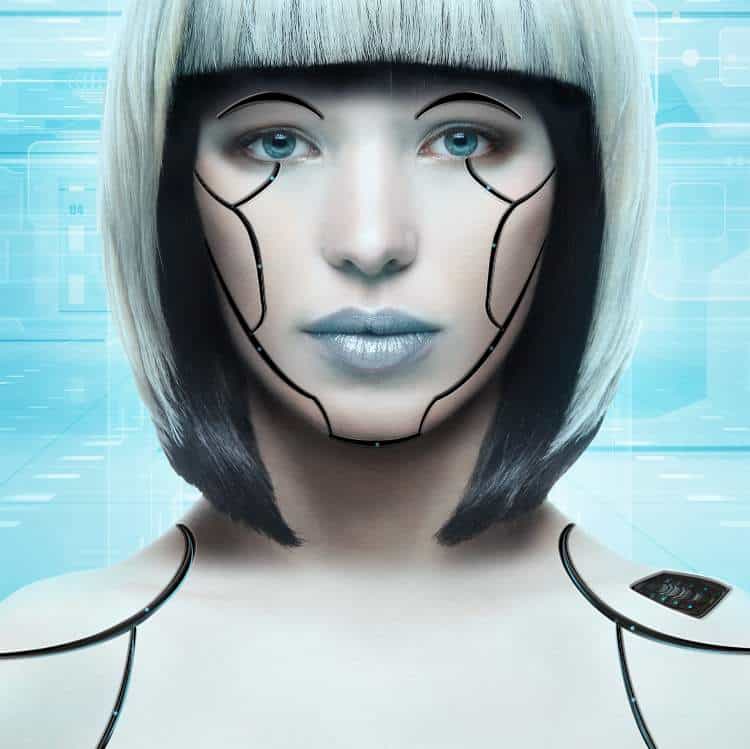
Step 31
Create a new layer and use a soft brush with the color #d2d7d2to paint on the top of the cheeks. Change this layer mode to Multiply 100%.

Step 32
Make a new layer, change the mode to Overlay 100%and fill with 50%gray. Use the Dodgeand Burn Tool to draw the shadow below the eyebrows and refine the light and shadow on the model.
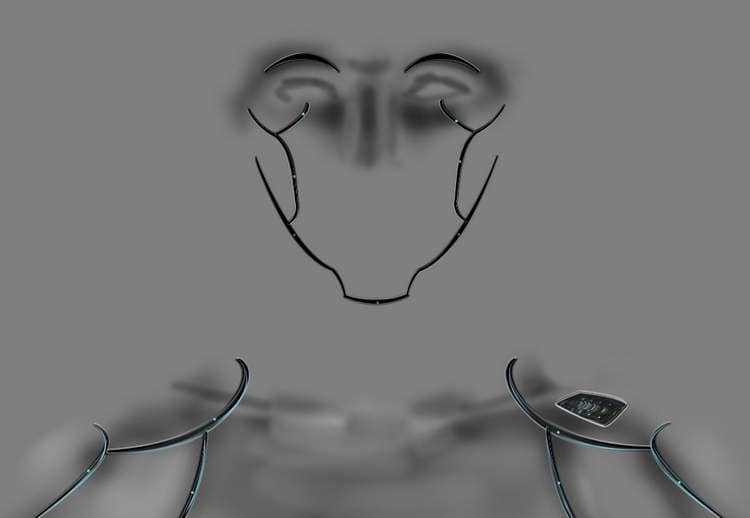
Step 33
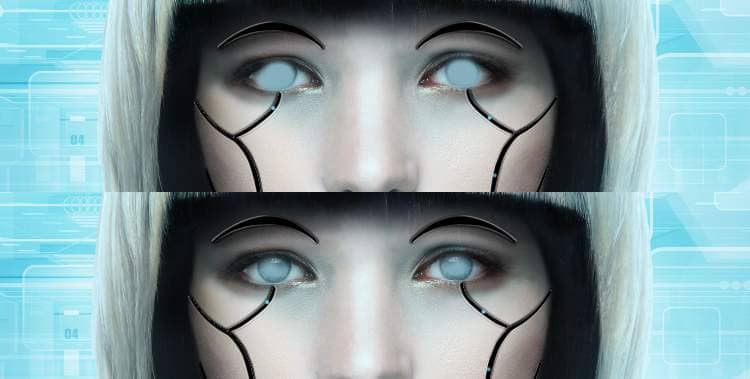
Create two new layers on top of the layers and change the foreground to #85b0bd. Use a small brush with this color to paint on the pupils and then add a layer mask to each of them to reveal the light inside the eye.
Step 34
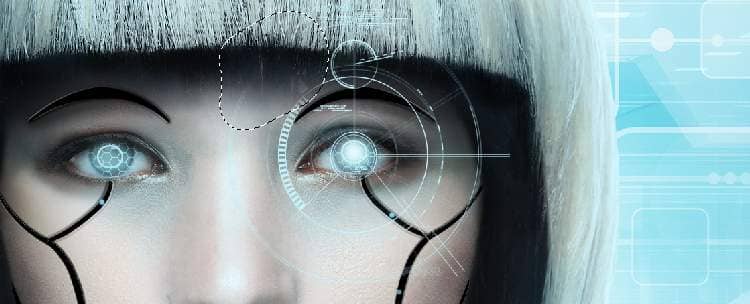
Make a new layer and change the brush to the tech ones. Use the gear1 one with the color #b8e7edto paint inside the eyes.

On a new layer, use the hexagon2 brush with the color #a2f4ffto paint on the left eye. Add a mask to this layer to remove the part outside the pupils. Duplicate this layer to make the result more visible. Duplicate these layers and move them to another eye and flip hem horizontally.
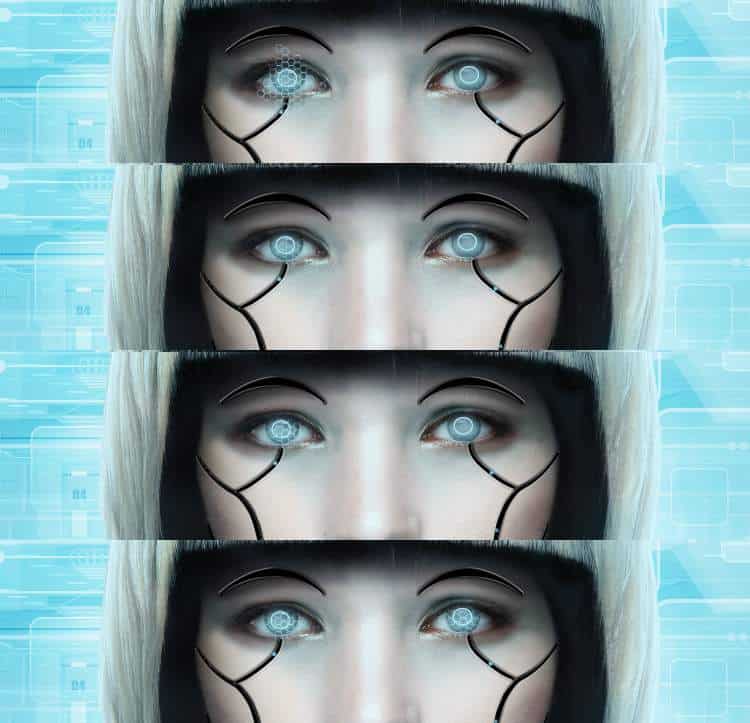
Create a new layer and use the circle2 brush with the color #c7f4feto paint on the right eye. Use a layer mask to remove the lower part on the nose.
Step 35
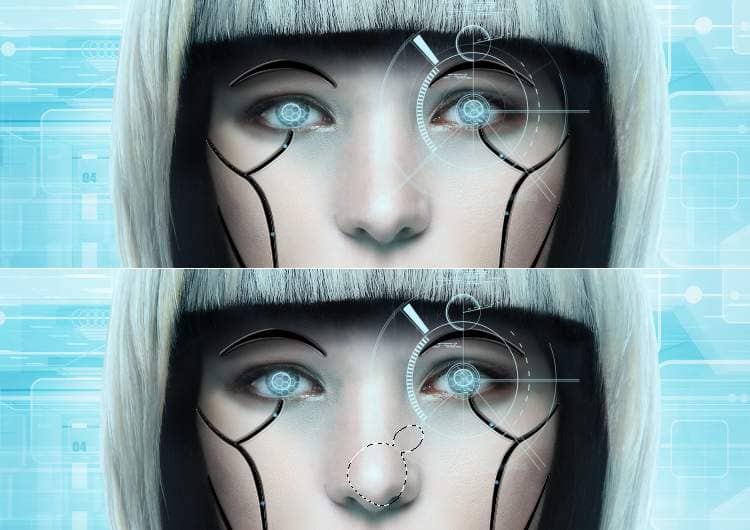
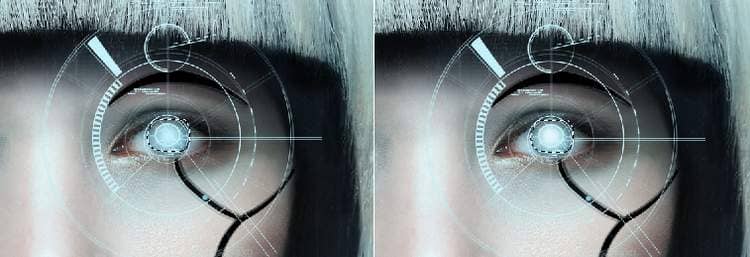
Make a new layer and use the circle5 brush with the same color to paint on the right eye. Duplicate this layer to make it more visible.
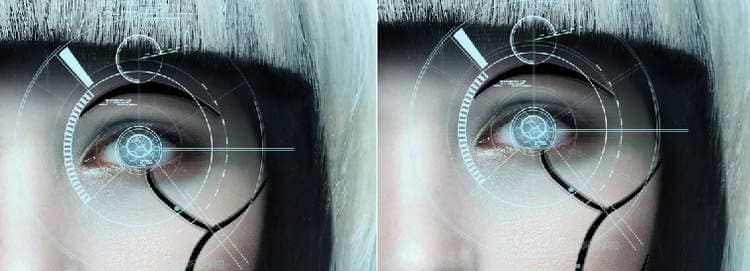
Create two new layers and use a small soft brush with the color#c7f4feto paint the highlight on the pupil of the right eye.
Step 36
Select all the layers from the step 34 and 35 and hit Ctrl+Gto make a group for them. Add a mask to this group and use a soft black brush to erase the part above the nose.
Step 37
Make a new layer and use the circuit2 brush with the color #e7f9fdto paint on the model's lips. Go to Edit > Transform > Rotate 90 Clockwiseand use a layer mask to remove the part outside the lips.
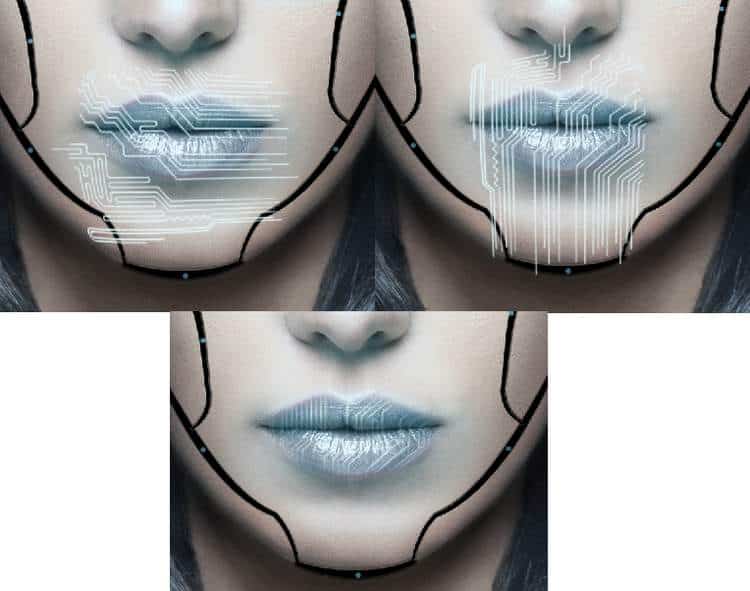
Add a new layer and use the circuit3 brush with the same color to paint on the upper lip. Change this layer mode to Soft Light 100%and use a layer mask to erase the part outside this lip.


4 comments on “How to Create a Cyborg Photo Manipulation with Adobe Photoshop”
I can't do step 22 with the pen stroke, I waste too much time on how to do it, I give up.
I love this tutorial but I wish we didn't have to pay for the images... :(
Great editing photos I ever saw. Nice retouching for this picture.
Tener que comprar las fotos para el tutorial, no me parece correcto.