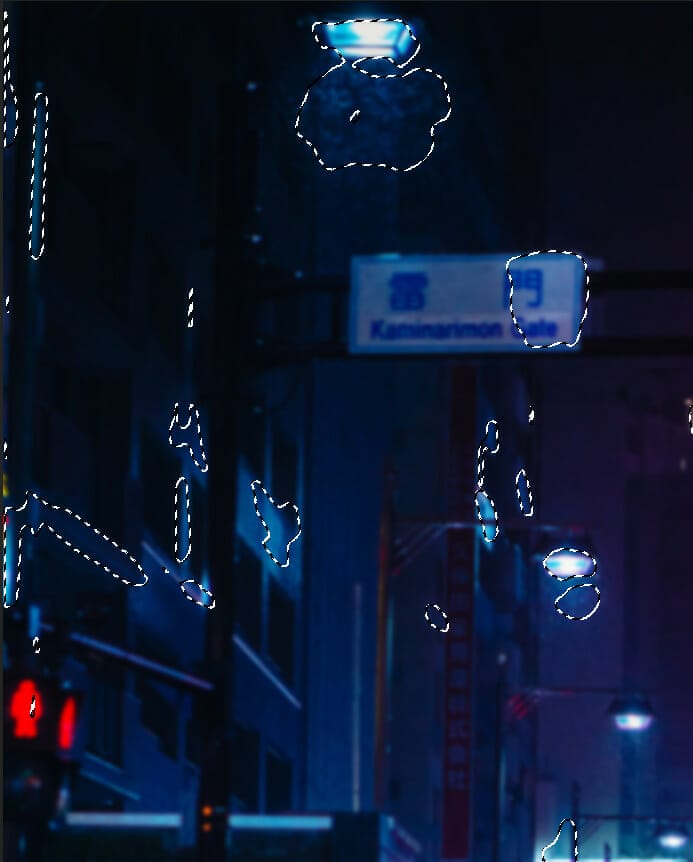
In a sense, a cyborg has no origin story in the Western sense – a ‘final’ irony since the cyborg is also the awful apocalyptic telos of the ‘West’s escalating dominations of abstract individuation, an ultimate self untied at last from all dependency, a man in space. In this photoshop tutorial, we will learn how to create a neon cyborg scene. First, we placed a city background, then add a robot and blended and add glows. Next added textures, rays brushes, and rain effect. For the final effect use the Camera Raw filter.
Preview of Final Image

Tutorial Resources
Step 1
Now, let’s start by creating a new image file, go to the Menu bar and click File > New, and then input the following values on their respective fields
- Preset: Custom
- Width: 3080px
- Height: 3850px
- Resolution: 300px
- Color Mode: RGB Color 8 bit
- Background Contents: Transparent

Step 2
Now letˇs start, place City Go to File > Place and select City, then place it to our work canvas and position the image with the transform tool (Ctrl / Cmd + T). Hold Alt + Shift and rasterize like the image below. In Photoshop CC only hold Alt to rasterize all sides together.


Press right-click and select Convert to Smart Object and go to Filter > Blur > Gaussian Blur and set the radius to 8.0 px


Step 3
Add Adjustment Layer “Curves” and press Ctrl/Cmd + I to invert. Then use Brush Tool(B) Soft Round with foreground color white and paint the highlight parts.


Step 4
Add Adjustment Layer “Curves” and press Ctrl/Cmd + I to invert. Then use Brush Tool(B) Soft Round with foreground color white and paint the dark parts.


Step 5
Add Adjustment Layer “Brightness/Contrast”

Step 6
Now, create a new layer and change the blend mode to Linear Dodge(Add) with foreground color blue #2367c1 and paint on light rays.

Step 7
Next, we will open Butterfly. After you open the image, use Lasso Tool(L) and start selecting butterfly. After the selection area has been created, simply copy (Ctrl / Cmd + C) and Paste (Ctrl / Cmd + V) it to our work canvas. Then position the image with the transform tool (Ctrl / Cmd + T). Hold Alt + Shift and resterize like the image below. In Photoshop CC only hold Alt to resterize all sides together.


Step 8
Add Adjustment Layer “Brightness/Contrast”


Leave a Reply