Step 9
Next, place Texture Go to File > Place and select Texture. Then place it to our work canvas and position the image with the transform tool (Ctrl / Cmd + T). Hold Alt + Shift and rasterize like the image below. In Photoshop CC only hold Alt to rasterize all sides together and change the blend mode to Color Dodge.


Step 10
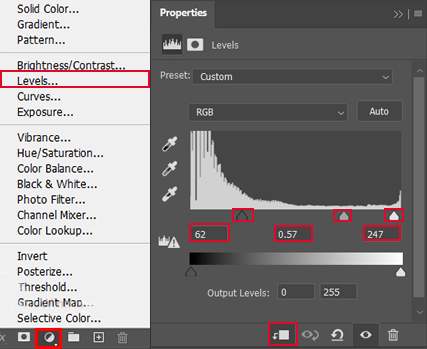
Add Adjustment Layer “Levels”

Step 11
Next, create three layers. On all three layers, we will add mist/smoke. On the first layer use Brush Tool(B) Soft Round with foreground color blue #246296 and paint with big brush size. The flow of brush set to 10% and opacity of layer set to 90%.

Next, on second layer use the same technique and create light on upper lamp. Opacity set to 30%.

On the last layer add more blue smoke.

Step 12
Next, we will open Cyborg. After you open the image, use the Quick Selection Tool(W) and start selecting. After the selection area has been created, simply copy (Ctrl / Cmd + C) and Paste (Ctrl / Cmd + V) it to our work canvas. Then position the image with the transform tool (Ctrl / Cmd + T). Hold Alt + Shift and resterize like the image below. In Photoshop CC only hold Alt to resterize all sides together.


Step 13
Add Adjustment Layer “Curves”

Step 14
Add Adjustment Layer “Color Balance”

Step 15
Add Adjustment Layer “Curves” and press Ctrl/Cmd + I to invert. Then use Brush Tool(B) Soft Round with foreground color white and paint the highlight parts.


Step 16
Now, create a new layer to add some glow and change the blend mode to Linear Dodge(Add) with foreground color blue #2d5d8f and paint on cyborg.

Step 17
Add Adjustment Layer “Brightness/Contrast” and press Ctrl/Cmd + I to invert. Then use Brush Tool(B) Soft Round with foreground color white and paint the highlight parts.


Step 18
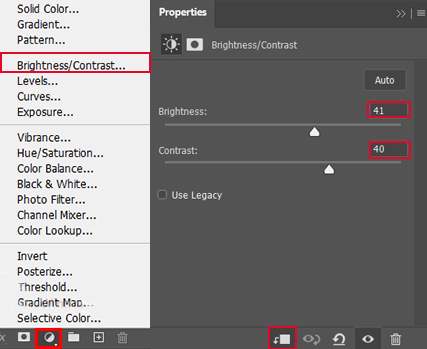
Add Adjustment Layer “Brightness/Contrast”

Step 19
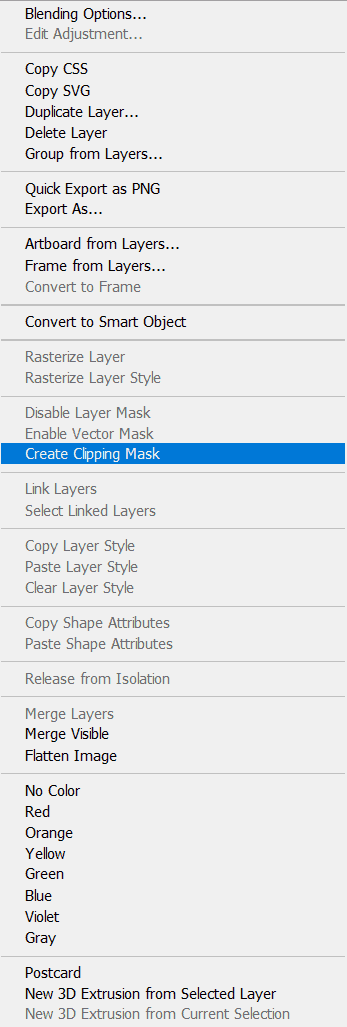
Now, create more lights. Create a new layer and press right-click “Create Clipping Mask” and Blend mode change to Overlay.

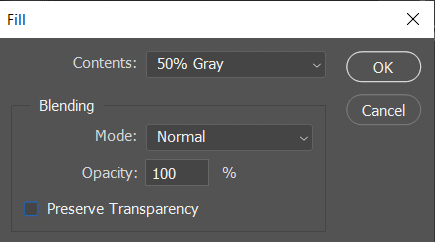
Then go to Edit > Fill and Contents: 50% Gray and press Ok.

Now use Brush Tool(B) Soft Round with foreground color white and Brush Opacity set to 10-20%. Then start painting Witch. Take a look at the example in the picture below how much you need to paint, where there is the most white color, draw the most.


Leave a Reply