

Luminar AI lets you turn your ideas into reality with powerful, intelligent AI. Download the photo editor and see how you can completely transform your photos in a few clicks.
Step 6
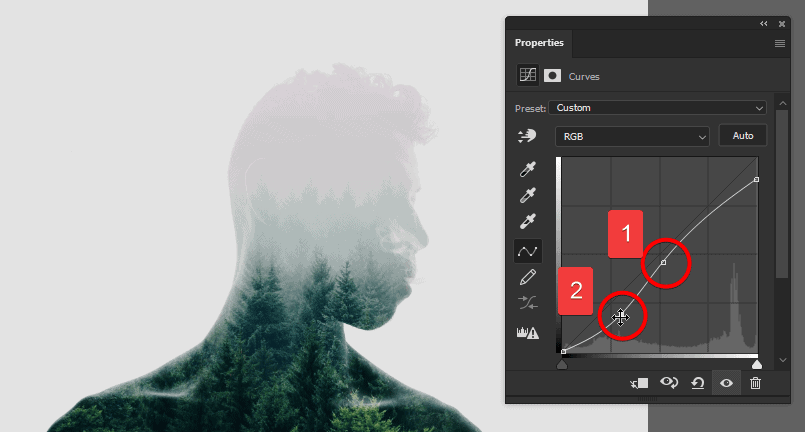
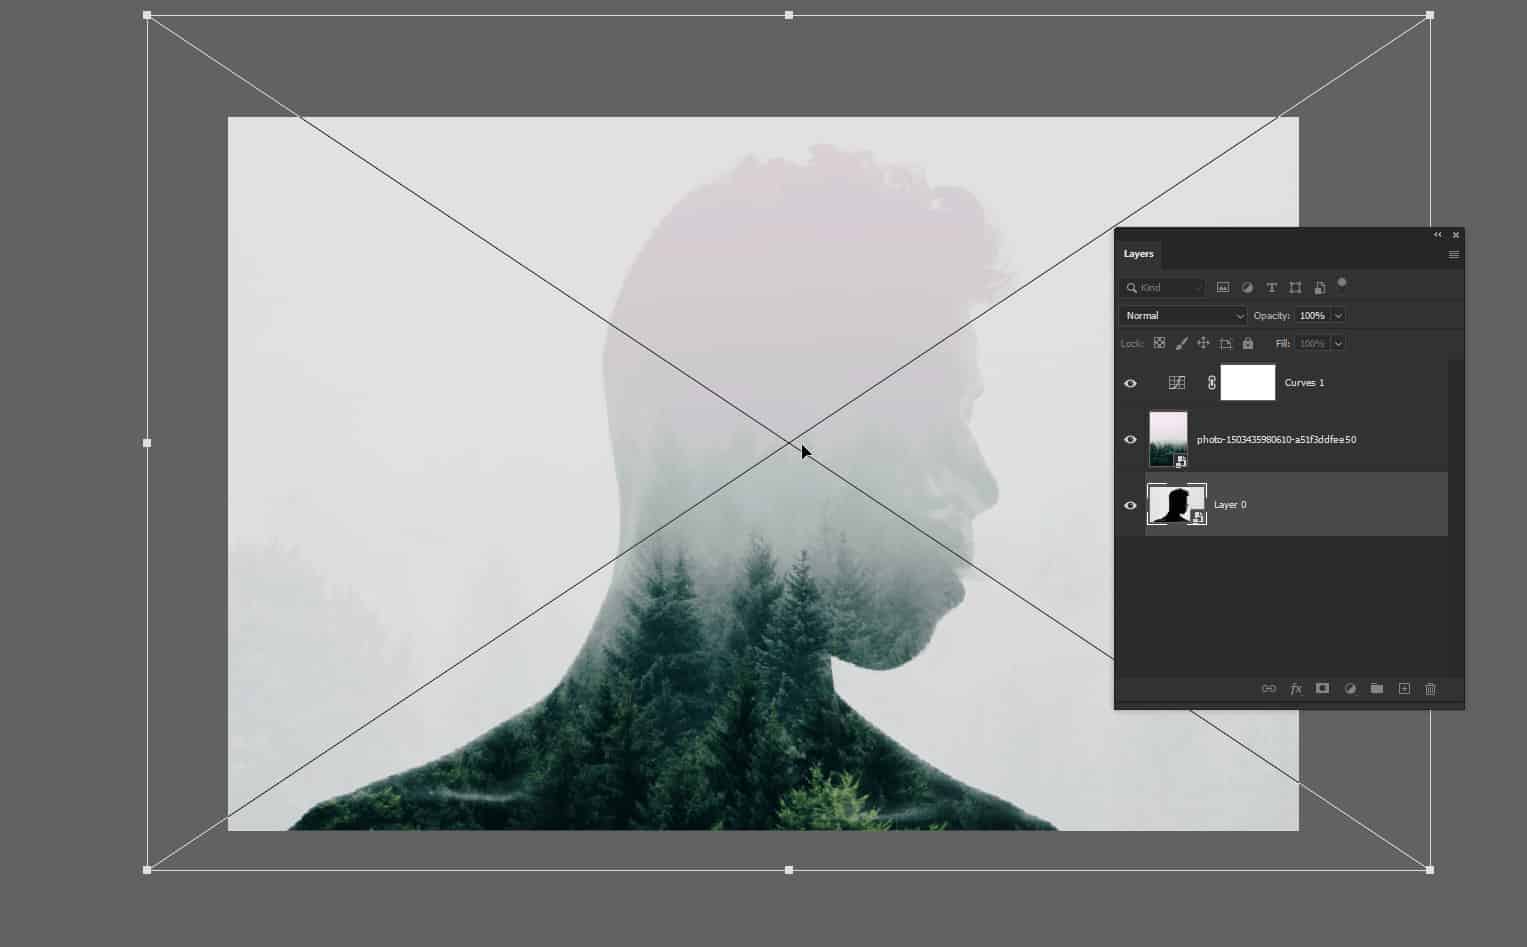
To finalize the look, select any layer and use the Transform tool (Ctrl/Cmd+T or Image > Free Transform) to resize/reposition the layers.
For my image, I started by enlarging and centering the silhouette layer.
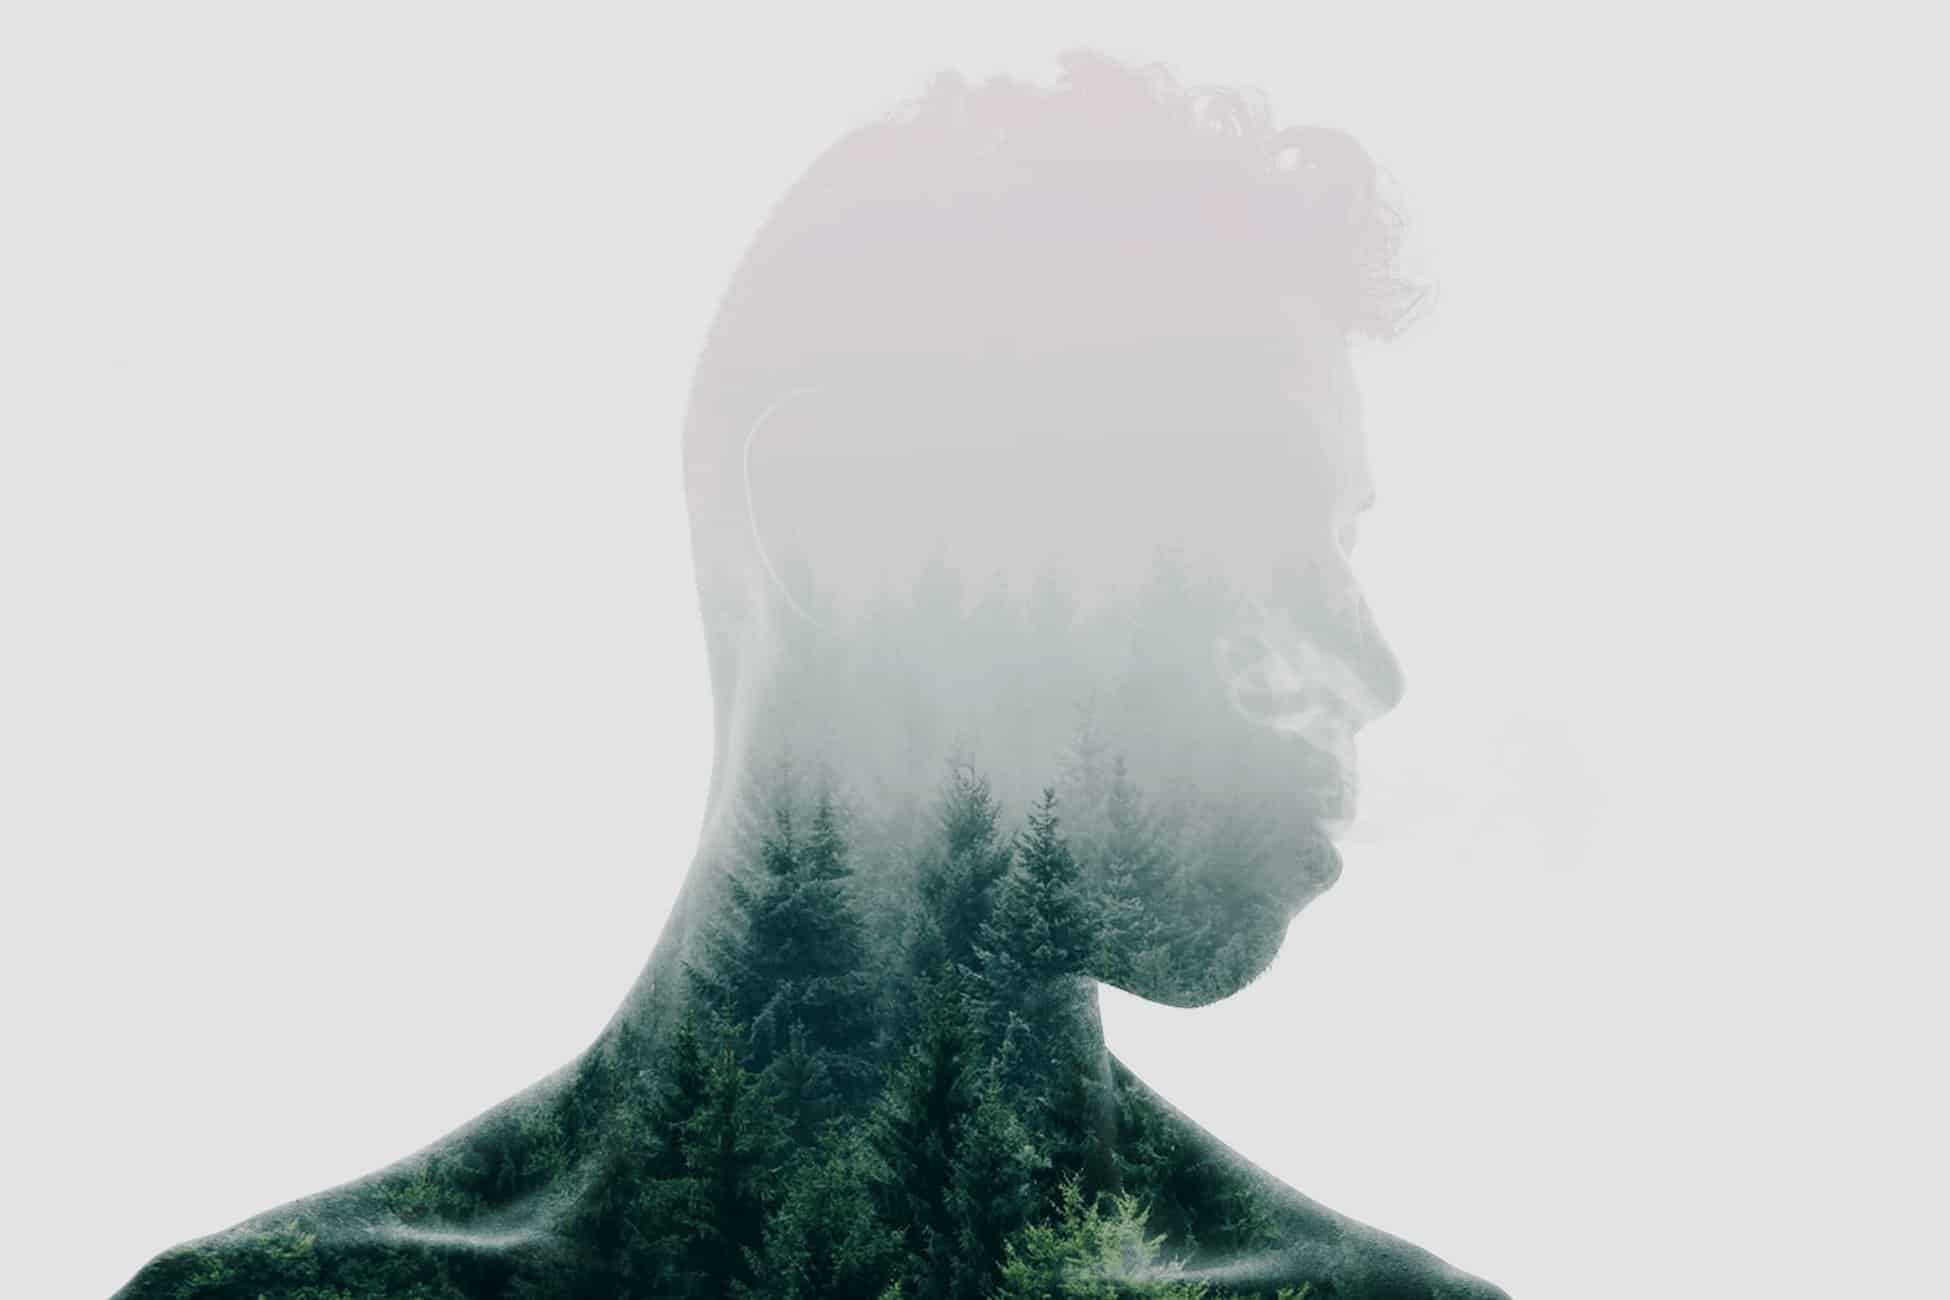
We're done! Try rotating the texture for different looks.


2 comments on “How to Create a Double Exposure Effect in Photoshop”
If my starting image does not look like the one in step 1 where it is dark, what can I do to turn my normal photo into one that looks like it's backlit?
good