Make skin look perfect in one-click with these AI-powered Photoshop actions.
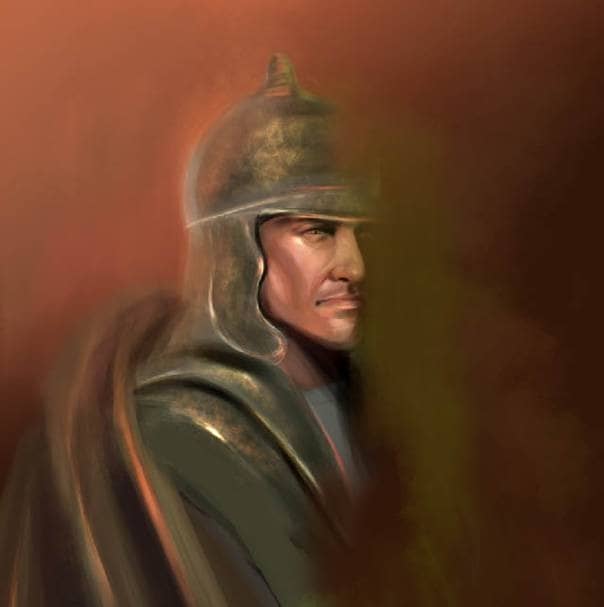
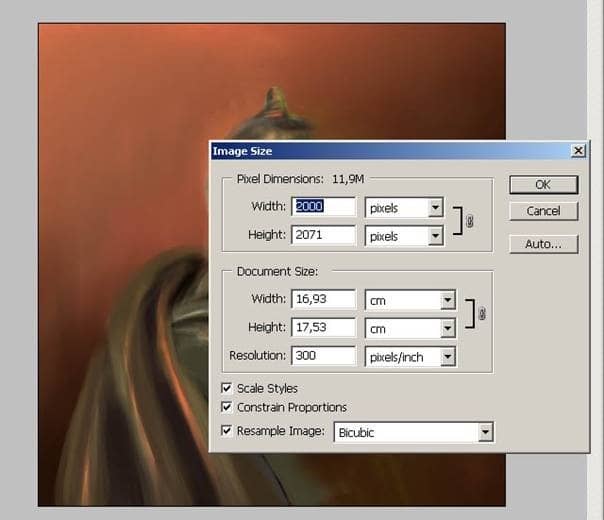
Okay now I continue to paint as you see. Now I do wish my file is to be more bigger size because at this stage I do think I can't make so much detailed painting. Okay here we go and open image from upper window and change the settings as you see.
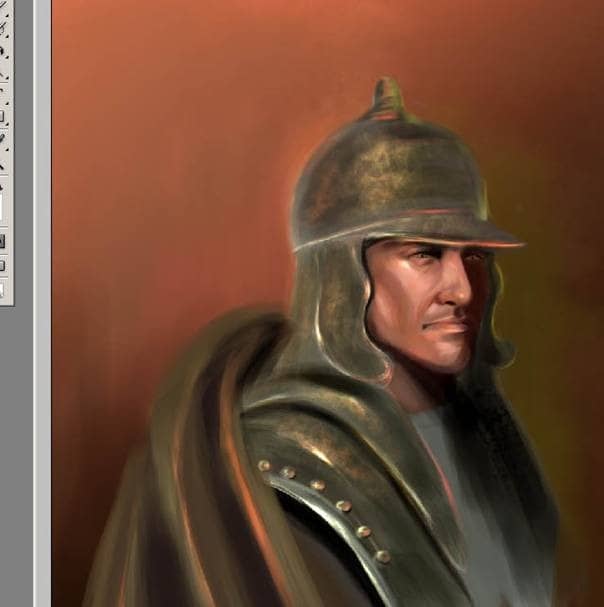
When you are painting face and his clothing you can use dodge, and burn tool too. Now that the general details are almost fixed.
Step 5: Details
Not too much of a difference from the last step. I am adding some more color on his face. I try to get some more light on his cheek and on his cloth and adding some more light green color on the cap. I use the burn tool to dark some and I select the dodge tool to dodge the highlights.
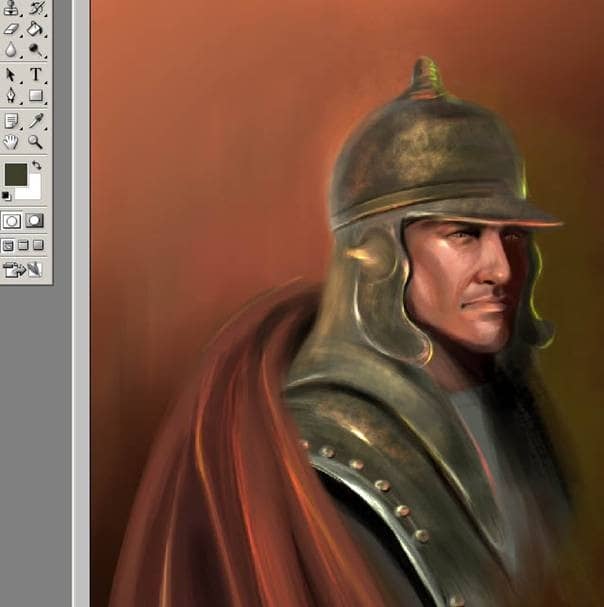
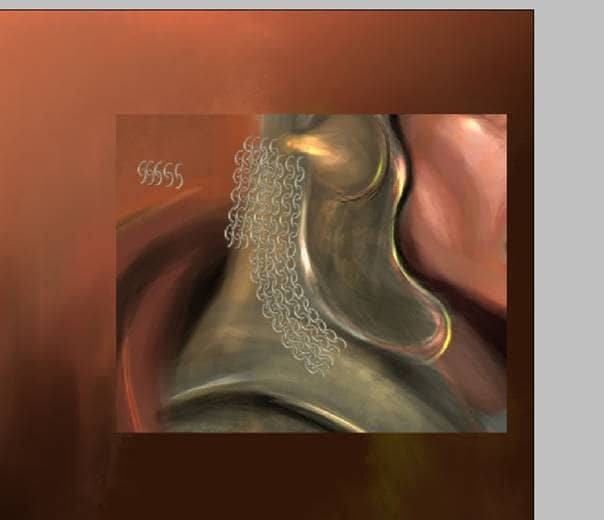
And here is a picture for the chain details on the helmet. Now, I'll try to apply some details to my character's helmet . For those lightened areas I used the brush with the setting color dodge and for the dark areas I used for Multiply settings.
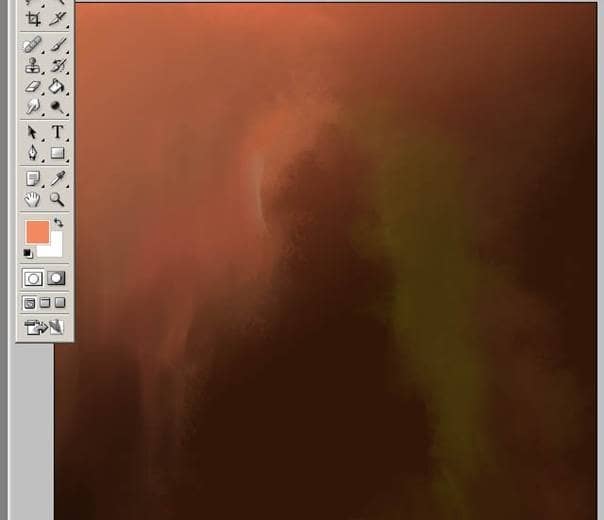
Now at this step I would like to add some colors at the background . First I opened a new layer at the top of the background layer and after that I used a round soft brush with opacity set to 50% I add some colors at the bottom and some highlight at the top of the background. Now you can't see my warrior character because I make my character layer invisible by clicking the eye on the menu.
After I finished with the background details I began a very detailed painting process on my character and for this step I use same brush but I'll change some settings when I was using the brush. And again when I do want to add some more light on the painting I am going to chose color dodge from here.
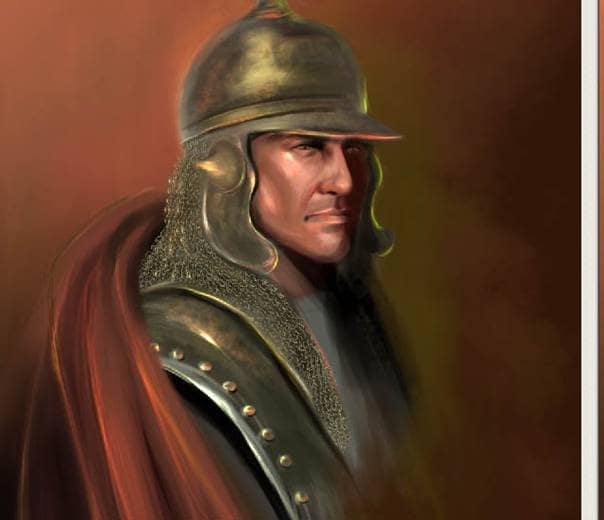
Now that the general details are almost fixed. Ah and I forget to say that I used the Smudge tool to refine the edges between the highlights and shadows.
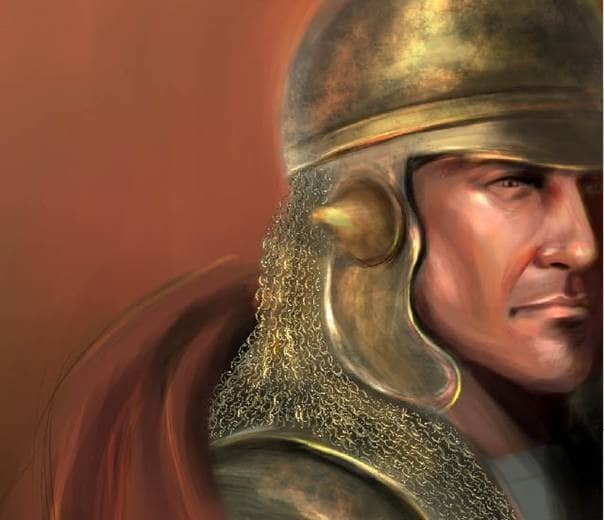
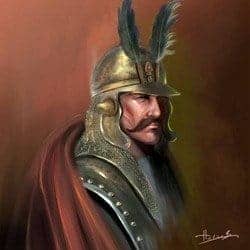
Here is the final stage but now I would like to add some more details my character. I increased the darkness around the background and added highlights to the cheeks.
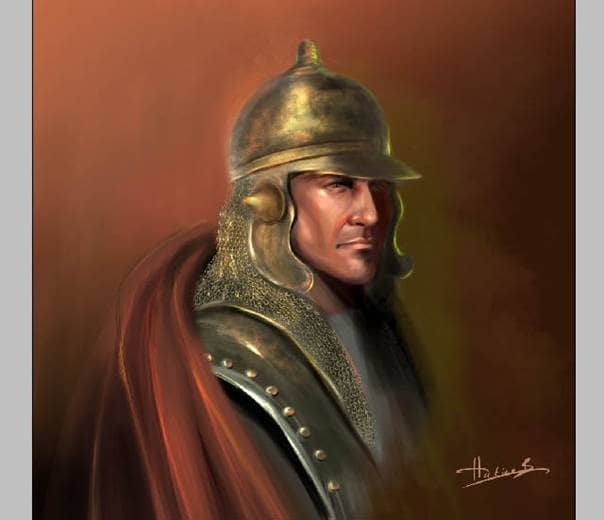
Ah, I finally painted the a moustache with a little sized brush. I've also been making some adjustments to the face. A soft highlight just besides the lower lip and nose. Some more highlights on the nose and cheeks.

3 comments on “Create a Painting of “Sipahi” in Photoshop”
wow! Thanks for sharing i ve some issues. What tools can i use to sketch in photoshop. How do i achieve a sketch like yours in photoshop i like more can u suggest tutorials to help do that
thanks for sharing this tutorial. But i ve some issues. How do u sketch and what tools can i use in photoshop to achieved such sketch? Thanks i do appreciate your feedback
Photoshop Lessons on the other hand are the online teacher that show various ways of using the Photoshop program to create interesting and exclusive picture miracle of the own.