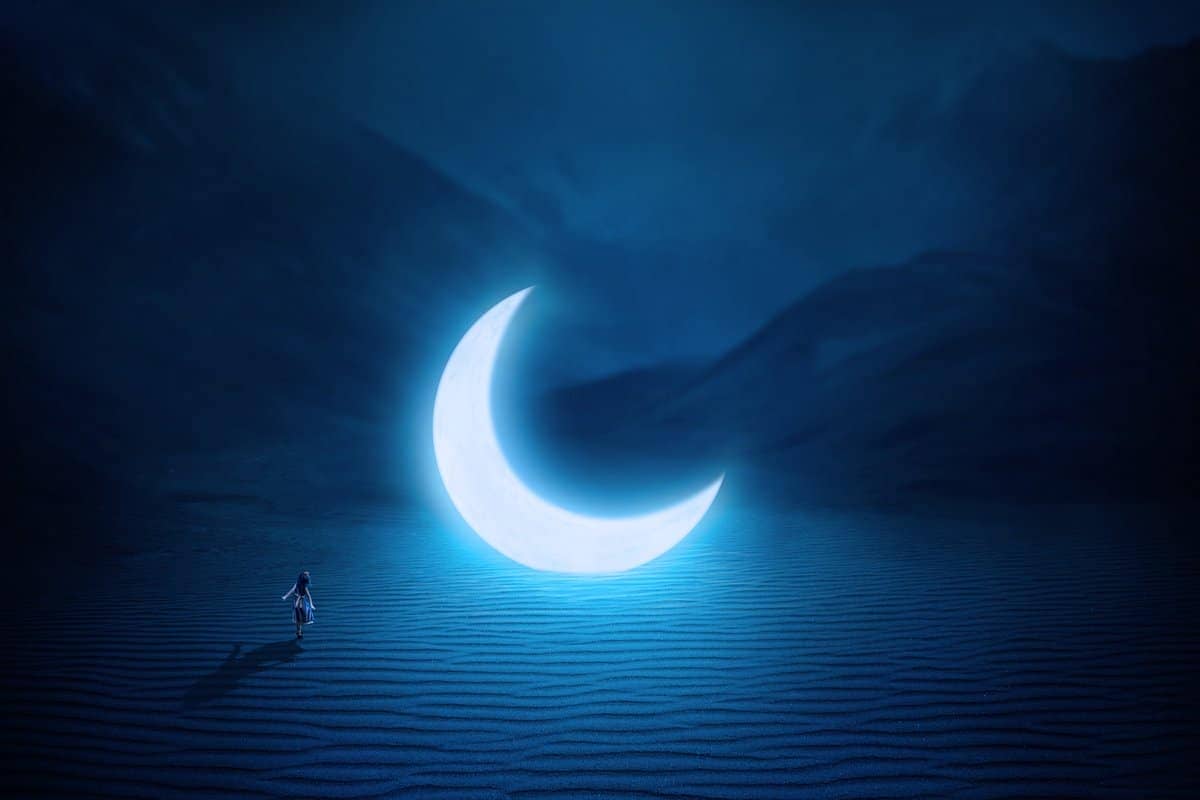
Turn any photo into a dot grid artwork with these Photoshop actions. You'll get great results with dots that change size. They get larger in brighter areas and smaller in darker areas. Free download available.
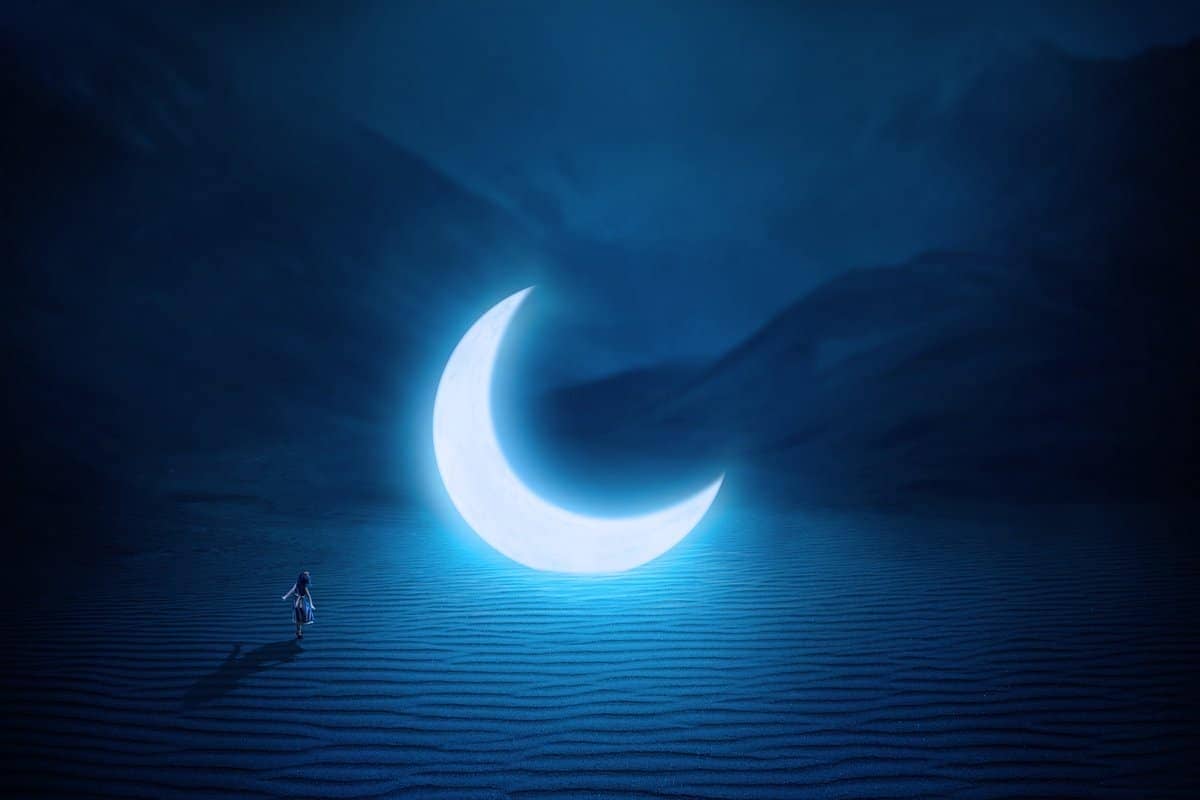
Preview of the Final Result:
Tutorial Resources
Step 1
Create a new 2000x1333 pxdocument in Photoshop and fill it with white or any colors you like. Open the sky image and drag it into the white canvas using the Move Tool (V) and place it in the upper half.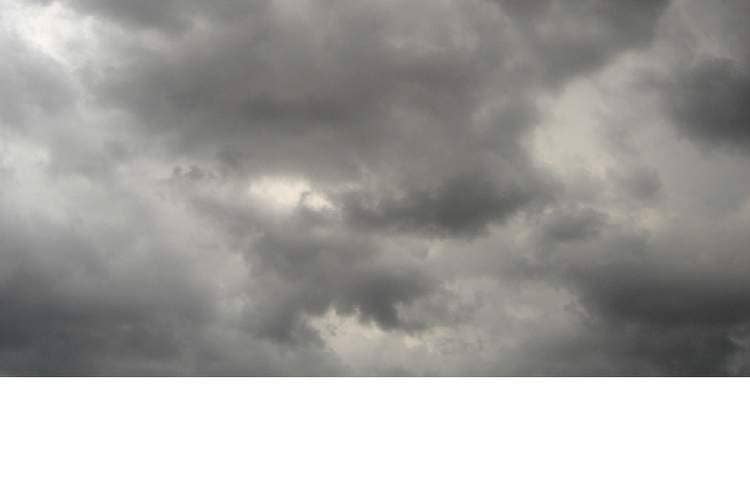
Step 2
Go to Layer > New Adjustment Layer > Curvesand decrease the lightness.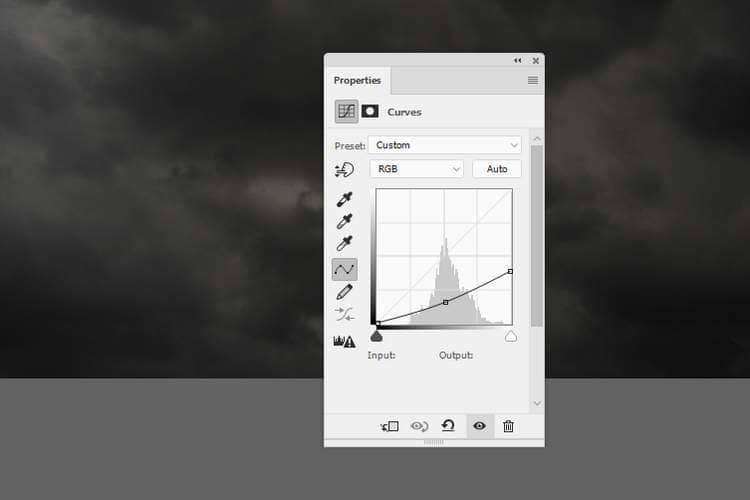
Step 3
Open the desert image and place it over the canvasand use the Free Transform Tool (Ctrl+T)to resize it to fit the size of the document.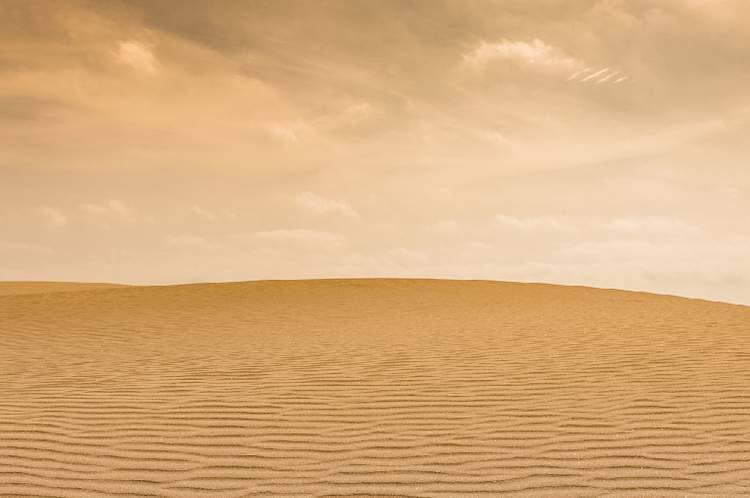
Step 4
Click the second icon at the bottom of the Layers panel to add a mask to this layer. Hit Bto activate the Brush Tool and select a soft round one with black color to remove the sky and the hard edges of the horizon.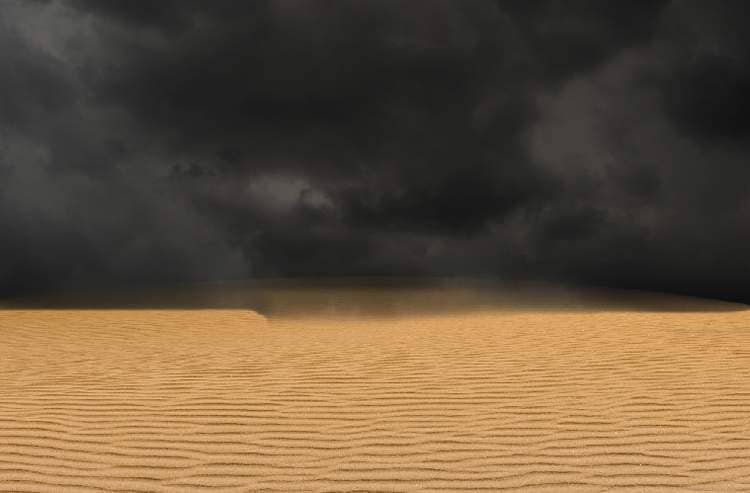
Step 5
Create a Hue/Saturationadjustment layer above the desert layer and set it as Clipping Mask. Bring the Saturationvalues down to -78: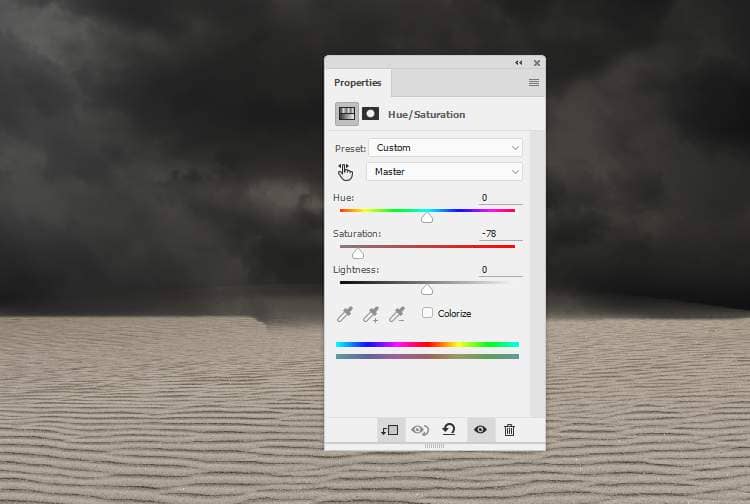
Step 6
Make a Color Balanceadjustment layer (set as Clipping Mask) and change the Midtonessettings: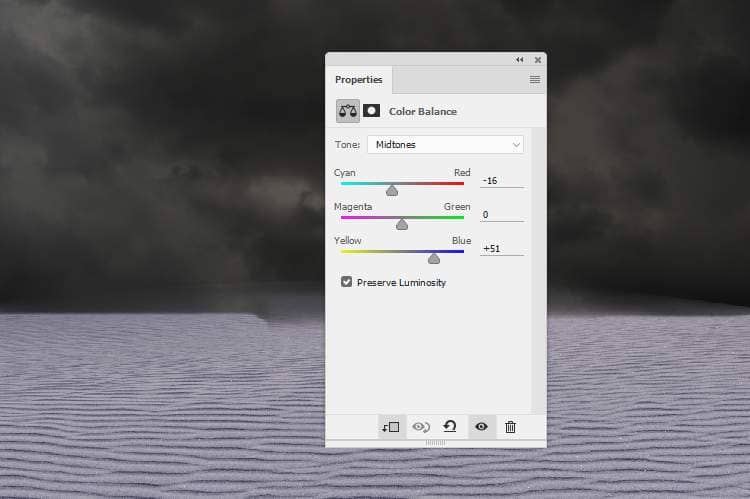
Step 7
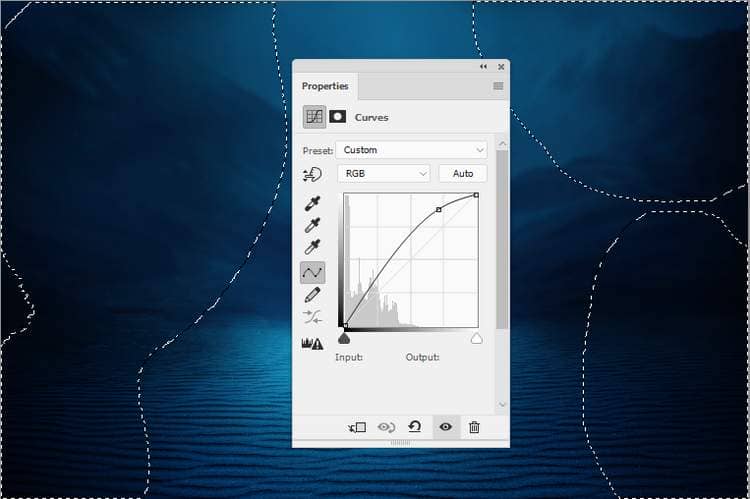
Add a Curves adjustment layer to darken the desert. On this layer mask, use a soft black brush with the opacity about 20%to reduce the darkness on both sides and the soft brush with 100%opacity to paint on the middle section as we aim to add the moon and the main light there.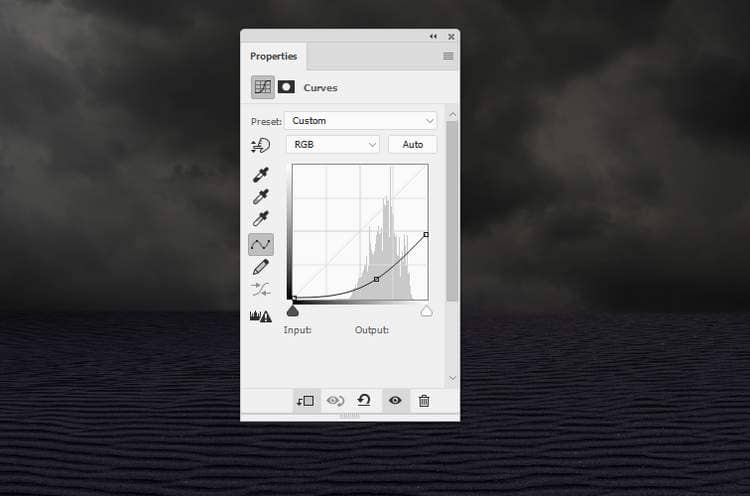
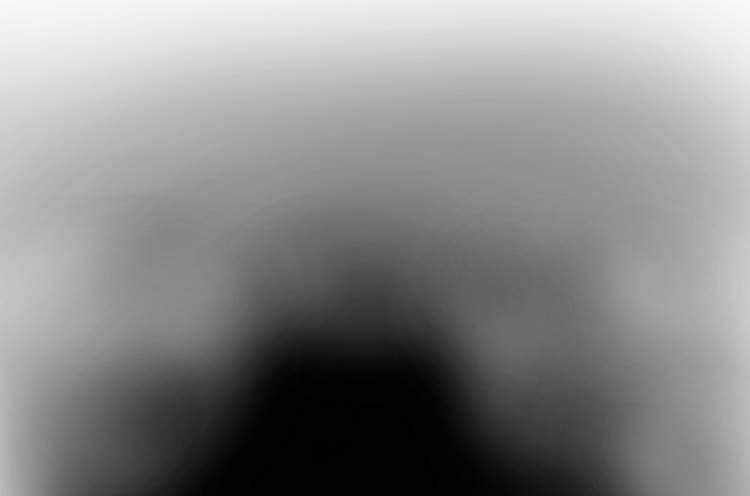
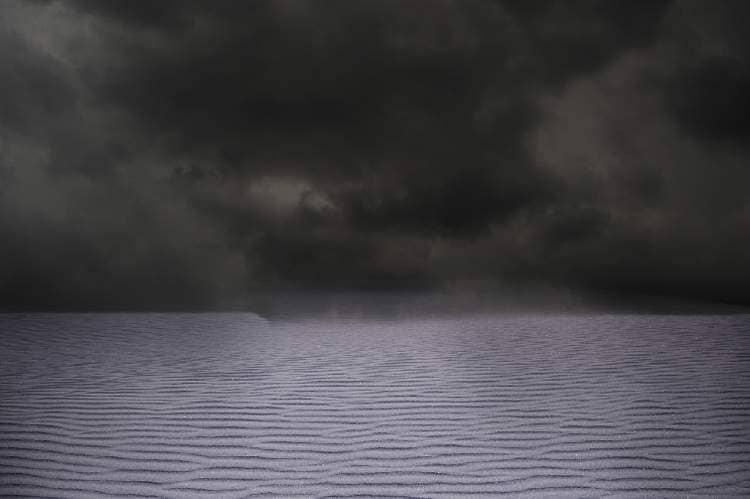
Step 8
Open the mountainimage and place it onto the main canvas and convert it to a Smart Object. Add a mask to this layer and use a soft black brush to remove most of the ground and a part of the sky.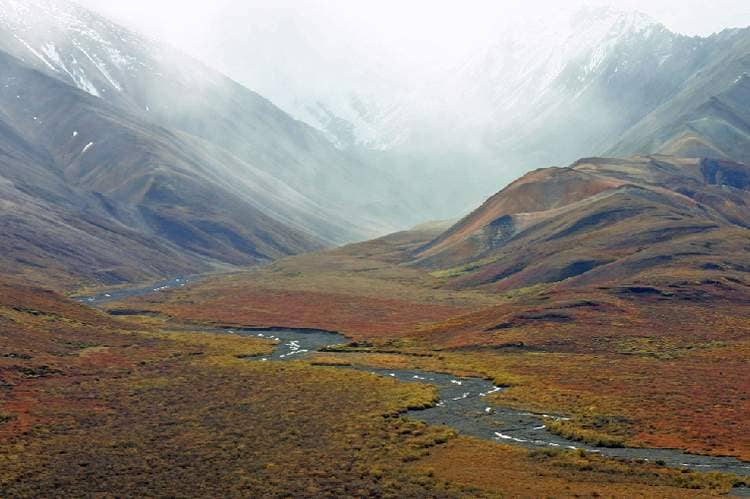
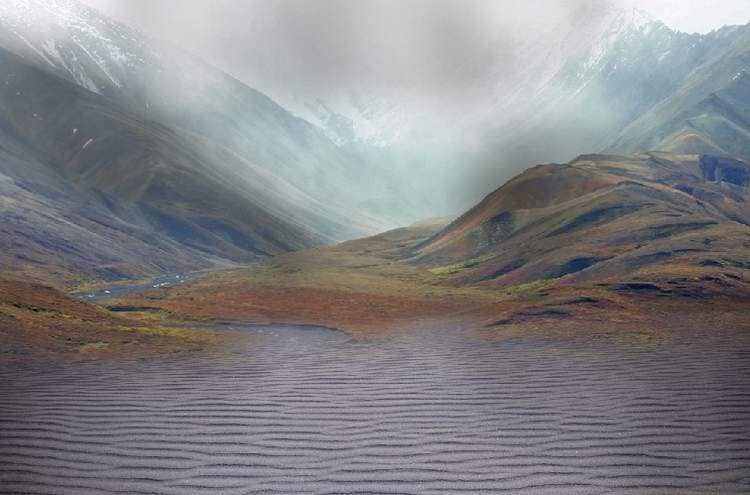
Step 9
Go to Filter > Blur > Gaussian Blurand set the radius to 6 px.On this filter mask, use a soft black brush to remove the blur effect on most of the background , leaving it visible on both sides of the ground only.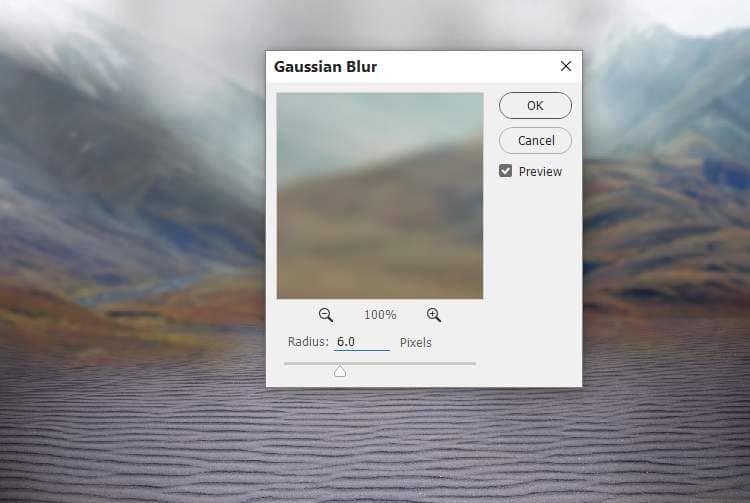
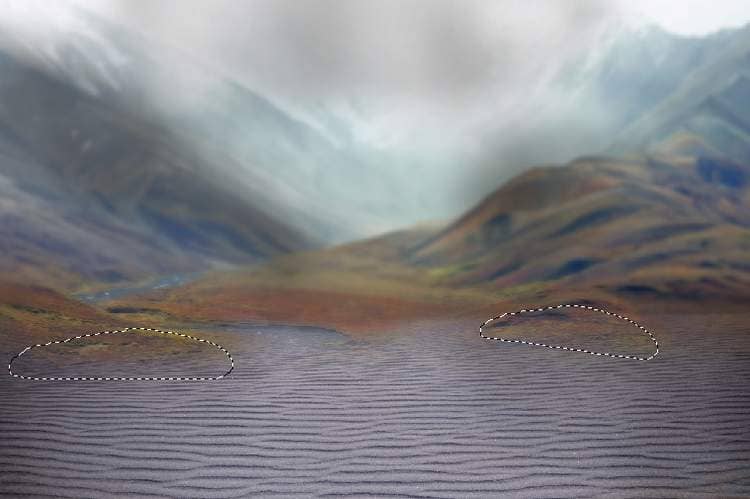
Step 10
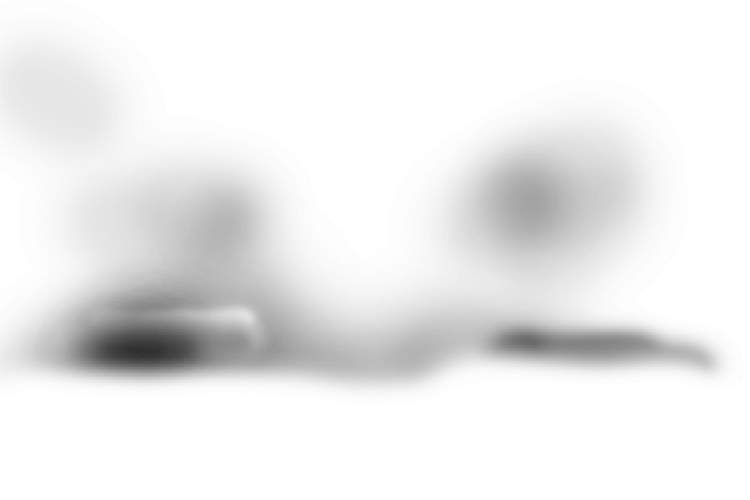
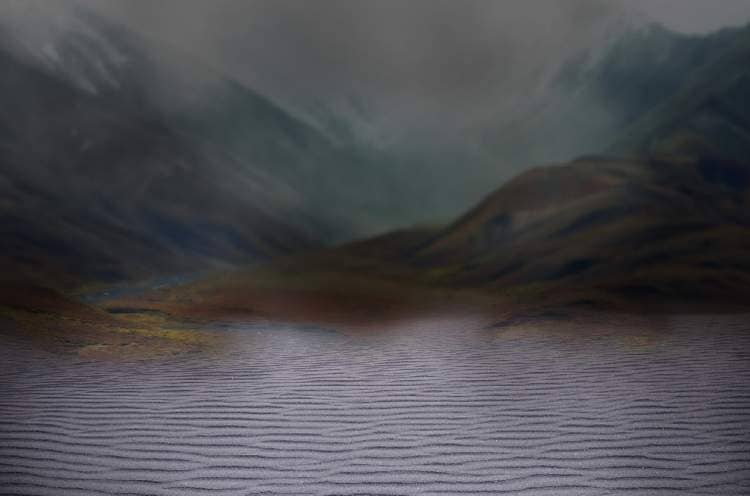
Create a Curves adjustment layer (set as Clipping Mask) to darken the background. On this layer mask, use a soft black brush with a lowered opacity (about 5-10%)to reduce the dark effect on some parts of both sides and the mountains.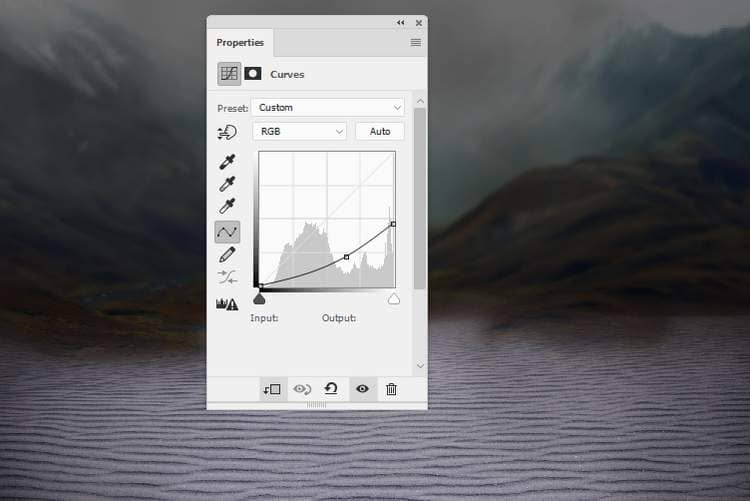
Step 11
Make a Hue/Saturationadjustment layer and bring the Saturationvalues down to maximum.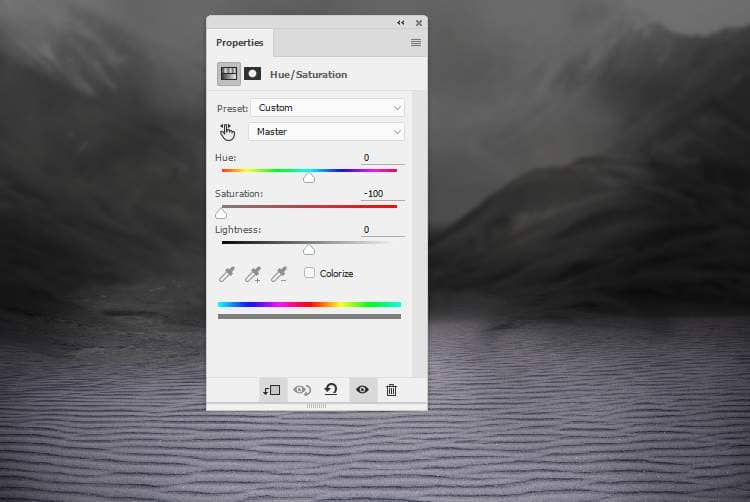
Step 12
Create a Gradient Mapadjustment layer on top of the layers and pick the colors #010d17and #010d17.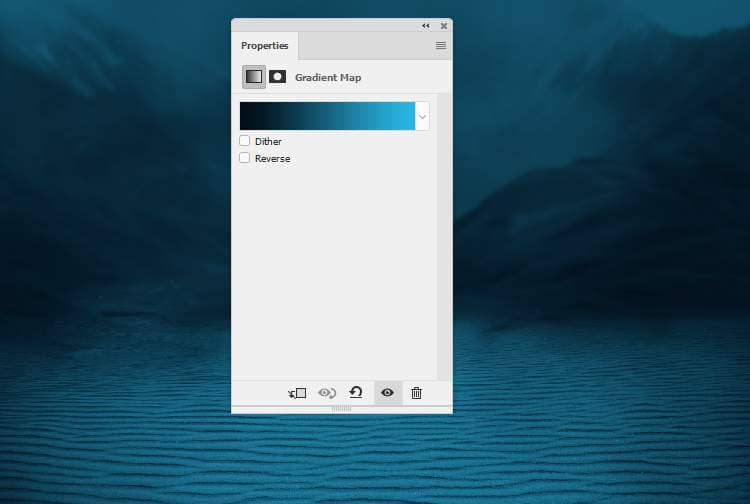
Step 13
Make another Gradient Mapadjustment layer and pick the colors #1e0104and #00601b. Lower the opacity of this layer to 20%.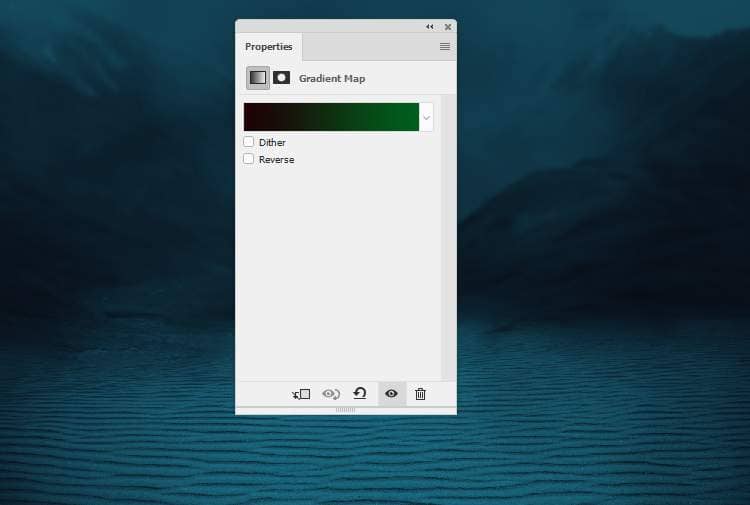
Step 14
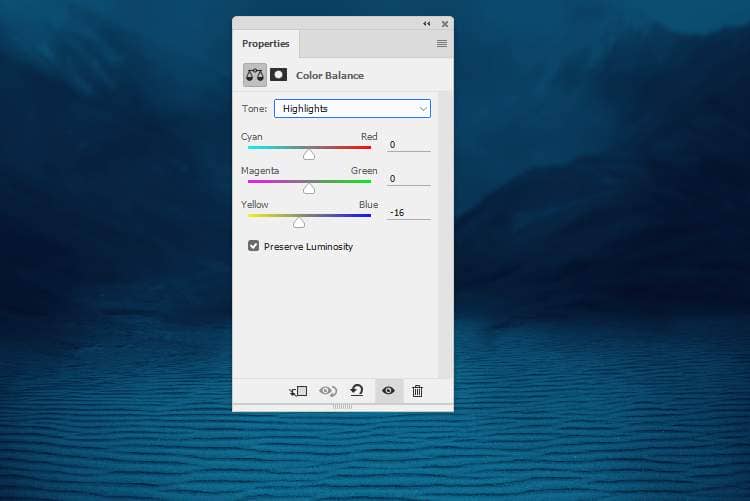
Add a Color Balanceadjustment layer and alter the Midtonesand Highlightssettings: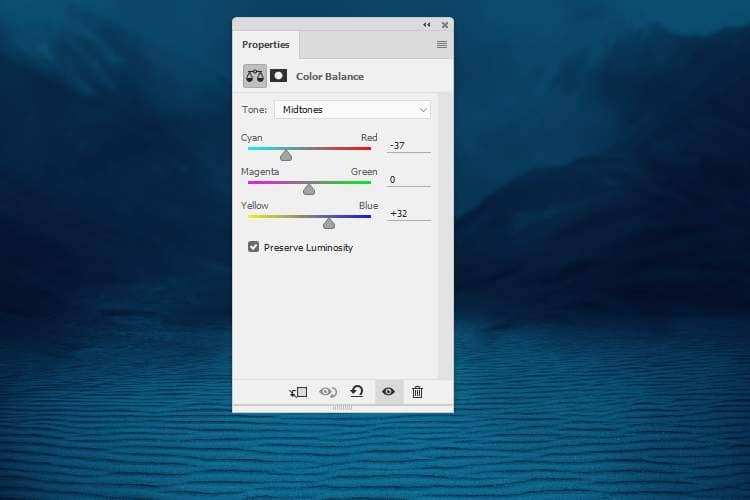
Step 15
Create a Curves adjustment layer and decrease the lightness. On this layer mask, paint on the middle section to keep the light there.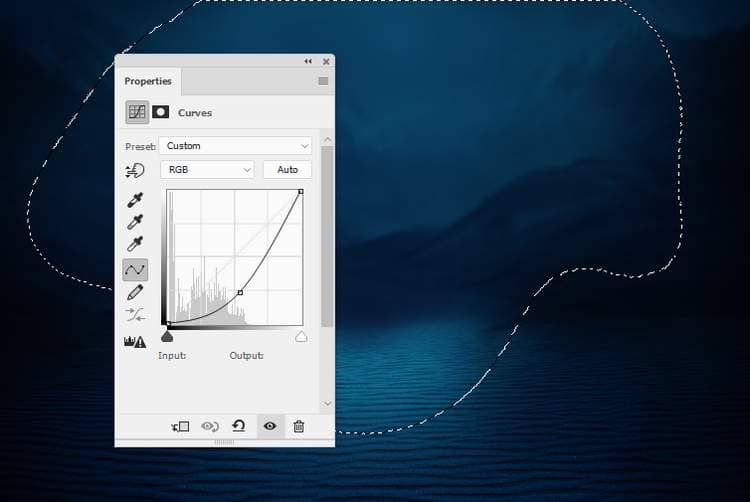
Step 16
Add another Curvesadjustment layer to bring more light to the middle of the ground. Paint on the rest to keep their shadow and contrast.