Make your artwork look like they're from an alternate universe. These Cyberpunk presets work with Photoshop (via the Camera Raw filter) and Lightroom. Download all 788 presets for 90% off.

Step 6: Final Touches
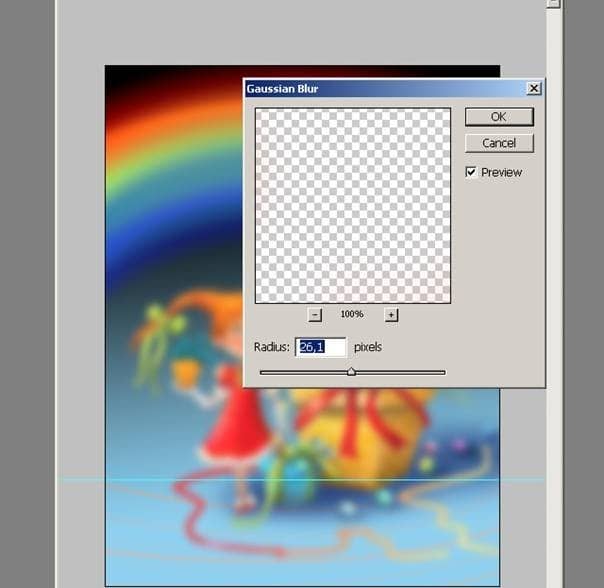
Now I am going to add some final touches with a different way. You can see the effect on this image too.

Now for the give this nice effect first I have merged all my layers except my signature layer . I name the new layer as "finished illustration" after that I duplicate the layer and give my new layer Blur effect and so as you see

I delete some areas on my image on this new layer and here is the final. When I delete some areas I used the soft brush which I have show you at the previous page. With that soft rounded brush carefully delete areas which you want detailed display for your illustration.

Final Results
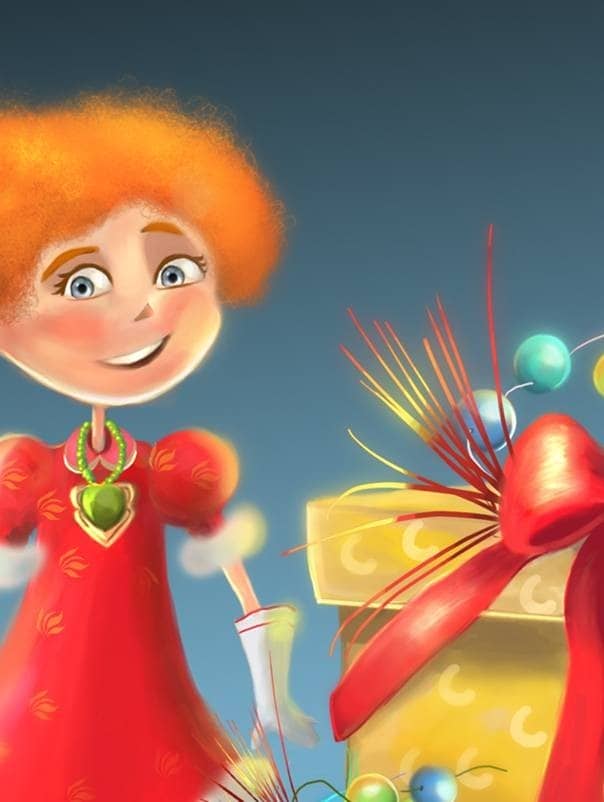
And here's the final image. Thank you for reading. I hope you enjoy this detailed making of the whole artwork.
![image024[1] image024[1]](https://cdn.photoshoptutorials.ws/images/stories/583c763ed4da_12C0C/image0241.jpg?strip=all&lossy=1&quality=70&webp=70&avif=70&w=1920&ssl=1)


One comment on “Painting “Girl With the Rainbow” in Photoshop”
very nice, thank you!