Luminar AI lets you turn your ideas into reality with powerful, intelligent AI. Download the photo editor and see how you can completely transform your photos in a few clicks.
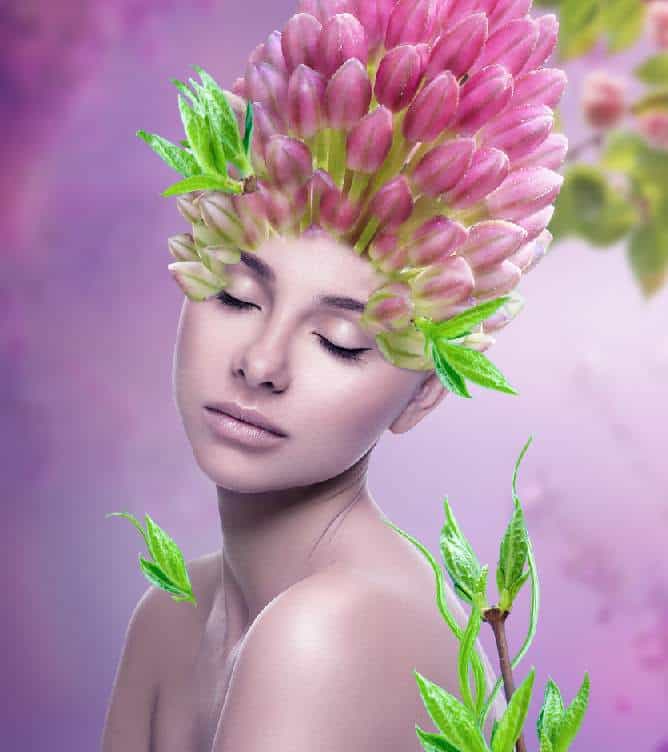
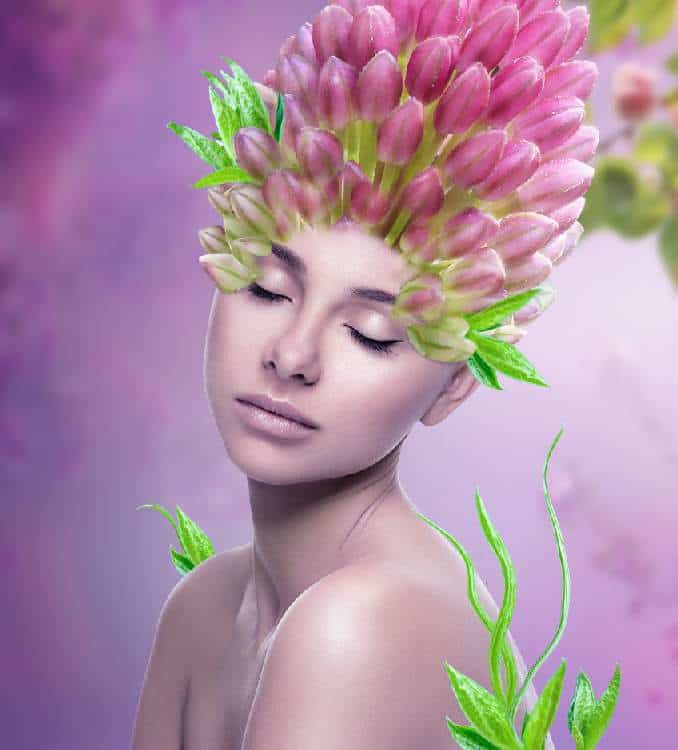
Step 33
Create a group for the leaves and add a Hue/Saturation adjustment layer to change the color of the leaves.
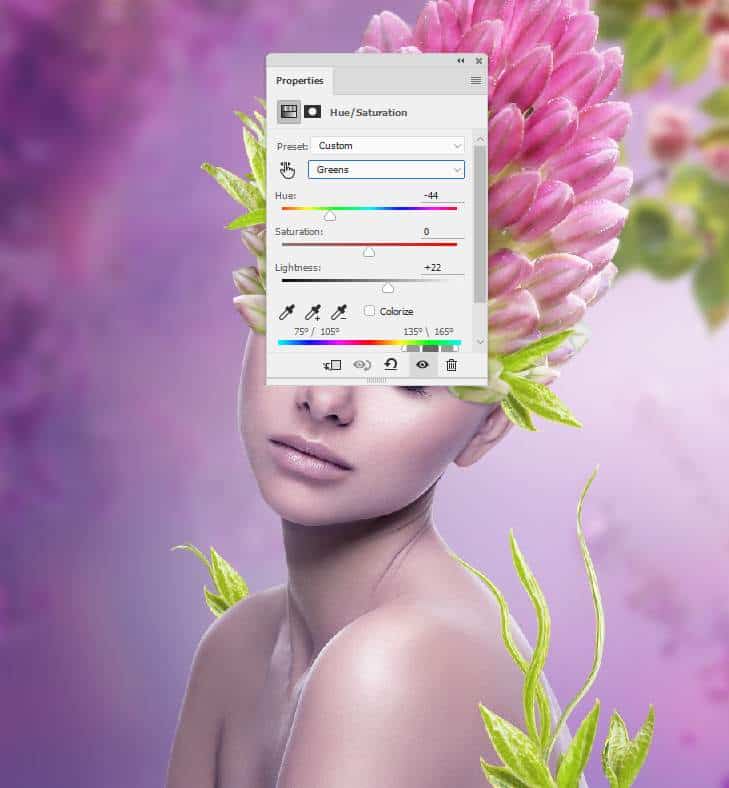
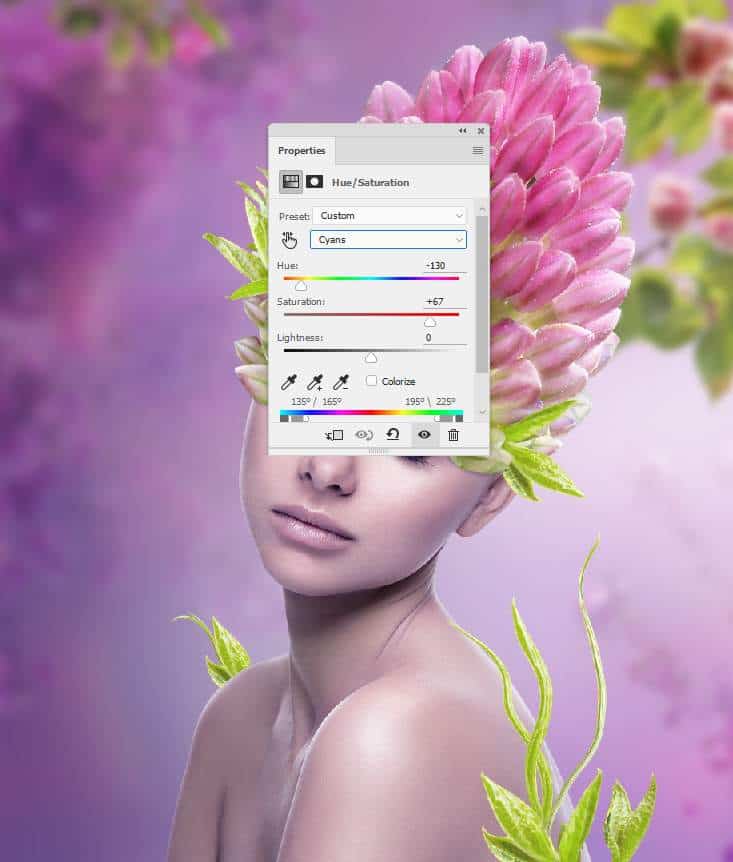
Step 34
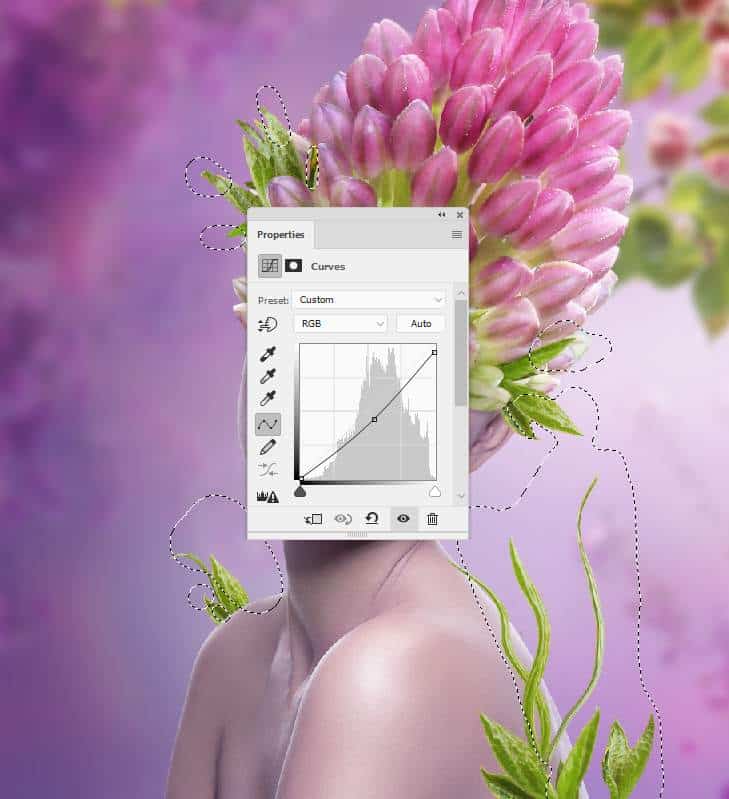
Make a Curves adjustment layer to darken the leaves.
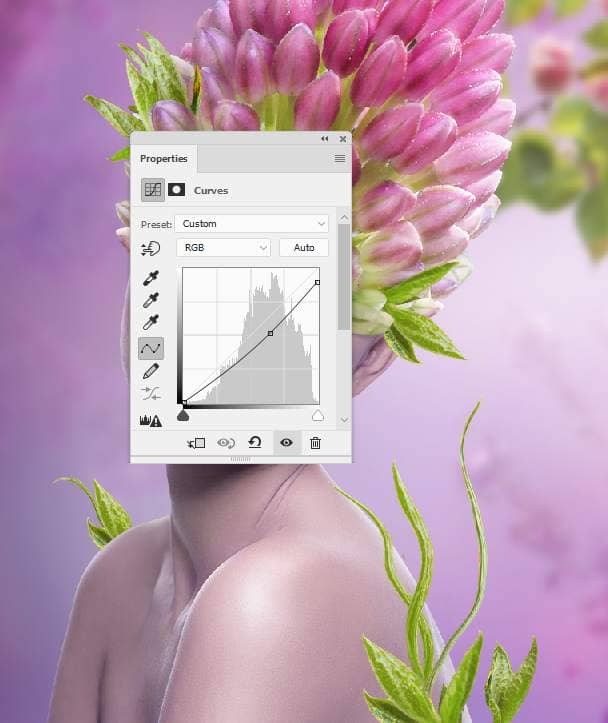
Create another Curves adjustment layer to darken the leaves on the back side. Paint on the rest to reveal the lightness there.
Step 35
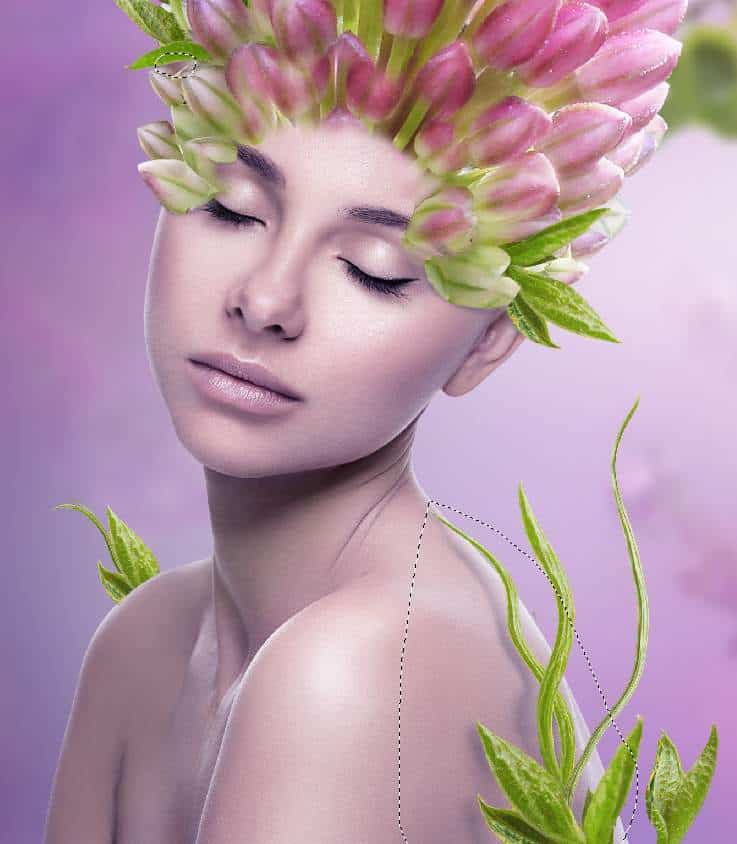
Make a new layer below the leaves' group and use a small brush with the color #3d3357, the opacity about 33% to paint shadow of the leaves on the buds and the model's back.
Step 36
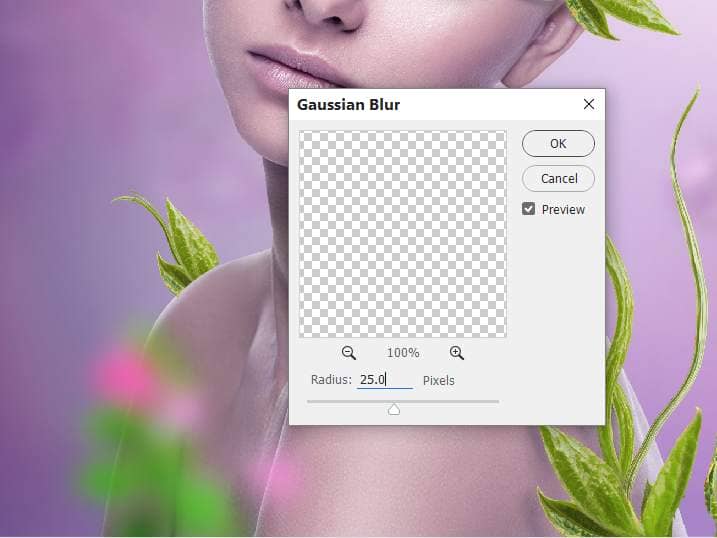
Come back to the branch 4 image and drag it again onto the main canvas. Use Ctrl+T to rotate it as shown below and place it onto the right part of the model's body .
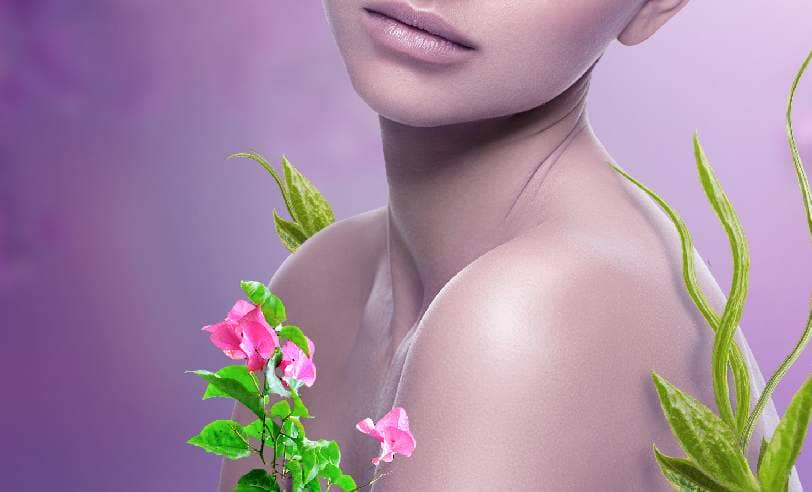
Apply a Gaussian Blur of 25 px to this layer.
Step 37
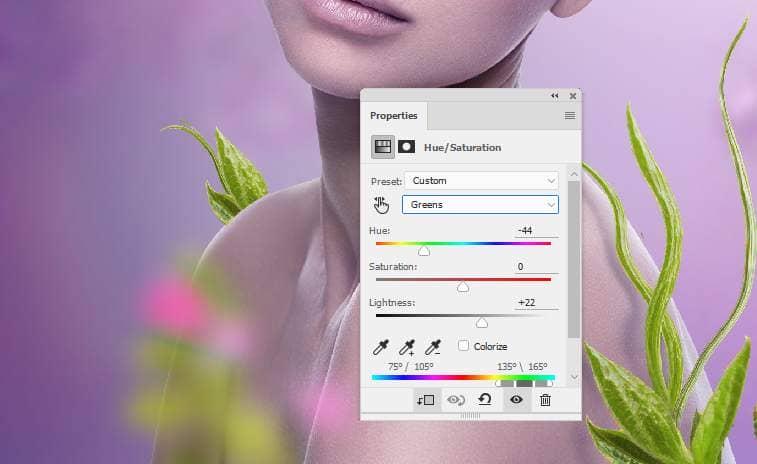
Create a Hue/Saturation adjustment layer to alter the Greens settings:
Step 38
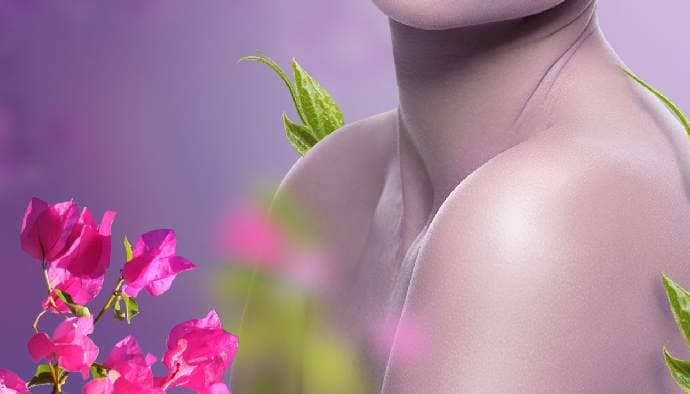
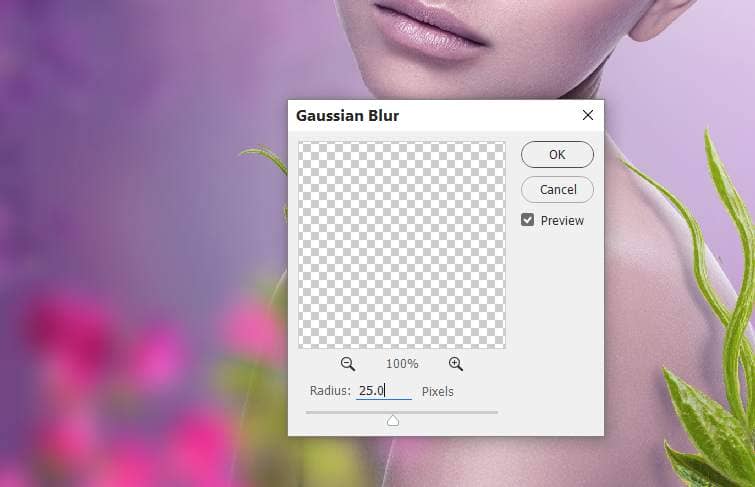
Cut out the branch 5 from the background and add it to the bottom left of the canvas. Apply a Gaussian Blur of 25 px to this layer.
Step 39
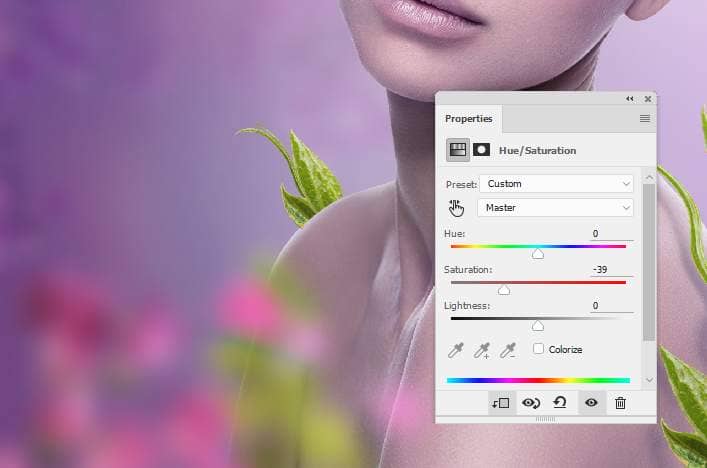
Create a Hue/Saturation adjustment layer and change the Master values:
Step 40
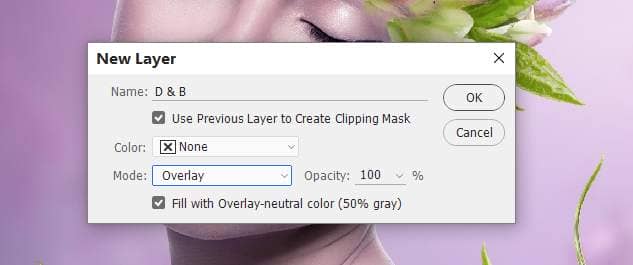
Make a new layer, change the mode to Overlay 100% and fill with 50% gray:
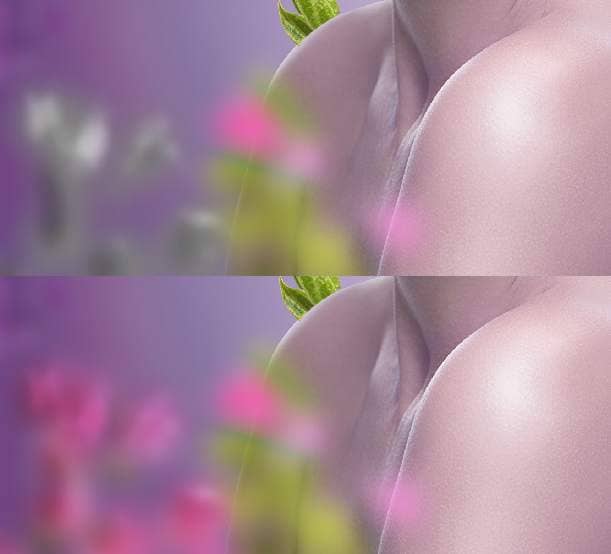
Take the Dodge and Burn Tool (O) with Midtones, Exposure about 15% to refine the light and shadow on the flowers and leaves. You can see how I did it with Normal mode and the result with Overlay mode.
Step 41
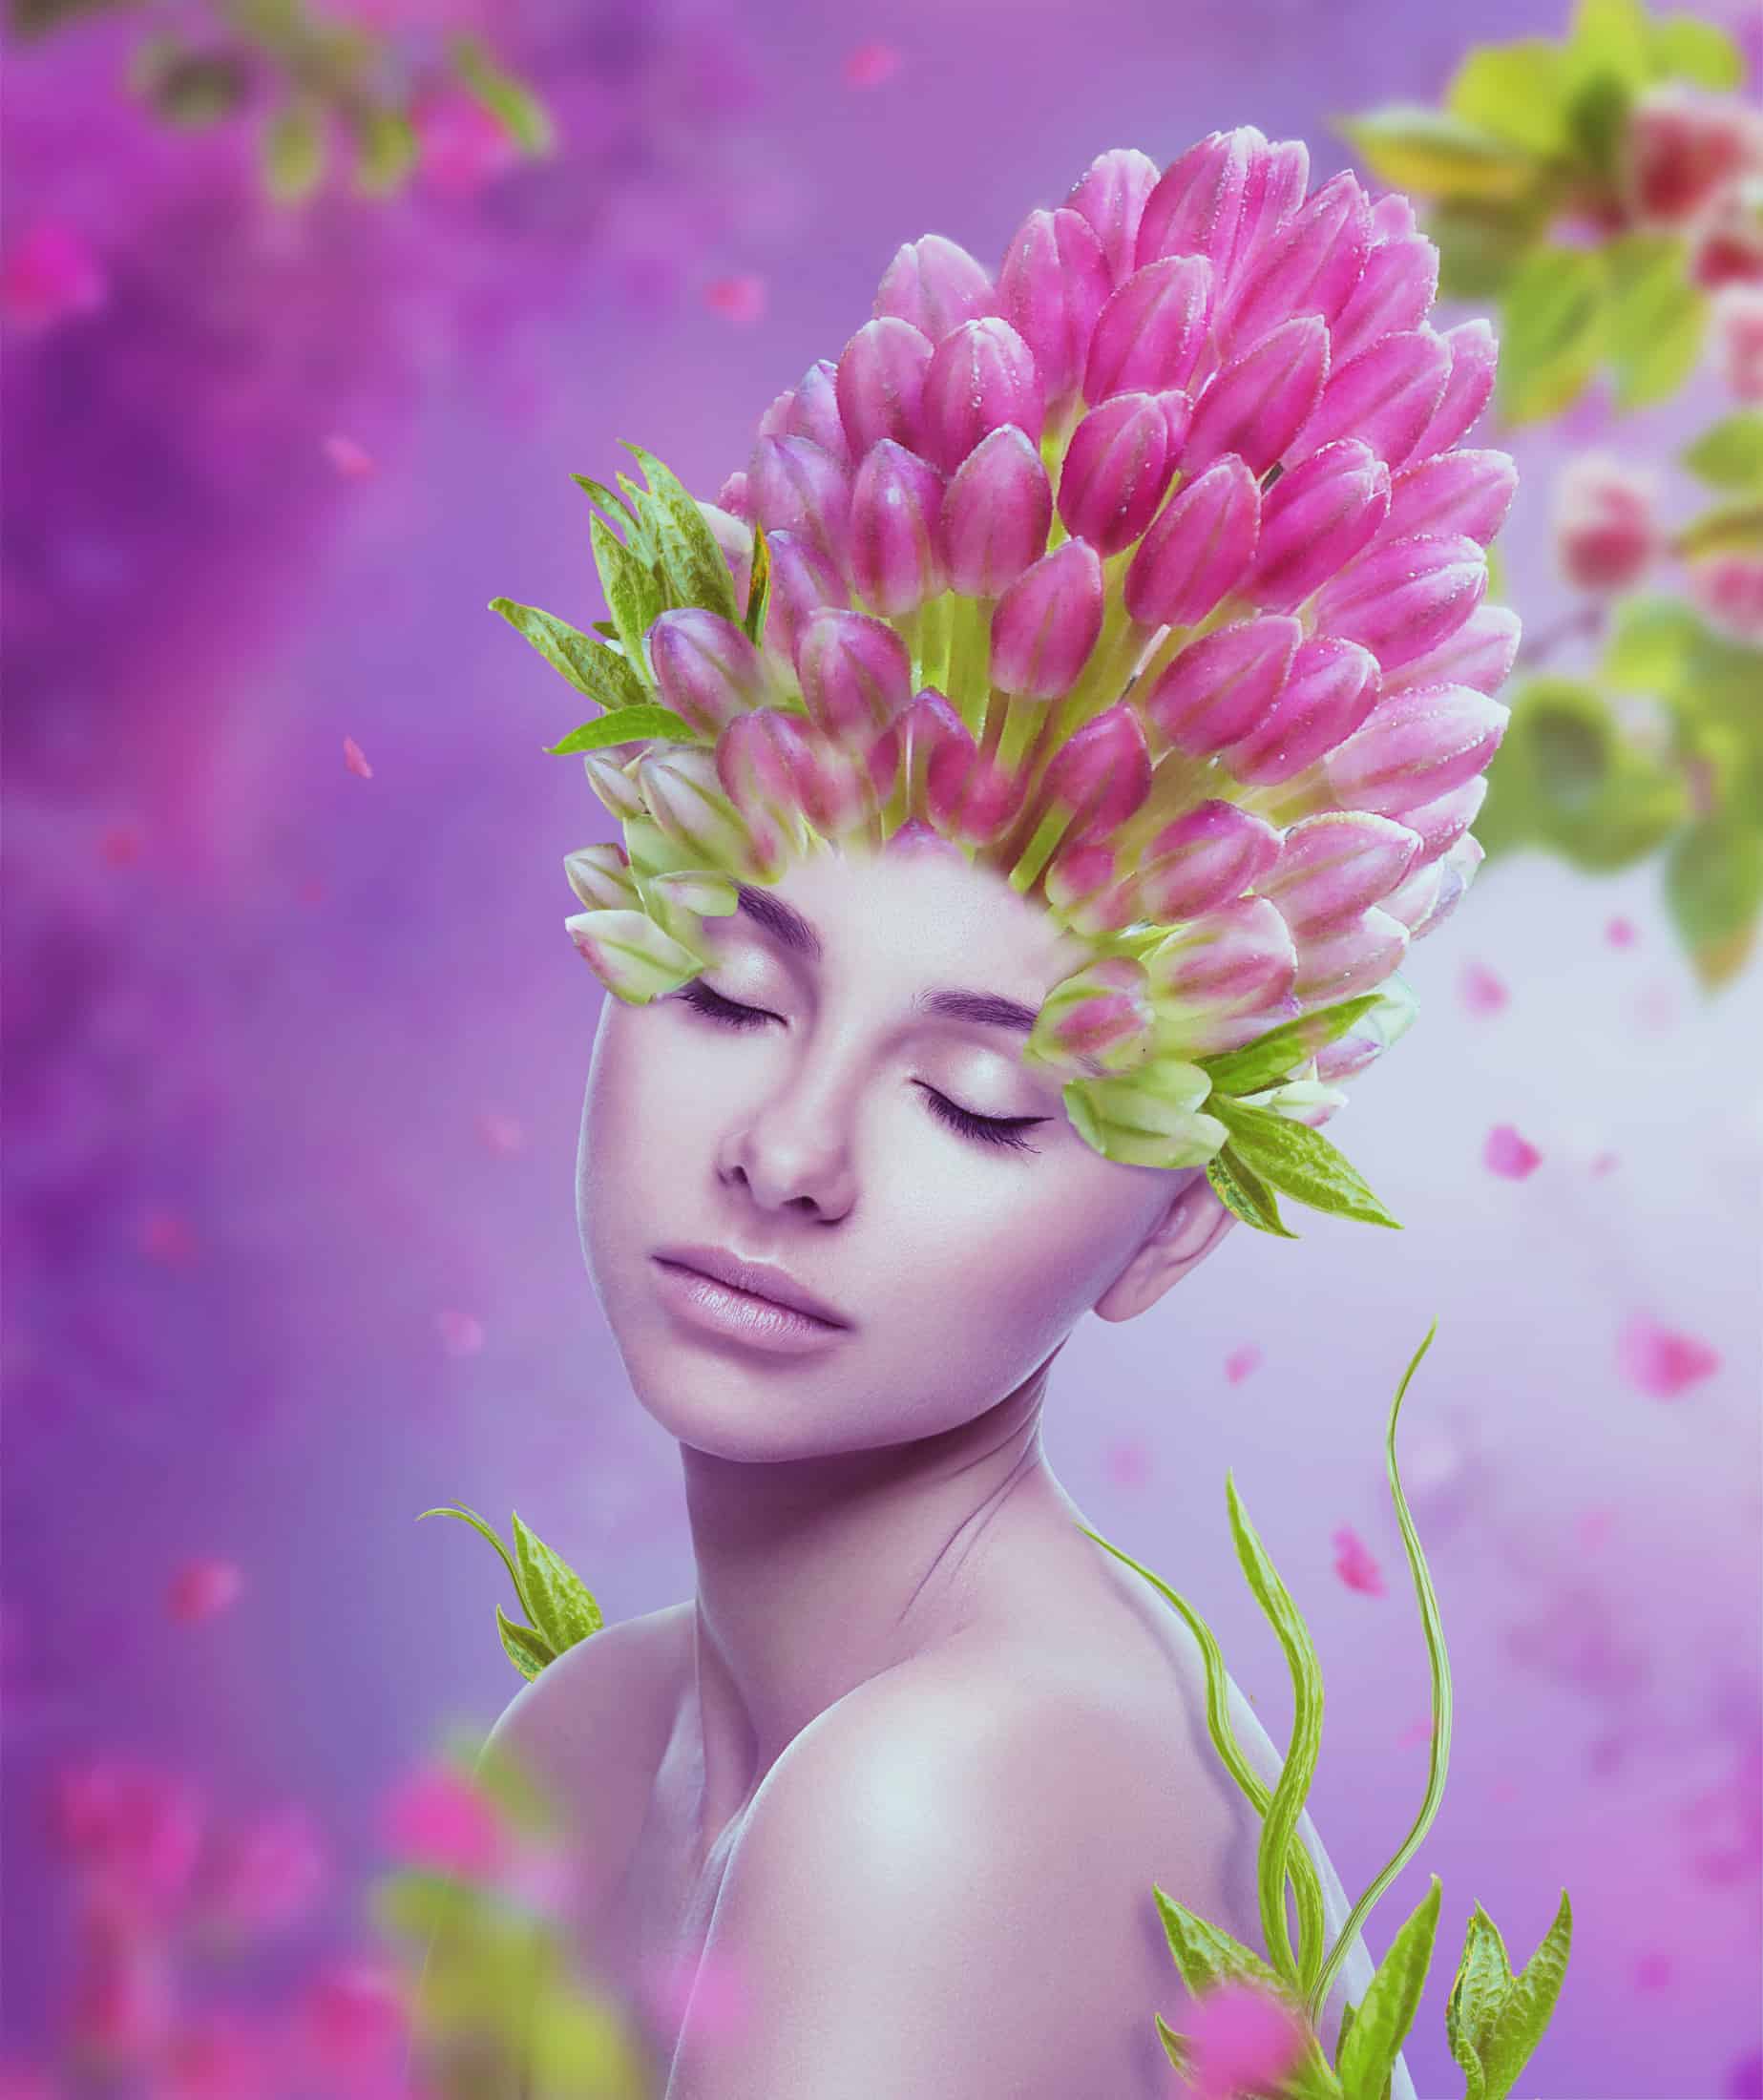
Open the petals image and take a petal to add to our working document. Use Ctrl+T with the Warp mode to tweak the petal a bit.
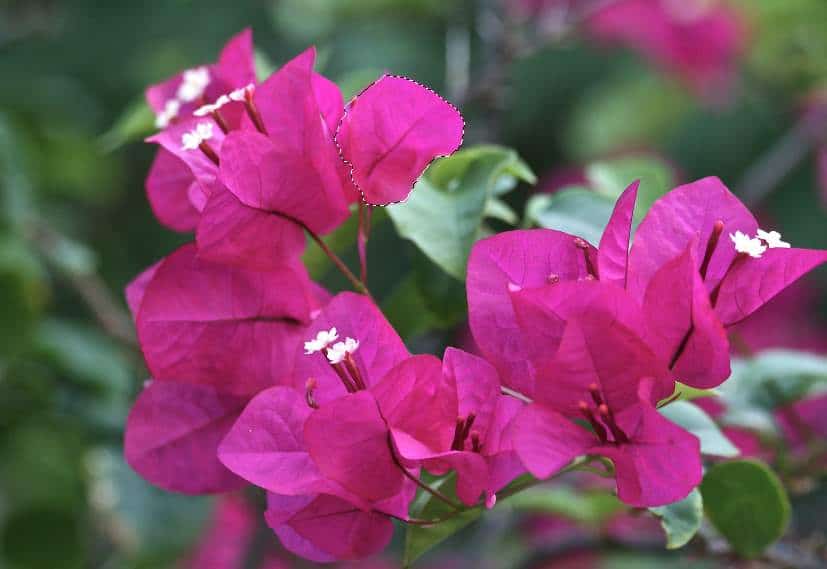

Apply a Gaussian Blur of 15 px to this layer.
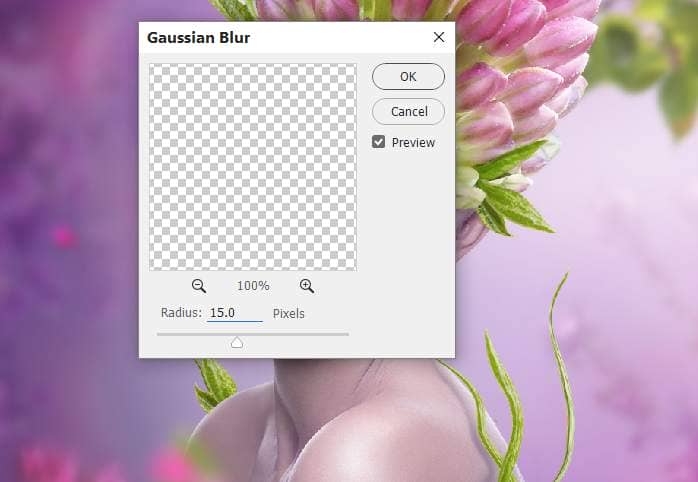
Step 42
Take other petals to place around the whole canvas. Use Ctrl+T to vary their size and tweak them into different forms. Apply the Gaussian Blur of 2, 4, 8, 12 and 15 px to these petals. This step is to increase the depth of the scene.
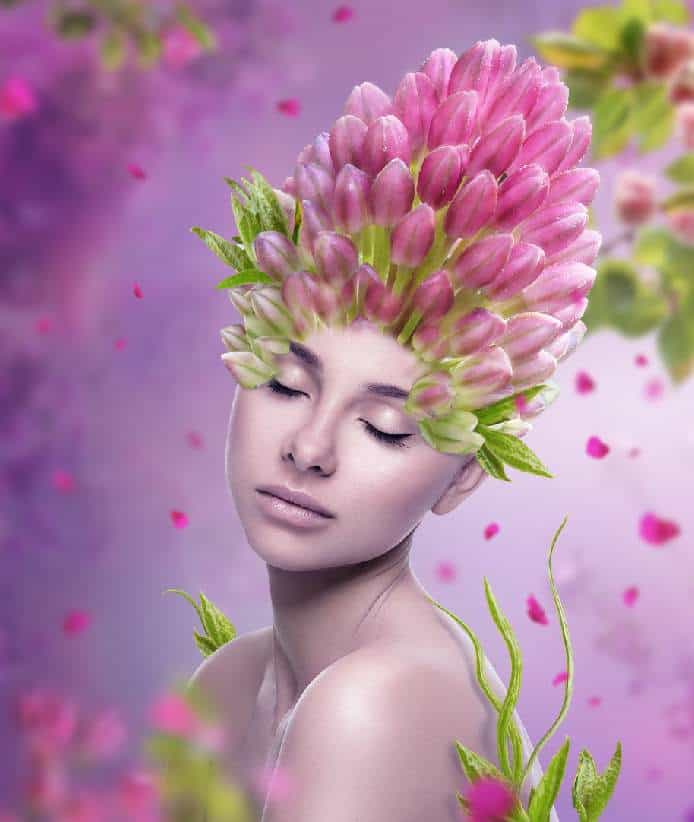
Add a mask to some of these petals to soften them and make them fade into the background.
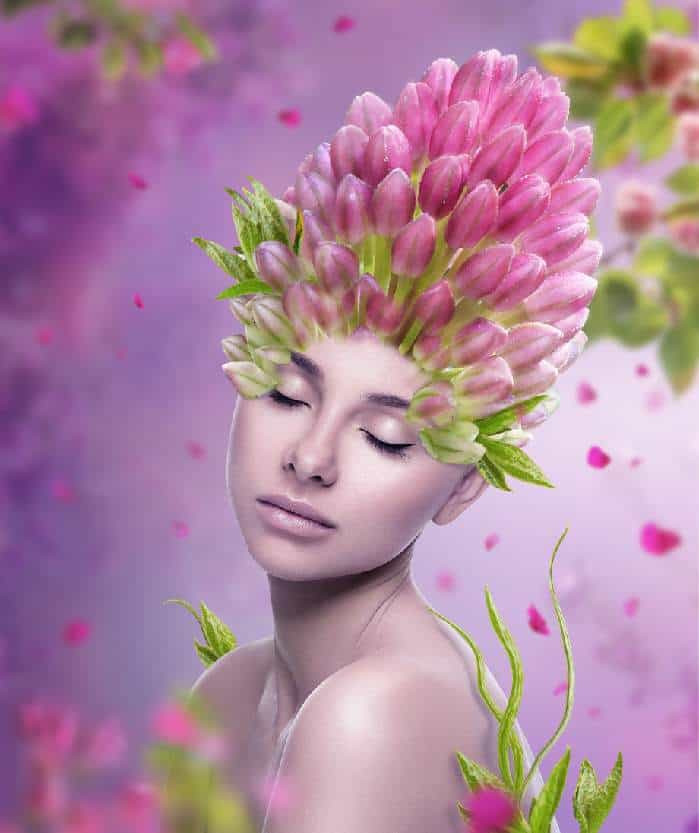
Step 43
Make a group for the petals and use a Curves adjustment layer to brighten the petals. On this layer mask, use a soft black brush to paint on the hidden side of the petals to keep the contrast there.
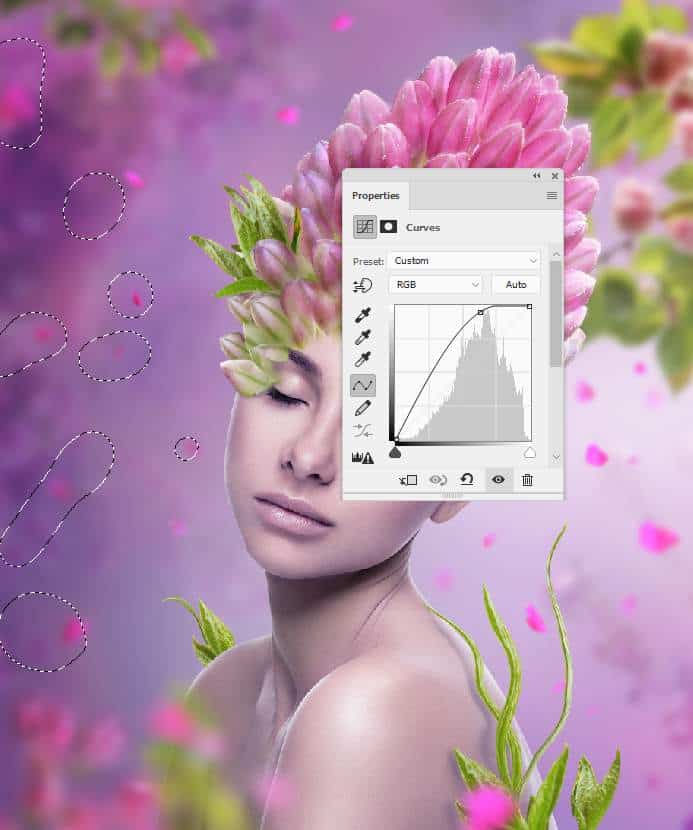
Create a Hue/Saturation adjustment layer and bring the Saturation values down to -26. On this layer mask, paint on the petal on the top left to keep its vibrance.


One comment on “How to Create a Flower Portrait Photo Manipulation With Adobe Photoshop”
nice.. very helpful.. thanks for sharing