

Turn any photo into a dot grid artwork with these Photoshop actions. You'll get great results with dots that change size. They get larger in brighter areas and smaller in darker areas. Free download available.
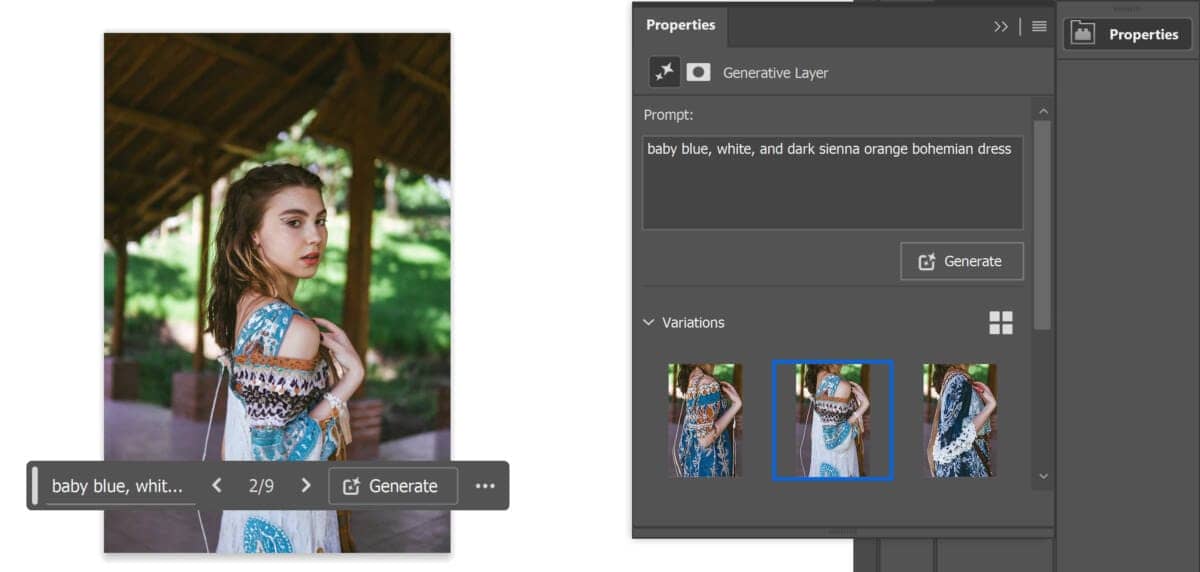
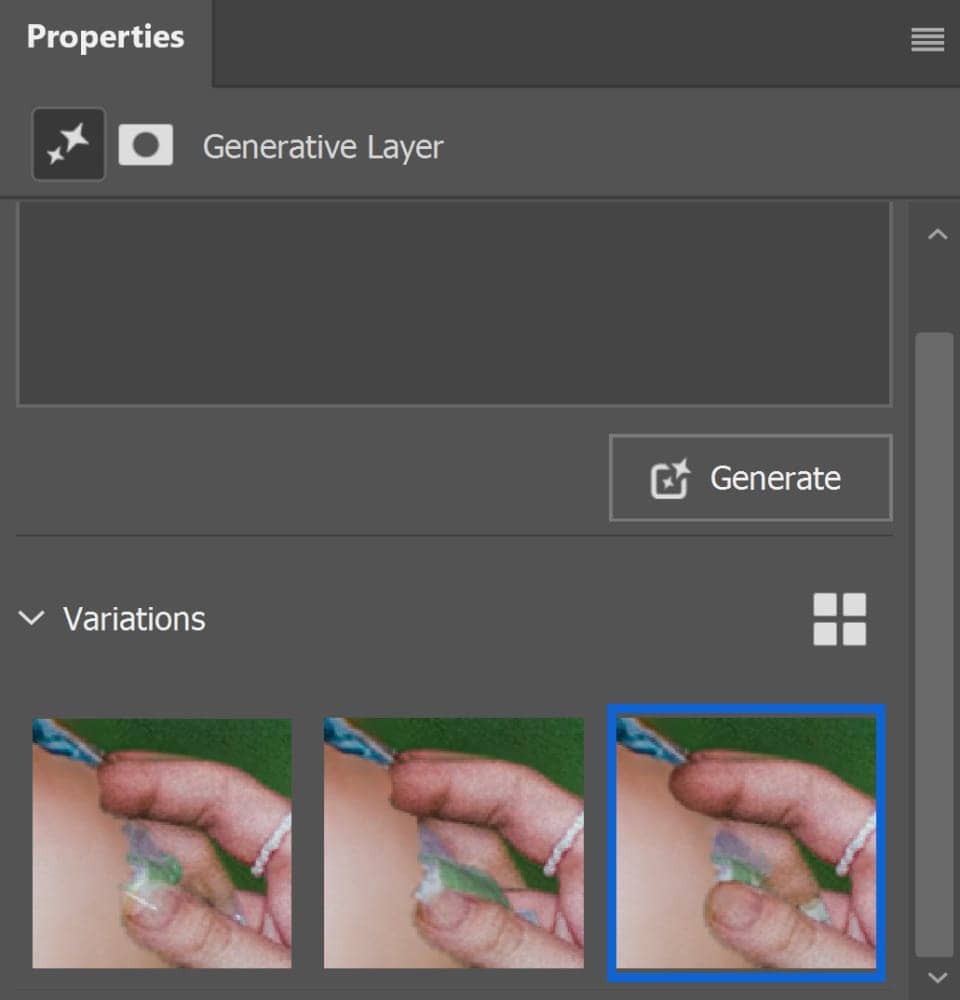
Before we proceed, you'll notice that Photoshop created this AI replacement on a new layer. This is a new type of layer in Photoshop called "Generative Layer". It is a non-destructive layer that will keep a copy of the variations and the prompt, so you don't need to worry about losing these options.
Step 5: Trying Different Ways to Fix Abnormalities
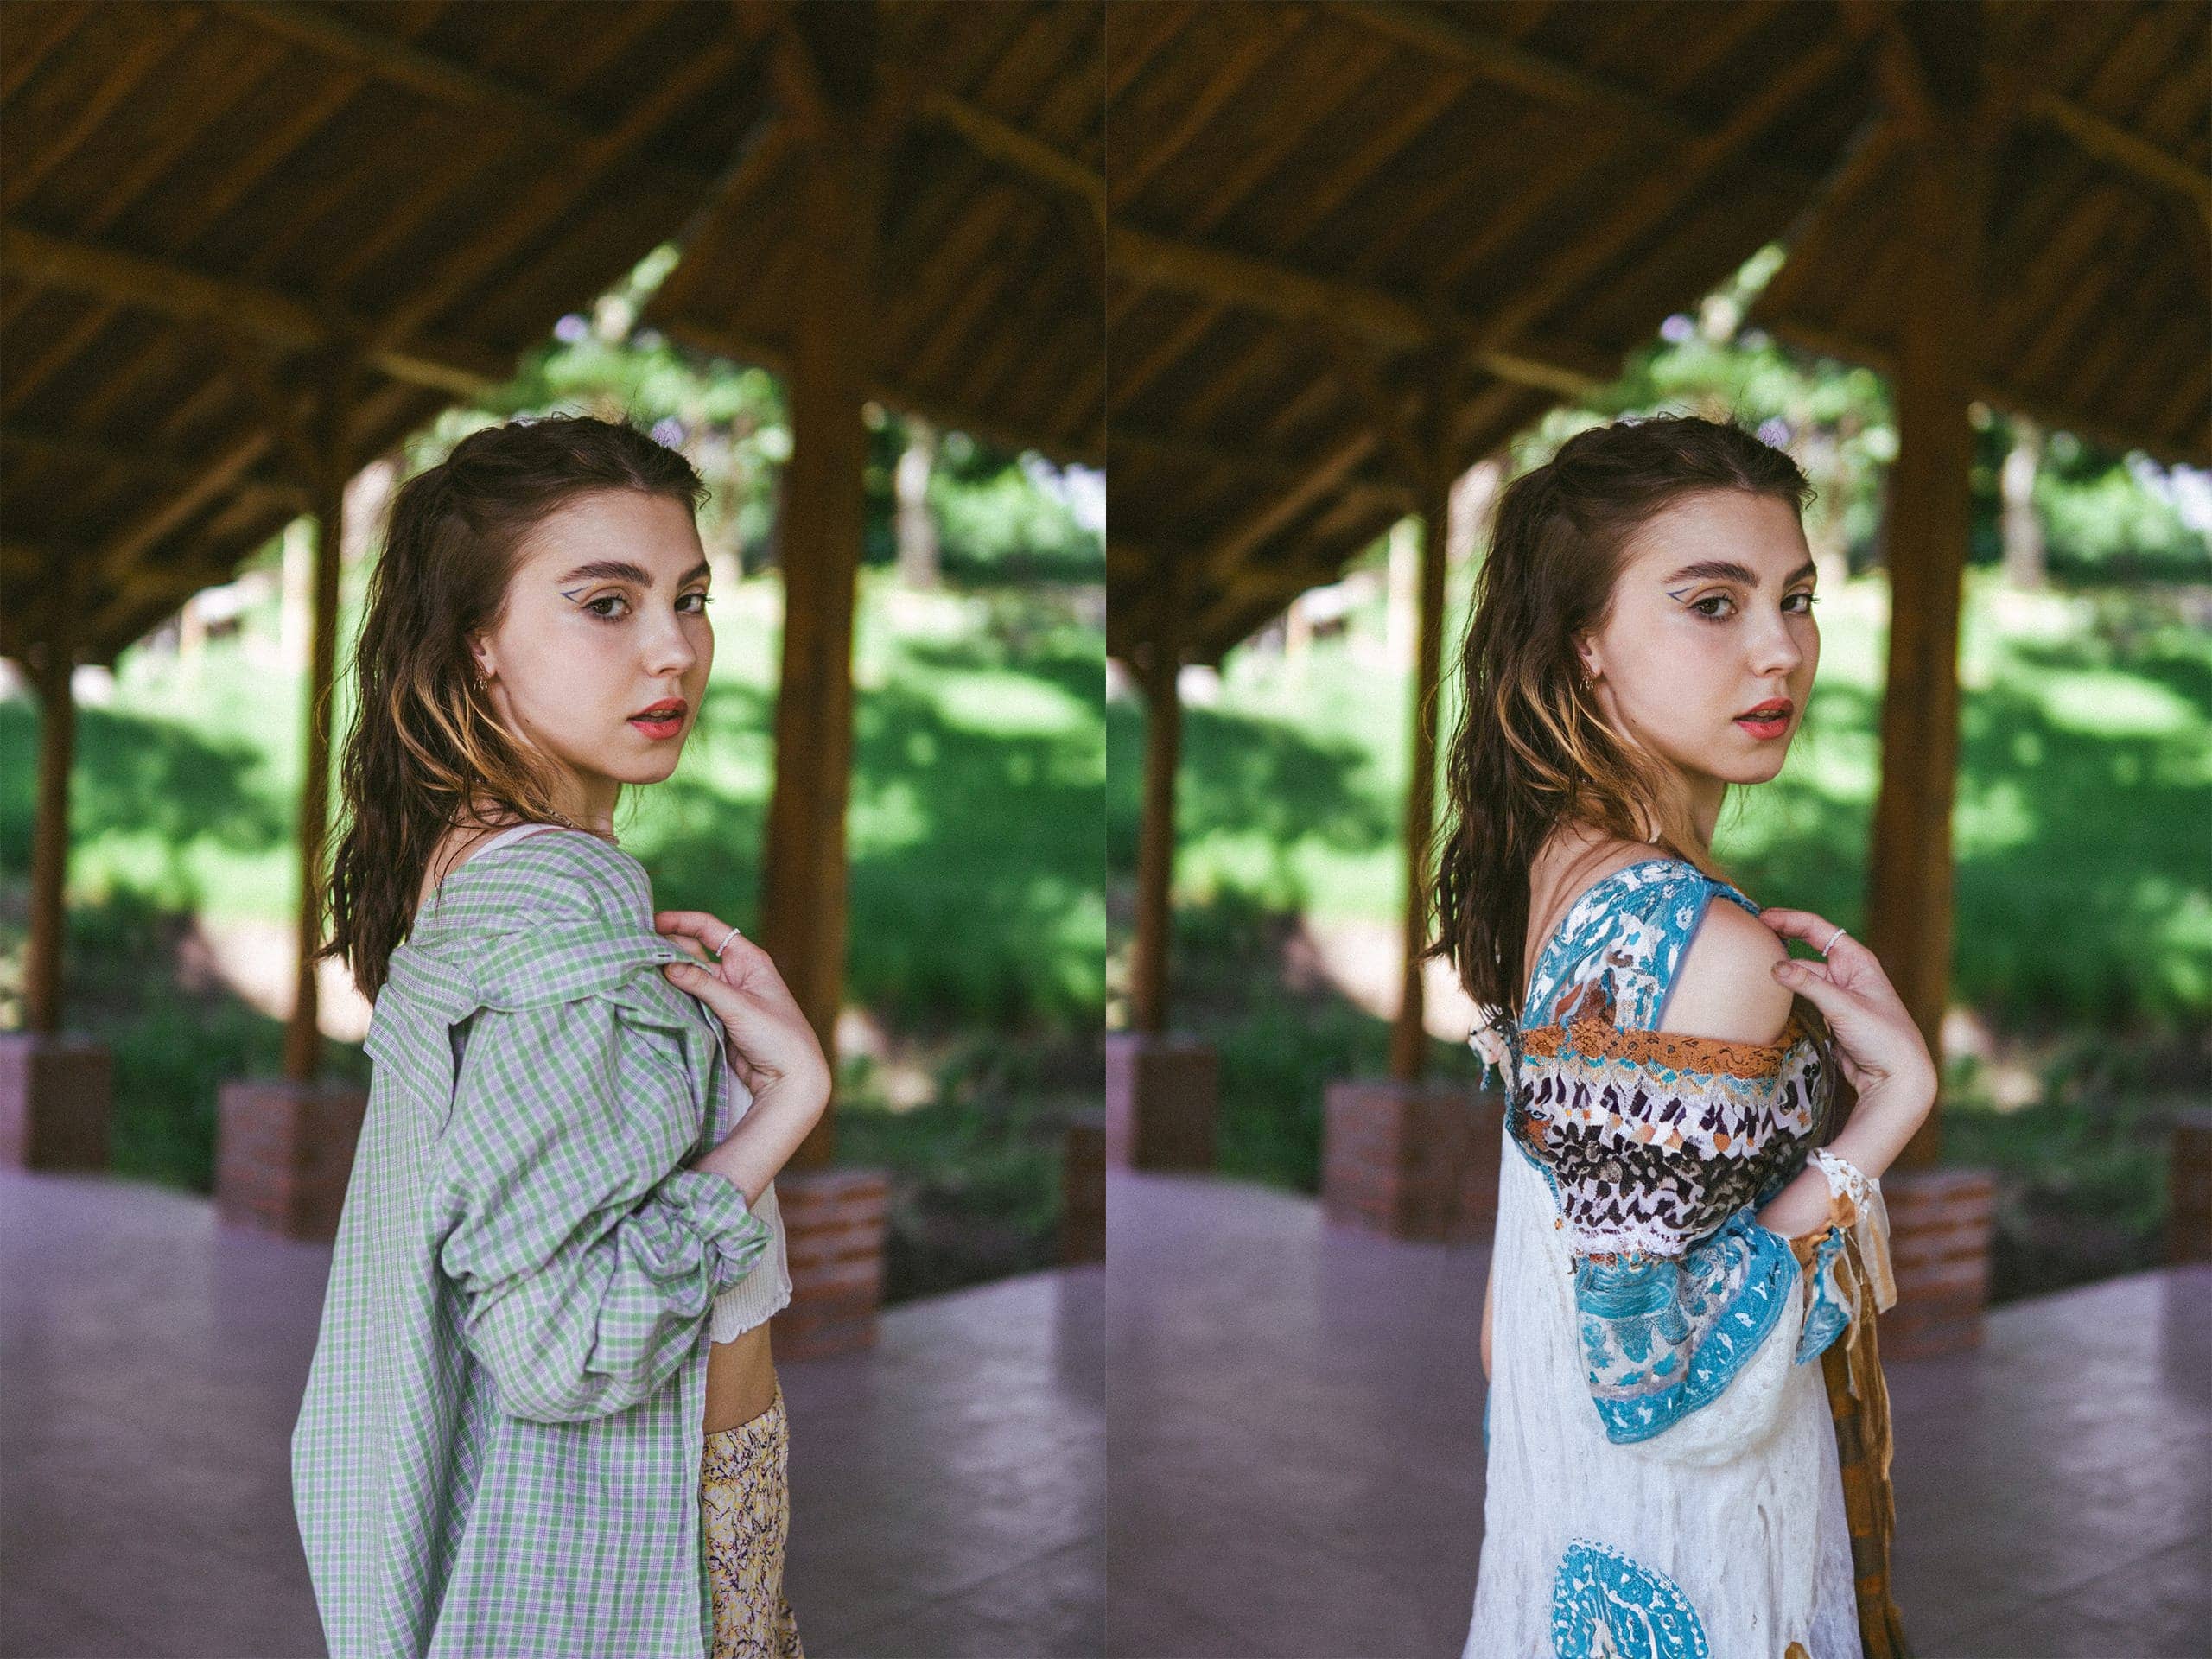
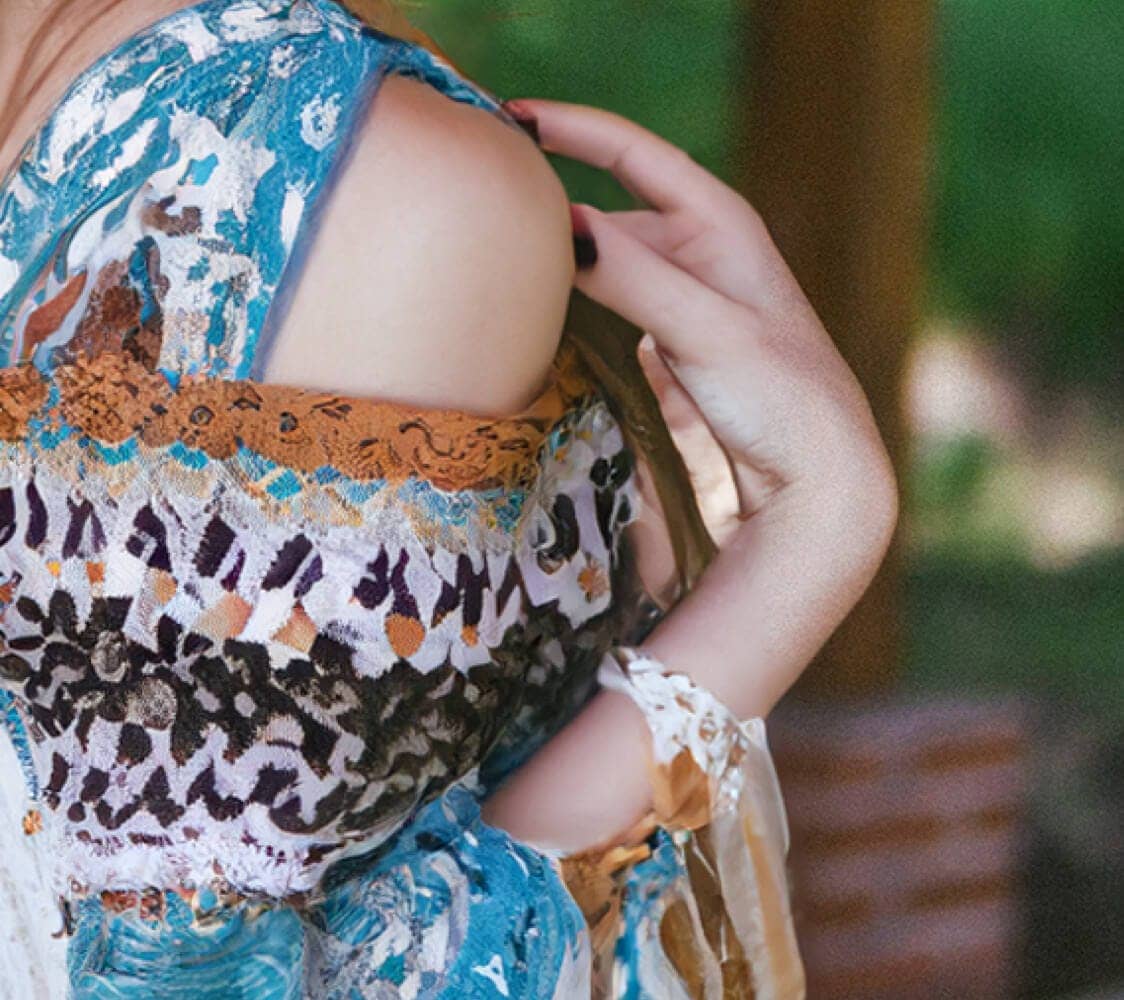
Although the image looks great at a glance, you'll find issues with the hands and fingers. This is a common issue with Photoshop's Generative feature currently and hopefully it'll improve in the future.
Let's go through some of the ways you might try fixing this. These steps don't usually work, but we should go over them so that you're aware of them.
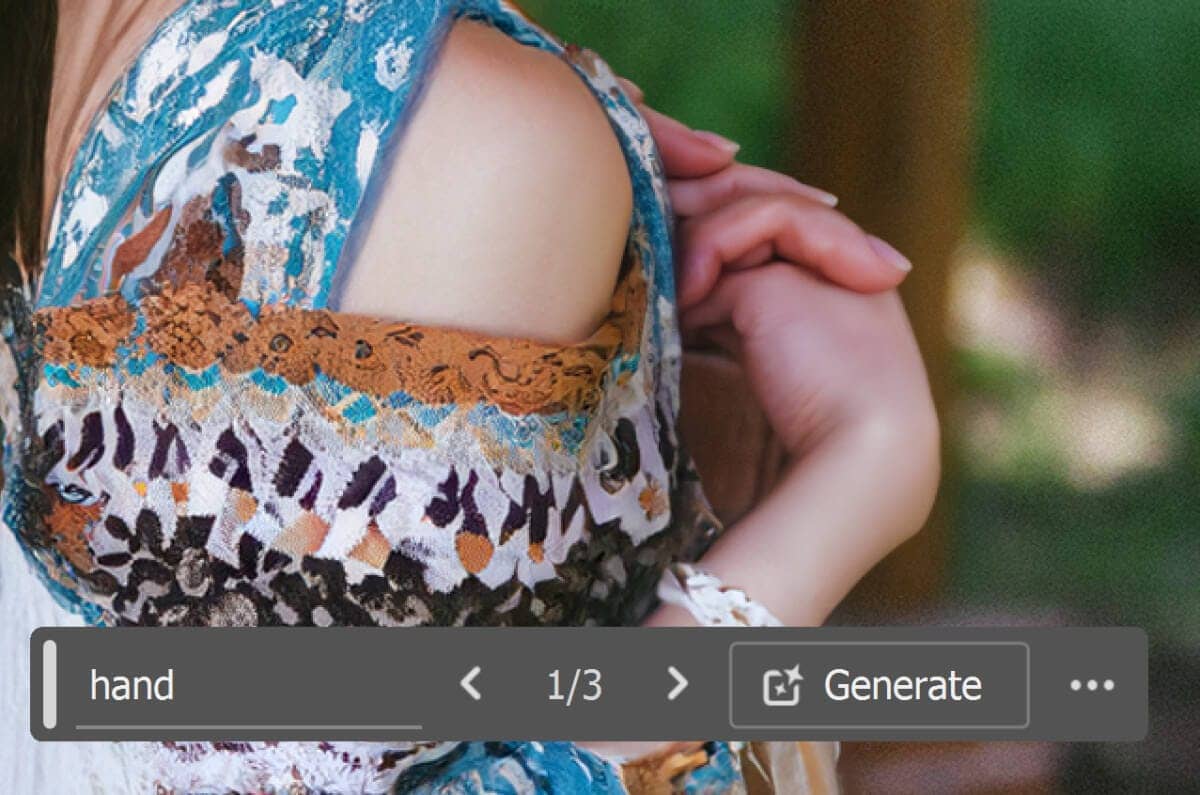
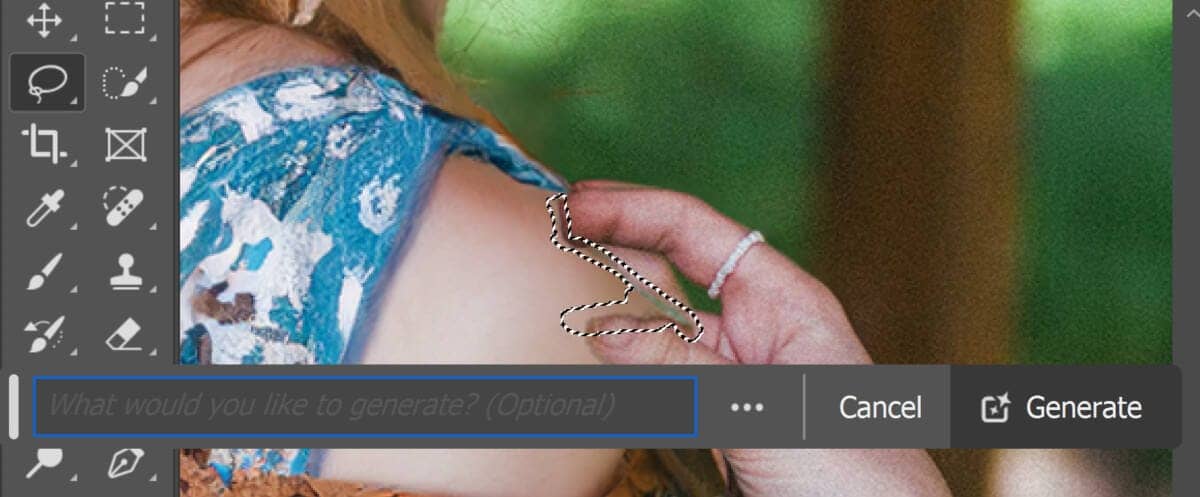
Step 6: Telling Photoshop to Regenerate the Hand
You can try creating a new selection over the hand, and telling Photoshop to generate a hand, but you'll find that this often creates even worse results.
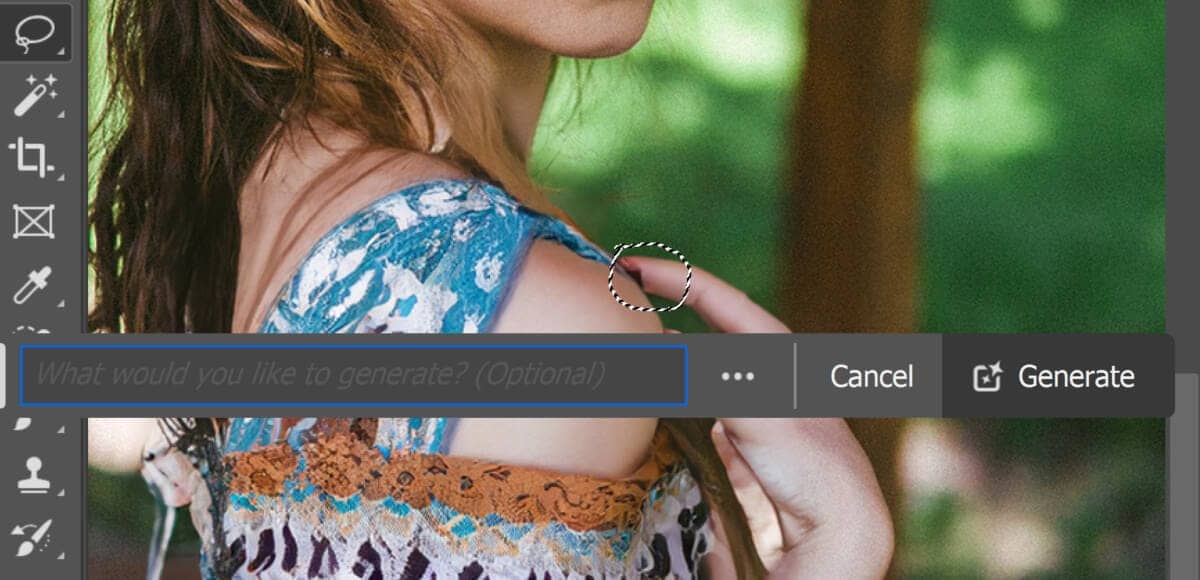
Step 7: Regenerating Small Parts Bit by Bit
Let's undo the previous step since it didn't work.
This time, we'll try creating smaller selections and regenerating the hand bit by bit. This works better than the first strategy and can eventually get you desirable results.
Step 8: Copying from the Original Image and Regenerating
If the previous step didn't work, undo or delete the Generative Layers.
Sometimes the best strategy is to bring back parts from your original image and using Generative Fill to blend in the seams.
To do this, hide all the layers except for the original image.
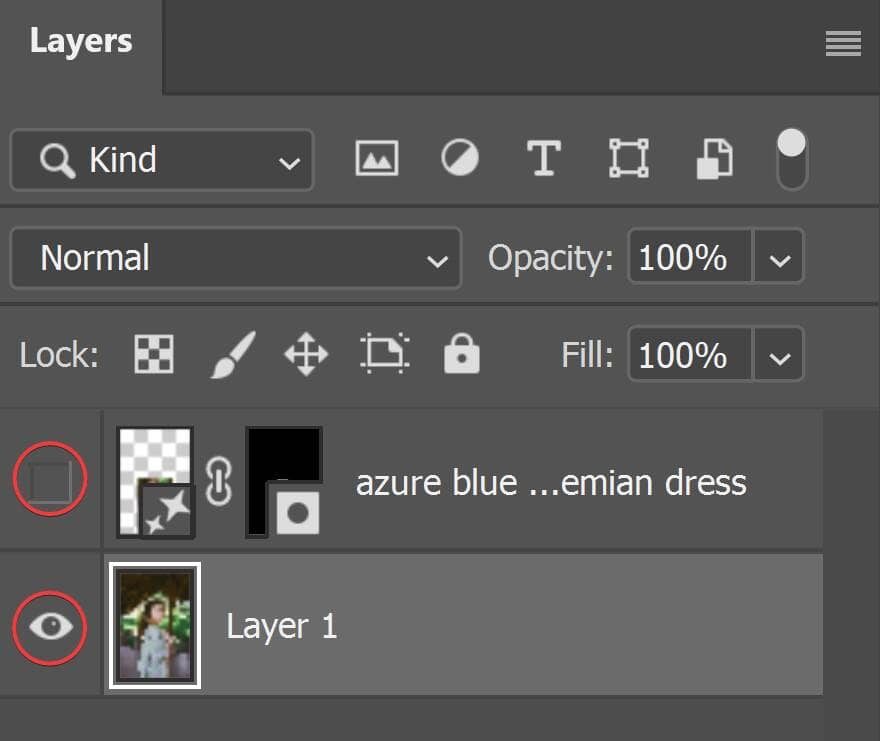
Step 9: Duplicating the Original Hand
Switch to the Quick Selection tool. With the original layer selected, create a selection of the original hand.
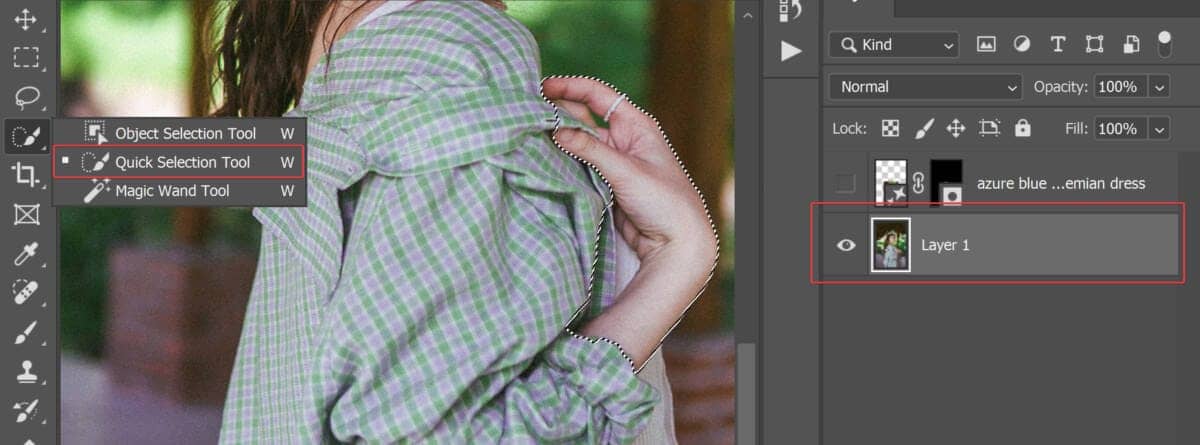
Duplicate the selection by pressing Ctrl/Cmd+J (or Layer > Duplicate Layer). Move this layer to the top from the Layers panel (Window > Layers).
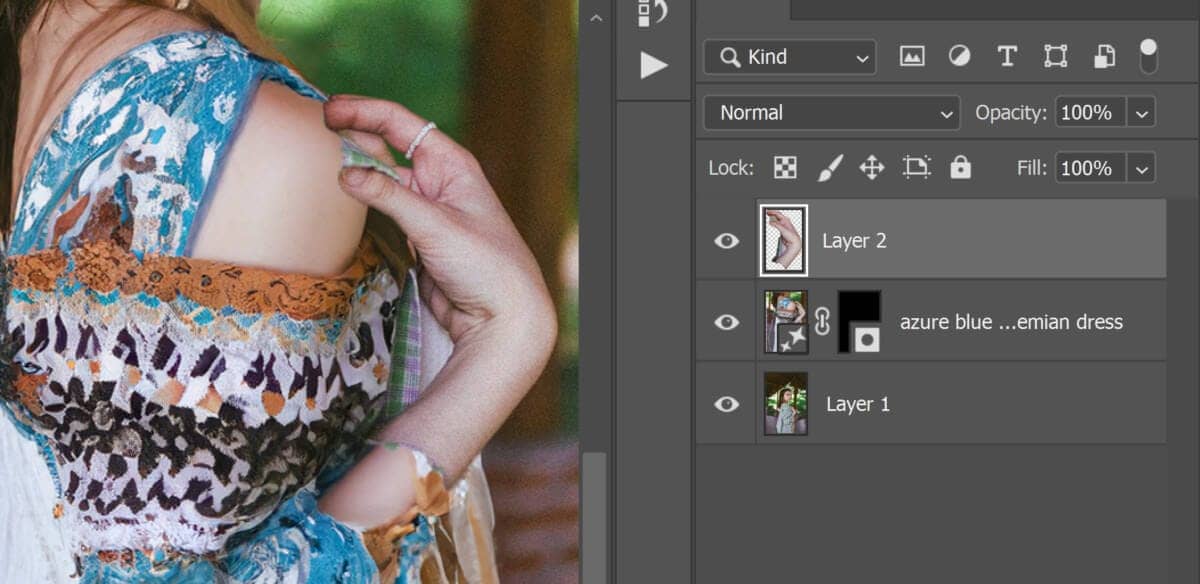
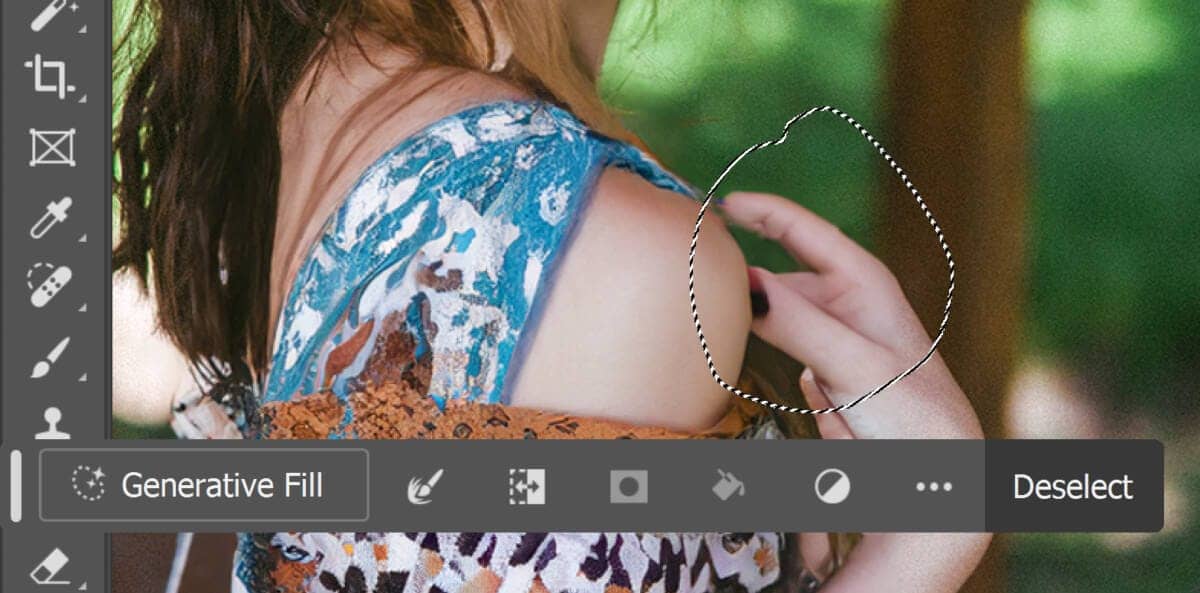
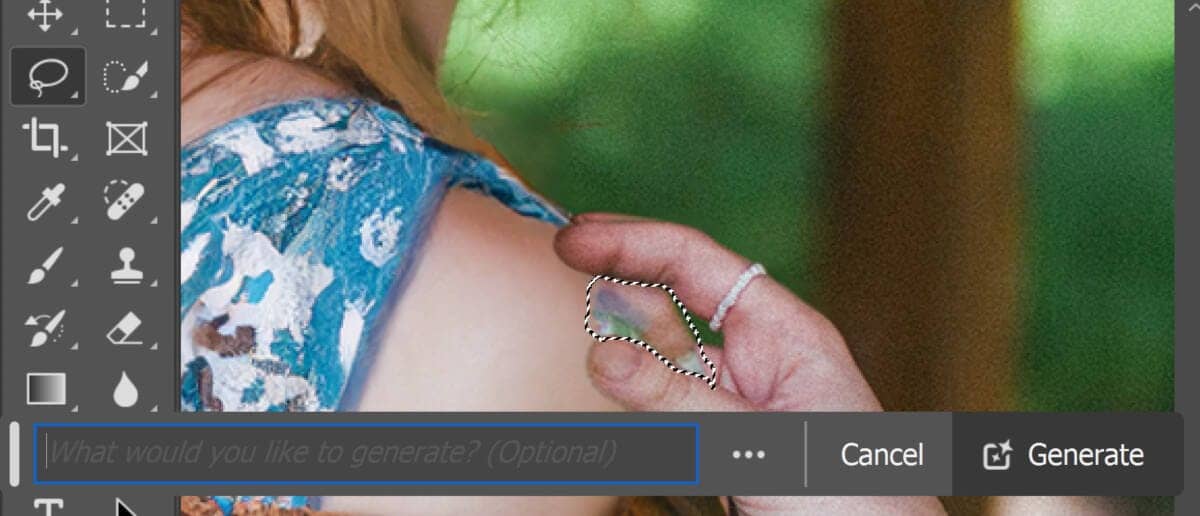
Step 10: Using Generative Fill to Blend the Original Hand with the AI Image
Create a selection around the areas that you want to regenerate with the Lasso tool.
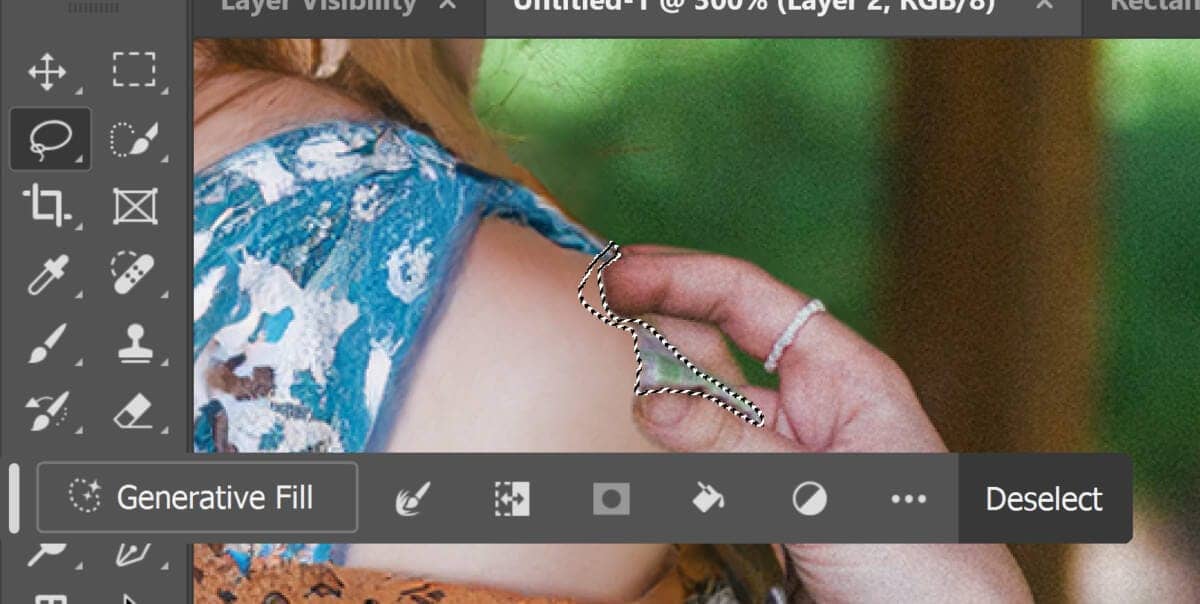
Leave the prompt blank and click the Generate button.
Pick the best variation from the Properties panel (Window > Properties).
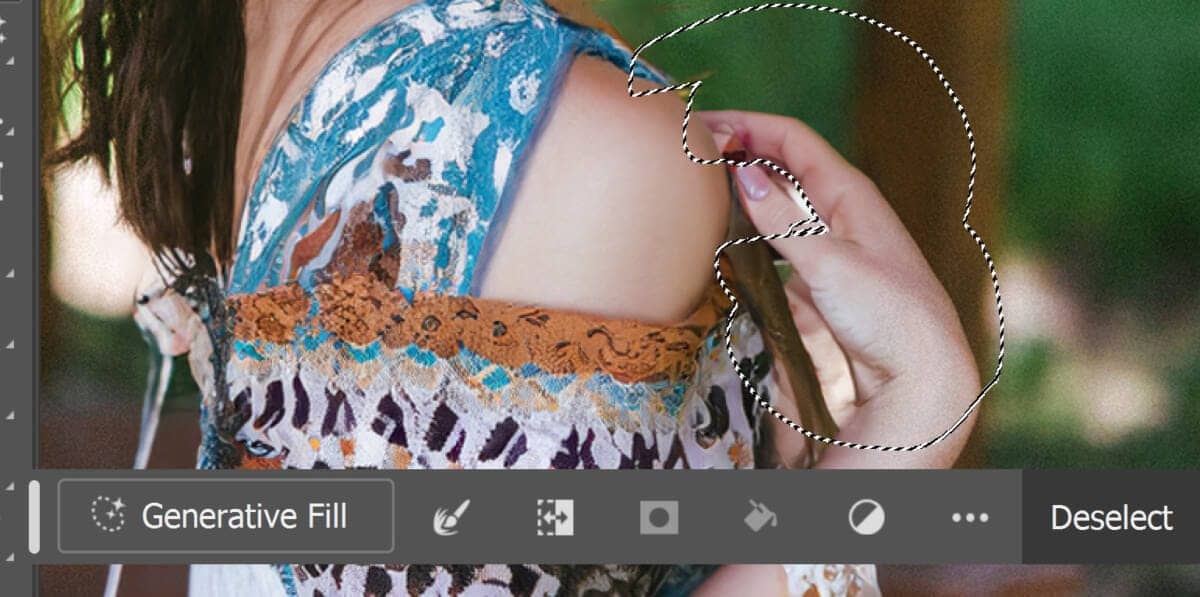
Step 11: Repeat the Process
Continue the previous step until you get realistic results.
Make smaller selections each time, leaving out the parts already fixed by Photoshop's Generative Fill.
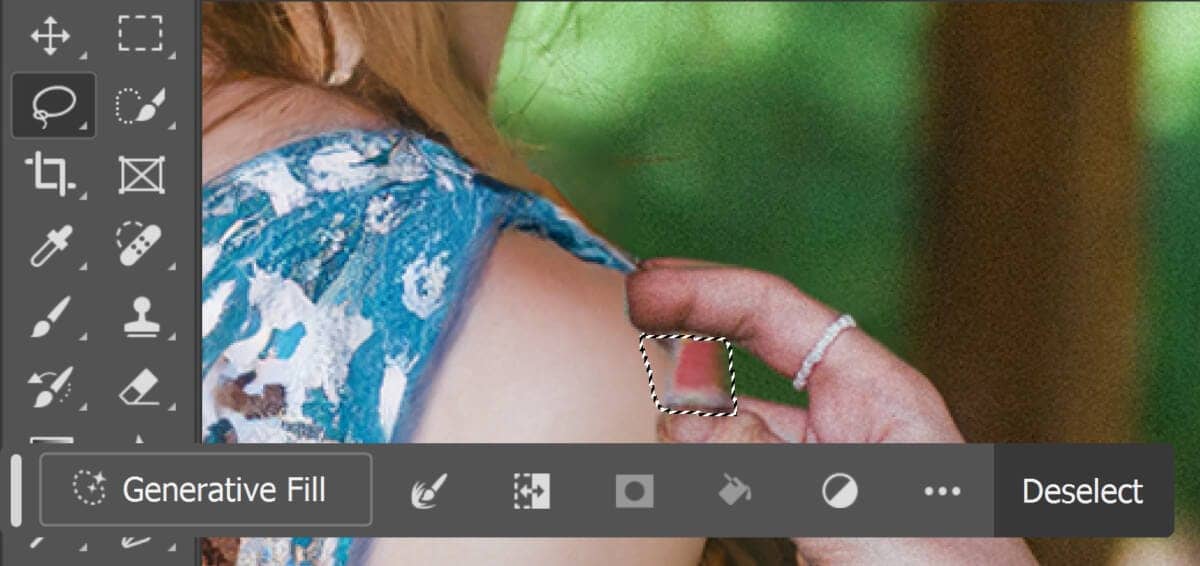
You may need to do this many times to get desirable results (we had to do this 9 times).
One comment on “How to Get Realistic Results with Photoshop's Generative Fill”
Are these tutorials free? to watch them?, or there is a fee