

Turn any photo into a dot grid artwork with these Photoshop actions. You'll get great results with dots that change size. They get larger in brighter areas and smaller in darker areas. Free download available.
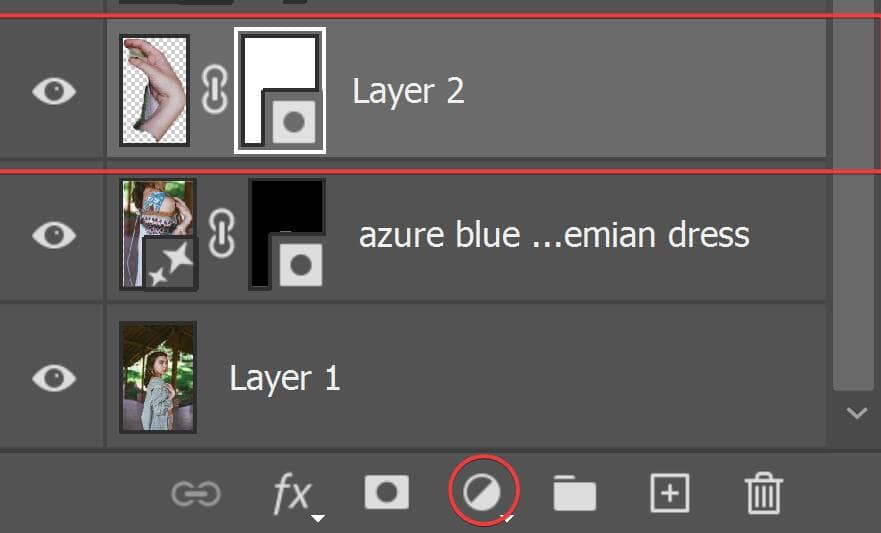
Step 12: Blending With a Layer Mask
For other areas, it is easier to simply blend it with a layer mask.
To add a layer mask, select the layer with the original hand then click on the "Add Layer Mask" button near the bottom of the Layers panel.
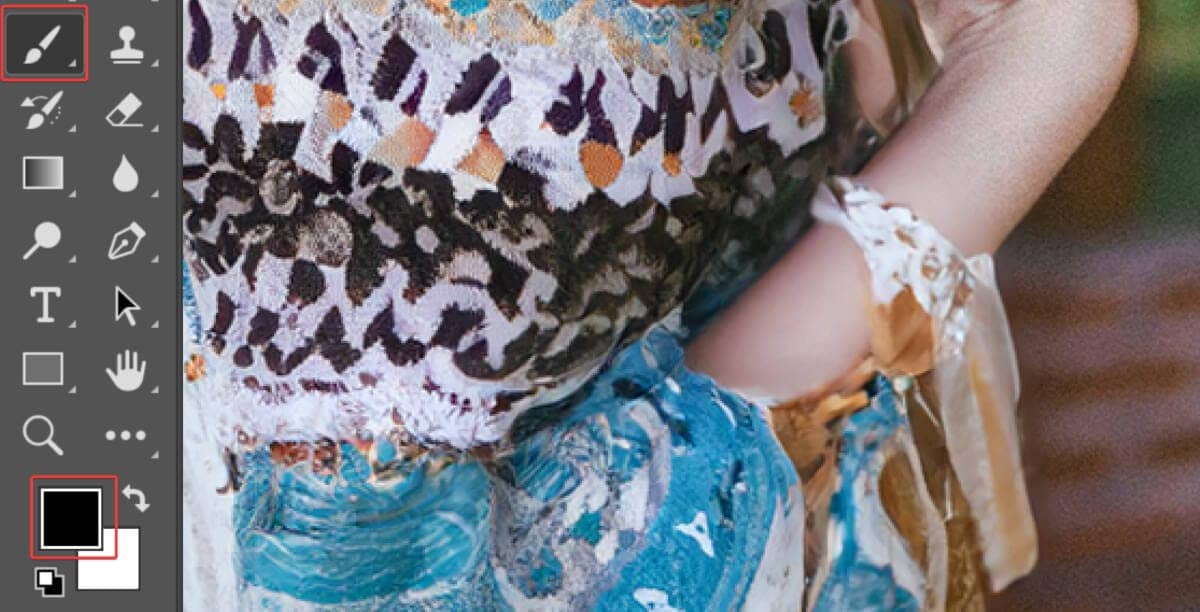
Step 13: Painting the Layer Mask
Select the Brush tool (B) and set your foreground color to blank. You can do this quickly by pressing D (set the foreground/background colors to black and white), then pressing X (reverses the foreground/background colors).

Paint over the areas that you want to blend with the previous layer.
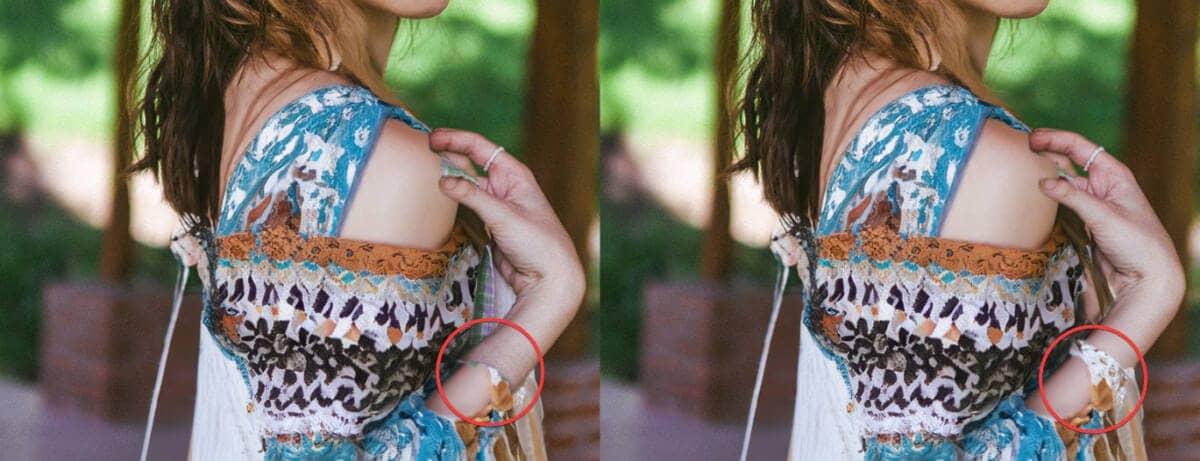
Here's a before and after comparison after some manual layer masking.
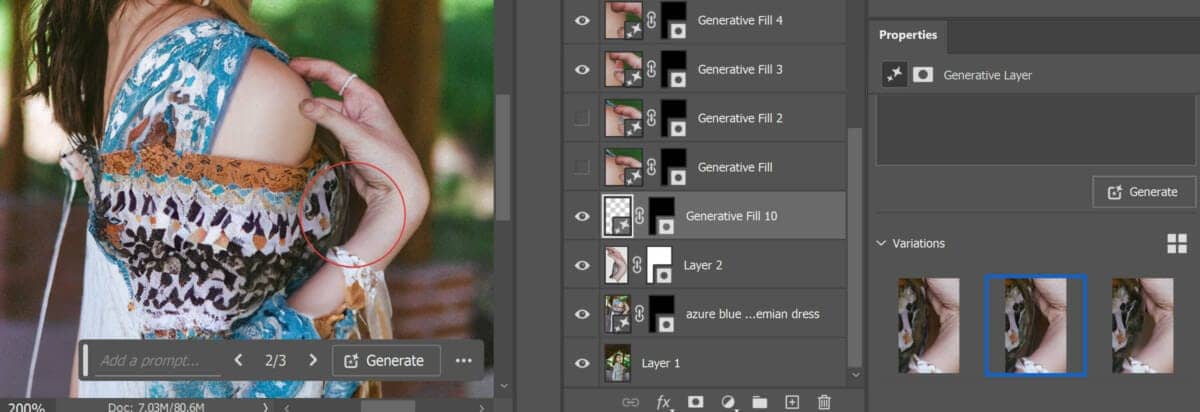
Step 14: Keep Correcting Other Image Abnormalities
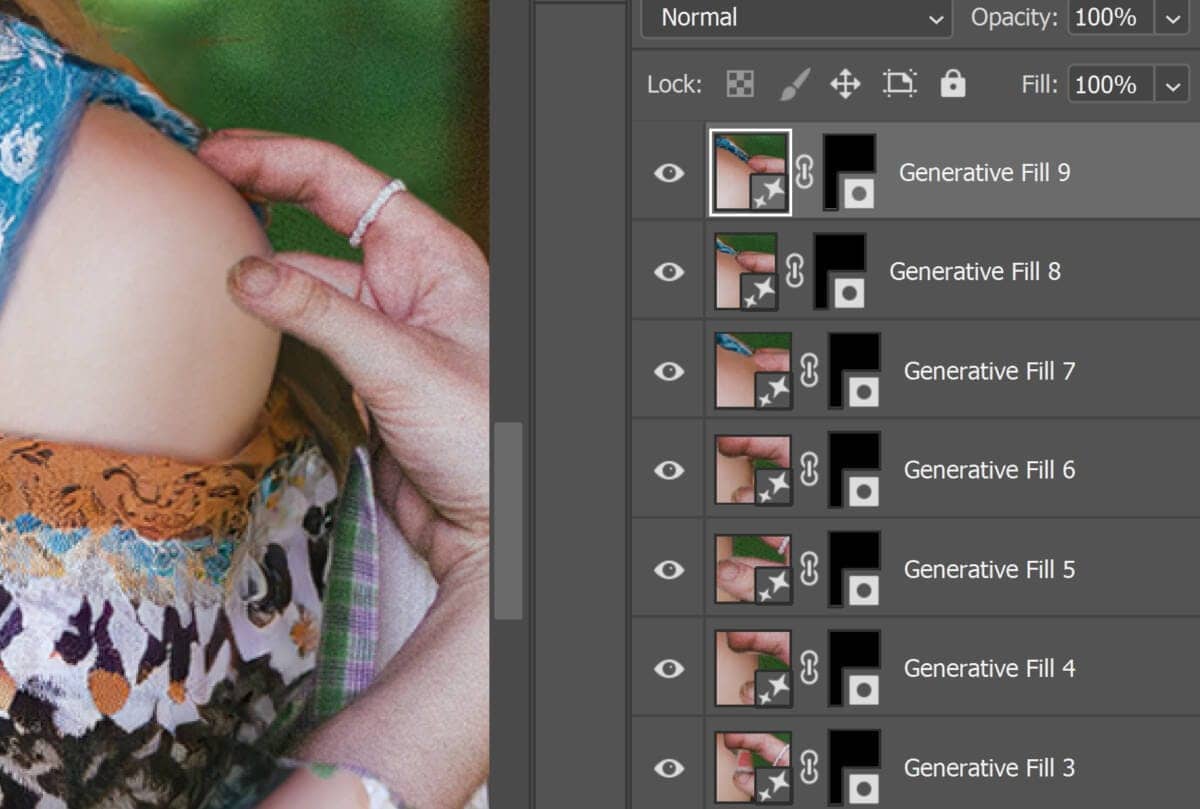
Continue using the three techniques you learned to perfect the results. For this section here, we regenerated it with another Generate Fill layer.
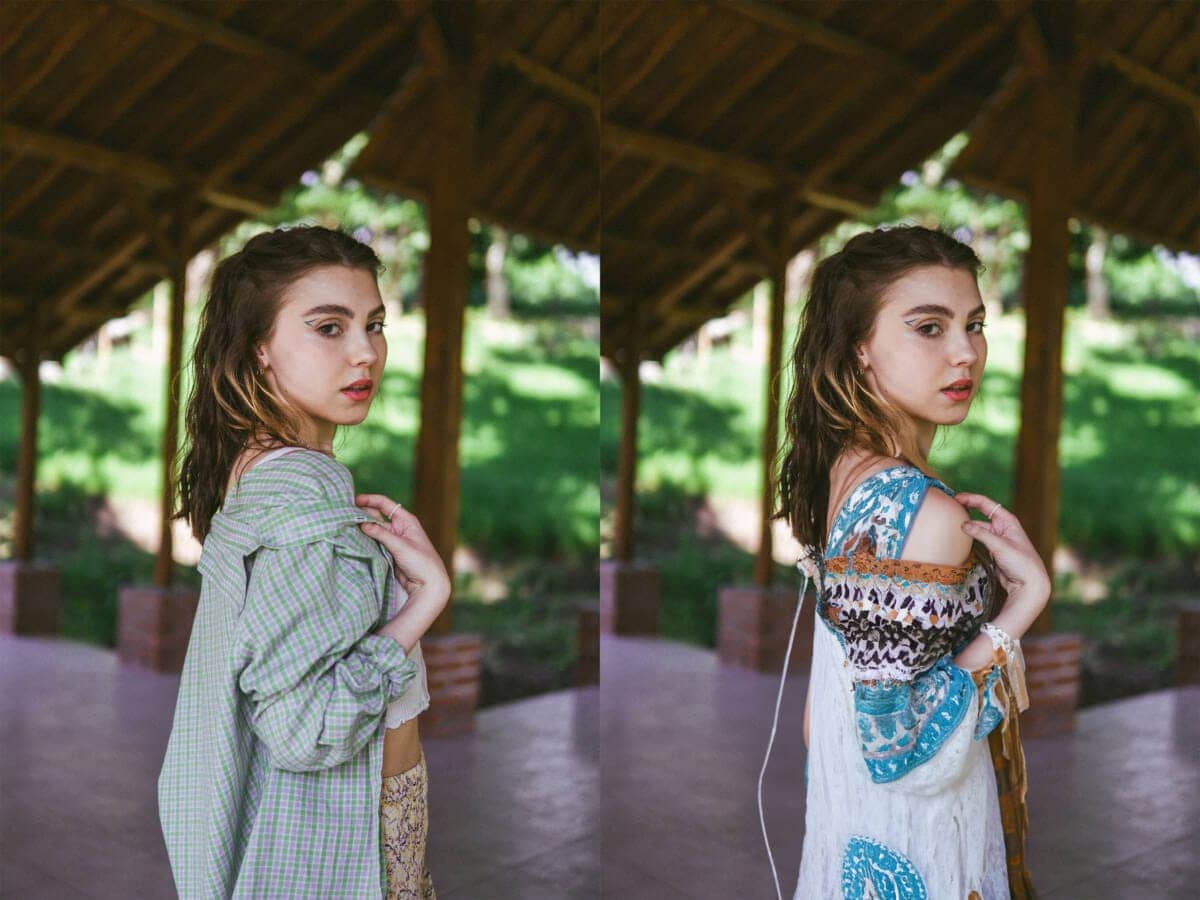
Here's how our image looks like before and after.
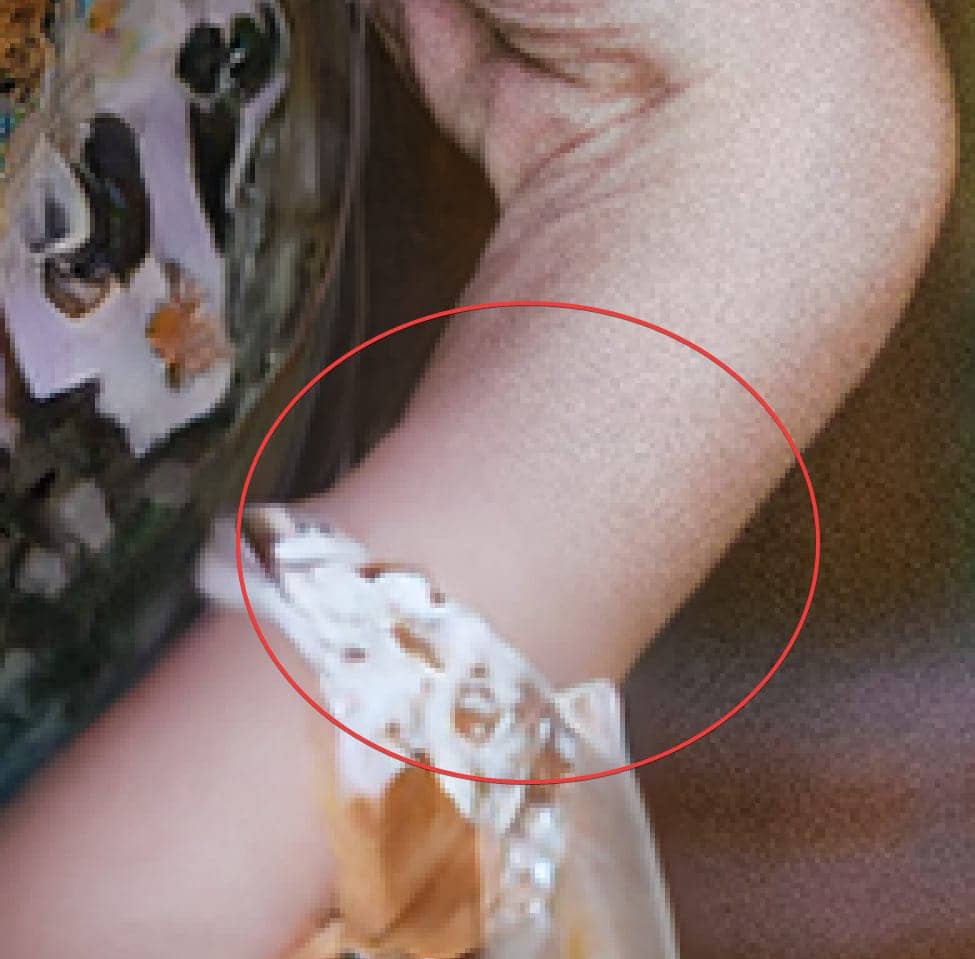
Step 15: Grain/Texture Mismatch
Photos often have a grainy pattern, even if they seem clean when zoomed out. When zoomed in, you'll see that the AI-generated areas are perfectly smooth and grain-free, unlike the original photo.
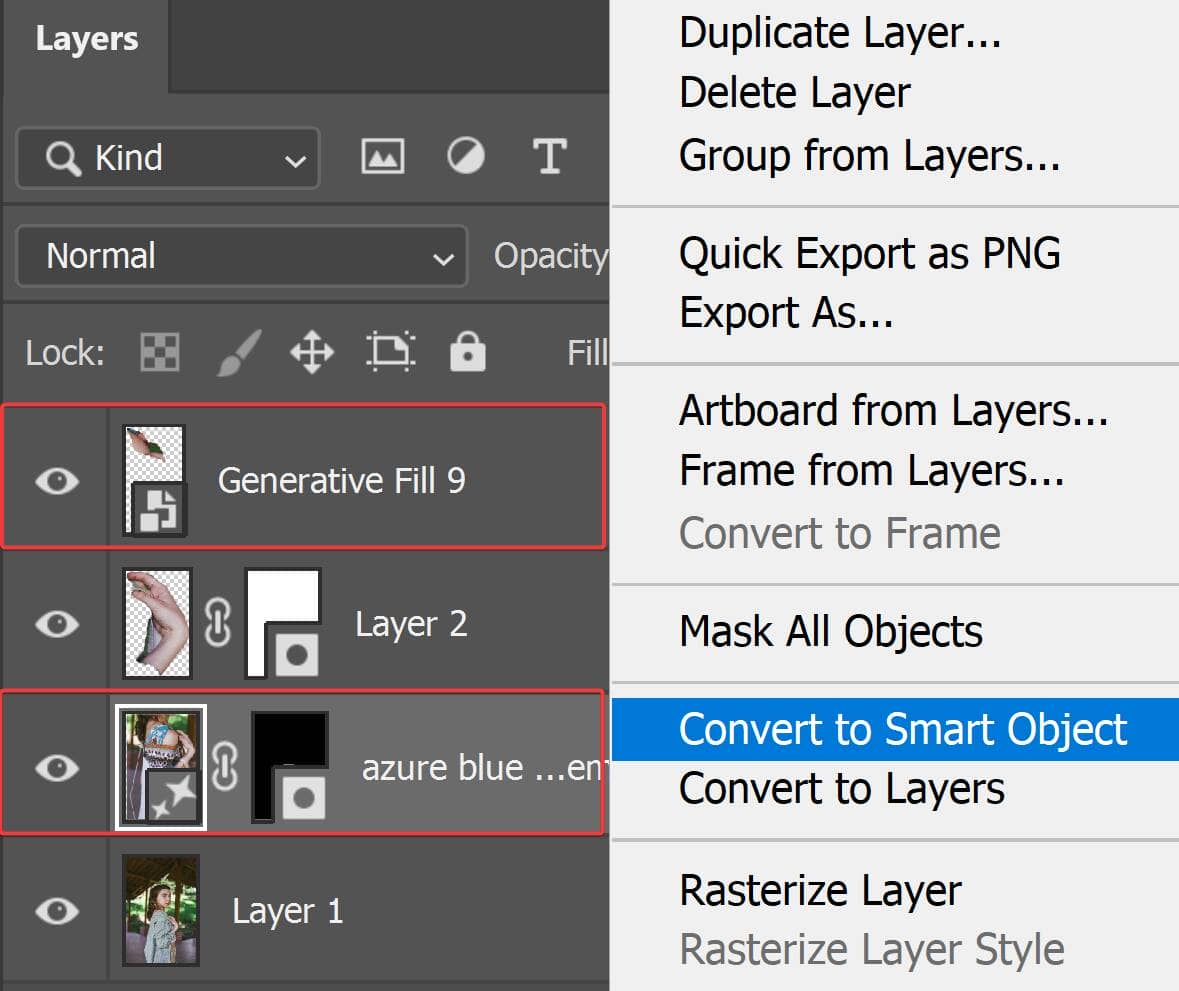
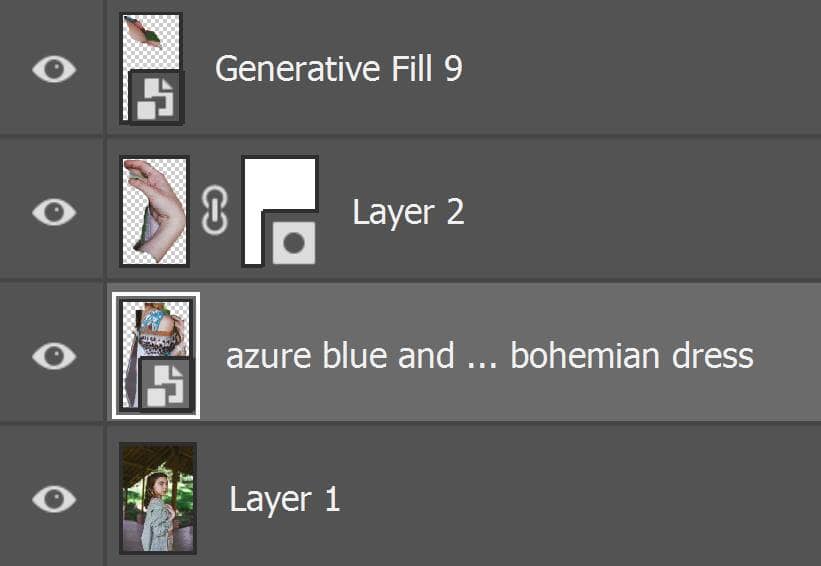
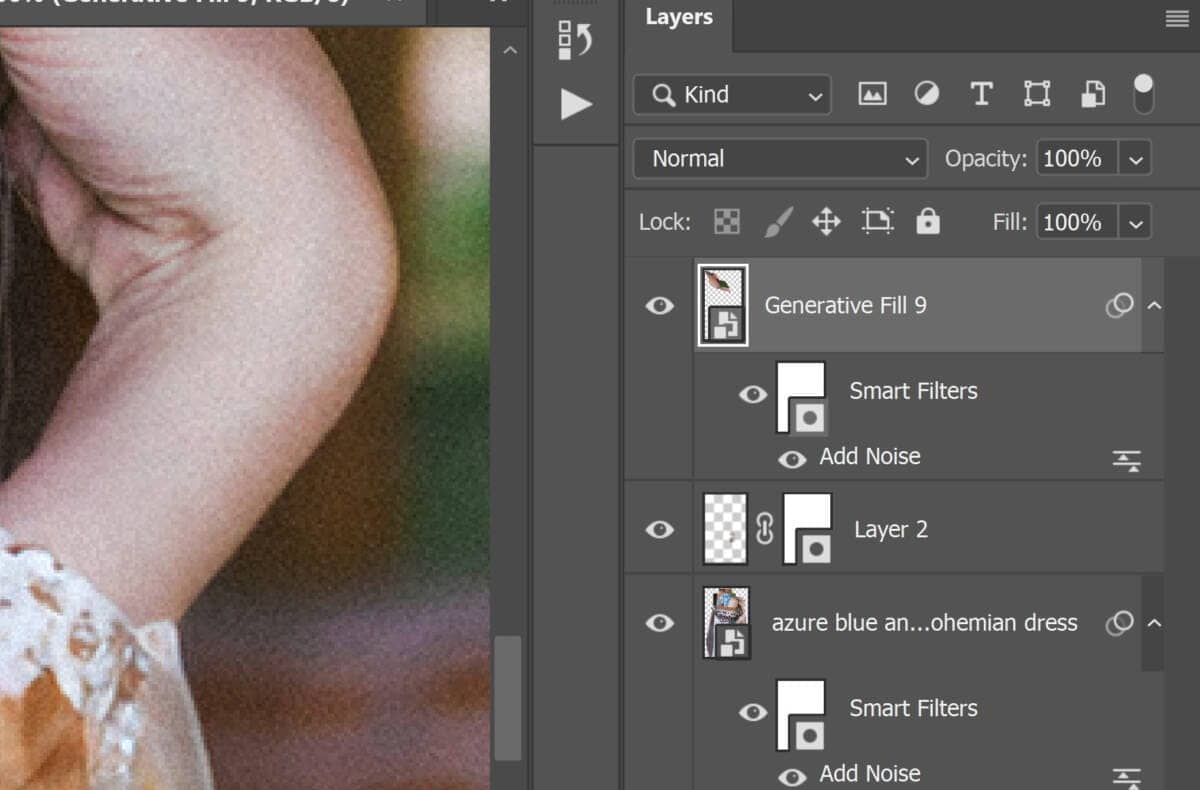
Step 16 - Merge the Generative Fill Layers into a Smart Object
Let's fix this mismatch. Select all of the Generative Fill layers and convert them to a Smart Object.
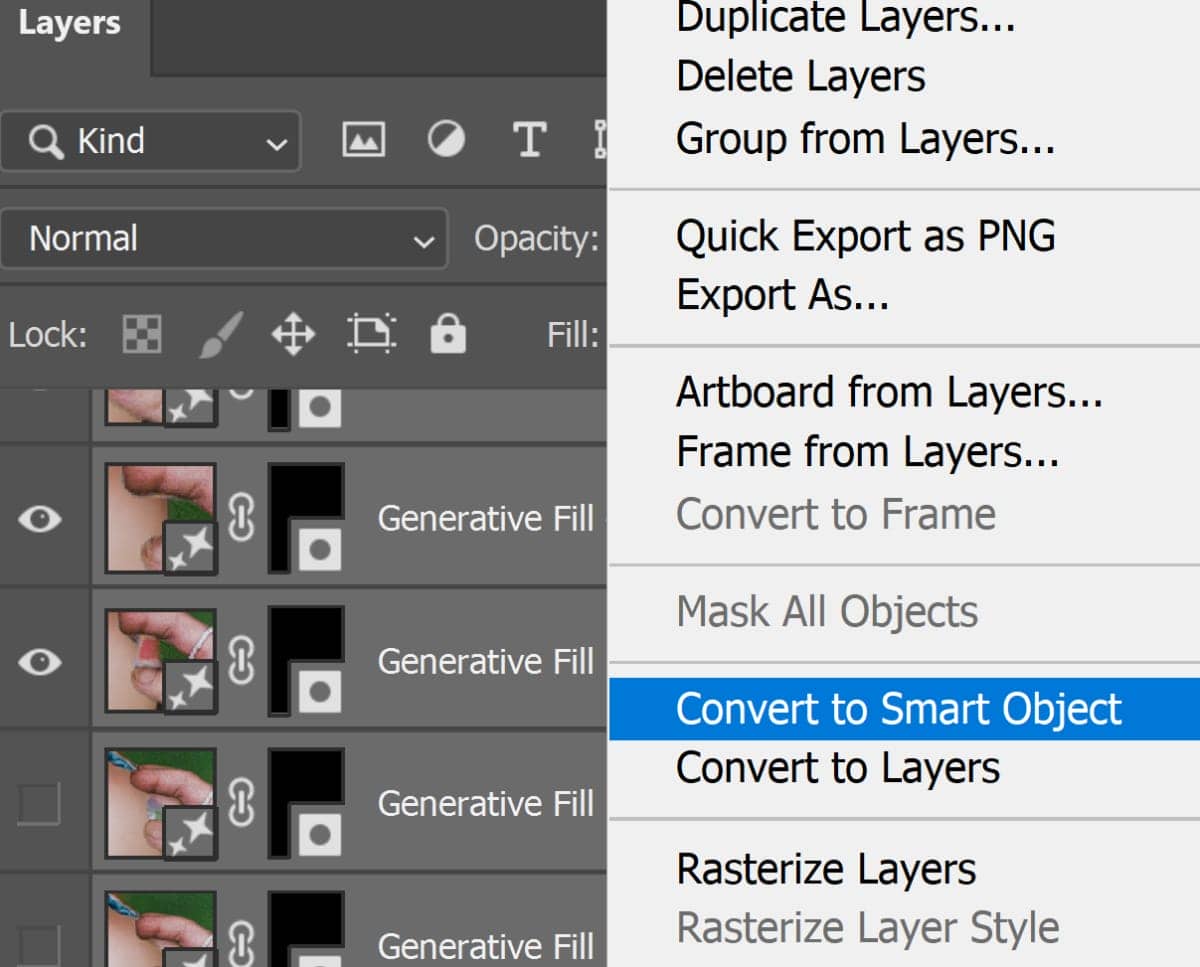
If there's a non-Generative Fill layer between the Generative Fill layers, keep the layer organization by converting them into separate Smart Objects.
Step 17: Add Noise
Go to Filter > Noise > Add Noise. Adjust the settings to match the grain in your photo. You'll know you have the right settings when you cannot tell the AI-generated areas from the non-AI generated areas.
- Amount: Adjust this to match the amount of grain from the original photo.
- Distribution: Swap between these two to find the noise pattern that best matches the original photo.
- Monochromatic: Checkmark this option if the grain in the original photo is grayscale.
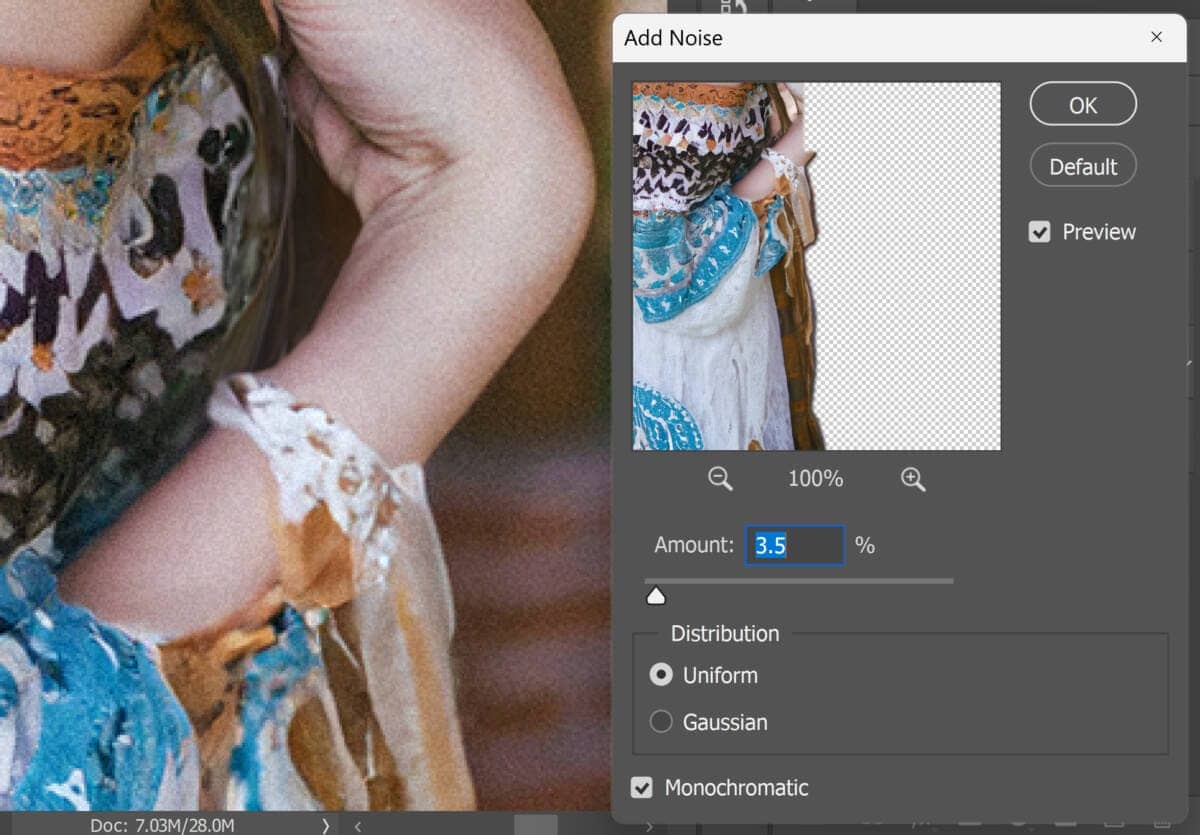
Select the other Smart Object (if you have any), and repeat the same filter by pressing Alt+Ctrl+F/Option+Cmd+F.
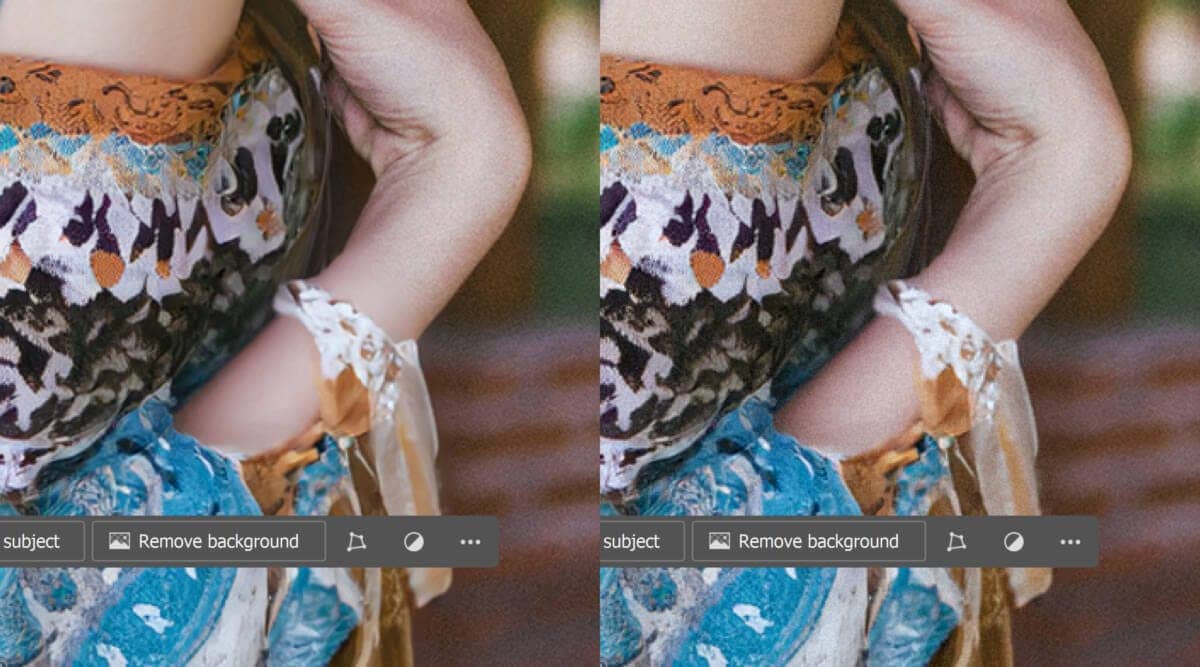
Here's how it looks before and after adding the noise. As you can see, the smoothness of the AI-generated areas is gone and blends in much better.
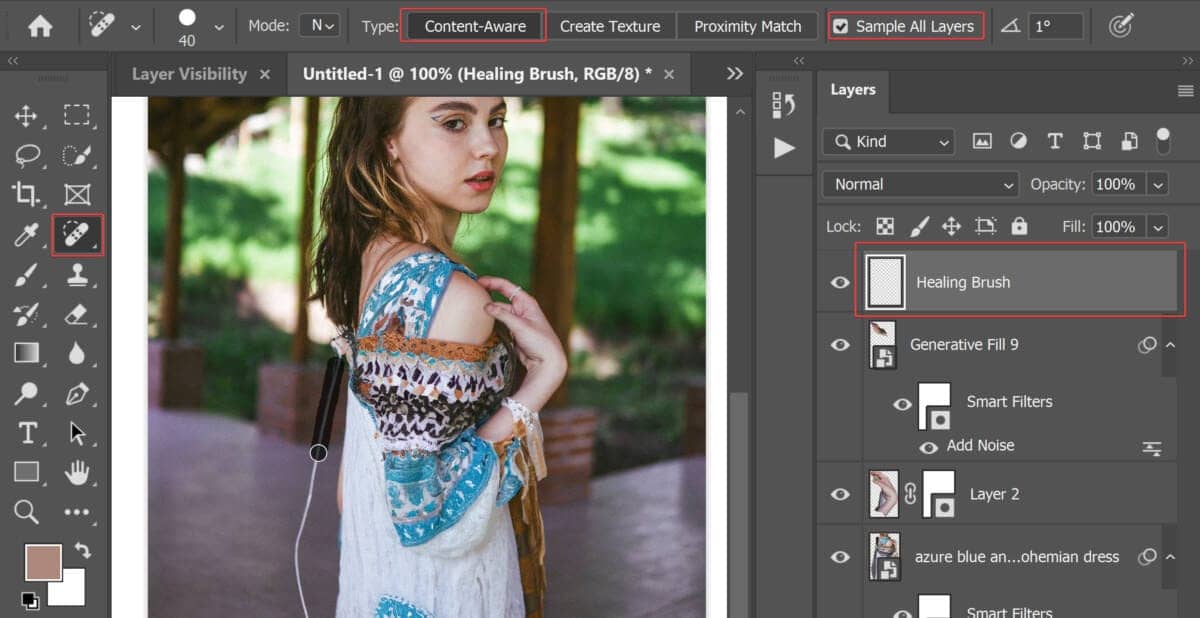
Step 18: Healing Brush
Finally, for small touchups, use the Healing Brush tool. To do this, create a new layer and position it as the top layer. Select the Healing Brush tool, set the mode to "Content-Aware", and checkmark the "Sample All Layers" option.
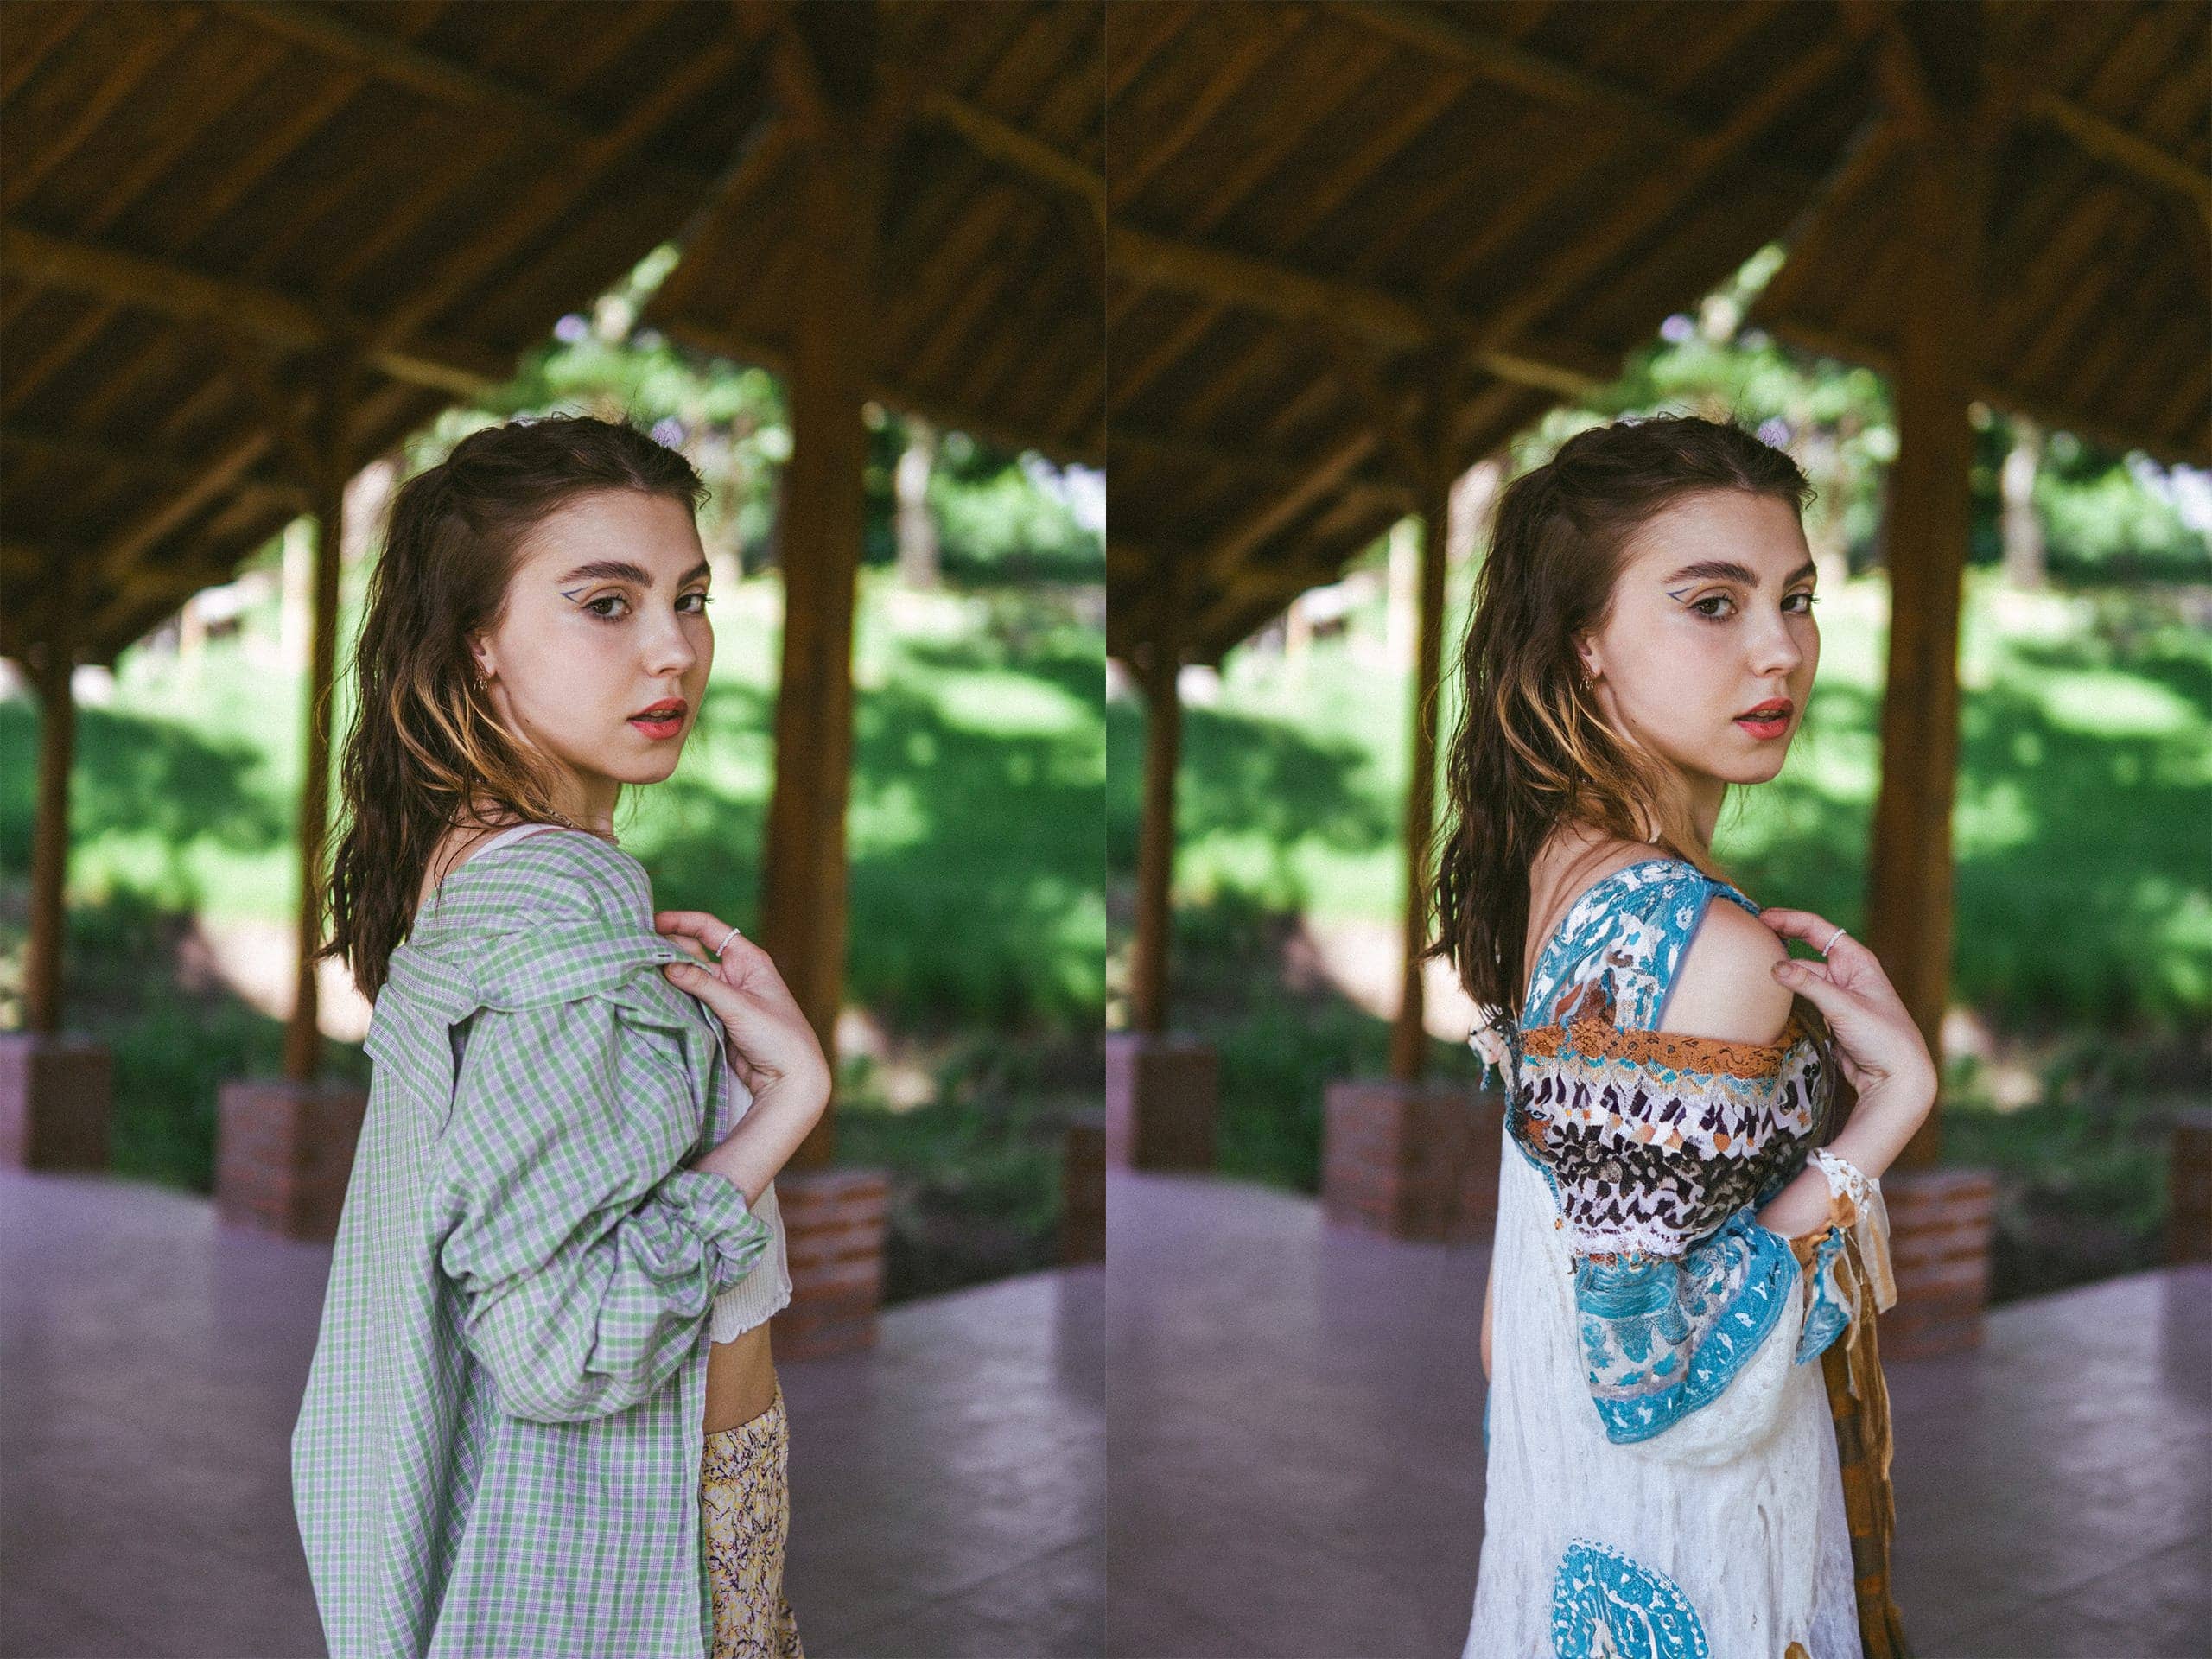
Final Results
We're done! Photoshop's Generative AI doesn't always produce flawless results, but by using the techniques you've learned in this tutorial, you can significantly enhance the outcome.
One comment on “How to Get Realistic Results with Photoshop's Generative Fill”
Are these tutorials free? to watch them?, or there is a fee