Create a Wallpaper of Japan in Photoshop

Create a Wallpaper of Japan in Photoshop

In this tutorial we are going to create a princess in a fantasy world, standing in a royal garden. With this tutorial we will be covering some interesting methods of cutting an image with complex and tiny gaps, discussing the nature of the elements in the scene to provide a natural depth to the scene, and working on the lighting and Depth of Field principles.

Preview of Final Results
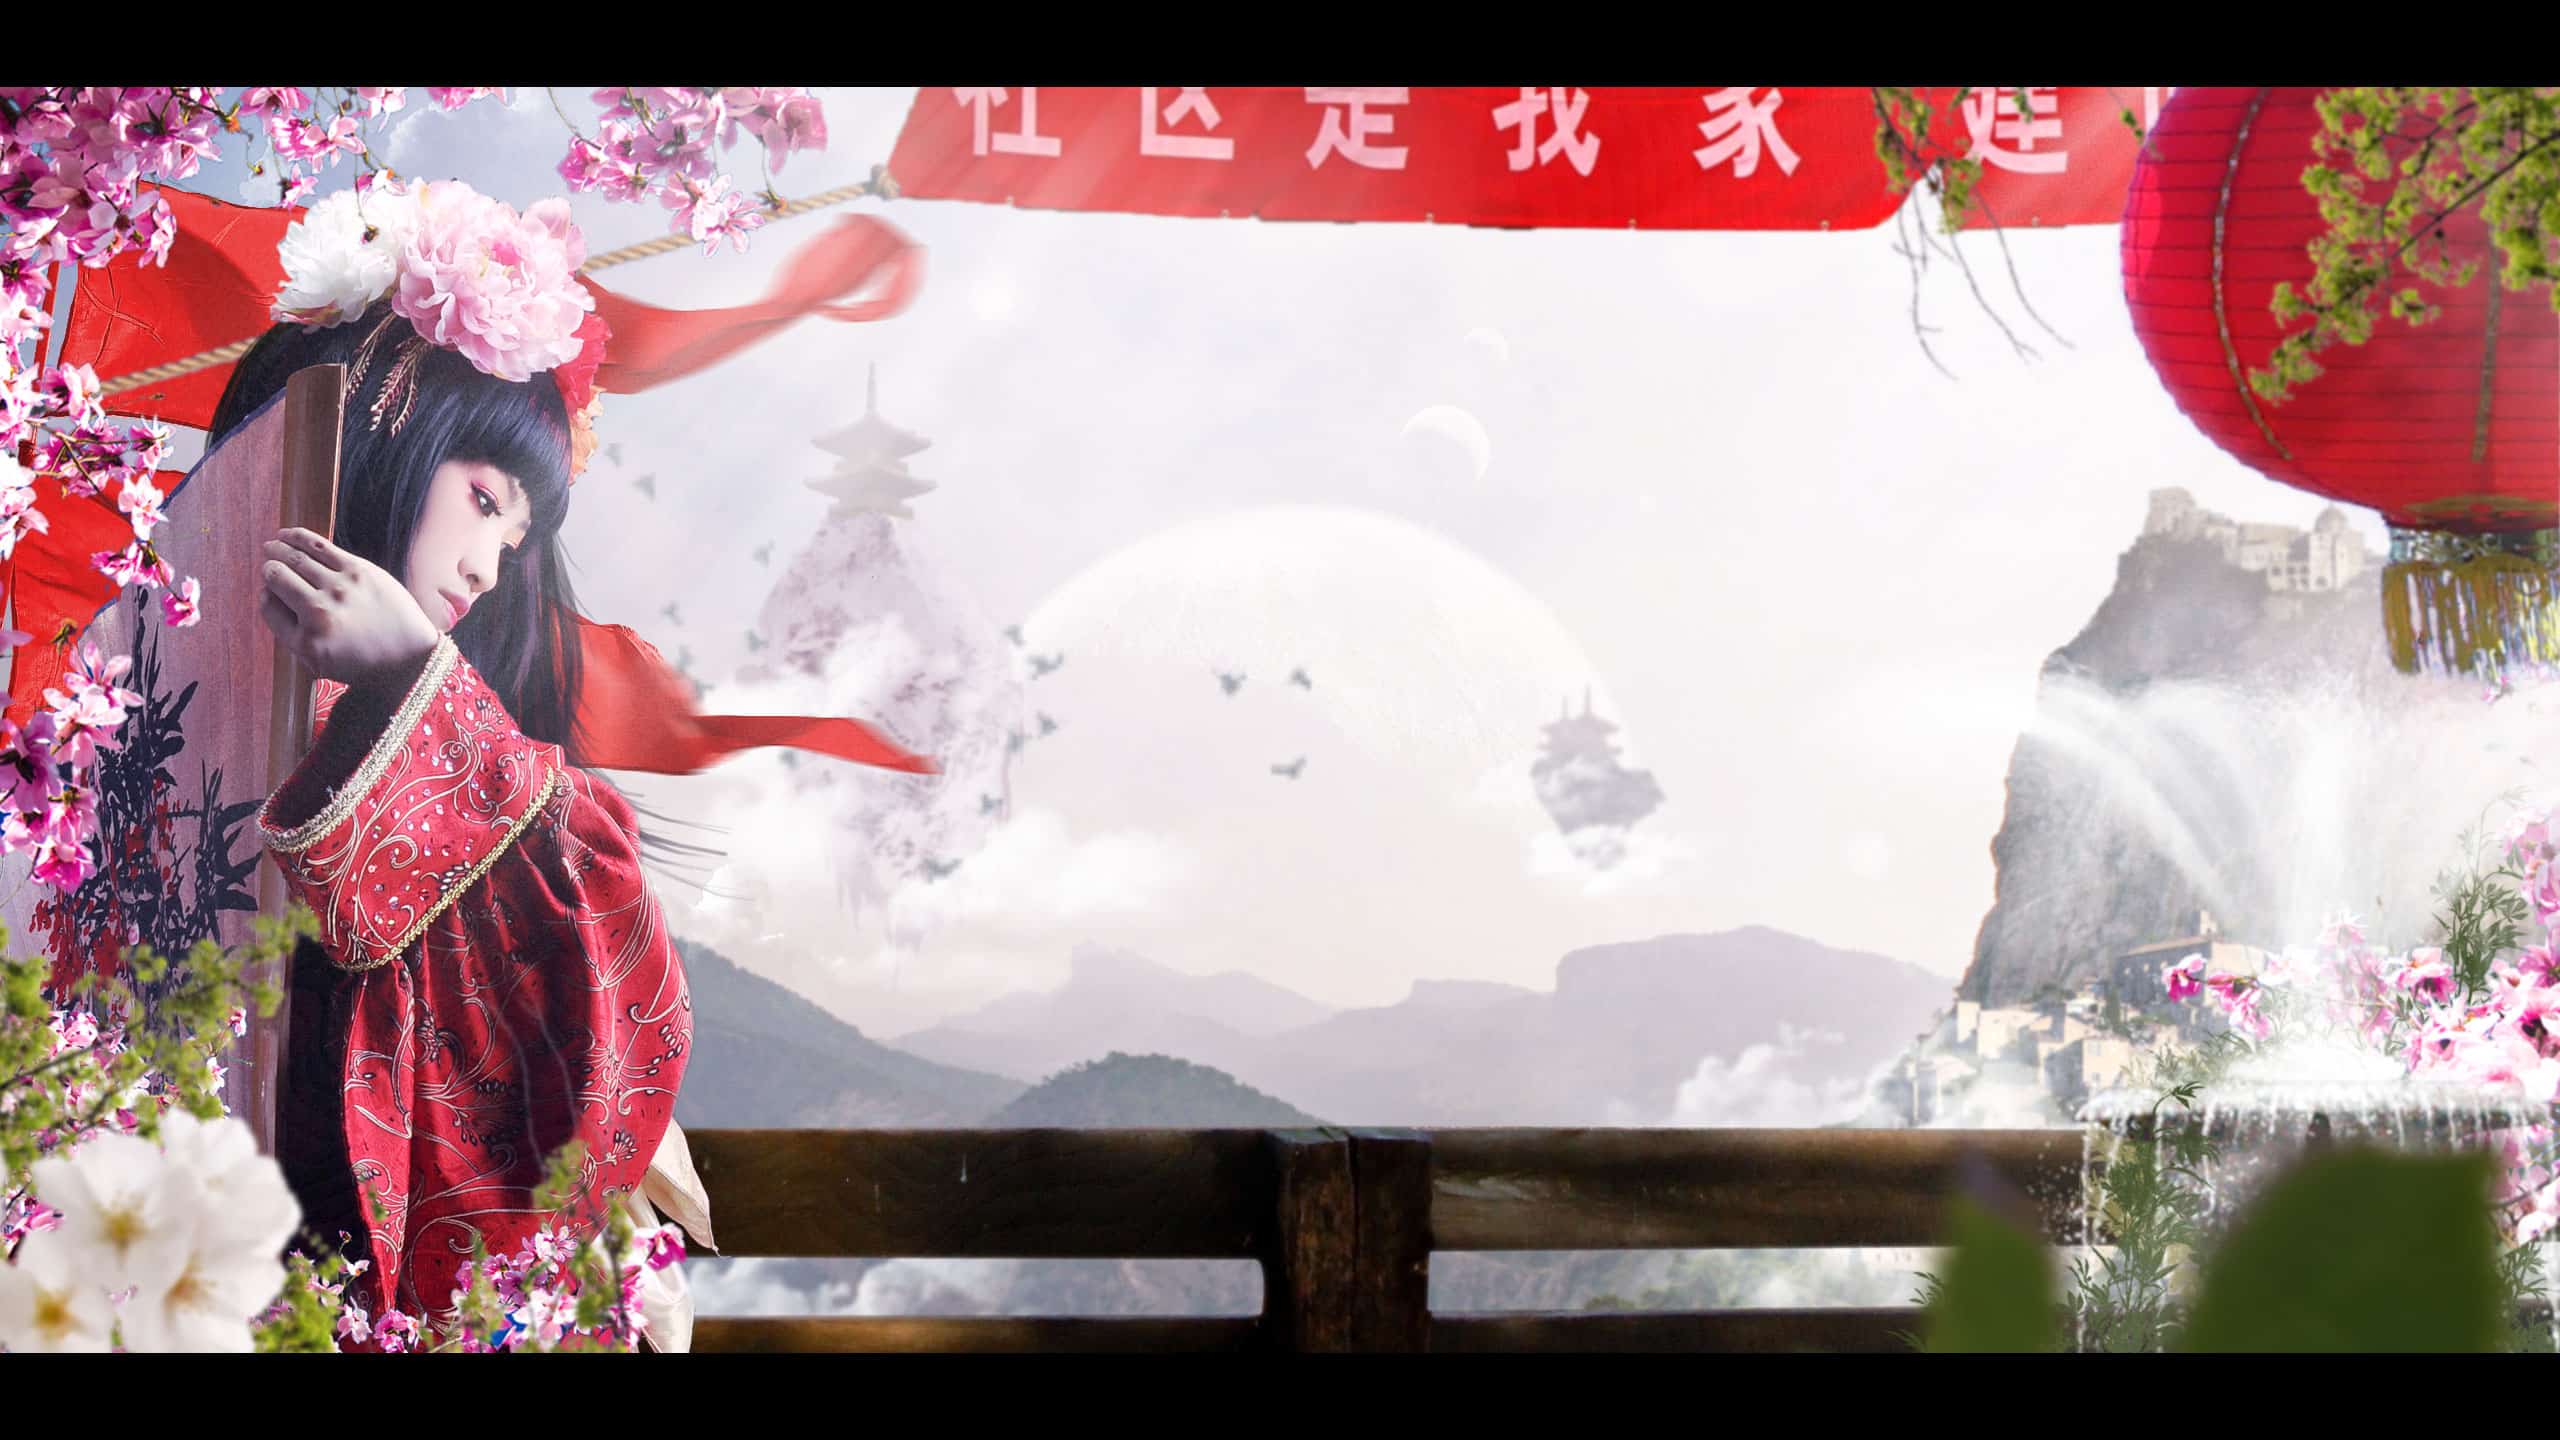
Wallpaper of Japan Photoshop Tutorial

Resources

Step 1

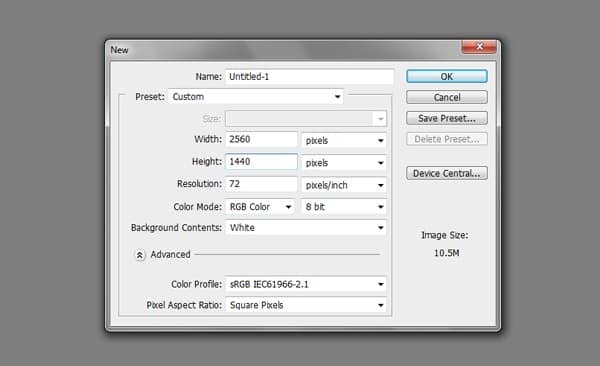
Create a new canvas in Photoshop with the dimensions 2560 x 1440px.
1

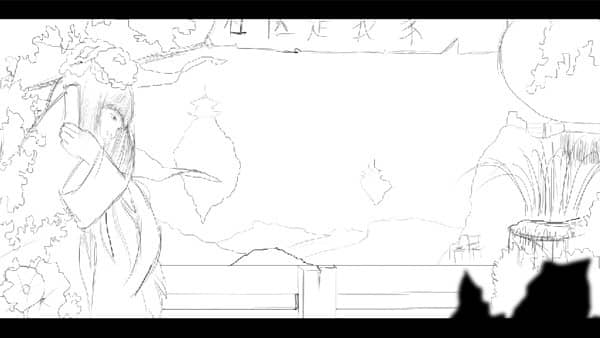
Now draw a rough sketch of the concept that we are going to create.
1-1

Step 2

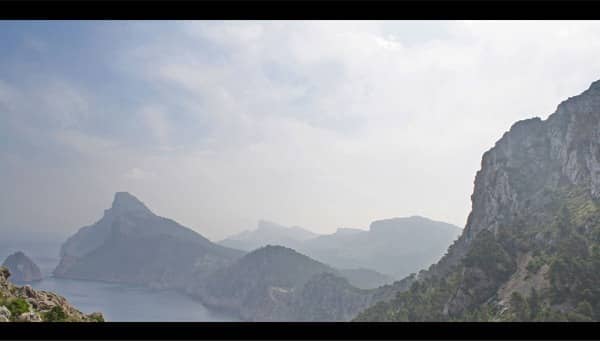
We will start by creating the background of our concept. Import the image of the Scenery with some beautiful hills which match perfectly with our concept on to the canvas.
2

Step 3

In this step, we will be using an advanced and very effective method of cutting a complicated image with very small gaps. Import the image of the Magnolia Plant into Photoshop and select the Red Layer from the Channels pallet.
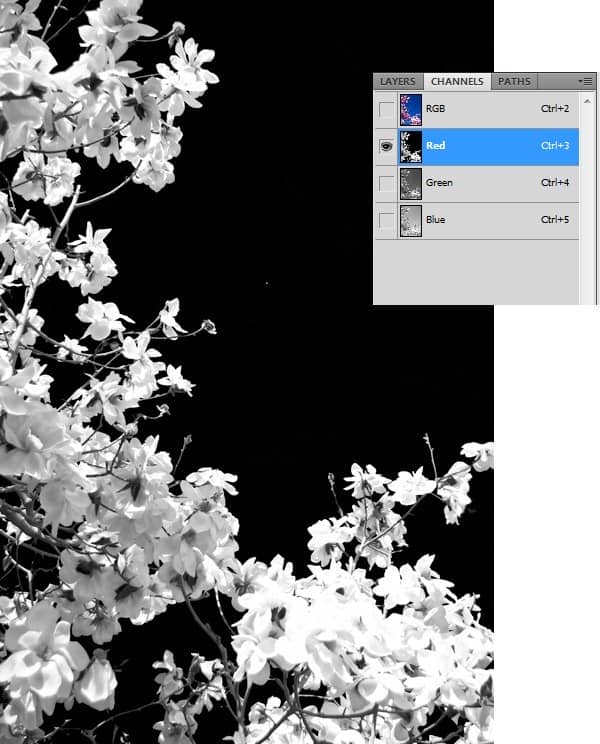
3

Then go to Image>Calculations and select the Red channel in the channels dropdown list.
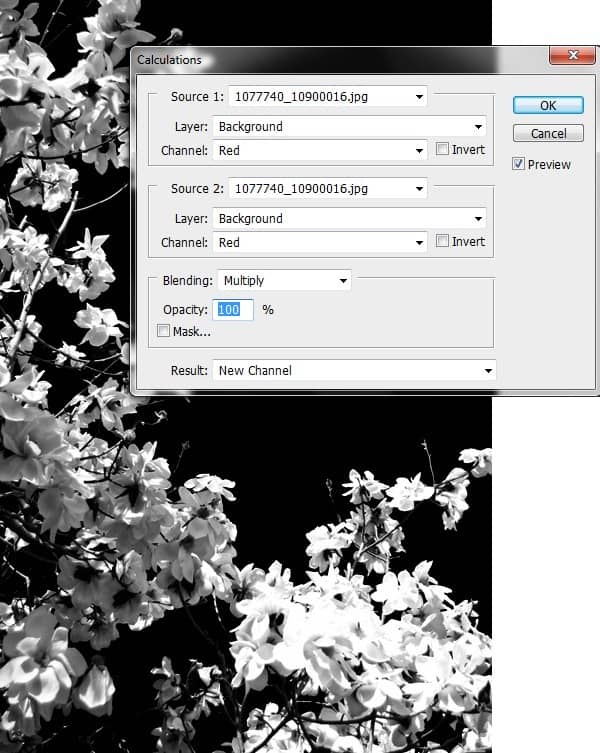
3-1

Now make sure that the area that is to be masked is made completely white. Go to Image>Adjustments>Levels and set the levels until a complete contrast is acquired.
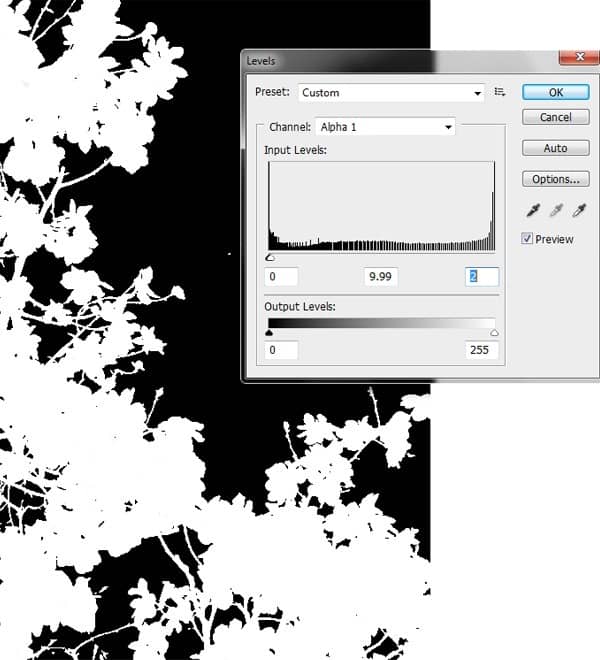
3-2

Select the mask that we created from Select>Load Selection and separate the selection into a new layer by holding Ctrl+J.
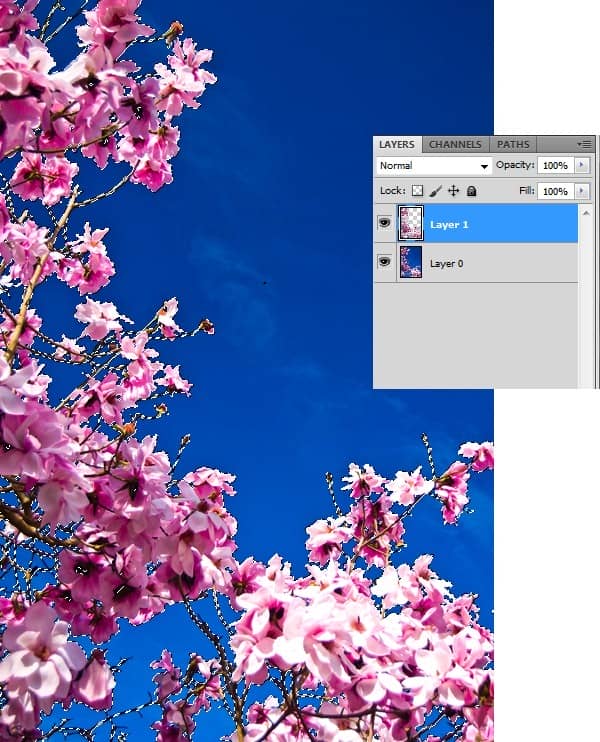
3-3

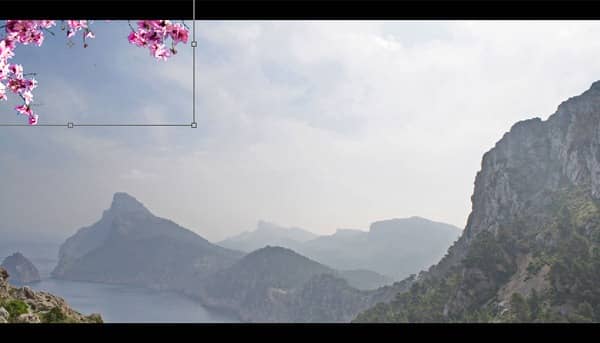
Now import the flowers onto the working canvas and place it on the left corner as shown to represent the plant in the garden.
3-4

Step 4

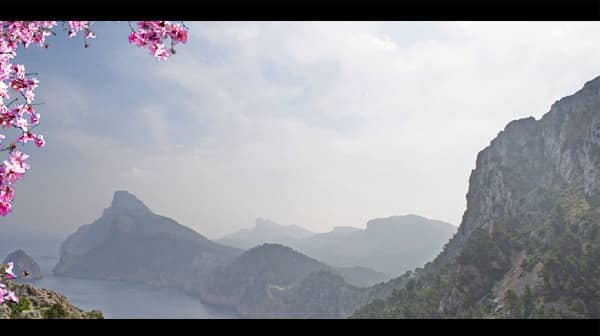
Duplicate the flowers plant layer and place them on the left side of the canvas as shown.
4

Step 5

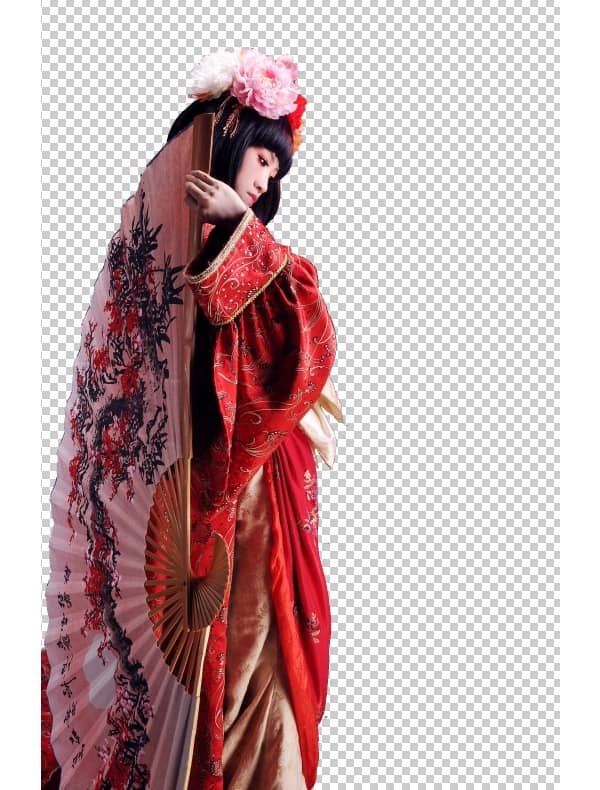
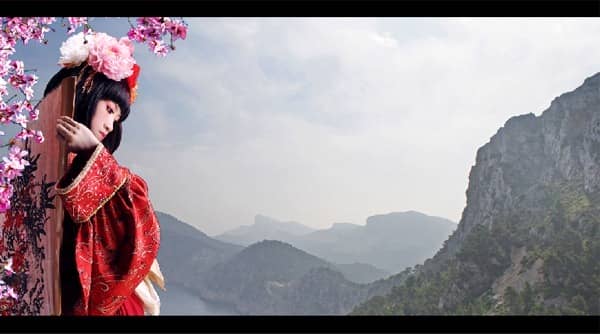
Cut the image of the Princess from its background and import it onto the working canvas and place it as shown.
5
5-1

Step 6

Now we need to create a fence in the garden in order to represent the boundary of the garden located on the hilltop. Mask out the Wooden Fence from the image using the Pen Tool(P).
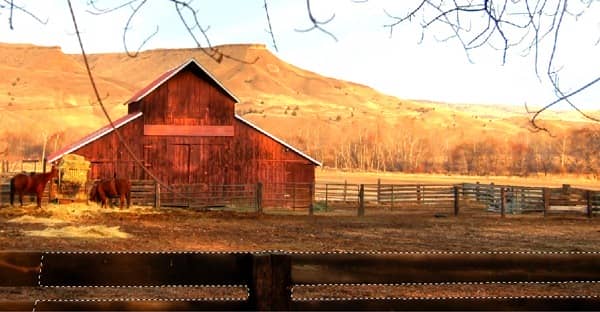
6

Then import the fence onto the canvas and place it under the princess layer as shown.
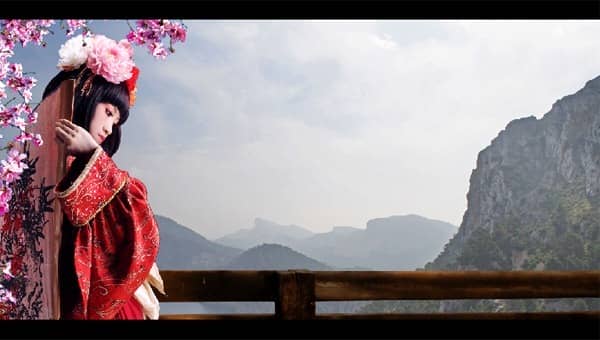
6-1

Step 7

In this step, we will be creating an ancient city located on a distant hill. Cut the image of the City from its sky and place it on the hill as shown. Make sure that the city fits the perspective of the scenery using Transform Tool(V).
7

Step 8

In this step, we will be using a much advanced and time-saving feature of Photoshop to remove the stick that is covering the Chinese Lantern. Cut the image of the lantern from its background using the Pen Tool(P).

8

Using the Lasso Tool(L) create a rough mask around the stick as shown, then open the Fill option from Edit>Fill (Shift+Backspace[Windows], Command+Delete[Mac]). Then select Content-Aware from the Use dropdown list and press OK to see the magic.

8-1
8-2

Now place the lantern on the right side top corner as shown.

8-3

Step 9

We can observe that the light on the lantern is casting from the left side which is in the opposite direction to our primary assumption of the light source i.e from the right. Hence flip the lantern horizontally to match the lighting of the scene.

9

Step 10

In this step, we will be creating a Palace on the top of the hill under which we created the city. Import the image of the palace onto the canvas and place it on the top of the hill as shown.

10

With the scenery layer selected remove the hill behind the palace as shown using the Stamp Tool(S).

10-1

With the palace layer selected go to Image>Adjustments>Curves and set the curves as shown to match the color of the hill on which it is placed.

10-2

As we can observe since the hill is far from the focused area, the colors of the hill appear very dull, hence we need to create the same effect to the palace. Go to Image>Adjustments>Exposure and set the Offset=+0.1367 and Gamma Correction=1.09.

10-3

Step 11

In this scene we are concentrating the focus on the princess hence the other objects out of the focus appears to be blurred. Hence add a Gaussian blur of Radius 0.9px to the palace to maintain the Depth Of Field(DOF).

11

Step 12

Now select the city layer and go to Image>Adjustments>Curves and set the curves as shown to blend with the scene perfectly.

12

As we discussed in the previous step that the far objects appear to be out focused and low contrasted, we need to create the same effect to the city layer to create a natural depth. With the city layer selected go to Image>Adjustments>Exposure and set the Exposure=-0.08, Offset=+0.0347, Gamma Correction=1.13 to get the following effect.

12-1

Step 13

Usually, we find high land areas covered with clouds or fog, hence we are going to paint a few clouds around the city. Create a new layer for the clouds above the city layer, and paint some clouds as shown using the Clouds 1 and Clouds 2 brushes, with the white color selected.

13

Step 14

Now select princess layer and color correct it using the Curves to blend with the surroundings.

14

Step 15

Repeat the previous step and color correct the fence using the Curves.

15

Step 16

In this step, we will cut the Flags from its original image using the advanced cutting technique we used in step 3.

16

Sometimes the area we want to convert into completely black may not be achieved just by using the curves, hence select the Brush Tool(B) and paint black in the areas that need to be blackened.

16-1
16-2
16-3

After cutting the flags import them into the working canvas and flip it horizontally to match the light in the scene, and place it behind the princess as shown.

16-4

Step 17

As we know that the national color of china is red, hence we need to change the color of the flags to red to match the theme of the scene. With the flags layer selected go to Image>Adjustments>Hue/Saturation and set the saturation=83 and lightness=+9.

17

When we capture the flags in motion the edges of the flag appear to be blurred, hence we are going to create the same effect to the flags to create a natural depth. Using the Lasso Tool(L) draw a rough mask around the flag as shown and go to Filter>Blur>Motion Blur and set the Distance=17px to get the required effect.

17-1

Step 18

By using the step3 cut the Green Plants and import them onto the working canvas and place them as shown.

18

Assume that these plants are close to the scene but are separated by some distance between them, hence we need to add Gaussian Blur to maintain the depth of field in the scene.

18-1

Select the green plant on the left side and add a Gaussian Blur of Radius=2.9px. Now select the green plant on the right side and add a Gaussian Blur of Radius=1.1px.

18-2

Step 19

Since the sunlight is casting from the right side the green plant should cast a shadow on the Chinese lantern, hence we are going to create a shadow on the lantern in this step. Duplicate the green plant layer and convert it into a silhouette using the Levels

19

Now place the silhouette under the plant layer and move it slightly away from the plant as shown in order to match the angle of the sunlight. Then erase the silhouette that exceeds the lantern since we want the shadow only on the lantern.

19-1

Usually, the shadows don't have sharp edges and seem to have very low opacity in the outdoors. Hence lower the Opacity of the shadow layer to 17% and add a Gaussian Blur=2.6px.

19-2

Step 20

Now to show that the princess is standing by a distance from the camera we will create White Blossoms and Green Leaf close to the scene to show that the scene is being shot by a distance from in-between the plants. Import the image of the White Blossoms and the leaf and place them as shown in the scene and add a Gaussian Blur of Radius 8.8px to the leaves and add Radius 4px to the flowers.

20

Step 21

A royal garden never finishes without a fountain, hence we are going to create a fountain in this garden. Cut the image of the Fountain from its original image and place it in the scene as shown on the right side corner.

21
21-1

Now by using the Fountain Water Brush 1, Fountain Water Brush 2, Fountain Water Brush 3 paint the fountain with the white color as shown.

21-2

Using the Plants Brushes paints some green plants behind the fountain to add some more greenery to the garden.

21-3

Step 22

Now by using the Sunrays Brush paint the sun rays on the princess with the white color selected.

22

Now create a new layer in-between the lantern and the plant covering the lantern and paint the sunrays passing through them.

22-1

Step 23

Now make a new layer above the scenery layer and paint some birds using the Birds Brush with the color #c4c5cc selected.

23

Step 24

As we can see the hair of the princess seems to be a bit unrealistic at the edges. Hence by using the Hair Brushpaint the hair to the princess as shown to create more accurate details.

24

Step 25

In this step we are going to create the flying hill as we sketched in our concept. Using the Lasso Tool(L) mask the part of the Mountain 1 and Mountain 2 to create the flying hill.

25
25-1

Now arrange the previously cut mountain images upside-down as shown to form the shape of the flying hill.
After creating the flying hill merge the flying hill layers.

25-2

Step 26

Now import the flying hill into the main scene and place it on the left side as shown.

26

Using the Curves color-correct the flying hill to blend with the environment.

26-1

As we are assuming the light coming from the right side, paint the light shade on the flying hill as shown.

26-2

Since the hill is flying high in the sky we must create some roots hanging from the hill.
Using the Lasso Tool draw a mask around the hill representing the hanging roots. Then fill the selection with the color #d4c2cd.

26-3

Step 27

In this step we are going to create a temple on the flying hill. Cut the Temple from its original background and place on the hill as shown.

27
27-1

Since the flying hill is located far from the scene the temple located on the hill will appears slightly mixed with the colors of the surrounding environment. Hence select a mask in the shape of the temple and fill in the selection with the color #6dce2.

27-2

Now add a Gaussian Blur of radius 1.4px to the flying hill followed by temple and the roots.

27-3

Step 28

Following the previous step create another flying hill located far from our previous hill.

28

Step 29

Create a new layer above the scenery layer, then by using the Planets Brush paint some plants as shown with the white color selected.

29

Step 30

In this step we are going to create a banner on the top of the scene as we drew in the concept. Mask out the Banner from its original image and import it onto the working canvas and place it on the top of the scene as per the concept. Make sure to place the banner layer below the sunrays layer.

30
30-1

Step 31

In this step we are going to create a rope with which the banner is being hung. Mask out the Rope using the Magic Wand Tool(W) and import it onto the working canvas and place it as shown using the Move Tool(V).

31
31-1

Now add a Gaussian Blur of Radius 1.4px to the rope.

31-2

Step 32

In this step we are going to create clouds around the flying hills. With the clouds brush selected paint some clouds around the flying hills as shown.

32

Final Results

Download the PSD

Princess.zip | 33 MB

Authors Comment

profileThank you for following this tutorial! With this tutorial, I wanted to share few techniques and tricks that will make your works on Matte Painting and Photo manipulation easier and faster, which can help you while working on matte-painting projects. I'm a freelance graphics designer and the founder of zillionarts the place where all kinds of arts are showcased together to provide inspiration to young minds. You can know more about me from my portfolio blog and also can follow me on Twitter

  • - Santhosh Koneru
Luminar: AI Photo Editing
Sponsored

Luminar AI lets you turn your ideas into reality with powerful, intelligent AI. Download the photo editor and see how you can completely transform your photos in a few clicks.

Leave a Reply

Your email address will not be published. Required fields are marked *

cross