Luminar AI lets you turn your ideas into reality with powerful, intelligent AI. Download the photo editor and see how you can completely transform your photos in a few clicks.
Learn how to create a promotional wallpaper, beautiful 3D text, and an x-ray effect, while enhancing your photo manipulation skills all in one tutorial.
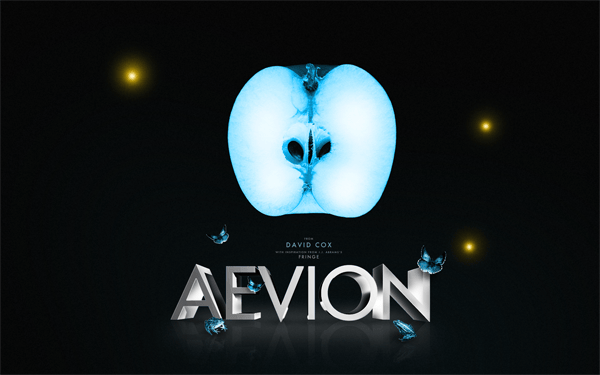
Preview of Final Results
Stock Photos
Here are the stock photos used for this tutorial. You can download the image through Stock Exchange by clicking on the images below. We used the highest resolution (unscaled) images available to write this tutorial. If you would like to follow this tutorial using the same settings we used, download the highest resolution (unscaled) images available.

Thanks to LeoSynapse for allowing the use of this image in this tutorial.

Thanks to Sh0dan for allowing the use of this image in this tutorial.
IMPORTANT: When working with any image in photoshop, always play things on the cautious side and make new layers for everything. This way, if you make a mistake, you won't have to start all over, but you might just have to re-do one layer, possibly saving you hours of work. Everything in this tutorial should be done on separate layers.
This tutorial is split in two parts: Blender and Photoshop. I am not going to go over all the basics for Blender, because that could take all year. Instead, I would recommend you go to youtube and watch some tutorials from super3boy... he seems to know what he's doing, and I learned the basics from him. You might even be able to follow along without seeing any outside tuts, but I'm recommending them just in case.
FRINGE Promotional Wallpaper Tutorial – Part 1
Step 1 - Blender
In a new project file, you'll see the default cube.
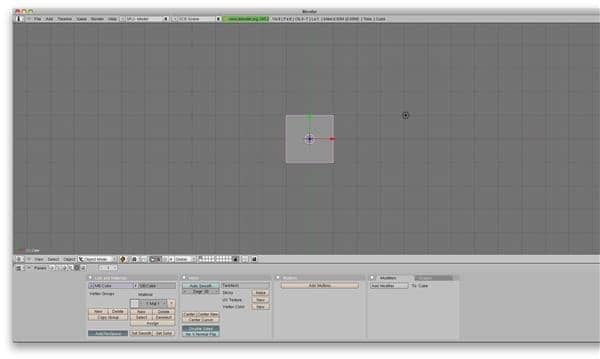
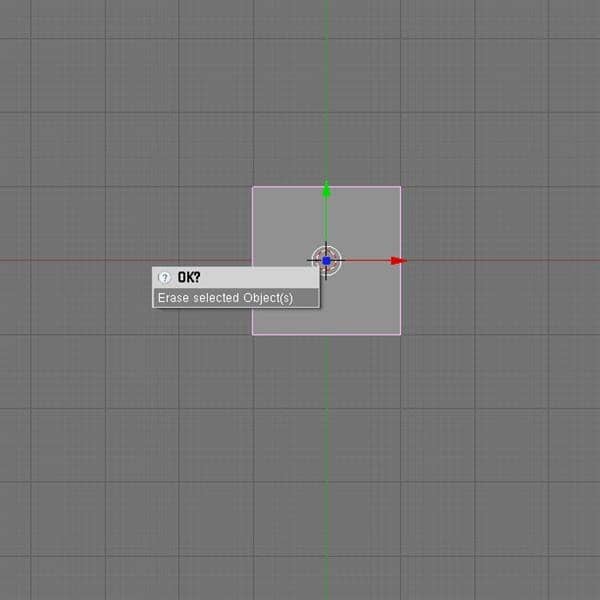
Step 2 - Delete The Cube
Hit delete, and erase that sucker!
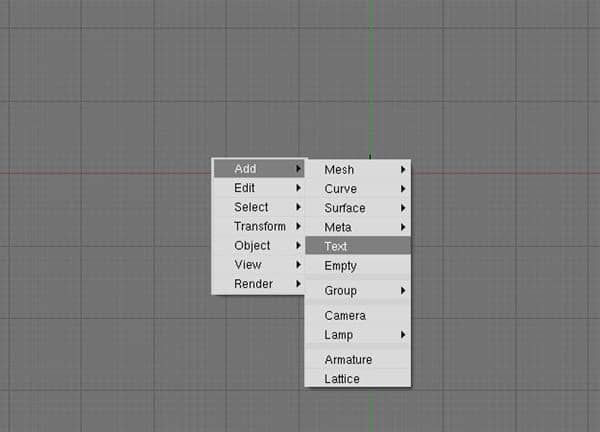
Step 3 - Text
Hit spacebar, and add text.
Hit backspace to delete that default text and then type in your text.
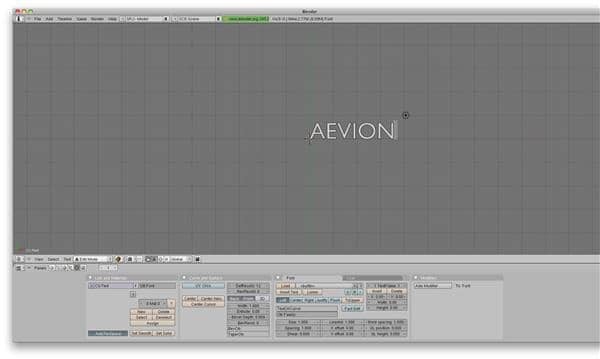
Change the extrude to .5. Then hit tab when you're done, so then you'll be in object mode instead of edit mode.

Step 4 - Change The View
Press and hold alt/option while clicking and draging with your mouse to change the view to something like this.
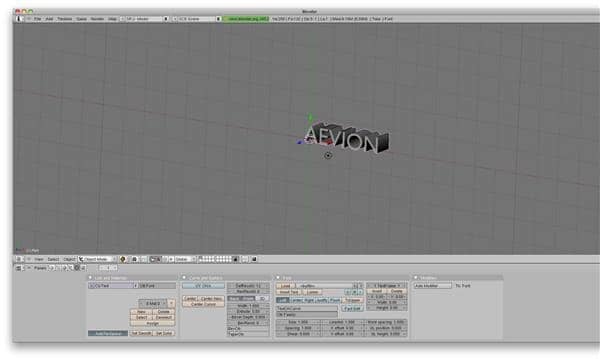
Step 5 - Add A Camera
Hit spacebar, and add a camera.
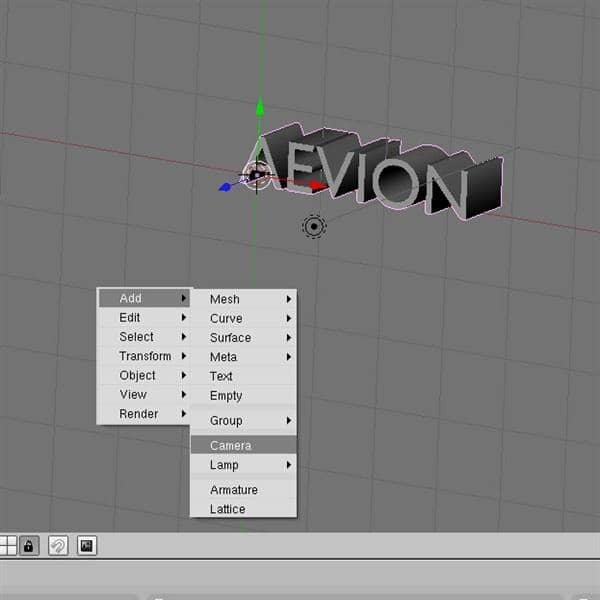
Move the camera so that it is in front of your text. You might have to change your view to do this right.
Step 6 - Add A Light
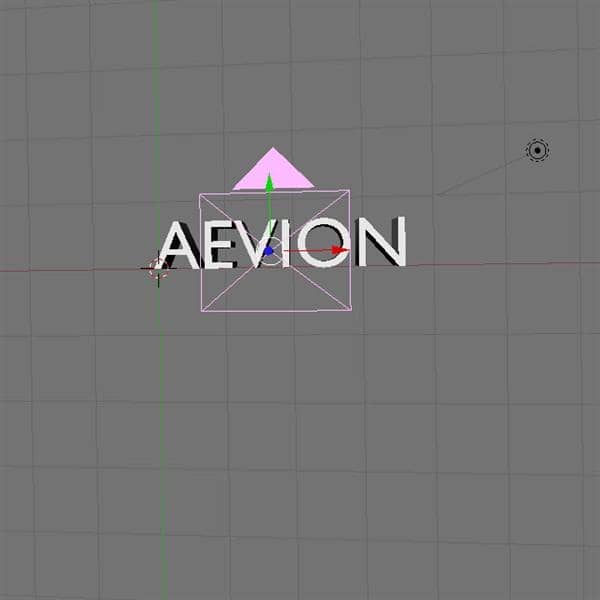
Hit spacebar, and add a lamp.
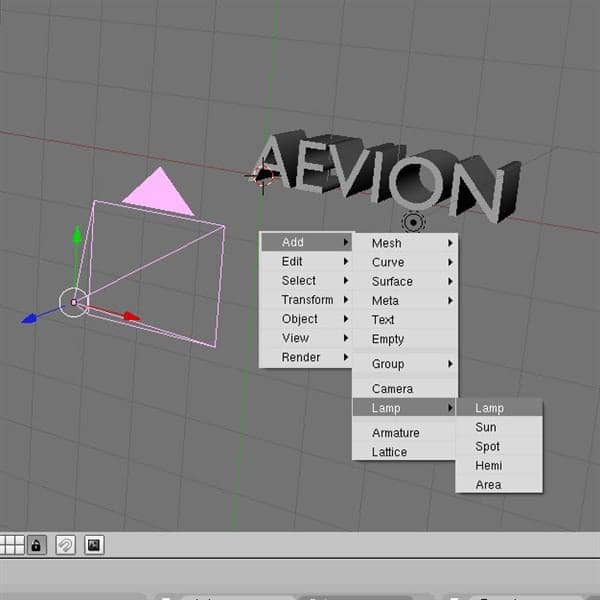
It puts it here.
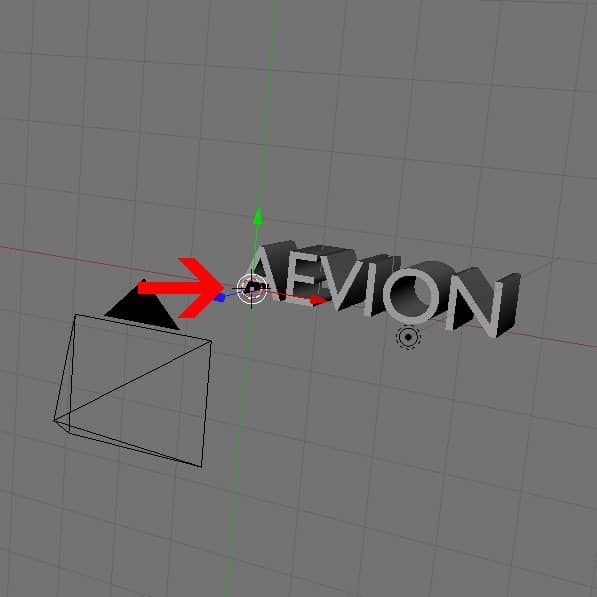
Move it away from the text, and center it.

