Make your artwork look like they're from an alternate universe. These Cyberpunk presets work with Photoshop (via the Camera Raw filter) and Lightroom. Download all 788 presets for 90% off.
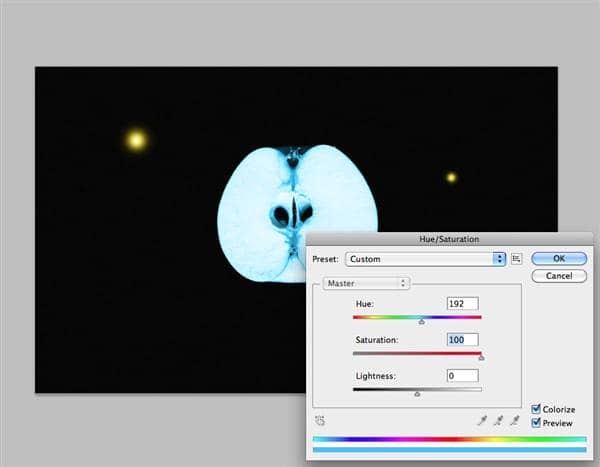
Using the dodge tool, paint over the region shown in Red. You should stop when you see that the color is white in the middle. Use a fairly large, soft brush for this.
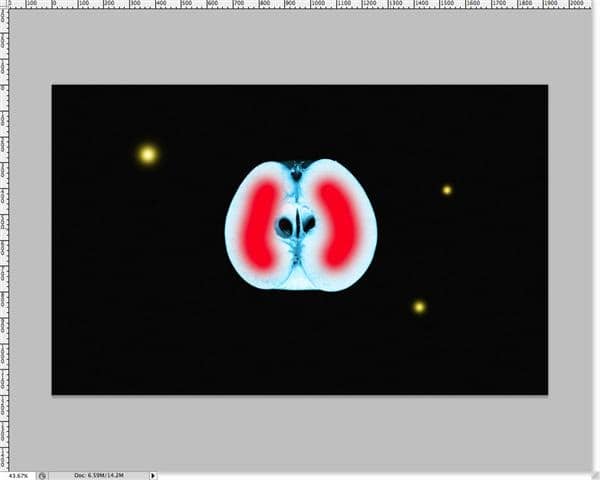
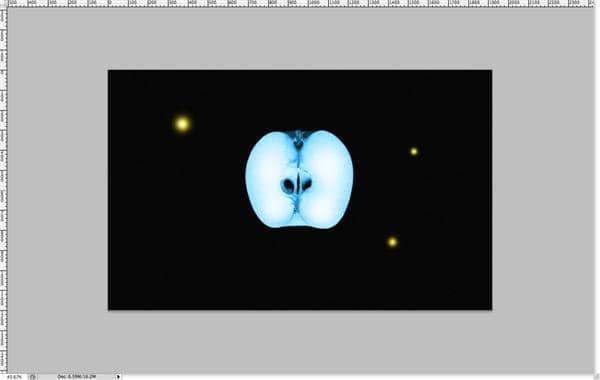
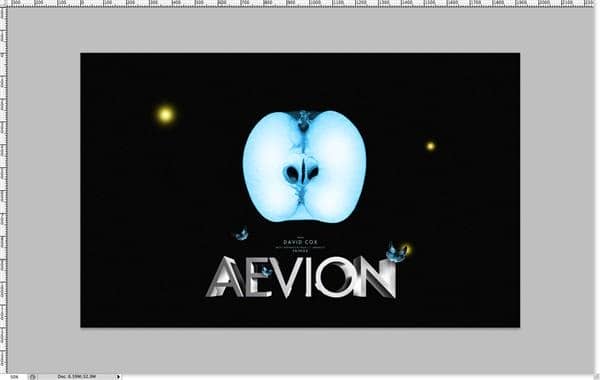
You'll be done when you see something like this:
Step 17 - 3D Text
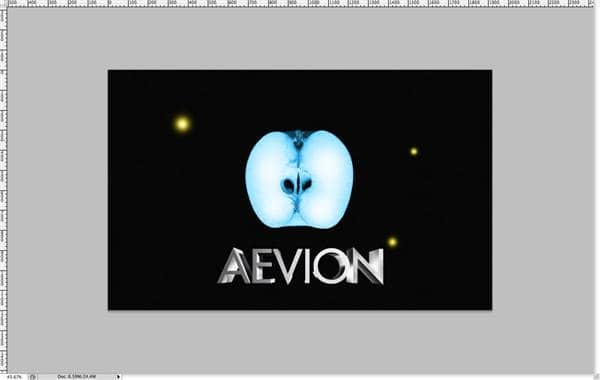
Now open up that 3D text that you rendered, and paste it in there. Move it down so it isn't over the Apple.
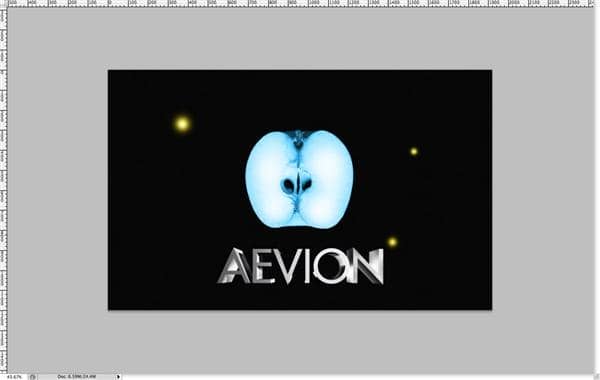
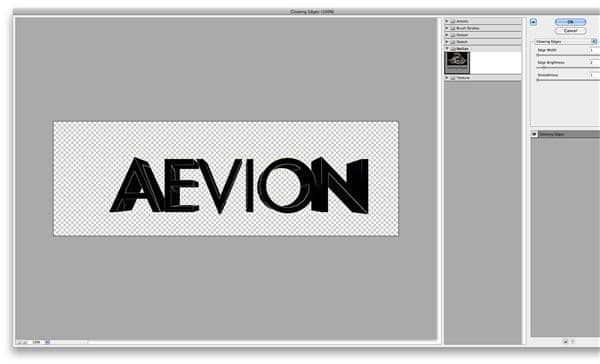
Duplicate your 3D text layer (control/command + J) and to to Filters > Stylize > Glowing Edges and customize to these settings -- Edge Width: 1, Edge Brightness: 2, Smoothness: 1. When your done, set the layer blending mode to Screen.
Then you should see something like this:
Step 18 - Butterflies
Open up your butterlfy image, and extract it from the white background using whatever method you prefer. Then paste in a few of them... move them around, resize them, and rotate them so they look different from one another.
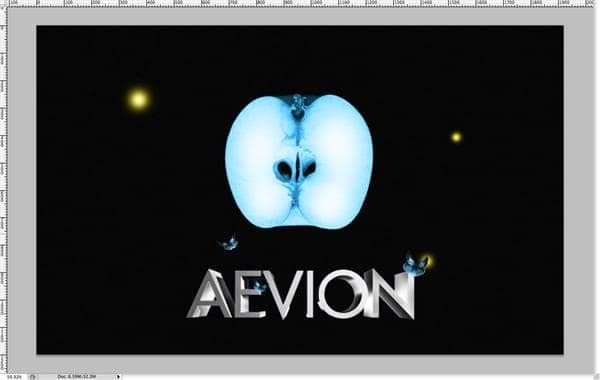
If you place them like I have, then you'll need to apply some shadows where the butterflies are over the letters. To do this, first make a new layer underneath the butterflies. Then, take a soft brush and using black, paint underneath the butterflies. Then lower the layer's opacity to around 50%.
Step 19 - Promo Text
Then, make a text box that spans the entire width of the wallpaper. Center the text, and type in whatever message you want. I used a font called futura, and a light blue for the color.
Conclusion
Here is the finished project from these tutorial steps:
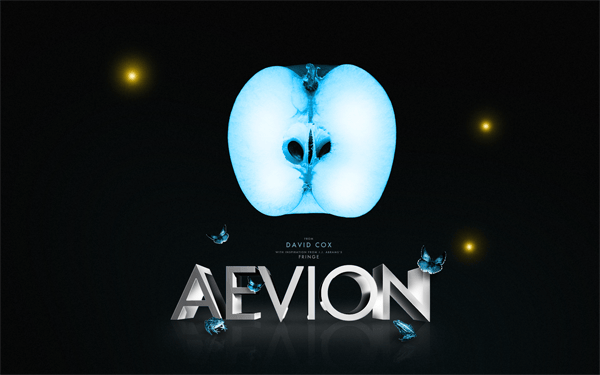
Feel free to experiment a bit with layer opacities, and see if you can do anything on your own design to improve this image... that's where all the fun and learning is anyway! I went a little further and added in some toads, and a ground, but you guys can do that on your own.
I hope that you have learned something new by reading this tutorial, and I also hope that you haven't run into any difficulties (if you have, leave a comment with your concern and I or someone else will be happy to help you). Thank you for reading, and I look forward to your feedback.
Download the PSD
FRINGE Tutorial.psd | 10 MB

