
Step 13
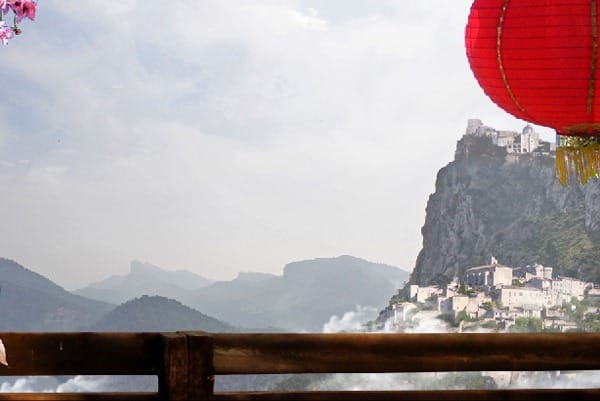
Usually, we find high land areas covered with clouds or fog, hence we are going to paint a few clouds around the city. Create a new layer for the clouds above the city layer, and paint some clouds as shown using the Clouds 1 and Clouds 2 brushes, with the white color selected.
Step 14
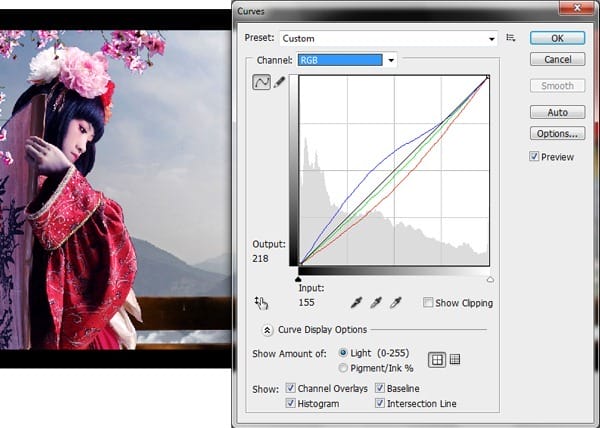
Now select princess layer and color correct it using the Curves to blend with the surroundings.
Step 15
Repeat the previous step and color correct the fence using the Curves.

Step 16
In this step, we will cut the Flags from its original image using the advanced cutting technique we used in step 3.
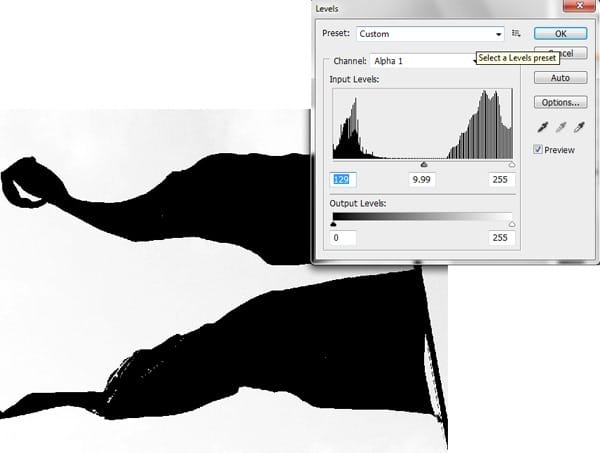
Sometimes the area we want to convert into completely black may not be achieved just by using the curves, hence select the Brush Tool(B) and paint black in the areas that need to be blackened.

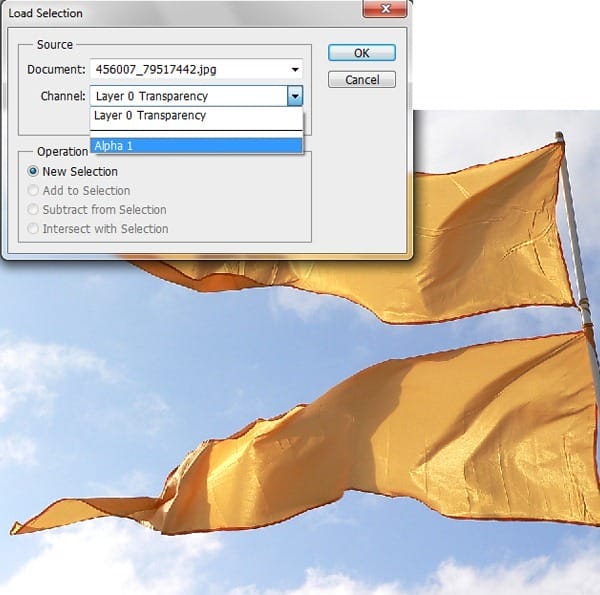
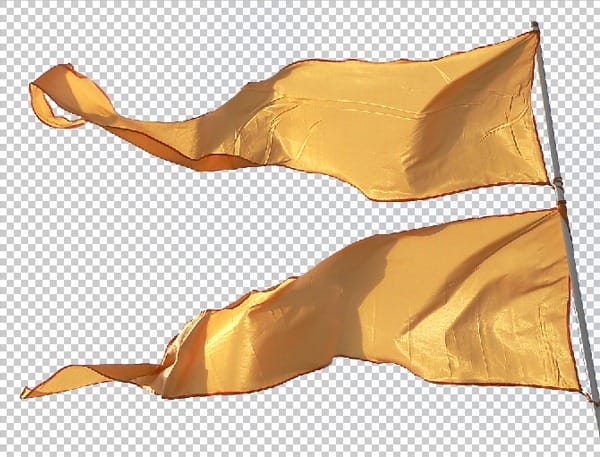
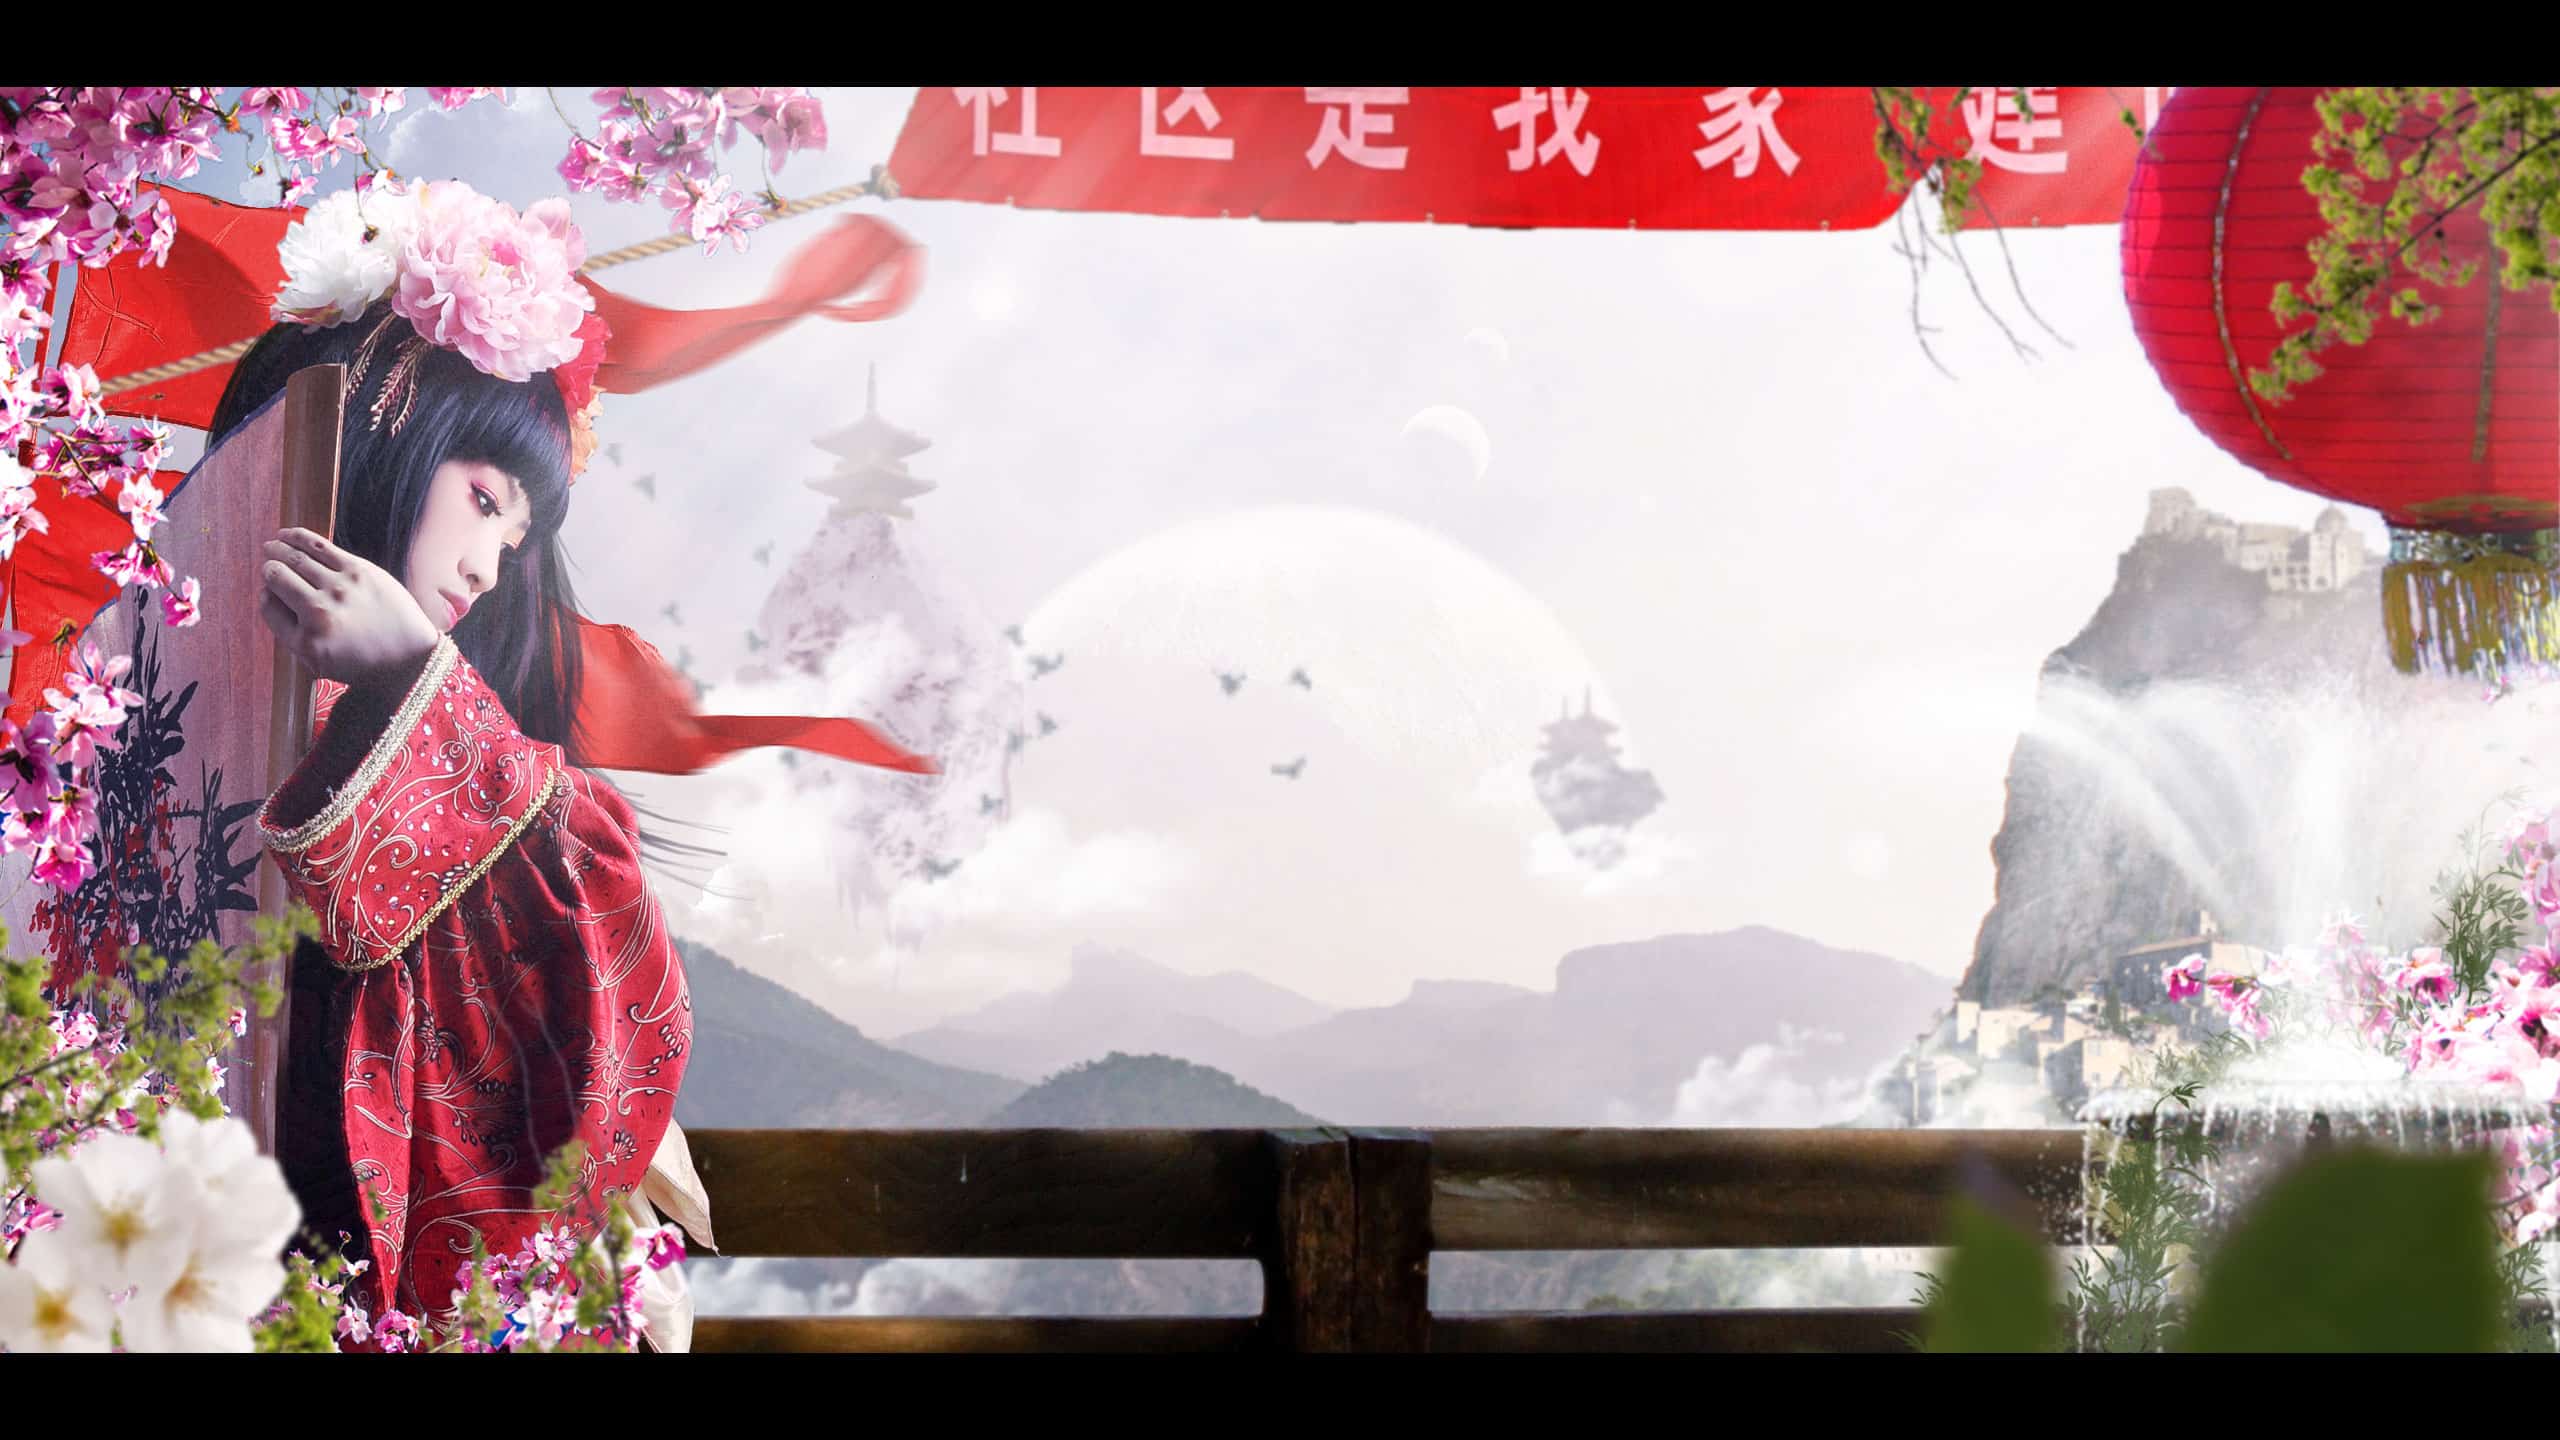
After cutting the flags import them into the working canvas and flip it horizontally to match the light in the scene, and place it behind the princess as shown.
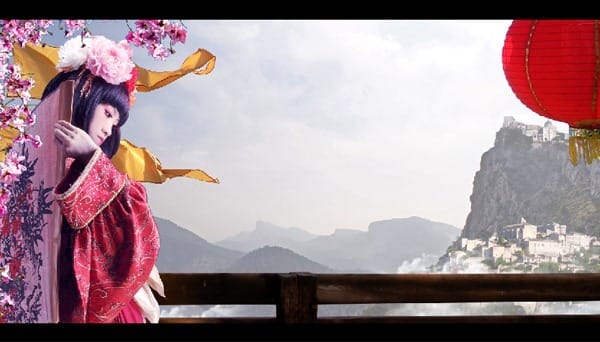
Step 17
As we know that the national color of china is red, hence we need to change the color of the flags to red to match the theme of the scene. With the flags layer selected go to Image>Adjustments>Hue/Saturation and set the saturation=83 and lightness=+9.
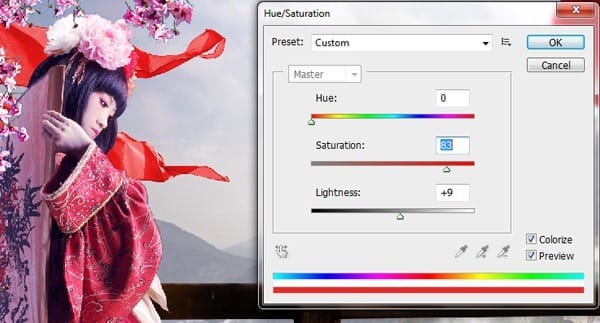
When we capture the flags in motion the edges of the flag appear to be blurred, hence we are going to create the same effect to the flags to create a natural depth. Using the Lasso Tool(L) draw a rough mask around the flag as shown and go to Filter>Blur>Motion Blur and set the Distance=17px to get the required effect.

Step 18
By using the step3 cut the Green Plants and import them onto the working canvas and place them as shown.
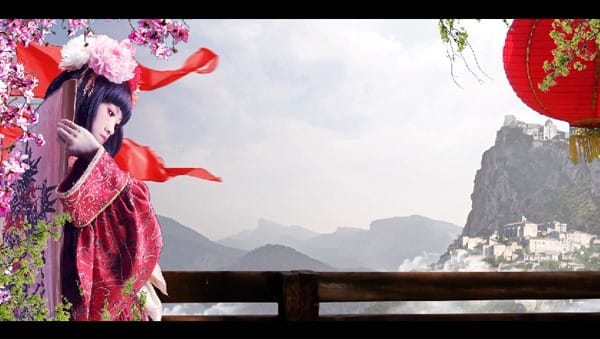
Assume that these plants are close to the scene but are separated by some distance between them, hence we need to add Gaussian Blur to maintain the depth of field in the scene.

Select the green plant on the left side and add a Gaussian Blur of Radius=2.9px. Now select the green plant on the right side and add a Gaussian Blur of Radius=1.1px.

Step 19
Since the sunlight is casting from the right side the green plant should cast a shadow on the Chinese lantern, hence we are going to create a shadow on the lantern in this step. Duplicate the green plant layer and convert it into a silhouette using the Levels

Leave a Reply