Download Lightroom presets and LUTs, absolutely free. Use the presets to add creativity and style to your photos.
![22_2[3] 22_2[3]](https://cdn.photoshoptutorials.ws/images/stories/4f283df24450_28B2/22_23.jpg?strip=all&lossy=1&quality=70&webp=70&avif=70&w=1920&ssl=1)
Your photo manipulation should be similar to the one shown below.
![22_3[3] 22_3[3]](https://cdn.photoshoptutorials.ws/images/stories/4f283df24450_28B2/22_33.jpg?strip=all&lossy=1&quality=70&webp=70&avif=70&w=1920&ssl=1)
Step 23 - Another Adjustments
Time for another two adjustments - Levels and Curves. Let's start with Levels.
Add new adjustment layer Levels on the top of all layers and set it as shown below.
![23_1[3] 23_1[3]](https://cdn.photoshoptutorials.ws/images/stories/4f283df24450_28B2/23_13.jpg?strip=all&lossy=1&quality=70&webp=70&avif=70&w=1920&ssl=1)
This kind of adjustment adds much colder color palette and also makes it bit lighter. To bring back the original darkness add new adjustment layer Curves and set the curve similarly as on the following picture.
![23_2[3] 23_2[3]](https://cdn.photoshoptutorials.ws/images/stories/4f283df24450_28B2/23_23.jpg?strip=all&lossy=1&quality=70&webp=70&avif=70&w=1920&ssl=1)
Step 24 - Local Adjustment
In this step you'll adjust some small areas of the picture to create bigger harmony - you'll make woman's face bit lighter, her sunglasses darker and also add highlights on her coat.
Let's start with lightening her face. Add new adjustment layer Levels and set the Input Levels on 0; 1,00; 213. Fill the layer mask of this layer with black to hide the adjustment and let it reappear by painting over woman's face with white brush.
On the following picture you can see how her face looks before and after adjustment.
![24_1[3] 24_1[3]](https://cdn.photoshoptutorials.ws/images/stories/4f283df24450_28B2/24_13.jpg?strip=all&lossy=1&quality=70&webp=70&avif=70&w=1920&ssl=1)
It's rather small change but it has big impact on the image. Many times the point of adjustment some image is not to make some drastic, dramatic changes but to play with details to create perfect piece.
To darken woman's sunglasses add new adjustment layer Levels on the top of all layers again and this time set the Input Levels on 0; 0,52; 255. Fill the layer mask with black to hide the adjustment and then let it be visible again on the sunglasses. As usually use the Brush Tool and white color to achieve that.
Below you can compare how the sunglasses looks before and after.
![24_2[3] 24_2[3]](https://cdn.photoshoptutorials.ws/images/stories/4f283df24450_28B2/24_23.jpg?strip=all&lossy=1&quality=70&webp=70&avif=70&w=1920&ssl=1)
Last thing to be done in this step is to adjust highlights on the coat. To do that add new adjustment layer Levels on the top of all layers and set the Input Levels on 0; 2,22; 255. Fill the layer mask with black color. Grab the Brush Tool (B), select some soft round brush and lower its Opacity on about 20%. Then paint highlights on similar areas as those highlighted in the following picture.
![24_3[3] 24_3[3]](https://cdn.photoshoptutorials.ws/images/stories/4f283df24450_28B2/24_33.jpg?strip=all&lossy=1&quality=70&webp=70&avif=70&w=1920&ssl=1)
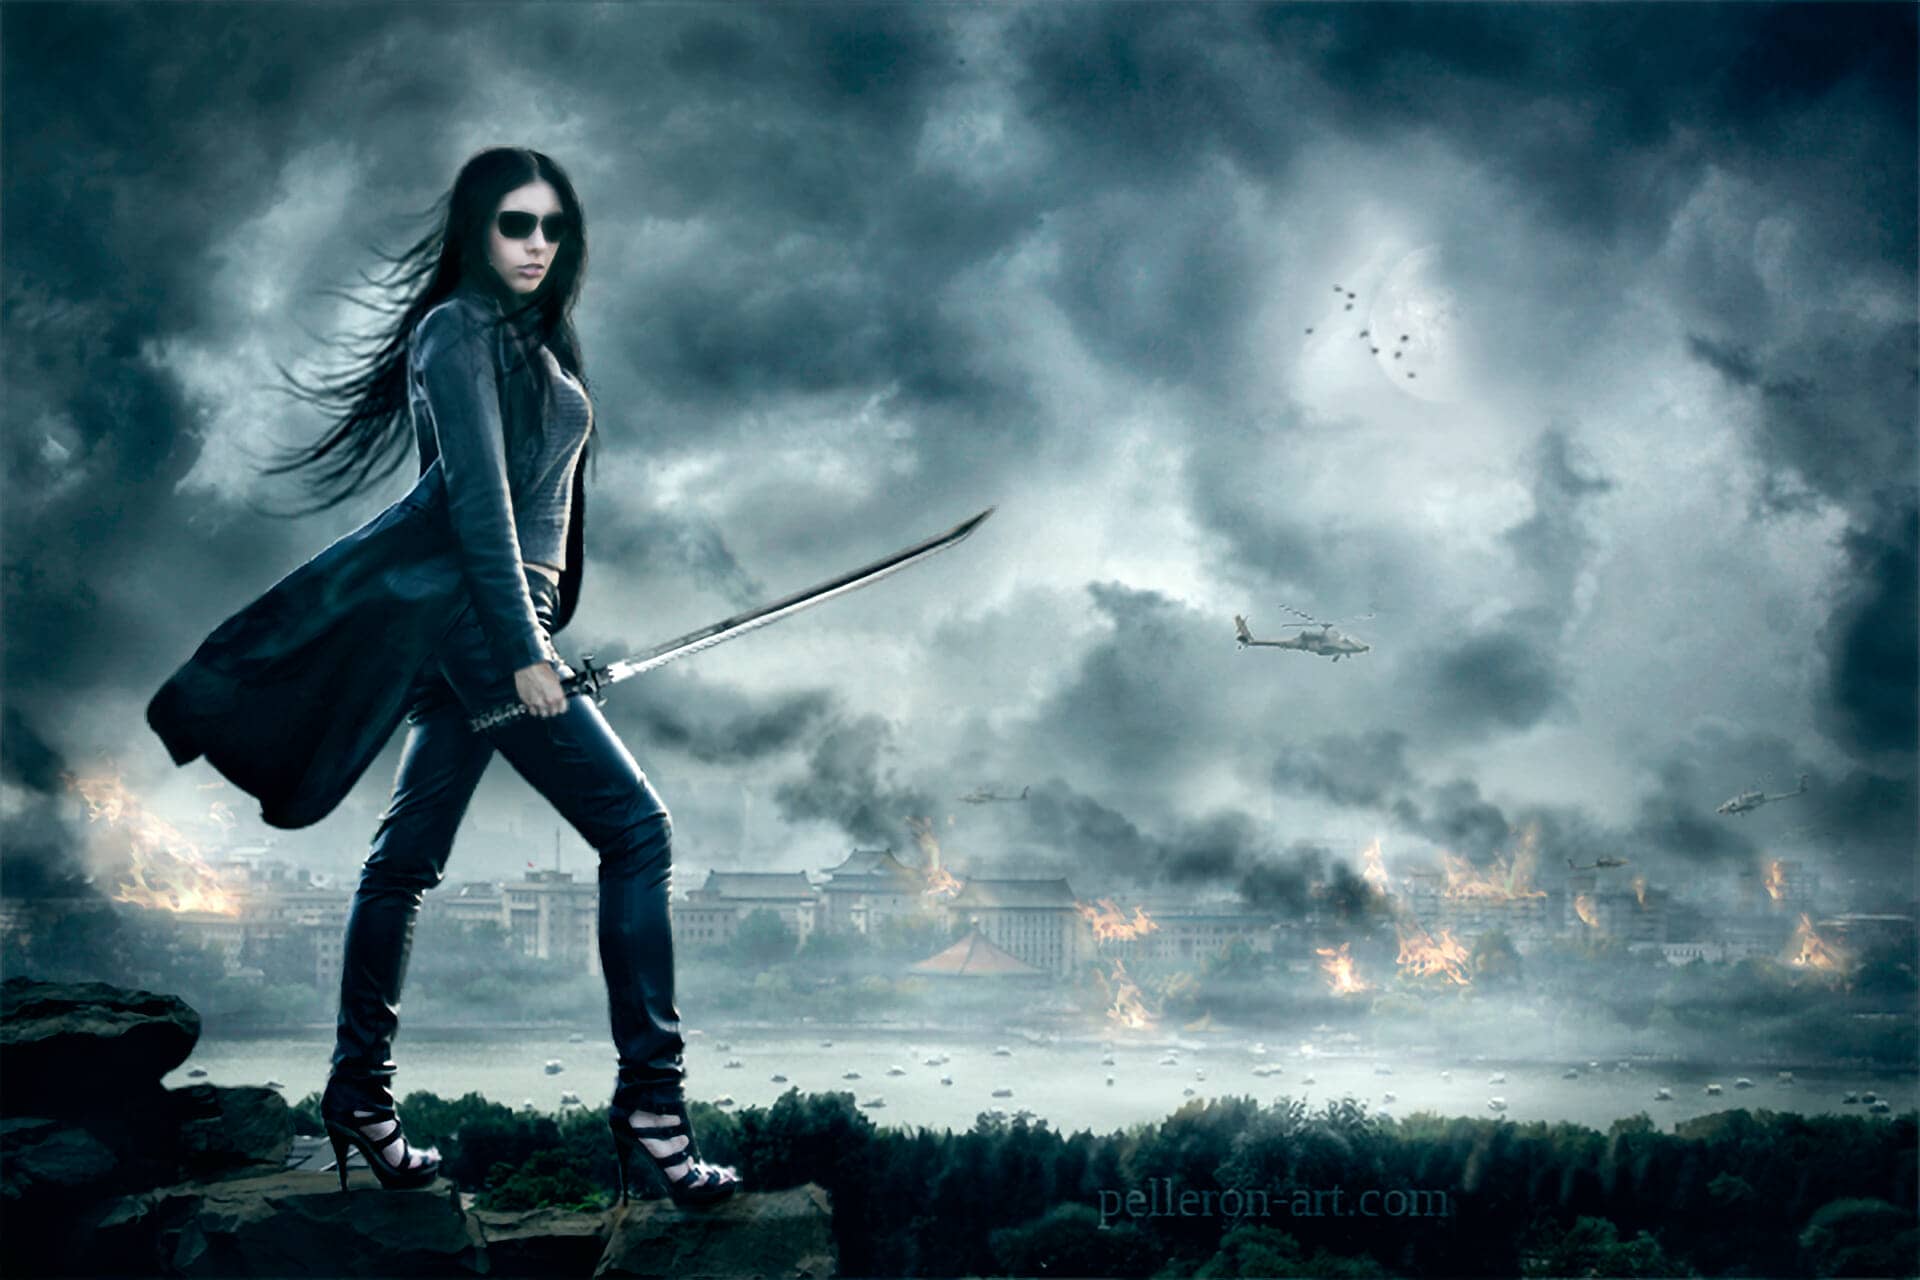
On the following picture you can take a look at how the photo manipulation looks so far.


5 comments on “How to Create Dramatic Sci-Fi Photo Manipulation in Photoshop”
Amazing photo manipulation tutorial in Photoshop. Local adjustment, global adjustment, fire and light effects are raeally art work.
This is impressive, thanks for sharing.
one of the best Photo Manipulation tutorial! Well done)
Nice tutorial and awesome final result pic.
Thanks for sharing and for the nice brushes you suggested ;)
Nice artwork, Jarka. Thanks for sharing us your knowledge :)