Luminar AI lets you turn your ideas into reality with powerful, intelligent AI. Download the photo editor and see how you can completely transform your photos in a few clicks.
Step 17
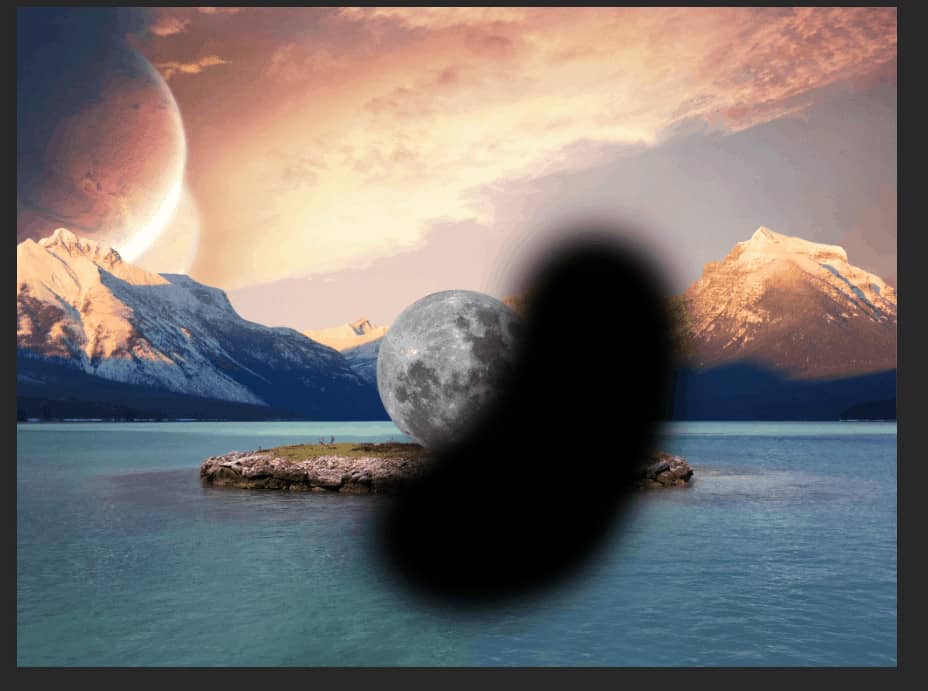
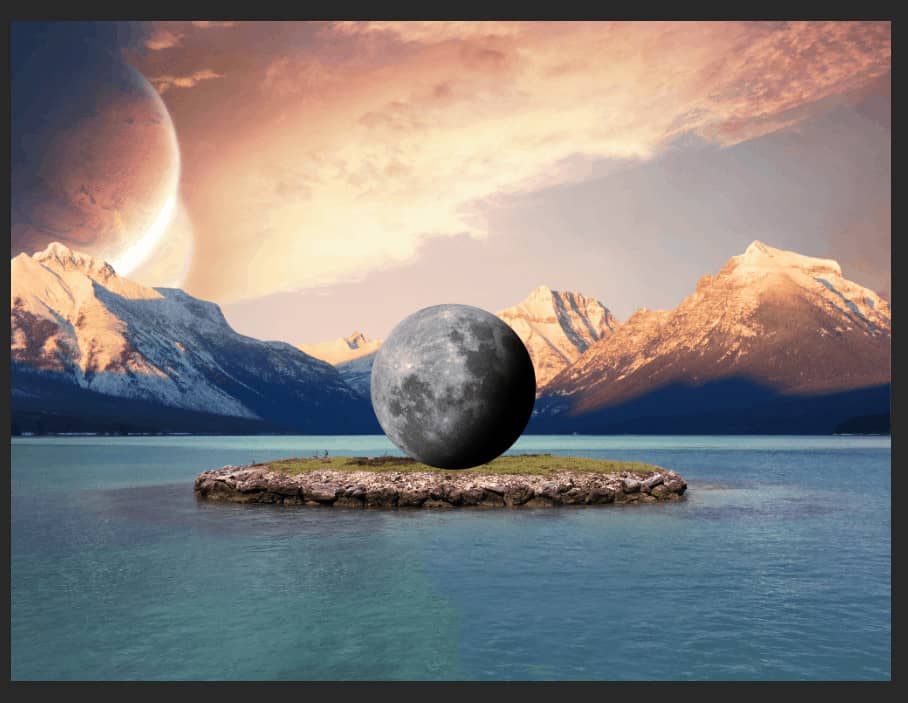
Add light on second layer, repeat the same procedure as in the previous step, only change the foreground color from black to white and set opacity to 55%.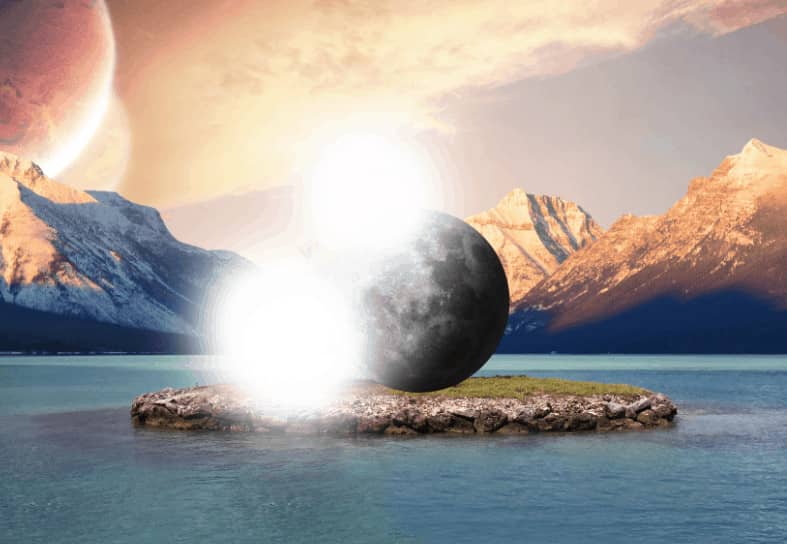

Step 18
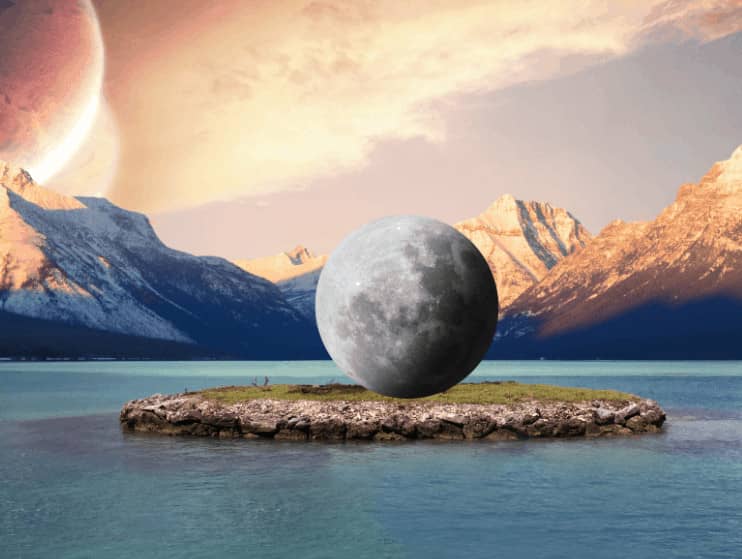
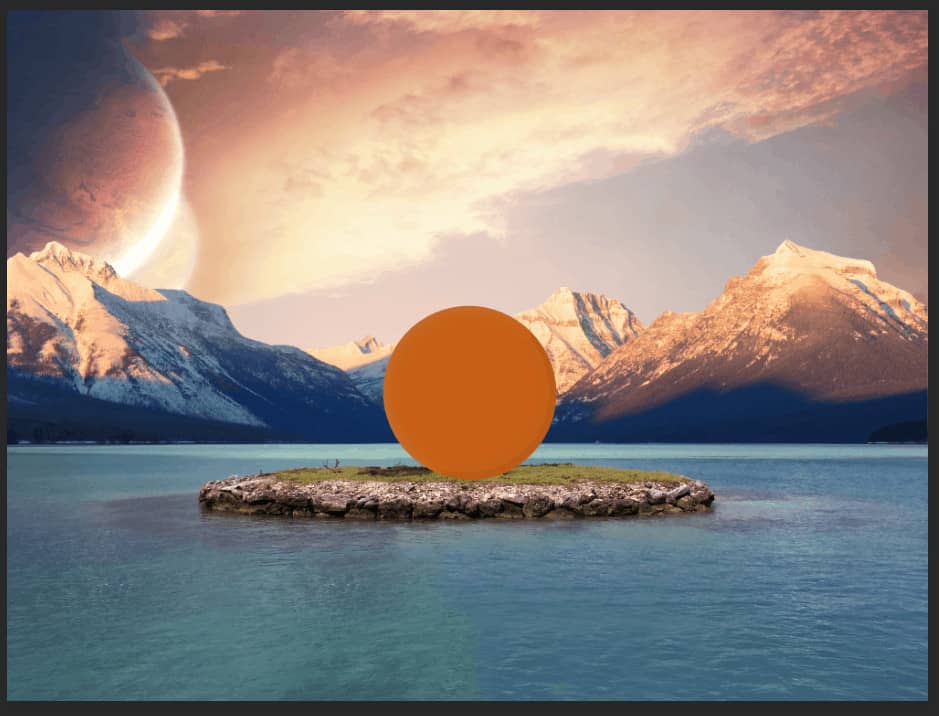
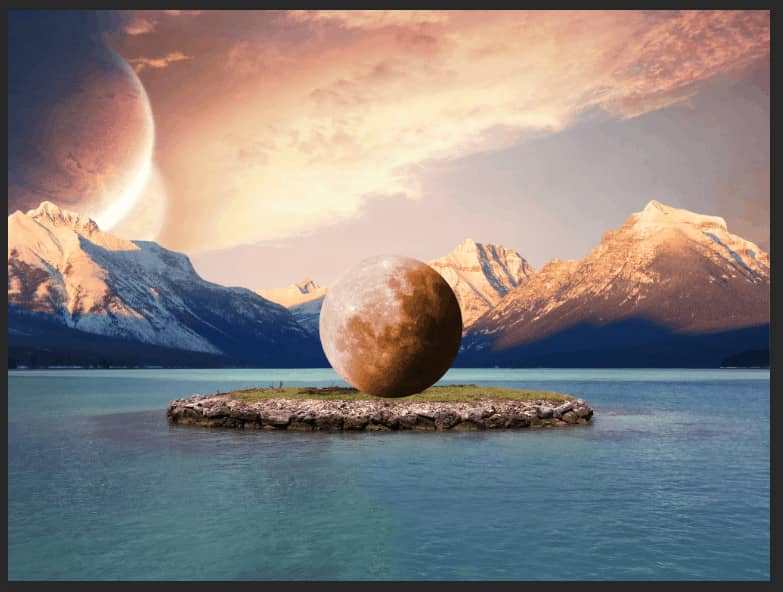
Next, select foreground color and change code to #c66016. Use Brush Tool(B) Round Brush and paint the moon. Right click on layer and Create Clipping Mask, blend mode change from Normal to Overlay with opacity 80%.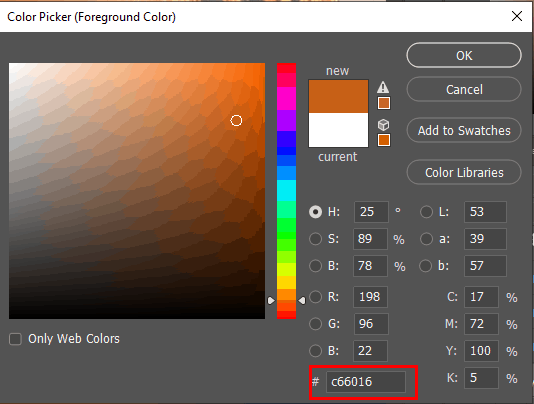
Step 19
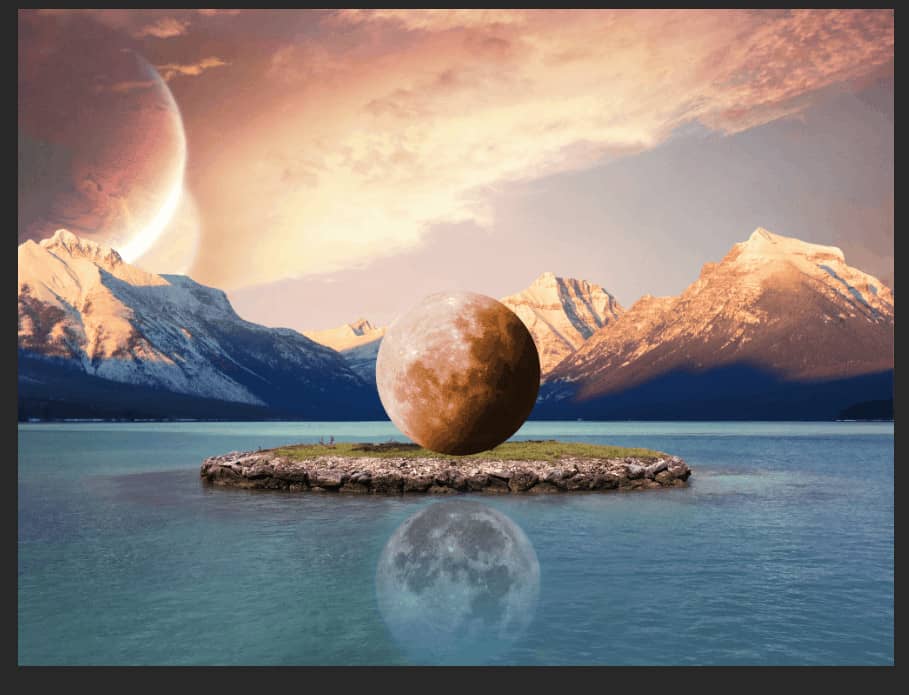
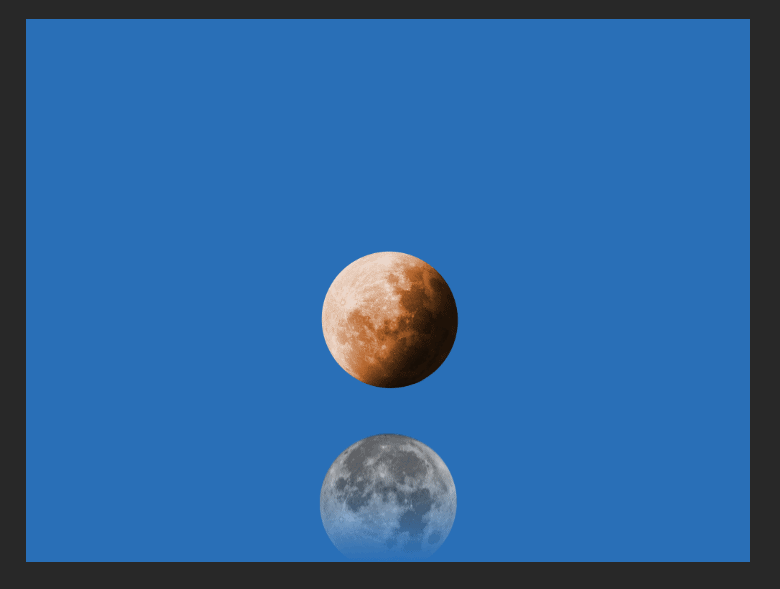
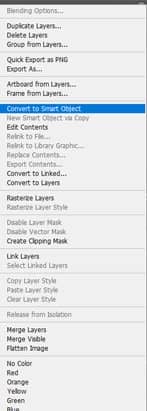
Now wee add a moon reflection in water. Duplicate layer moon (Ctrl + J) and convert it to Smart Object. Go to view and make sure "Snap" is checked. Press Ctrl + T to pen your transform tool, go to top middle of the transform and when you see a vertical double arrow drag it straight down and move little down moon. See the result in image below.
Step 20
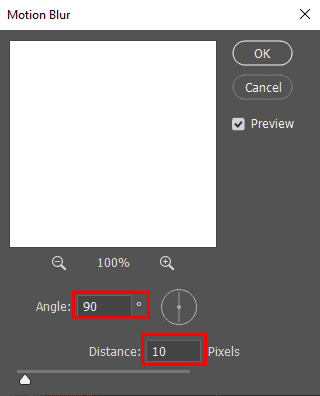
Drag the top layer below the other layer and name it Reflection. Select Reflection layer and go to Filter > Blur > Motion Blur. Set Angle to 90 and Distance 10px.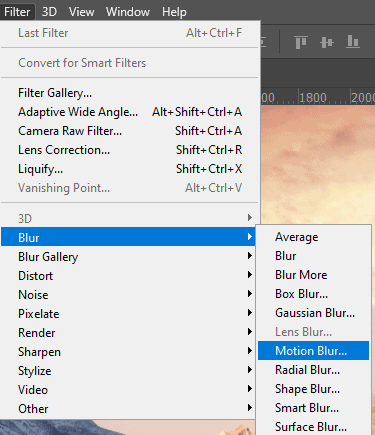
Step 21
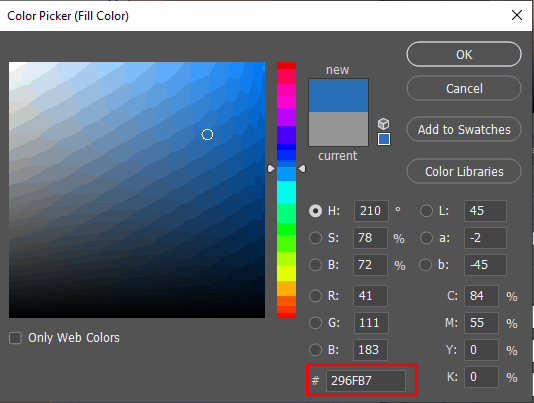
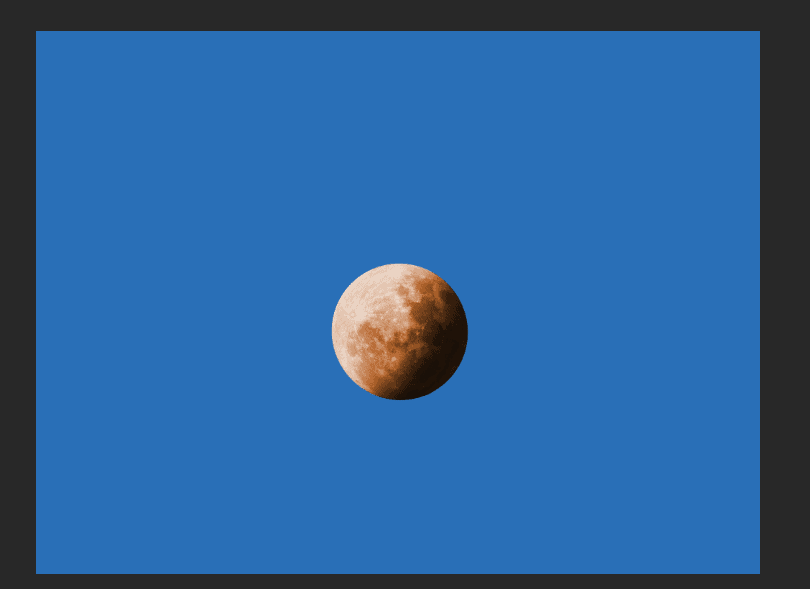
Click Eyeball icon next to reflection to hide the layer and hold Ctrl/Cmd and click the layer icon. Name the layer "Water" and go to Edit > Fill. Open the fly-out list and click color. Set code color to #296FB7 and press ok.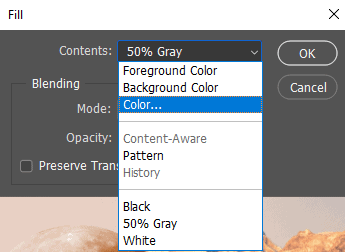
Step 22
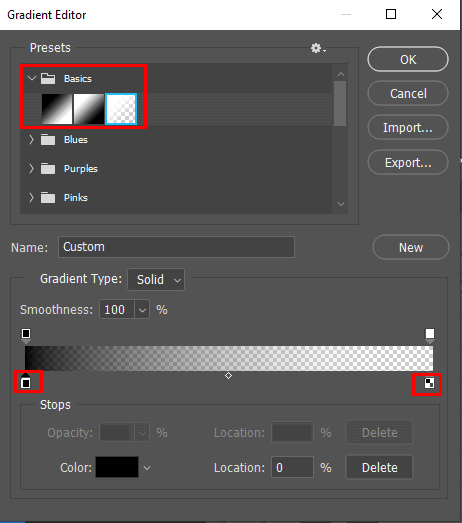
Make the Reflection layer visible again. Click the Motion blurs layer mask to make it active and open Gradient Tool(G). Make linear Gradient active and open Gradient thumbnails and click the Black to Transparent thumbnail.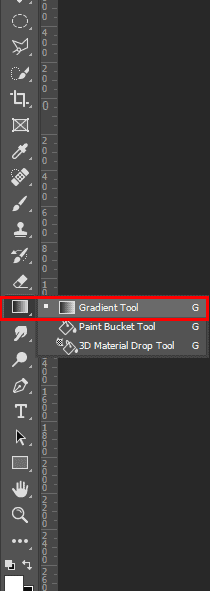


Step 23
Now create a new file. Go to File > New and make the Width, Height and Resolution the same as the amounts you jotted down earlier.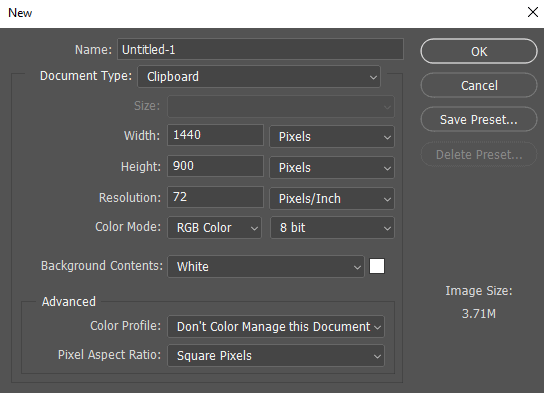
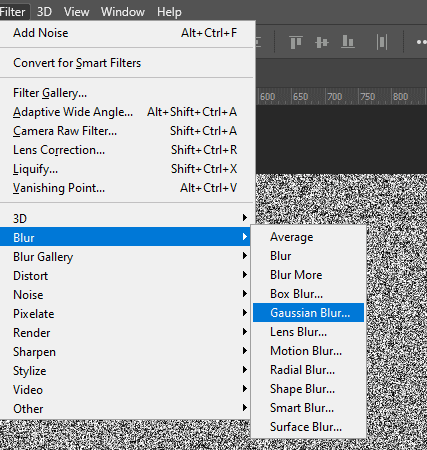
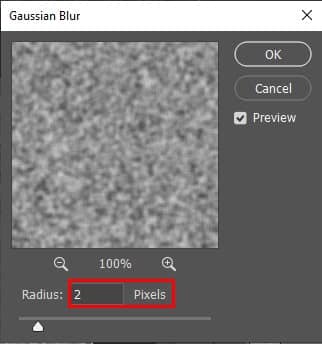
Step 24
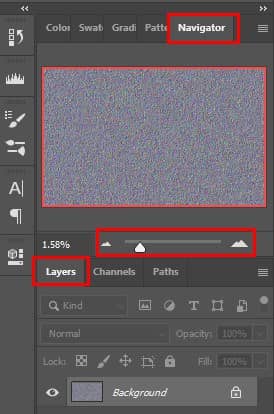
Open your channels panel and click on Red channel icon.
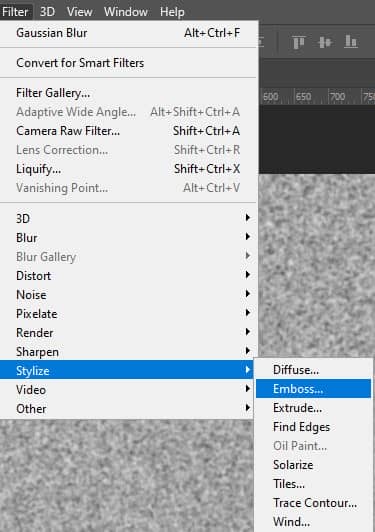
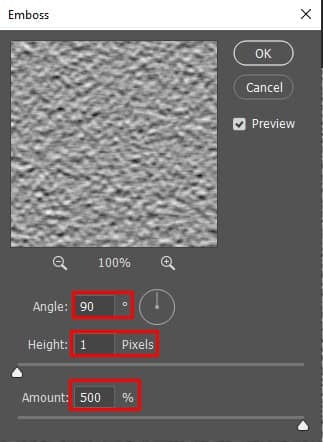
Step 25
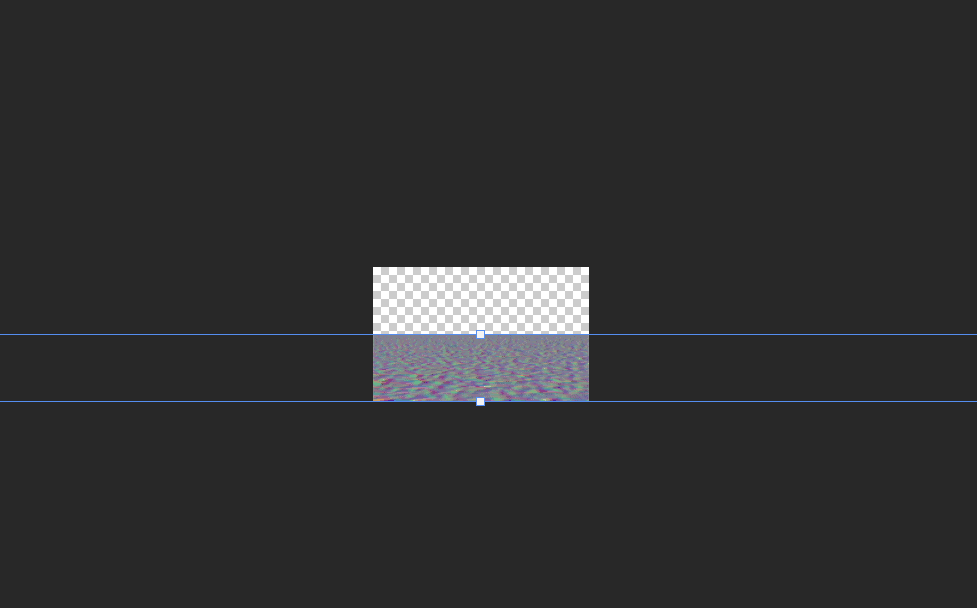
Go to Edit > Transform > Perspective go to bottom corner of the Transform and drag it out


4 comments on “Create a Surreal Moon on Island Photo Manipulation in Photoshop”
Very nice guy, thanks very much for this.. see you later !
Nice 👍
Wow, was für ein grandioses Bild/Tutorial.
Vielen Dank fürs teilen.
Thanks I will try it soon