Take the right rock from the original image to add to the left of our main document.

Step 10
Create a new layer above the first rock layer, change the mode to Overlay 100% and fill with 50% gray. Activate the Dodge Tool (O) with Highlights range, Exposure about 40-50% to paint more bright details for the rock. You can see how I did it with Normal mode and the result with Overlay mode.


Step 11
Select the rock layers and the dodging one and hit Ctrl+G to make a group for them Change the group’s mode to Normal 100% and create a Curves adjustment layer to brighten the rocks.

Step 12
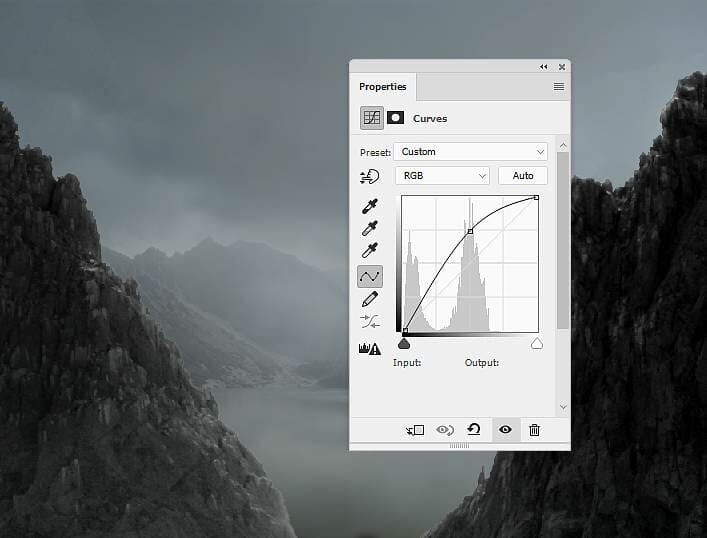
Add a Curves adjustment layer on top of the layers to darken the whole scene.

Step 13
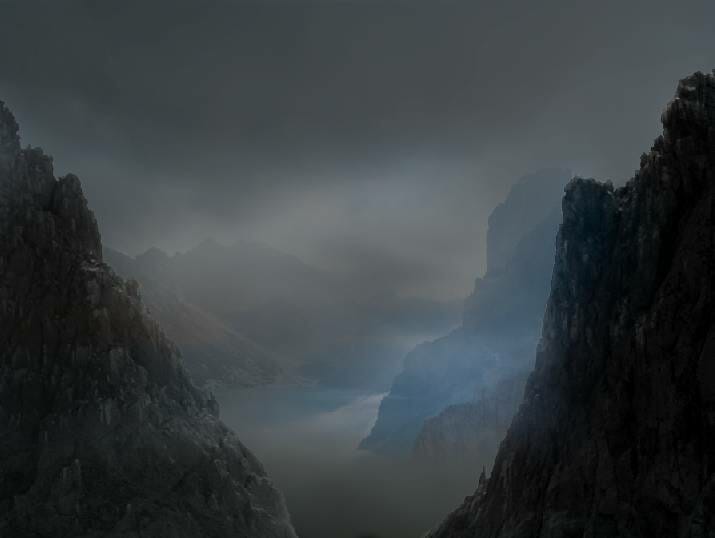
Place the rock 2 image over the image and set the rock on the right of the canvas. Add a mask to this layer and use a soft black brush to remove most of the details, leaving the rock visible mostly.


Step 14
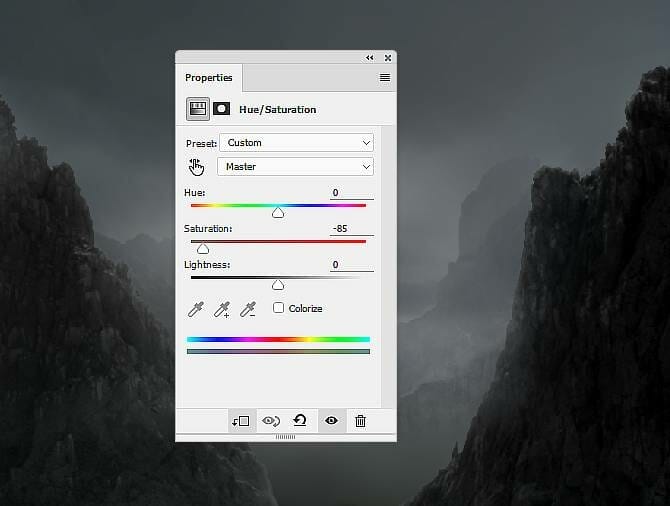
Create a Hue/Saturation adjustment layer (set as Clipping Mask) and reduce the Saturation values down to -85:

Step 15
Make a Curves adjustment layer to darken the rock to fit the lightness of the whole scene.

Step 16
Open the bridge image and cut it out from the background. Place it in the bottom of the main canvas and use Ctrl+T to rotate it as shown below. Add a mask to this layer and use a small hard brush to remove the unwanted details remained after isolating.


Step 17
Make a new layer (set as Clipping Mask) and use a soft brush with the color #575f62, the opacity and flow about 25% and 50% to reduce the light on the bright details of the bridge.

Step 18
Create a Curves adjustment layer to darken the bridge. On this layer mask, use a small hard black brush to paint on the contour of the bridge to reveal the light there (we aim to add the main light source to the top middle).


Step 19
Make a new layer below the bridge one and press D to turn the foreground and background to default colors (black and white). Go to Filter > Render > Clouds and you should have a similar result like the screenshot below shows. Convert this layer to a Smart Object and apply a Gaussian Blur of 60 px:


Leave a Reply