Make your artwork look like they're from an alternate universe. These Cyberpunk presets work with Photoshop (via the Camera Raw filter) and Lightroom. Download all 788 presets for 90% off.
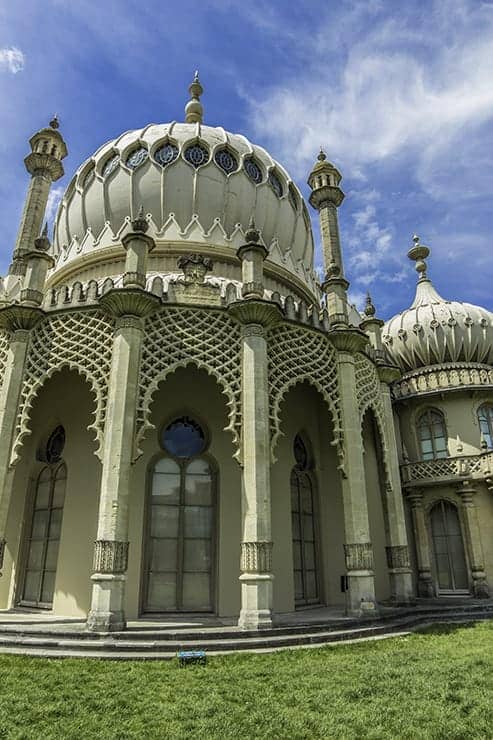
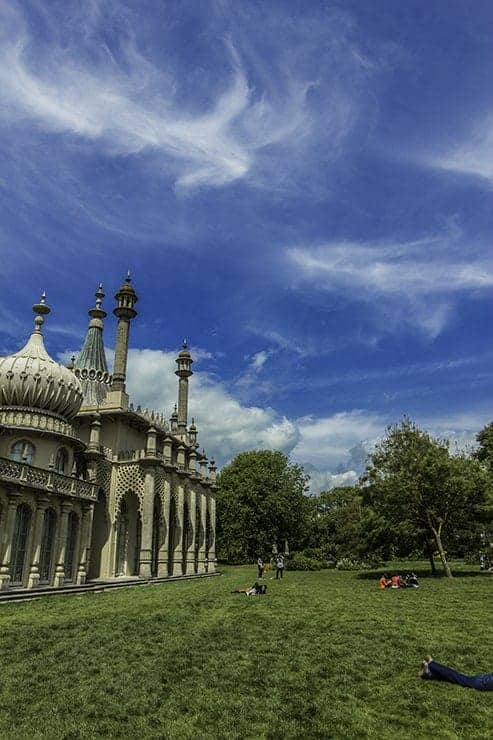
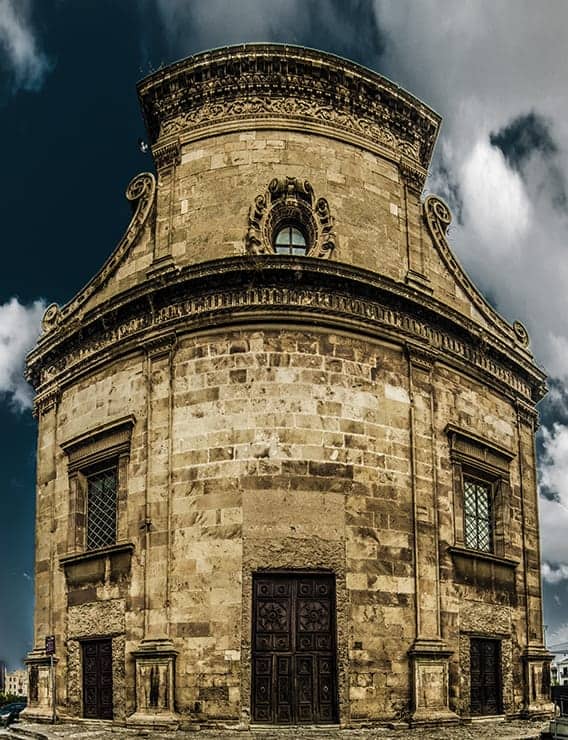
Step 3
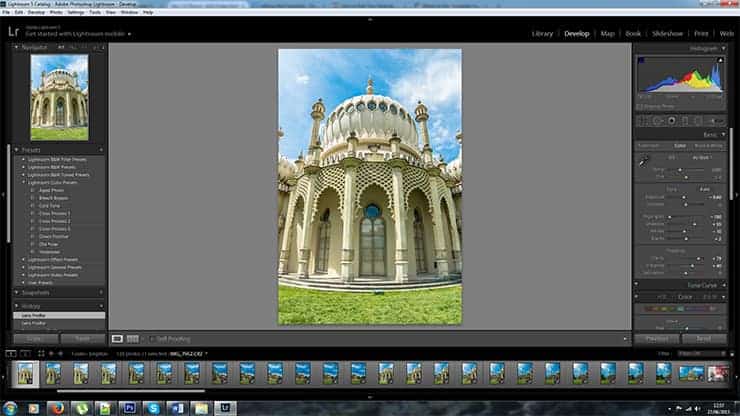
Now that the photos are in Lightroom select the first image and make adjustments such as spot removal, color correction, but do not crop the photo, you might want to go to Lens correction and choose camera and lens profile to get rid of dark corners of the images and to allow Lightroom to correct them (or don't, sometimes it works without it) before we go to next step.
Step 4
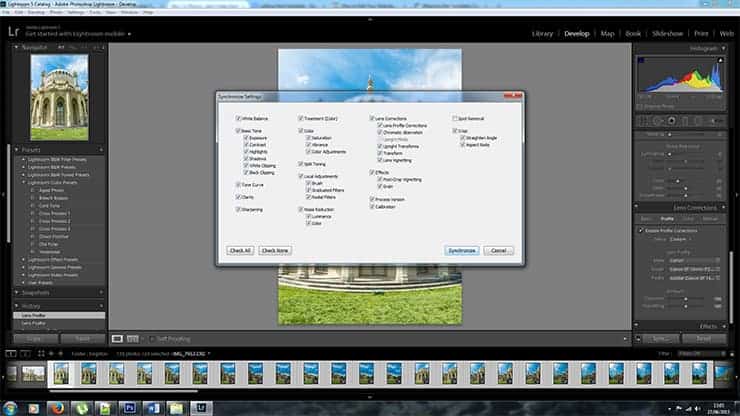
Now that you are happy with your first shot make sure it is highlighted in your library then hold down Shift key and click on the last shot from your panorama so that all of them are highlighted, then click on Sync button, this will open a menu with boxes, make sure you tick the boxes with adjustments you made such as Lens correction, don't worry about spot removal as that can be done in the end, once you have checked all the boxes you need click on synchronize button and wait until Lightroom does its magic.
Step 5
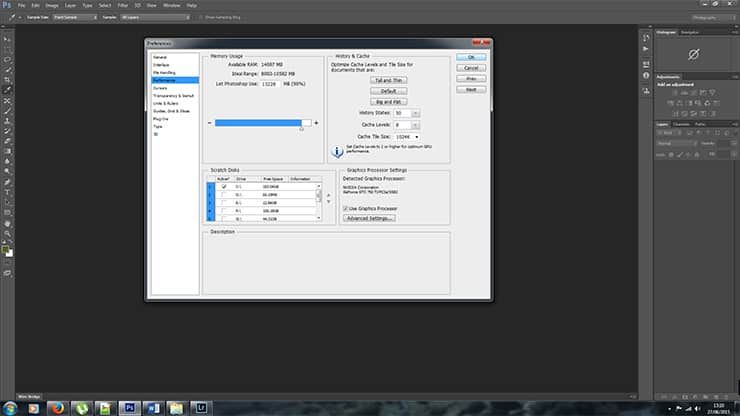
Now before we do anything else lets improve Photoshop performance open Adobe Photoshop > Edit > Preferences > Performance now it is best to choose the same scratch disk as the one where you have Photoshop installed but if that does not have a lot of space use another one, ten set the amount of available RAM you will let it use I have set mine to use 90%, Now the image will be huge depending on your camera it might be way over 4GB as a default when Lightroom and Photoshop work together, Photoshop will try to save the file into Lightroom as TIFF which has max file size of 4GB, this will not work, To fix that you need to go to Lightroom > Edit > Preferences > External Editing and in the first drop down menu change TIFF to PSD, and the problem is solved.
Step 6
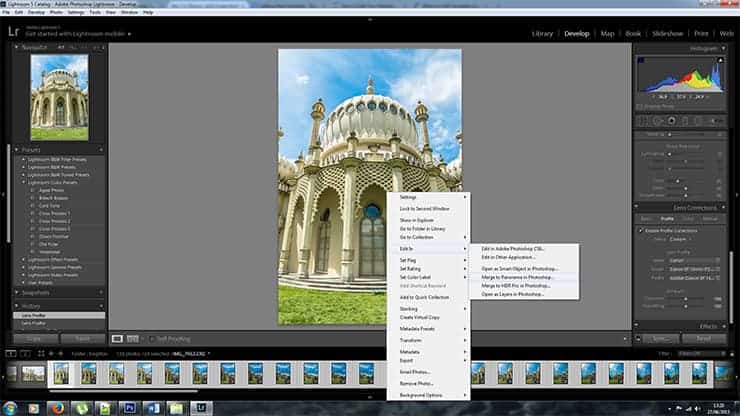
Now go back to Lightroom and with all your images still highlighted right-click on one of them this will open a pop up menu now go to Edit in and choose Merge to Panorama in Photoshop.
Step 7
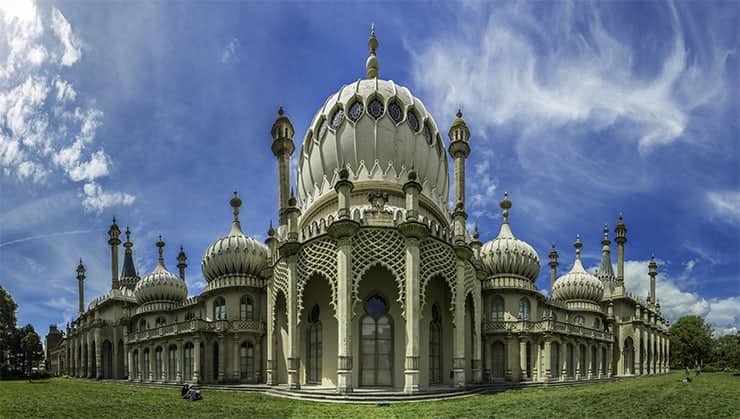
Now Lightroom might ask you if you want to open it due to raw not being supported or something like that if this window appears click open anyway this will open the files in Photoshop and a photo merge window as a default it is set to auto and blend images just click ok. Now just keep in mind that you have a lot more photos than when taking a ordinarry panorama so this might take a long time depending on the computer you have, my laptop took around an hour to do so but then I had not changed performance settings in Photoshop now wait until the file is merged into a panorama.


7 comments on “How to Create Big Panoramas in Photoshop”
Awesome! I really Like this and with my new wide angle lens I could see giving this a try the next time I am out and about!
so nice
You are welcome, if you have issues saving the file in Photoshop where it says the file is too large, when closing the file then go to save as and choose tiff format that should save it and drop it right back to Lightroom, occasionally I have issues like that. Have fun
Nice info :/
Brilliant tutorial thank you so much for sharing
Nice
Agreed... :)