Make your artwork look like they're from an alternate universe. These Cyberpunk presets work with Photoshop (via the Camera Raw filter) and Lightroom. Download all 788 presets for 90% off.
Step 8
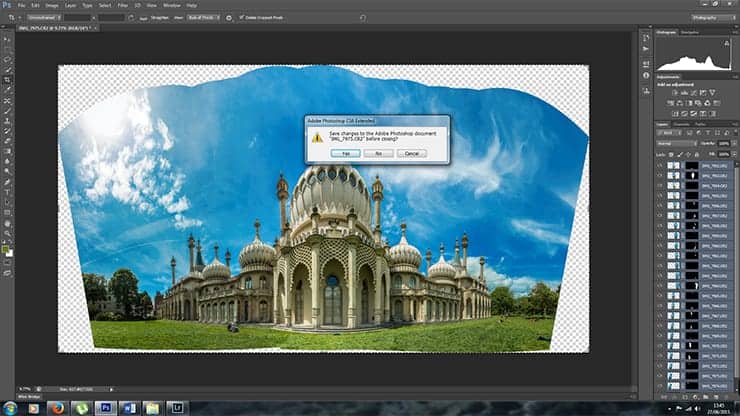
Once the panorama is created you can crop it using crop tool once you have cropped your image close the file, this will ask you if you want to save changes to the image, click yes and it will disappear, now do not worry as Photoshop will automatically send the file back to Lightroom.

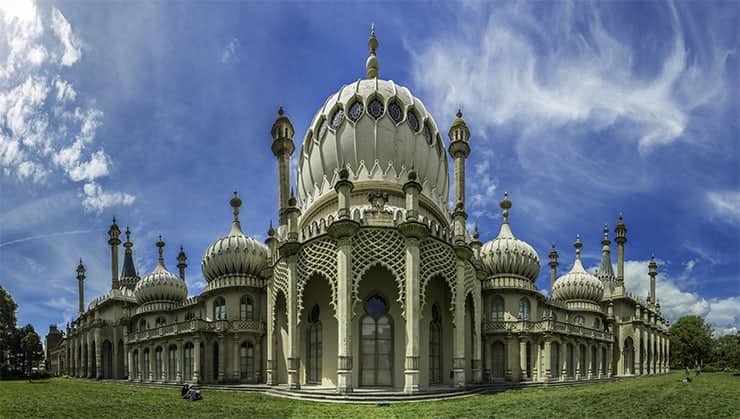
Final step and the final result
Now you are back in Lightroom and can adjust clarity of the image and make color adjustments to it and once that is done all you need to do to save it as jpg image is right-click on it and export. And that is it.


7 comments on “How to Create Big Panoramas in Photoshop”
Awesome! I really Like this and with my new wide angle lens I could see giving this a try the next time I am out and about!
so nice
You are welcome, if you have issues saving the file in Photoshop where it says the file is too large, when closing the file then go to save as and choose tiff format that should save it and drop it right back to Lightroom, occasionally I have issues like that. Have fun
Nice info :/
Brilliant tutorial thank you so much for sharing
Nice
Agreed... :)