
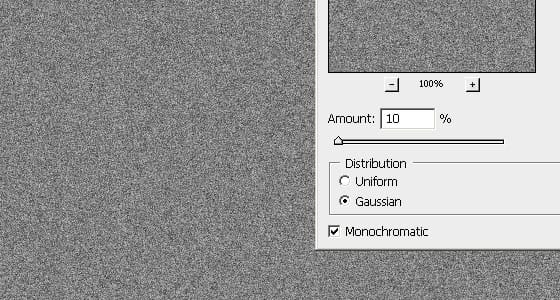
Now we’ll add some noise. Choose Filter > Noise > Add Noise. Use the settings below.
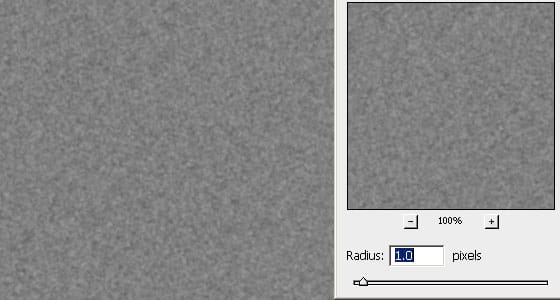
The noise looks too sharp so we’ll add a slight blur. Choose Filter > Blur > Gaussian Blur and use the settings below.
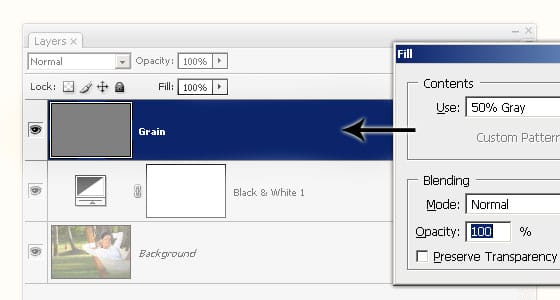
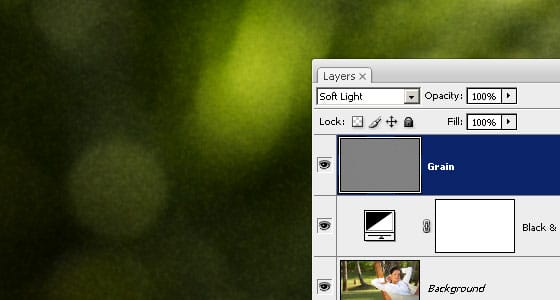
Change the blending mode of the Grain layer to Soft Light.
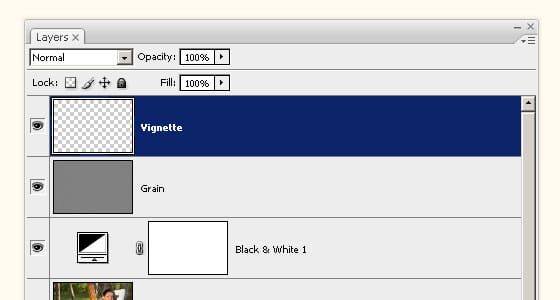
Step 4: Create an organic vignette
Finally, we’ll add the last layer. This layer will contain a organic vignette that will increase focus to the subject. Begin by creating a new layer. Name this new layer Vignette.
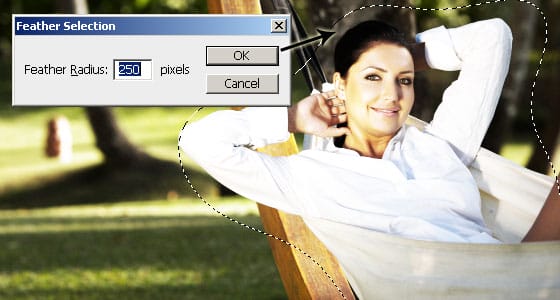
Select the lasso tool from the toolbar and create a round selection around the subject.

Choose Select > Modify > Feather. This will soften the edge of the selection. Input a radius setting to use. A larger radius will create softer edge. Depending on the dimension of your image, this setting will vary. I used a 250 pixels setting, which is the highest, for a 4992 x 3319 pixels image. If you enter in a radius that is too small or large, press Ctrl+Z to undo and try the Feather Selection tool again. This step may take several tries.
Create an inverse of the selection by pressing Shift+Ctrl+I or choosing Select > Invert. Now fill the selection with black and press Ctrl+D to deselect the selection.
To finish this tutorial, reduce the opacity of the Vignette layer.

Final Results

Sample PSD
Download this free PSD (Photoshop Document) to view the final results with the layers.
Leave a Reply