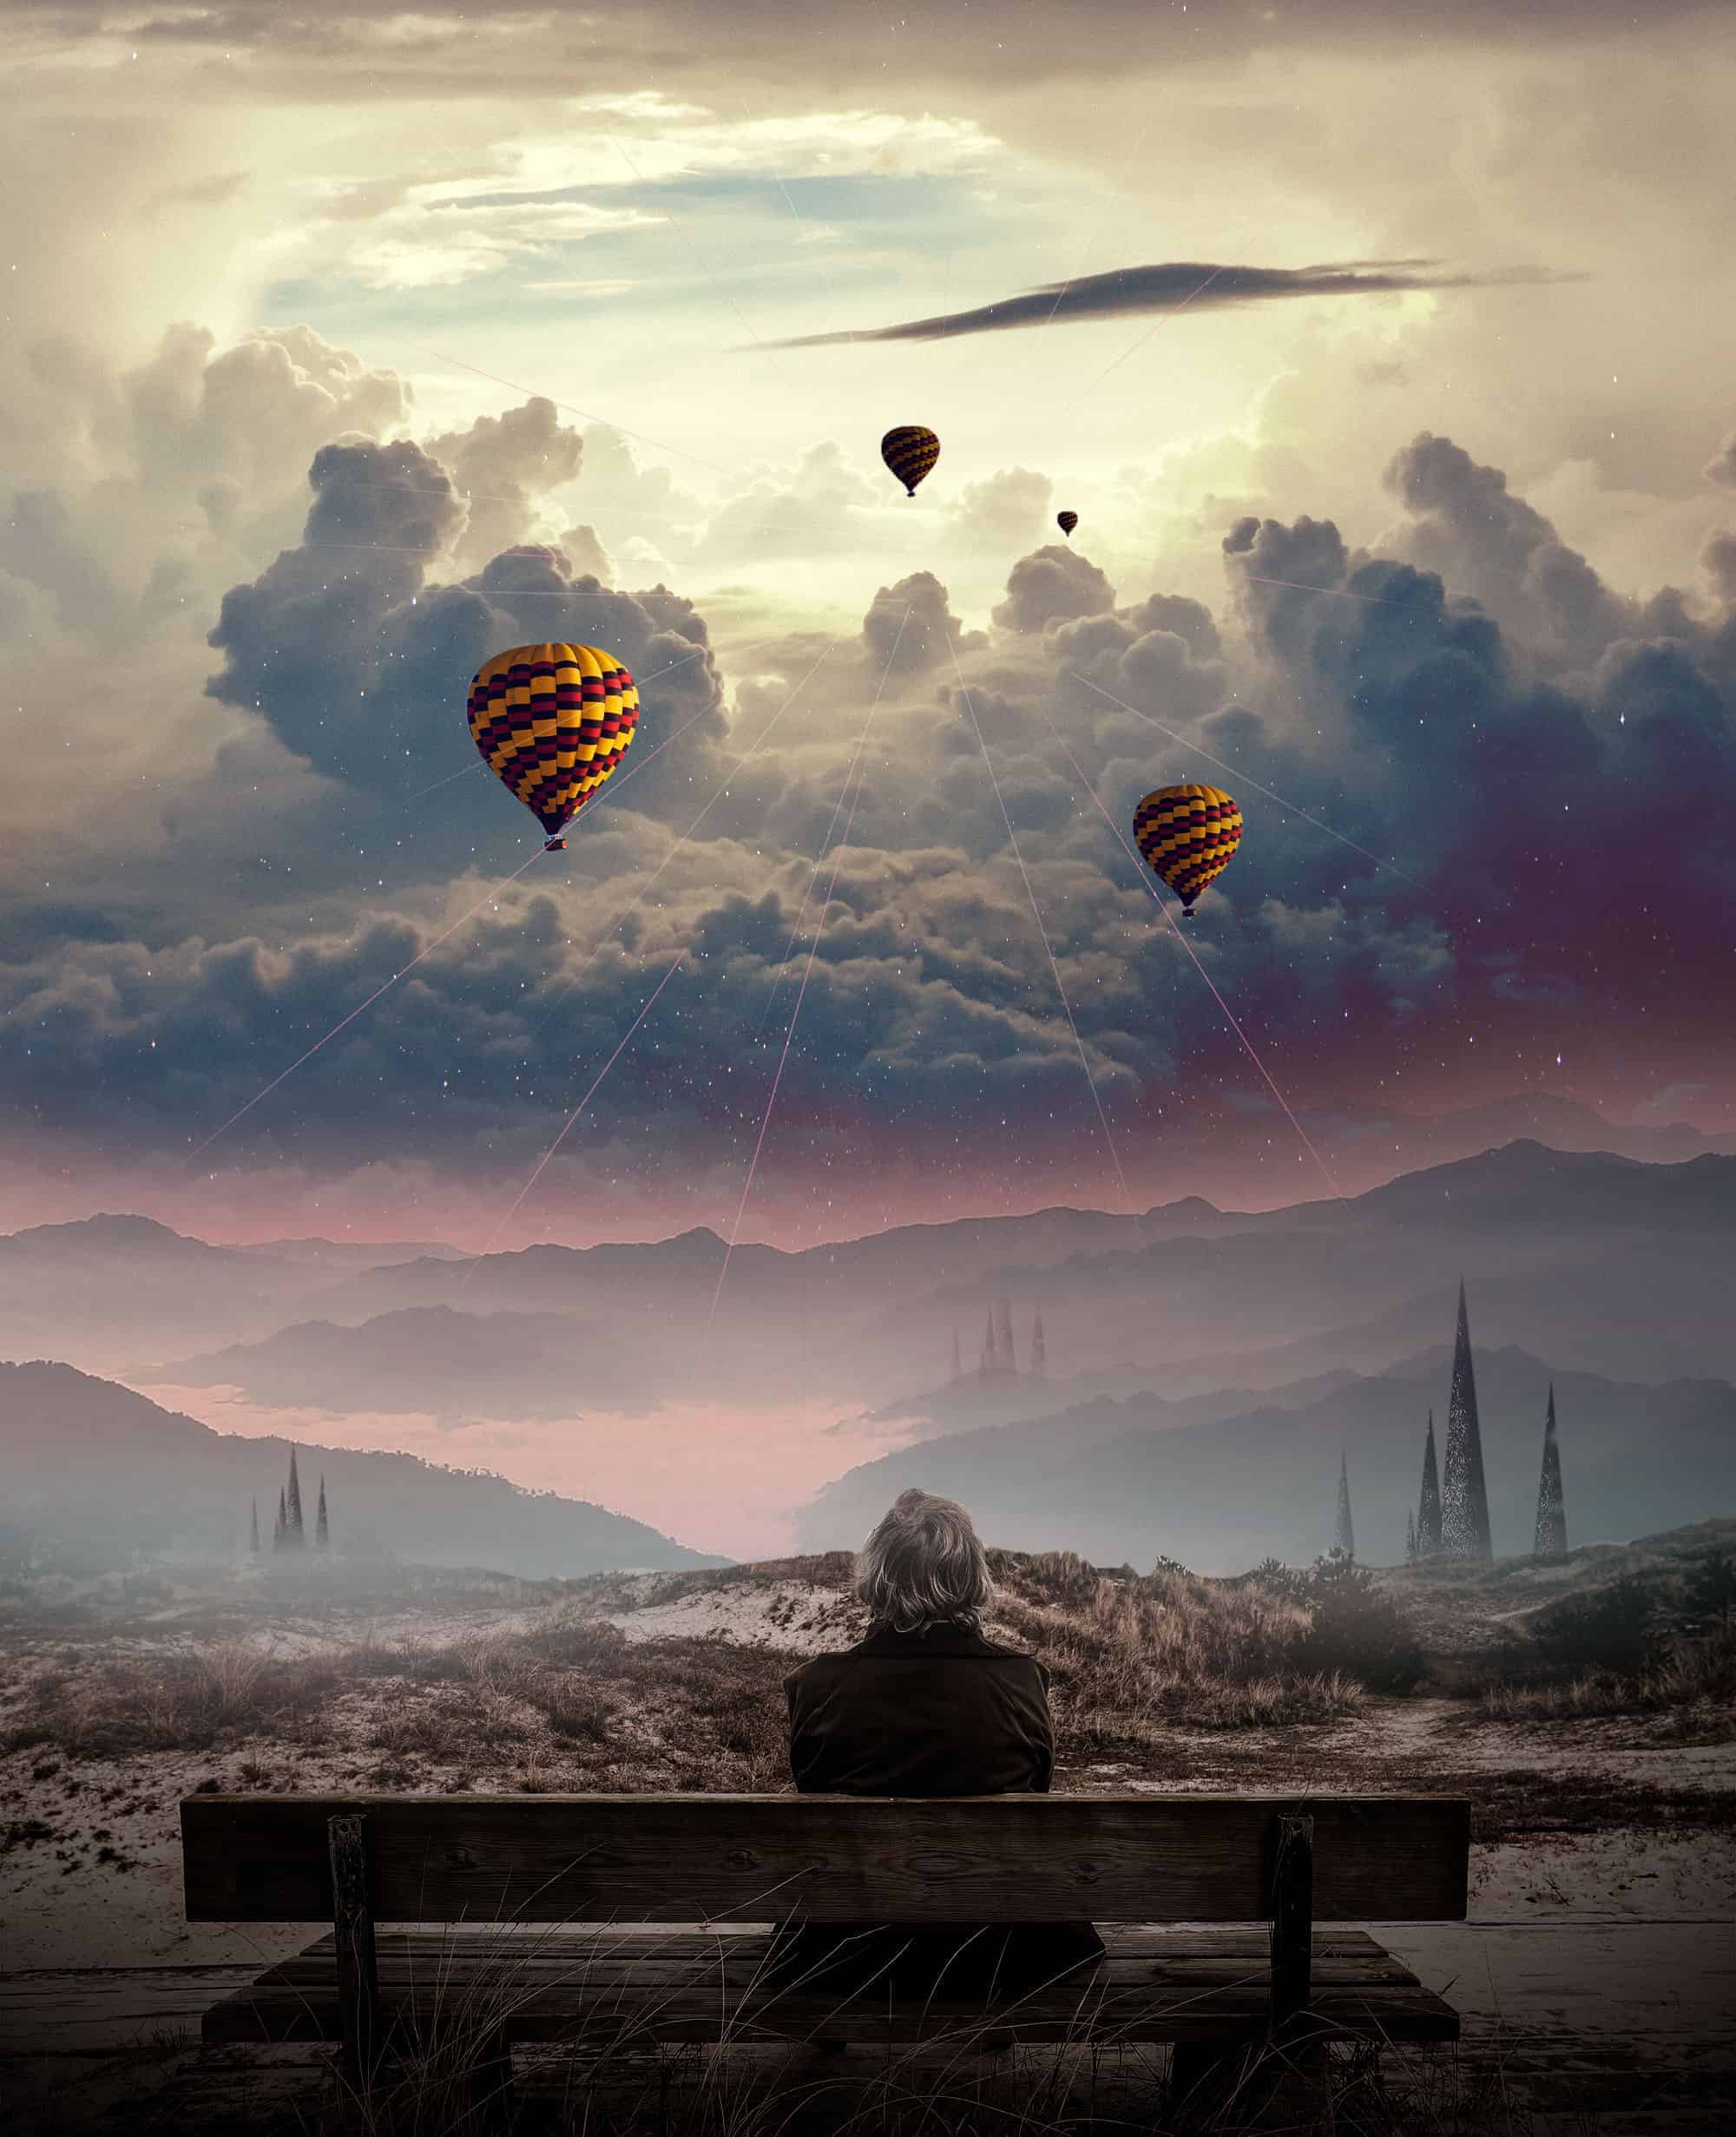
In this tutorial, we’re going to create a surreal photo manipulation of a man watching what looks to be a magical portal to another world. This will take you through all the processes with an explanation at every step. Now… Shall we begin?
What you’ll be creating
Although this artwork has been created with Adobe Photoshop CC, you should be able to follow it with older versions without any problems. The main features that we’re going to use are masking and adjustment layers, masking in order to select what we need from a picture, and adjustment layers to blend it all together.
Let’s start by creating a new document, we will use the values you see below and we will fill it with black.
Step 2
The first thing that we’re going to place on the canvas is going to be the man and we’ll do it by going to File › Placeand place it the way I placed it. Hold Shiftwhile you are making your image bigger, this way you’ll keep the ratio. Placing your image this way automatically turns it into a Smart Object, allowing you to apply non-destructive transformations and filters.
Step 3
Since we’re creating our own sky we need to mask the one that we see in the picture. A trick I like to use, that you may or may not know, is to select the area that I want to use and click the Add layer maskbutton at the bottom of the Layers panel. You can do the selection with the Pen Tool(P)or Lasso Tool(L).
Step 4
In order to make the edges smoother, we will paint with a soft brush with black color on the mask layer around the edges. This will help us blend the landscapes.
Step 5
This layer needs 3 adjustment layers, Hue/Saturation, Curves, and Levels. Apply them by going to Create a new fill or adjustment layer, which is a button next to the Add layer maskbutton. Set the values you see below. Make sure these adjustment layers only apply to this layer, right-click on them and select Create Clipping Mask.
Step 6
This is how it should look after applying the adjustment layers.
Step 7
Let’s place the next picture on the canvas, which is the mountainous landscape. Move this layer under the first one in the layers panel and mask some of the top. Choose the mountains you want to display as you like.
The tutorials are very easy to follow and I appreciate that very much. I am just getting started and sometimes I am not even sure what photoshop can really do for me. I love the results. great work