Luminar AI lets you turn your ideas into reality with powerful, intelligent AI. Download the photo editor and see how you can completely transform your photos in a few clicks.
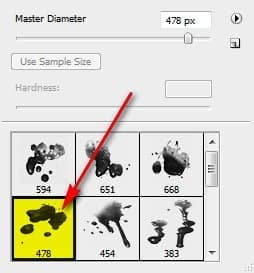
Next, input the following settings for this brush:
- Brush size: 200px
- Hardness: 0%
- Opacity: 75%
- Flow: 100%
- #: 621b1b
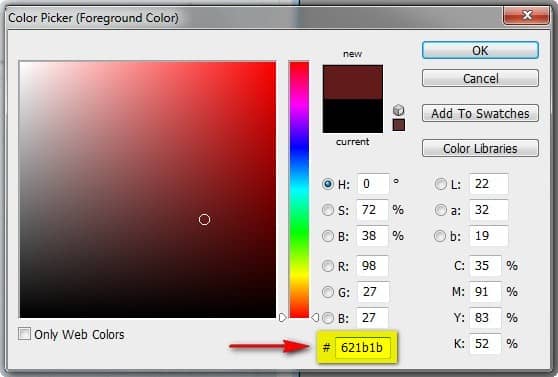
Next, change the layer’s opacity to 50%. To do that, just click on 100% beside the word Opacity on the Layer window and then change it to 50%.

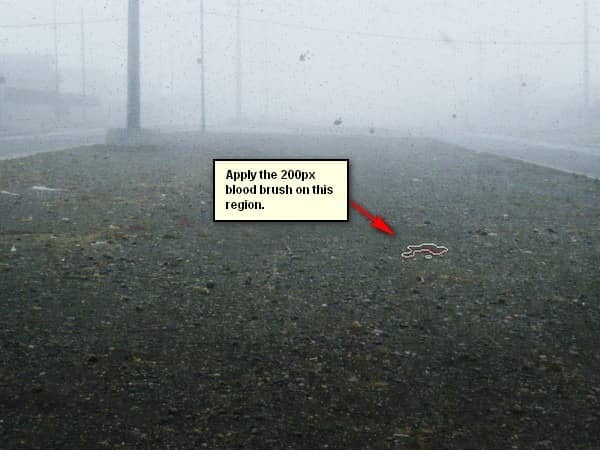
Now, let’s paint:
The result:

Next, let’s create the second patch of blood on the ground. Create a new layer again (Ctrl/Cmd + Shift + N) and name it “Blood 2”. Activate the Brush tool (B) and use the following brush:
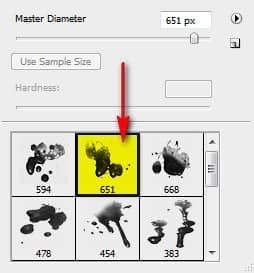
Change the brush settings to the following:
- Brush size: 125px
- Hardness: 0%
- Opacity: 25%
- Flow: 100%
- #: 621b1b
Paint in the blood on the region shown below:
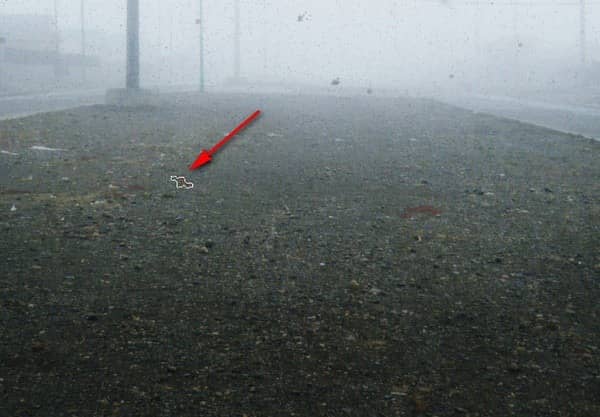
The result:

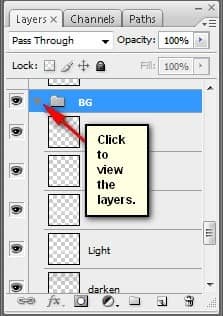
Now that we’re done, select all the layers and press Ctrl/Cmd + G to group them. We would need to group them to avoid confusion on later steps. Rename this group to “Background”.
Note: Renaming a group is similar to renaming a layer. Just double click on the words “Group 1” and a text box would appear. You would also notice that the layers have been hidden from view, to view them again just left click on the arrow beside the Group’s name. See below:
Step 5: Create the lady
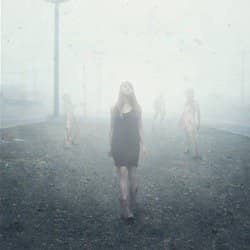
In this step, we will be adding a beautiful lady who is walking down the “Silent Hill” road with full confidence. To start, let’s open “ballade iii” by medusestock. Activate the Polygonal Lasso tool (L) and create a selection area around the lady.
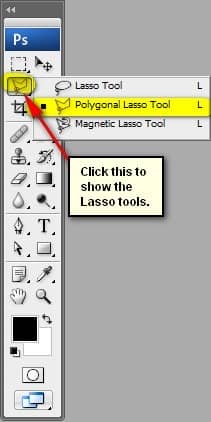
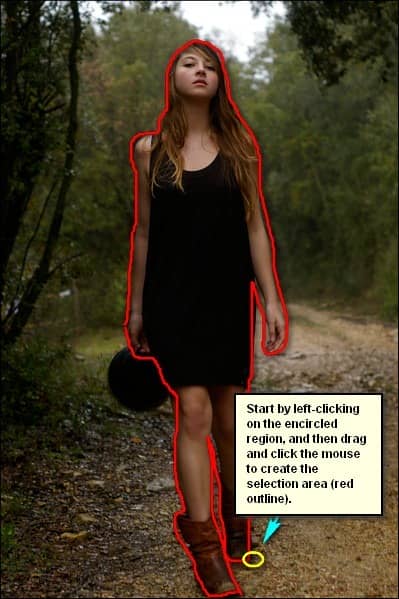
Now that you’ve created a selection area around the lady, it is now time to move her to the canvas. Activate the Move tool (V) and drag her to the canvas. Once on the canvas, rename the layer to “Lady”.
Position her in this area:
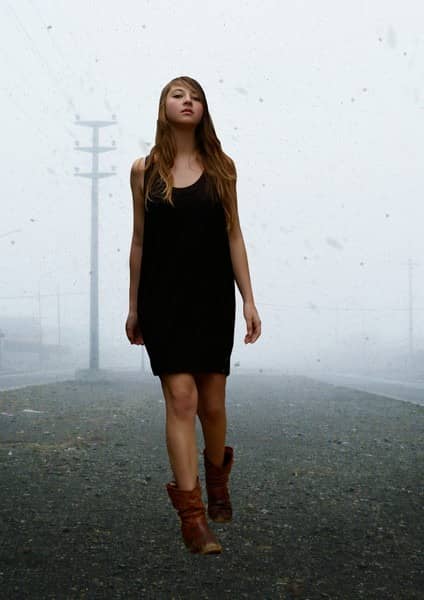
Next, activate the Transform tool (Ctrl/Cmd + T) resize the lady to the size shown below:
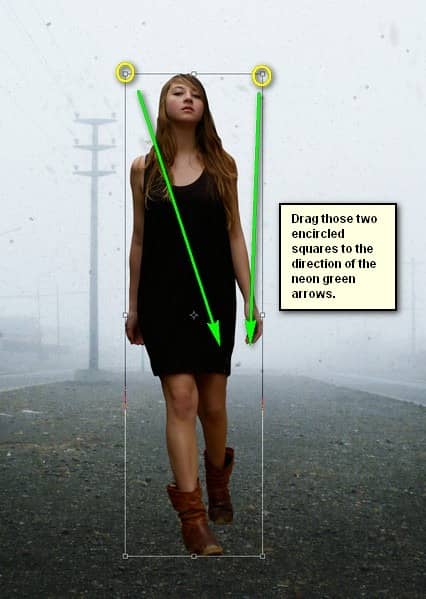
The result:
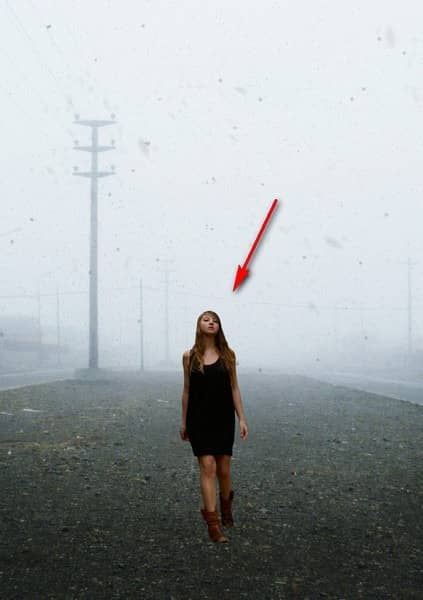
Activate the Transform tool (Ctrl/Cmd + T) once again and then right click on the canvas to show the Transform tool’s contextual menu. Once the menu opens, click on “Rotate”. Rotate the image to the degree shown below:
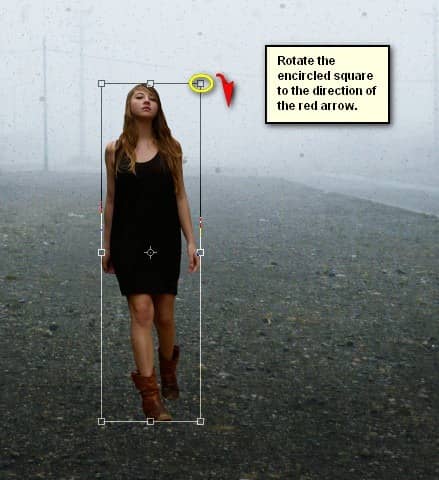
The result:
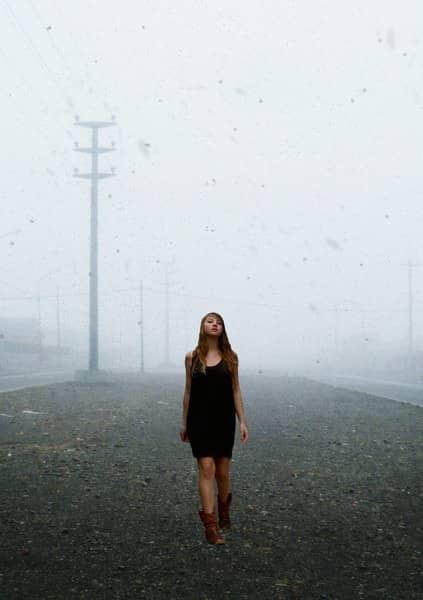
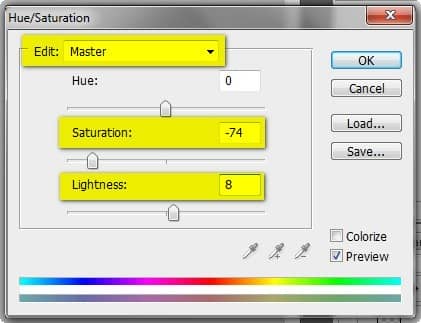
Next, we will change the color saturation of the lady. To do that, click on the lady’s layer and then go to Image > Adjustments > Hue/Saturation and input the following:
- Edit: Master
- Hue: 0
- Saturation: -74
- Lightness: +8
The result should be similar to the following:
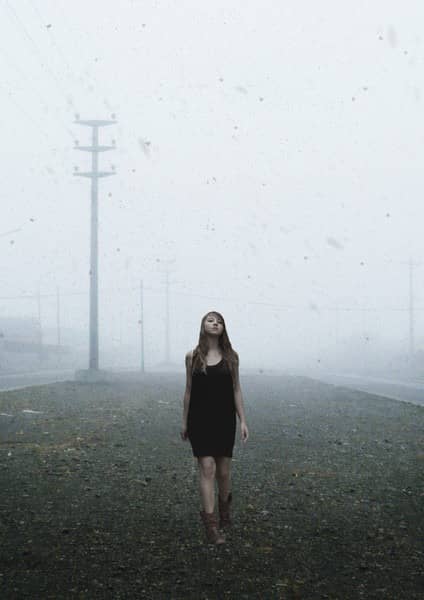
Next, let’s make her blend in with the foggy background. To do that, we’re going to use the Eraser tool to reduce the opacity of the lady. Activate the Eraser tool (E) and input the following:
