Make skin look perfect in one-click with these AI-powered Photoshop actions.
- Brush size: 500px
- Hardness: 0%
- Opacity: 25%
- Flow: 100%
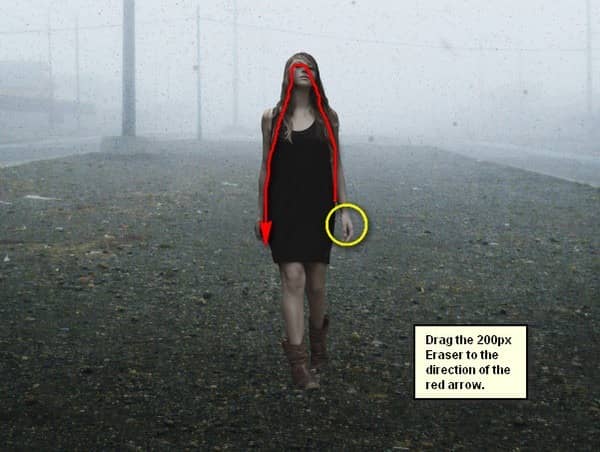
The result should be similar to the image shown below:
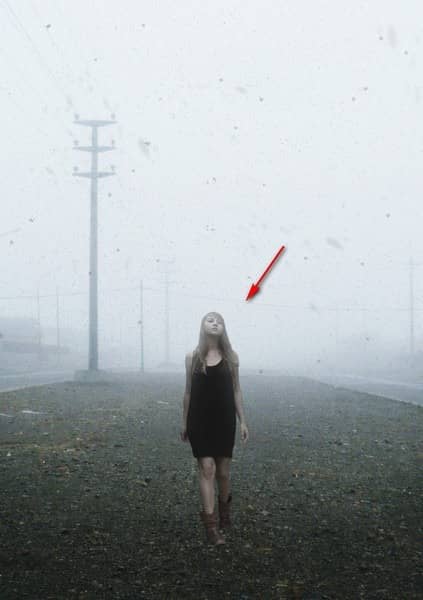
Next, let’s add a little shadow under her feet to make her blend with the image. To start, create a new layer (Ctrl/Cmd + Shift + N) and name it “Shadow”, put this layer below the “lady” layer. Next, activate the Brush tool (B) and Reset your brushes.
![image021[1] image021[1]](https://cdn.photoshoptutorials.ws/images/stories/fe3862fc252f_F0C/image0211.jpg?strip=all&lossy=1&quality=70&webp=70&avif=70&w=1920&ssl=1)
Now, with the brushes reset, use the following settings:
- Brush size: 250px
- Hardness: 0%
- Opacity: 15%
- Flow: 100%
- #: 000000
Now, let’s paint!
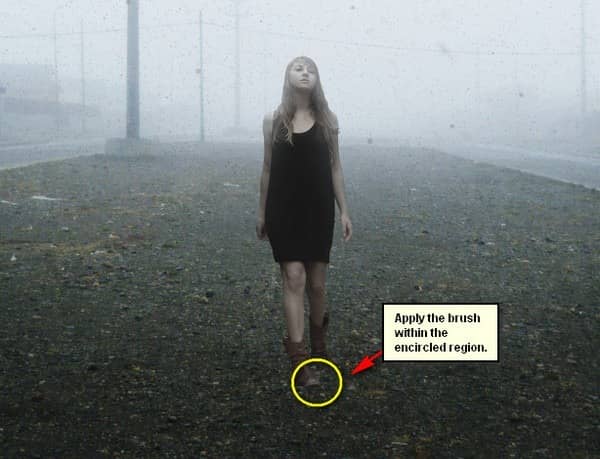
The result:
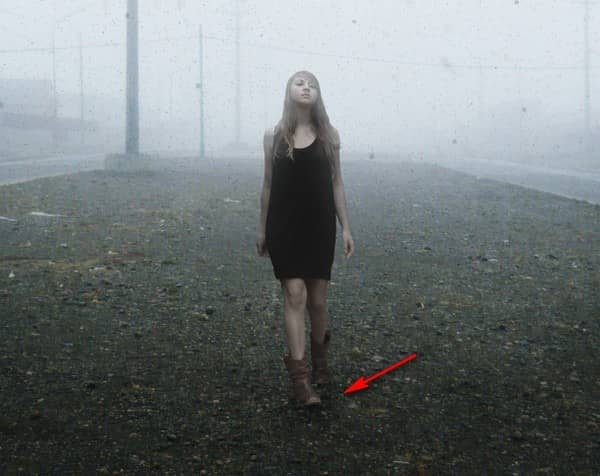
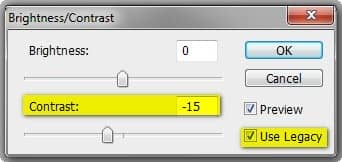
Now, let’s change the Contrast of the “lady”. To start, make sure that the active layer is that of the “lady’s” and then go to Image > Adjustments > Brightness/Contrast and then use the following:
- Brightness: 0
- Contrast: -15
- Use Legacy: Check
The result:
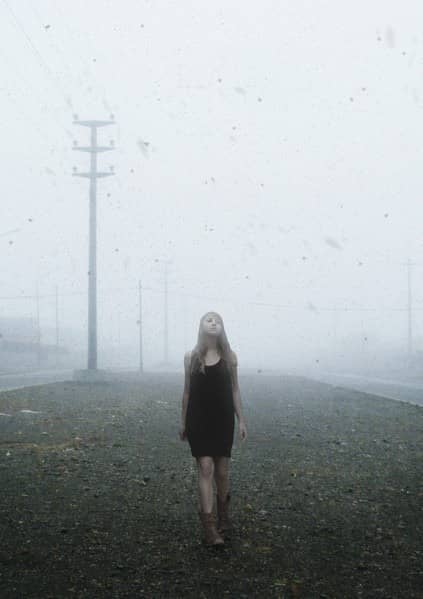
Now, when you’re done, group all the layers that we’ve created for this step and name that group to “lady”.
Step 6: Create the Nurses
Now, let’s add the eerie nurses. To start, let’s open “Silent Hill Nurses 1” by Stickfishies Stock. Once open, activate the Polygonal Lass Tool (L) and create a selection area around the nurse shown below:
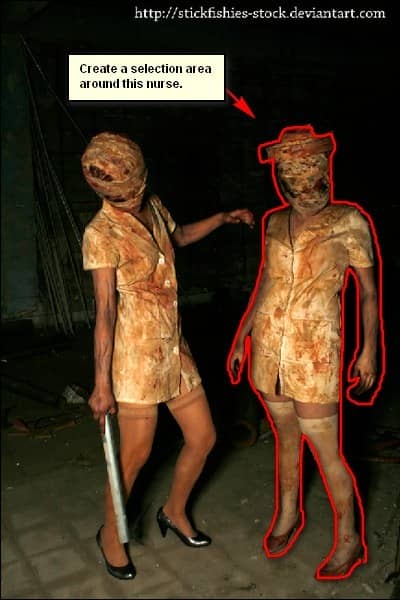
Next, activate the Move tool (V) and drag that nurse to our canvas. Put this layer above the “lady” group. Rename this layer as “nurse 1” and then position the nurse in the area shown below:
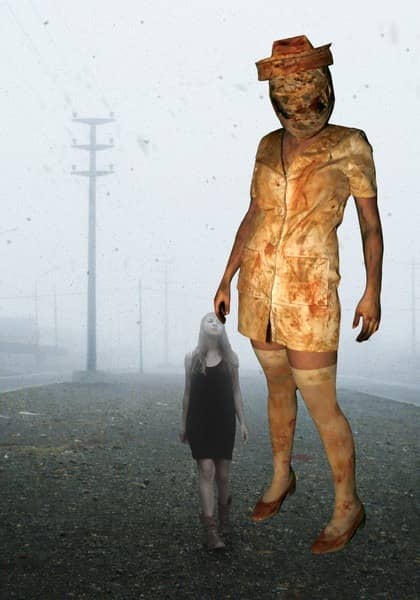
Now, activate the Transform tool (Ctrl/Cmd + T) and then resize the image as shown below:
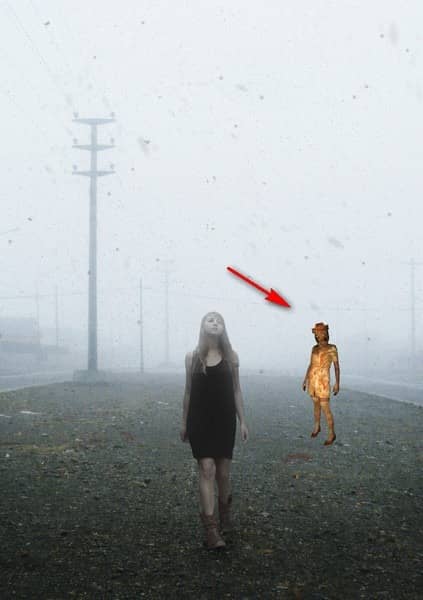
After that, let’s now change the Hue/Saturation of “Nurse 1”. Make sure that the “Nurse 1” layer is active and then go to Image > Adjustments > Hue/Saturation and then input the following values:
- Hue: 0
- Saturation: -74
- Lightness: +8
The result would be like this:
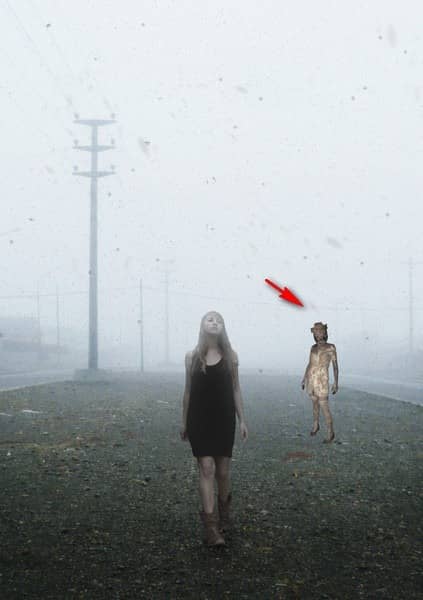
Now, let’s make her blend in with the image, and to do that, we will need the Eraser tool (E). Activate the said tool and then input the following:
- Brush size: 300px
- Hardness: 0%
- Opacity: 25%
- Flow: 100%
Now, let’s erase the areas of “Nurse 1” as shown below:
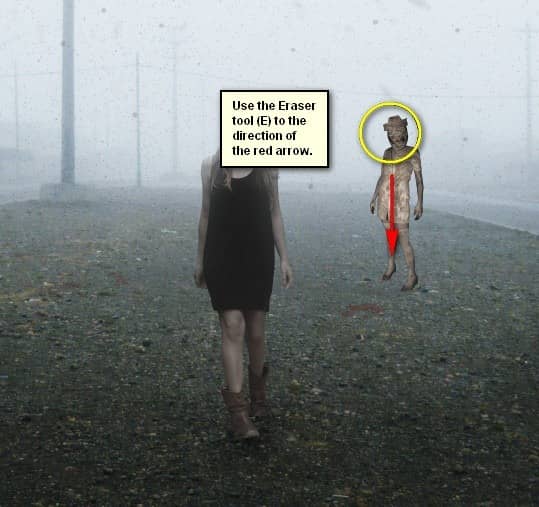
After that, lower the Opacity of the “Nurse 1” layer to 90%.

The result should be similar to this:
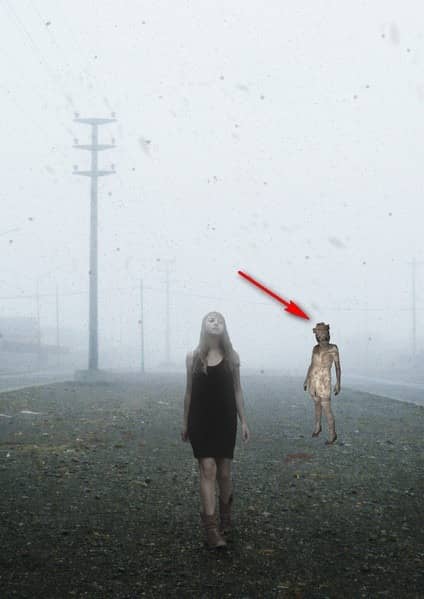
Next, let’s create the Shadow to make the nurse look like she really is standing on that ground.
To start, let’s create a new layer (Ctrl/Cmd + Shift + N) and then name it “Shadow”. Put this new layer under the “Nurse 1” layer to make the shadow appear under the nurse and not on the nurse.
