Luminar AI lets you turn your ideas into reality with powerful, intelligent AI. Download the photo editor and see how you can completely transform your photos in a few clicks.
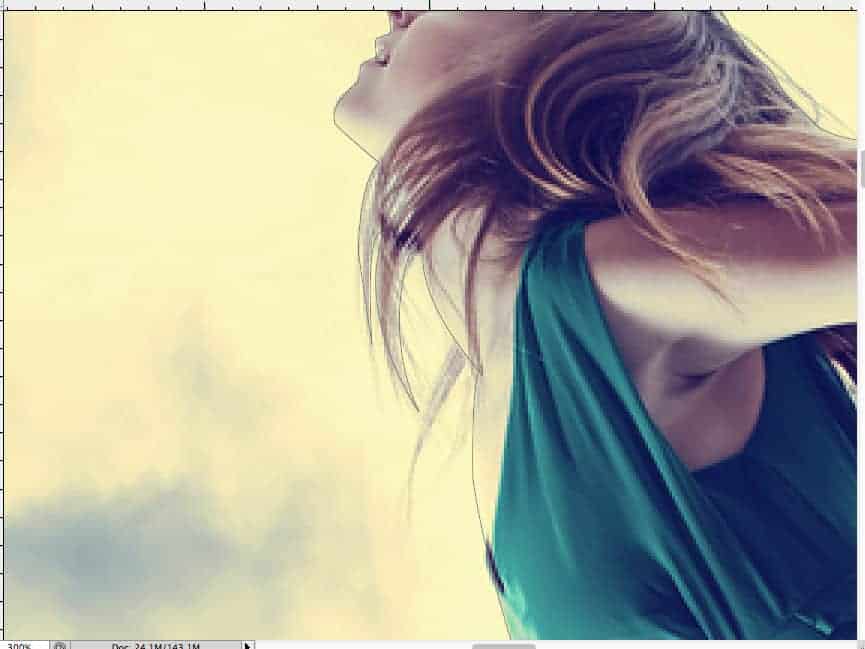
Step 14
This is the out line you should have.
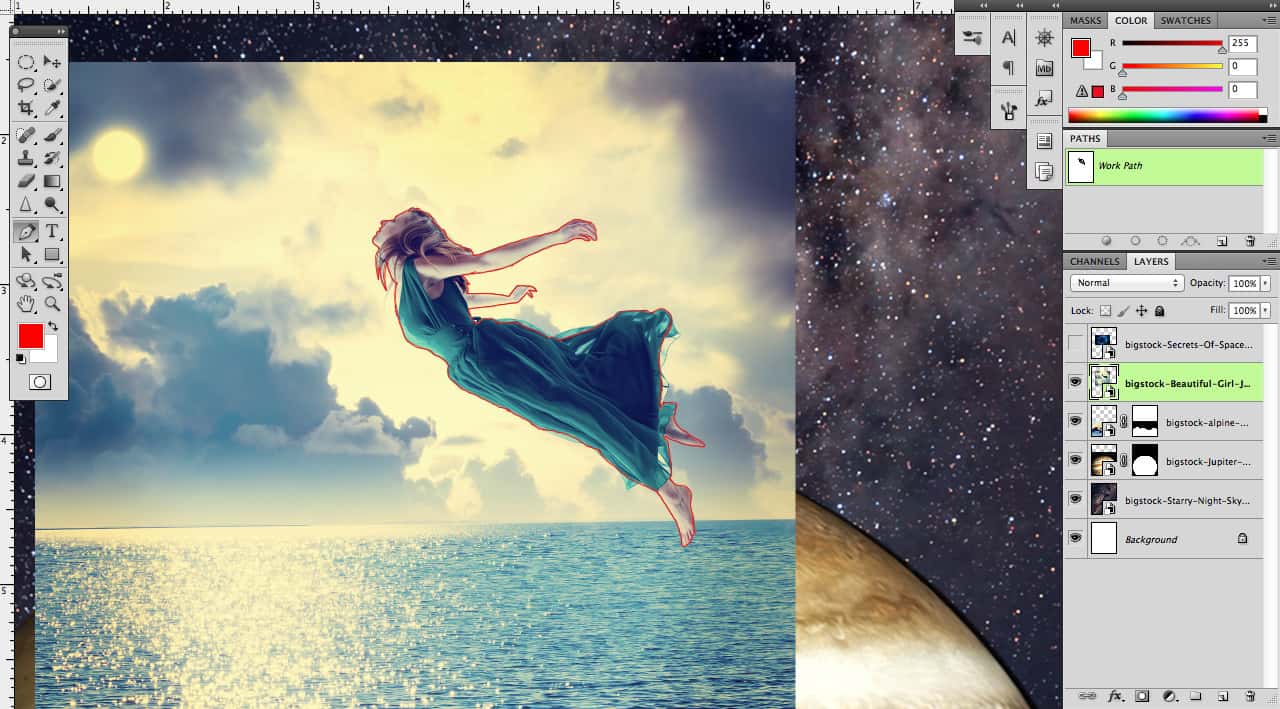
Step 15
Create new Layer mask.
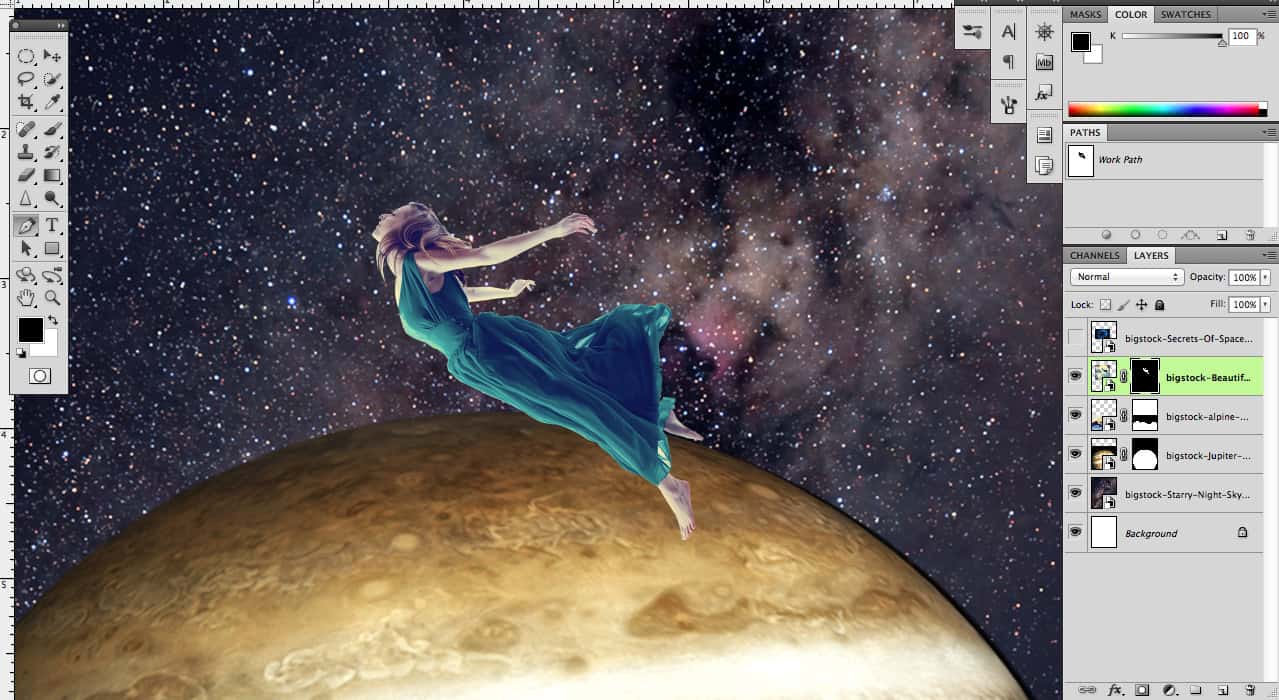
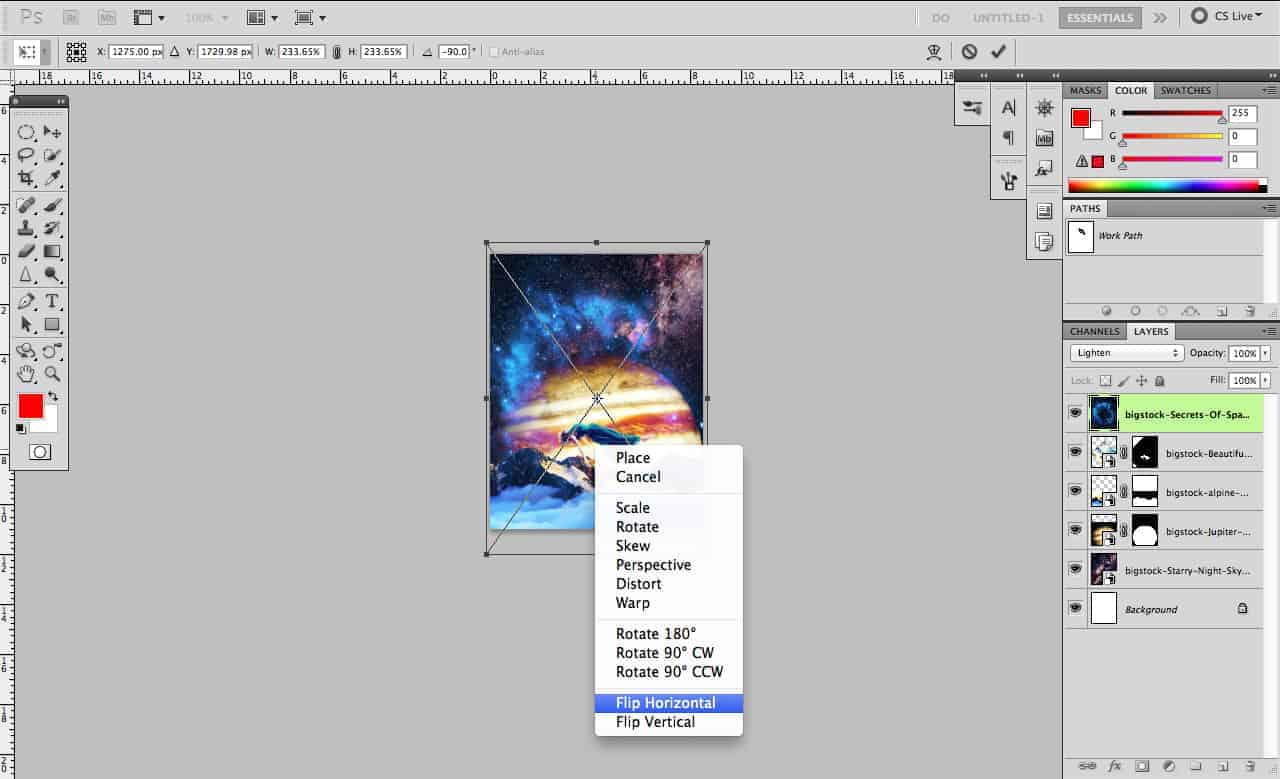
Use Free Transform to place her like the photo in step 17. All it is Freetransform > Hold Cmd+Shift Turn the picture so the woman is on her back > Right click photo > Flip Horizon. And Position it kinda in the center of jupiter.
Step 16
Next we are going to edit the individual images. We are going to highlight the mountain layer >right-click it > go to edit contents. We are going to use this process for all the images in the file now. Besides the hidden one.
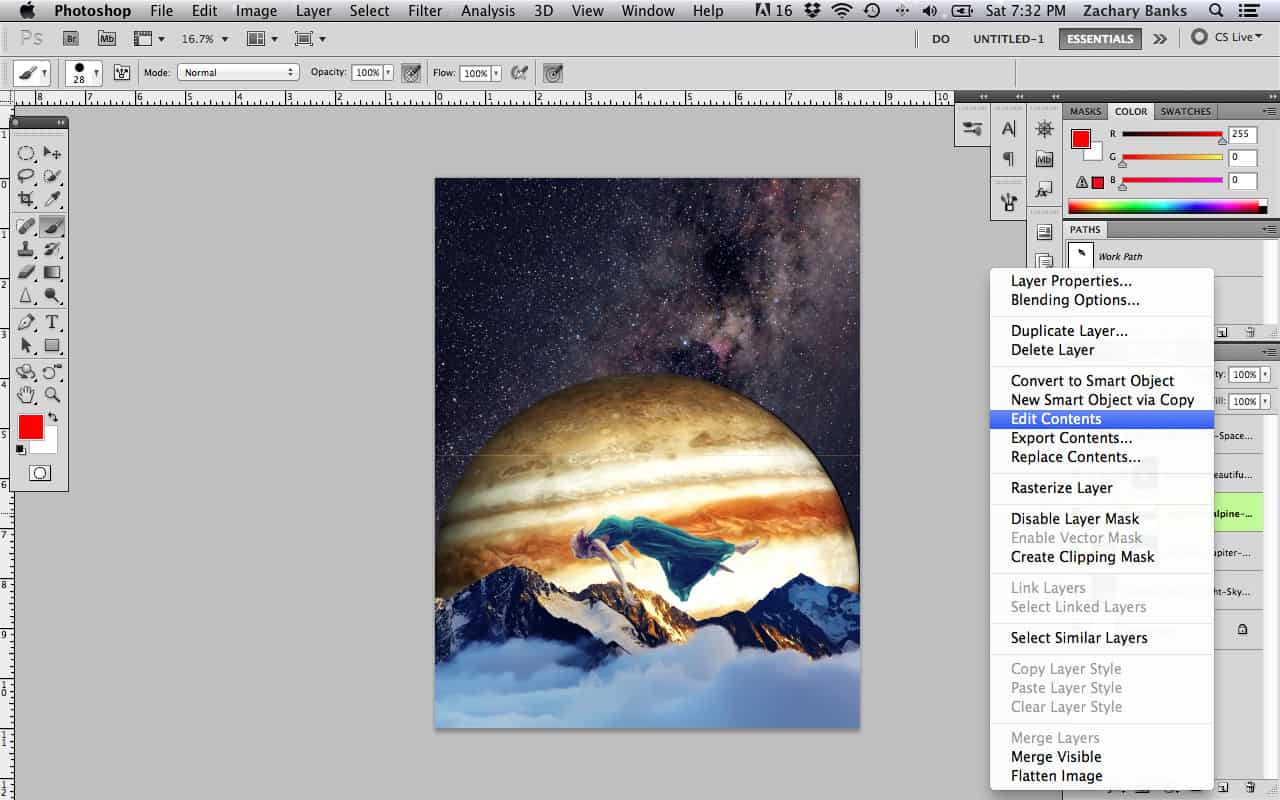
Step 17
This box will pop up, just hit okay. and it'll open the image in a new file. When we are doing editing we are going to save it and close it. You will see the changes we made to image in the original.
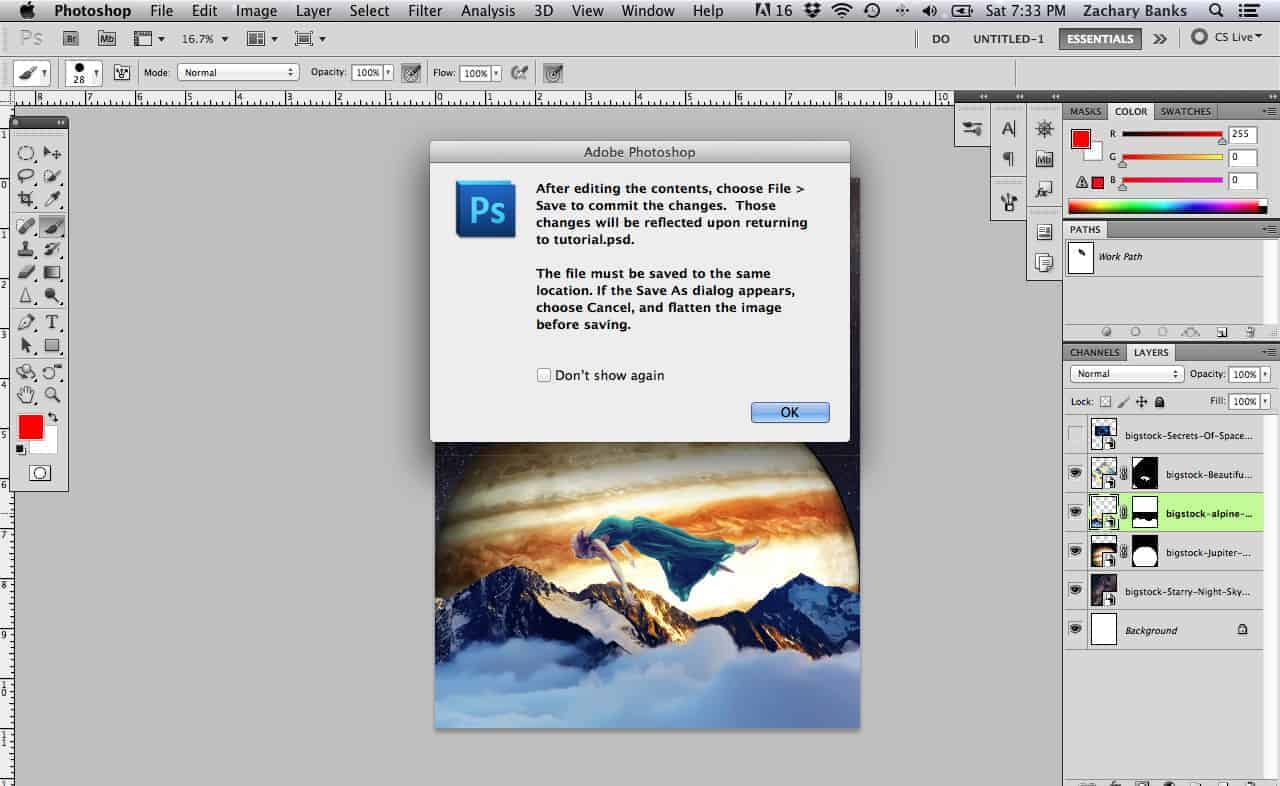
Step 18
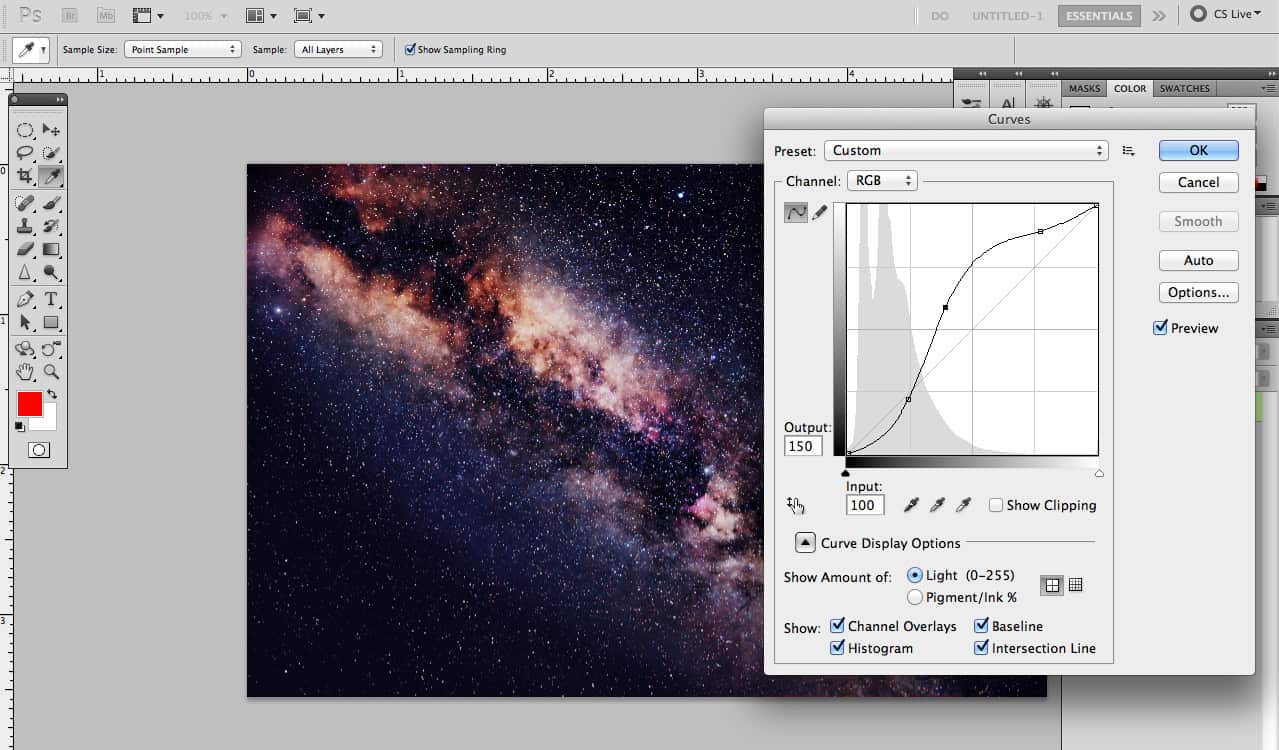
Once we have the image in a new file hit Cmd+M (Curves) and change the settings to the image below. Save and Close It.
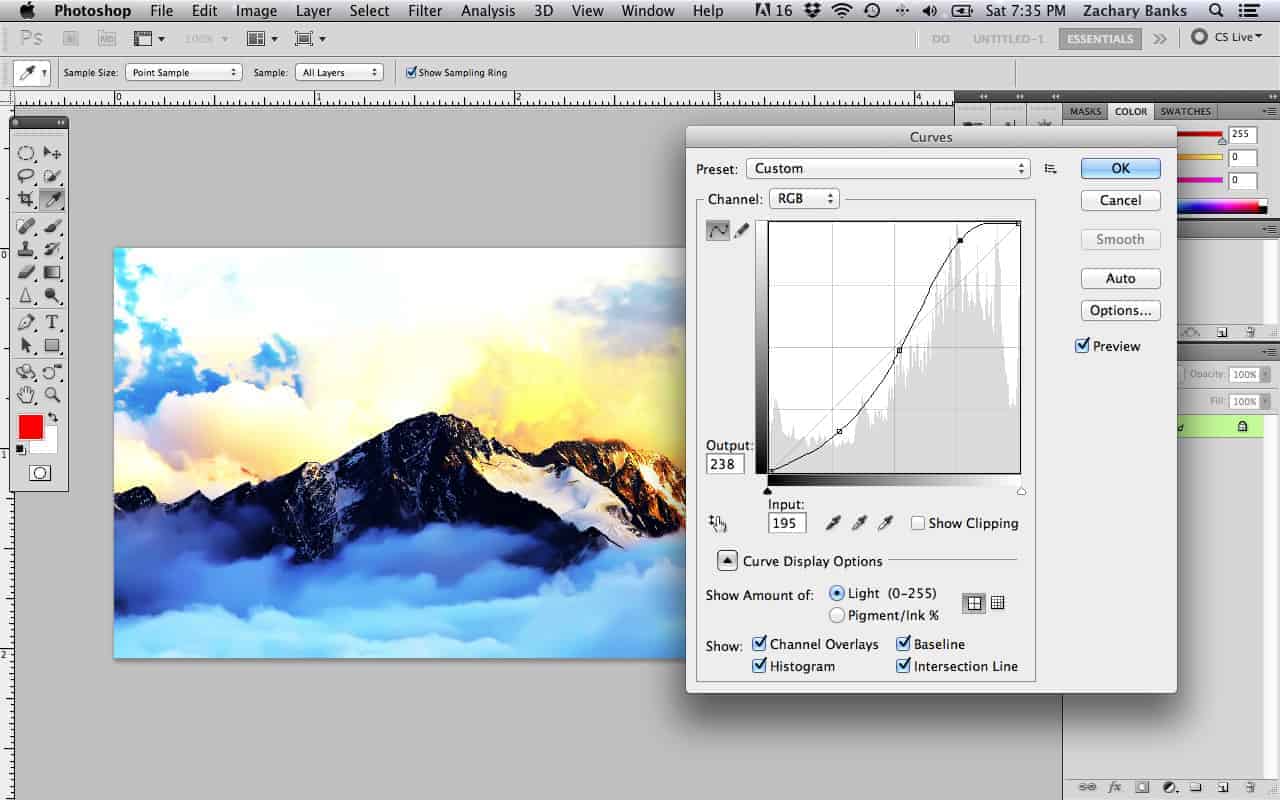
Step 19
Do the step 18 to jupitar. Edit Content >Cmd+M(Curves) > Do the following below. Save and Close.
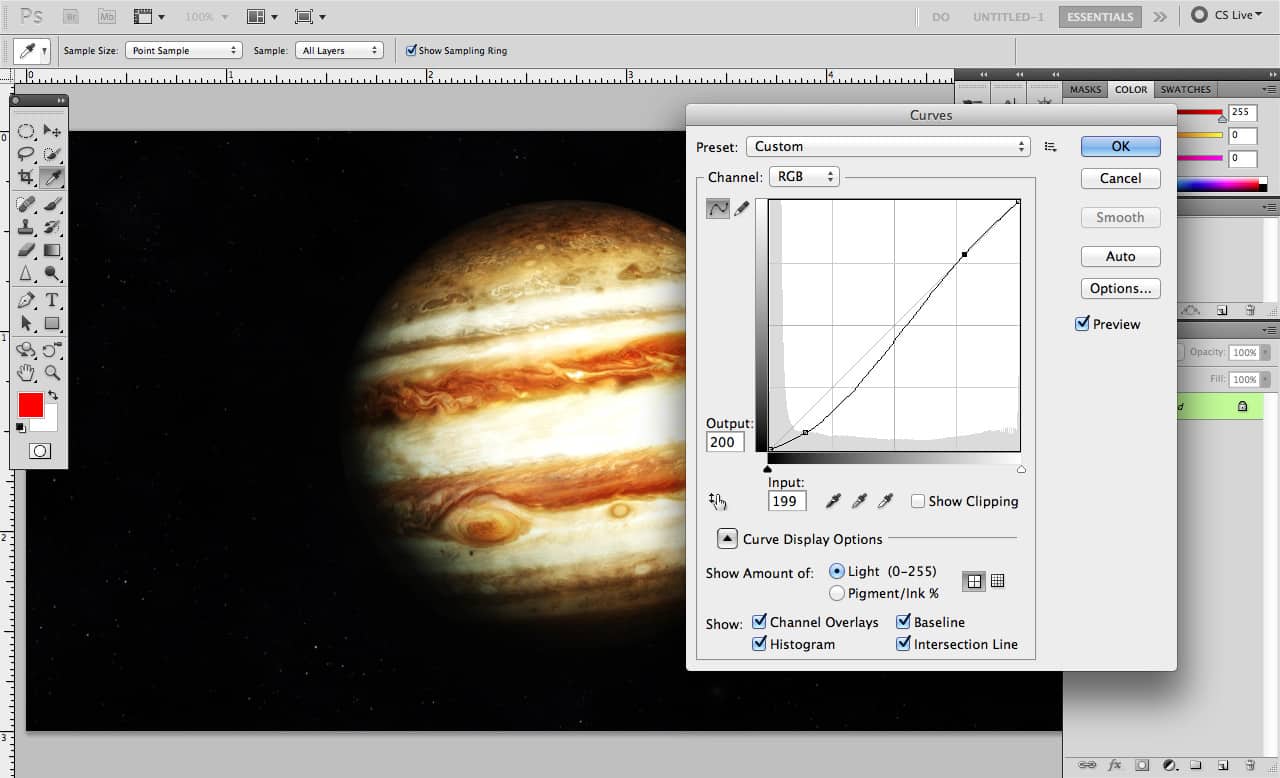
Step 20
Do the same with the falling girl photo. Edit Content > Cmd+M(Curves) > Do the following below. Save and Close.
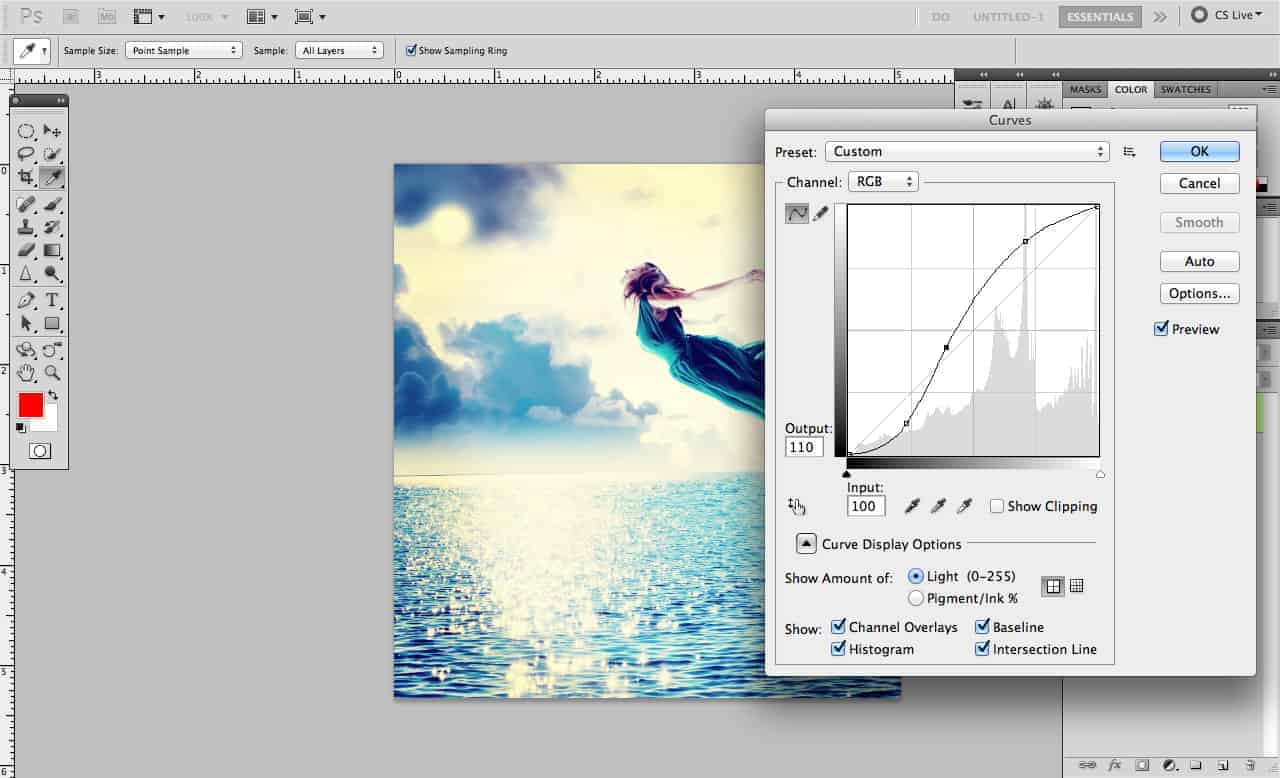
Step 21
Next do the space background. Edit Content >Cmd+M(Curves) > Do the following below. Save and Close.
Step 22
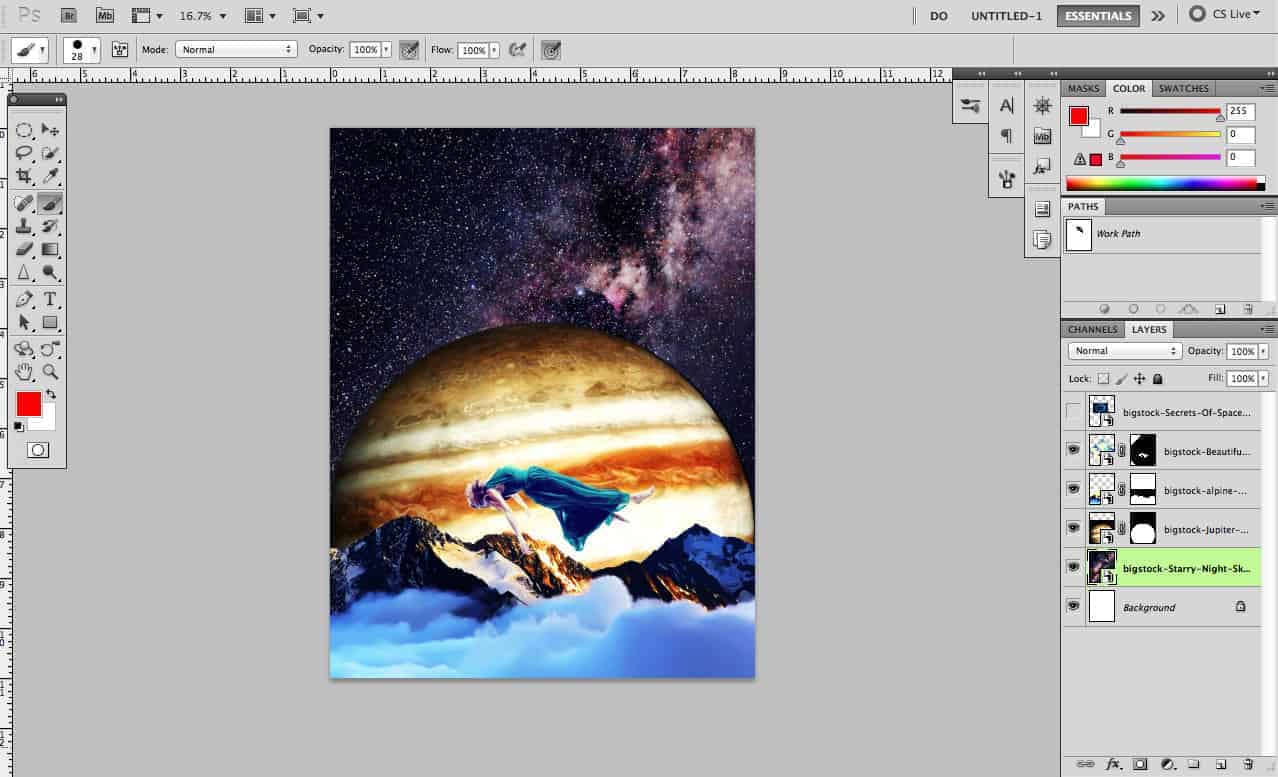
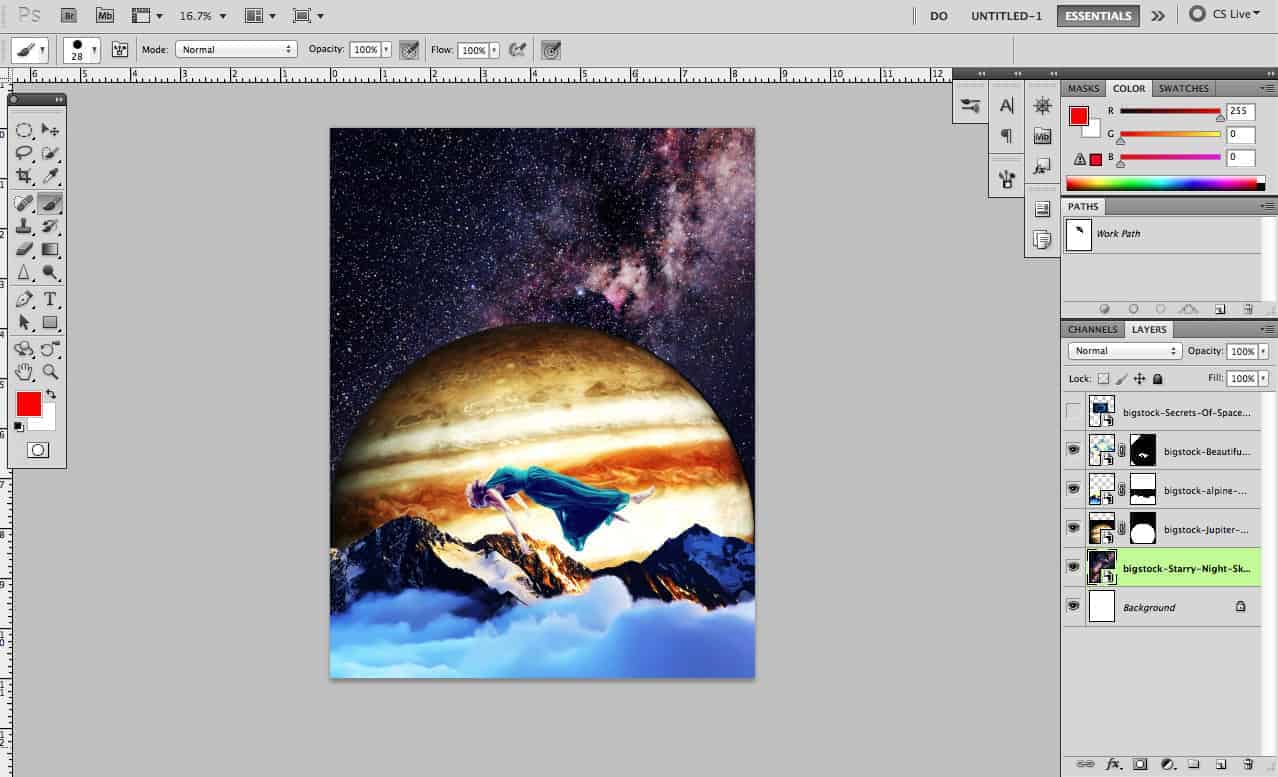
After the following steps the image should look a bit more dramatic. This is how mine turned out.
Step 23
Next couple of steps will be covering effects that will be going into the image.
Step 24
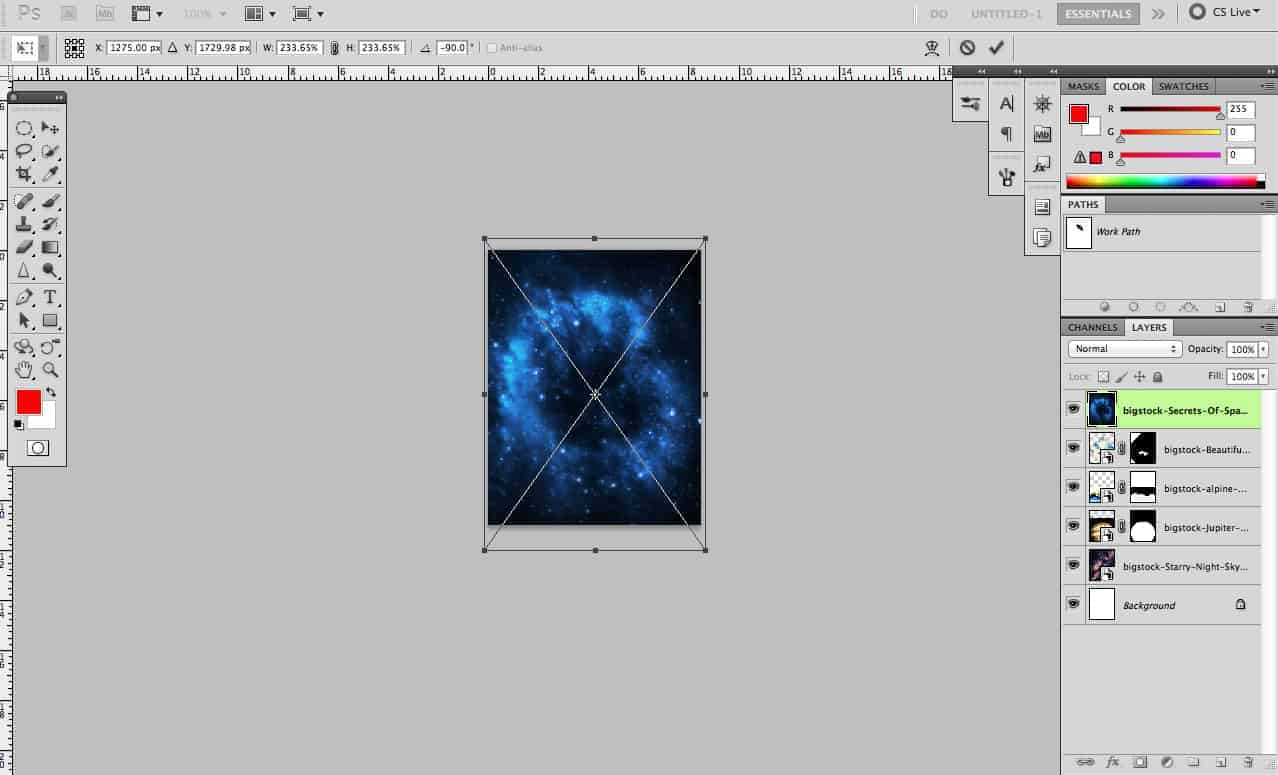
Un-hide the secrets of space stock photo > Free Transform > Move it like the picture blow.
Step 25
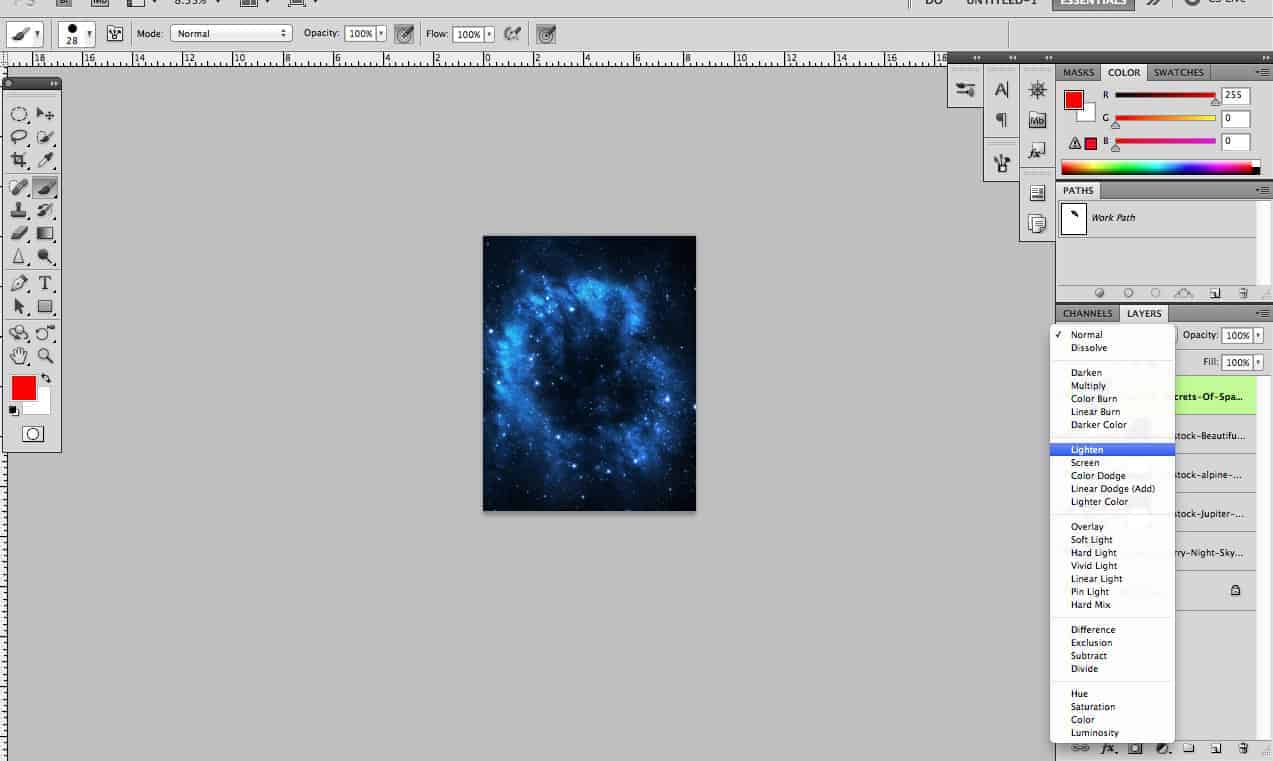
Change the layer effect to lighten.
Step 26
Flip Horizontal
Step 27
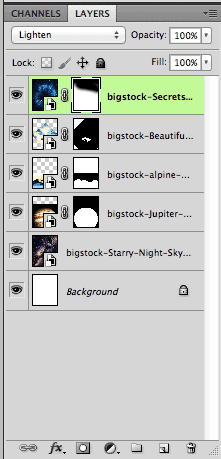
Next add a mask layer to it. I just use a large brush and covered the top right corner like the image blow.
Step 28
This is the brush settings I had. And that the end of the space overlay effect.

Step 29
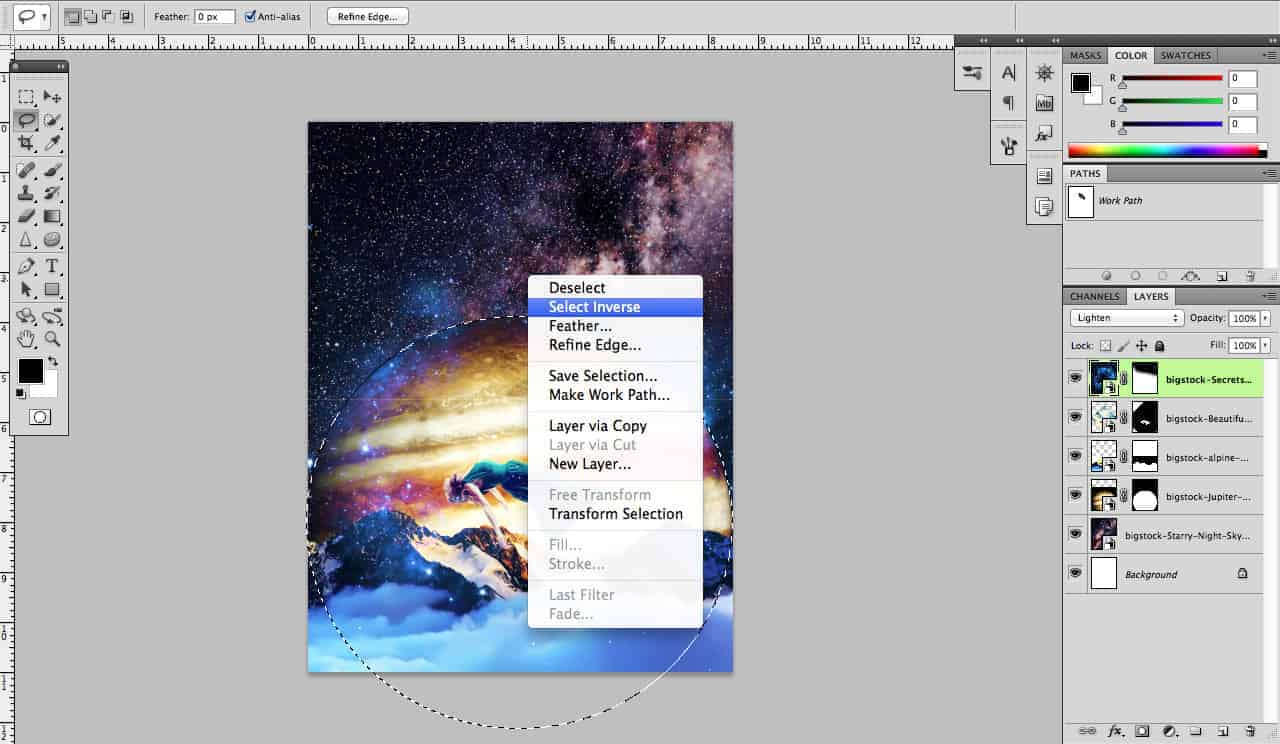
Next we are going to add a Highlight layer heading up into space. So Hold Control and Click the jupiter Layer Mask. Have the Lasso tool selected and right-click in the marking ants line and go to "Select Inverse".
Step 30
The image should look like this now. So Make a new layer (Command Shift +N)
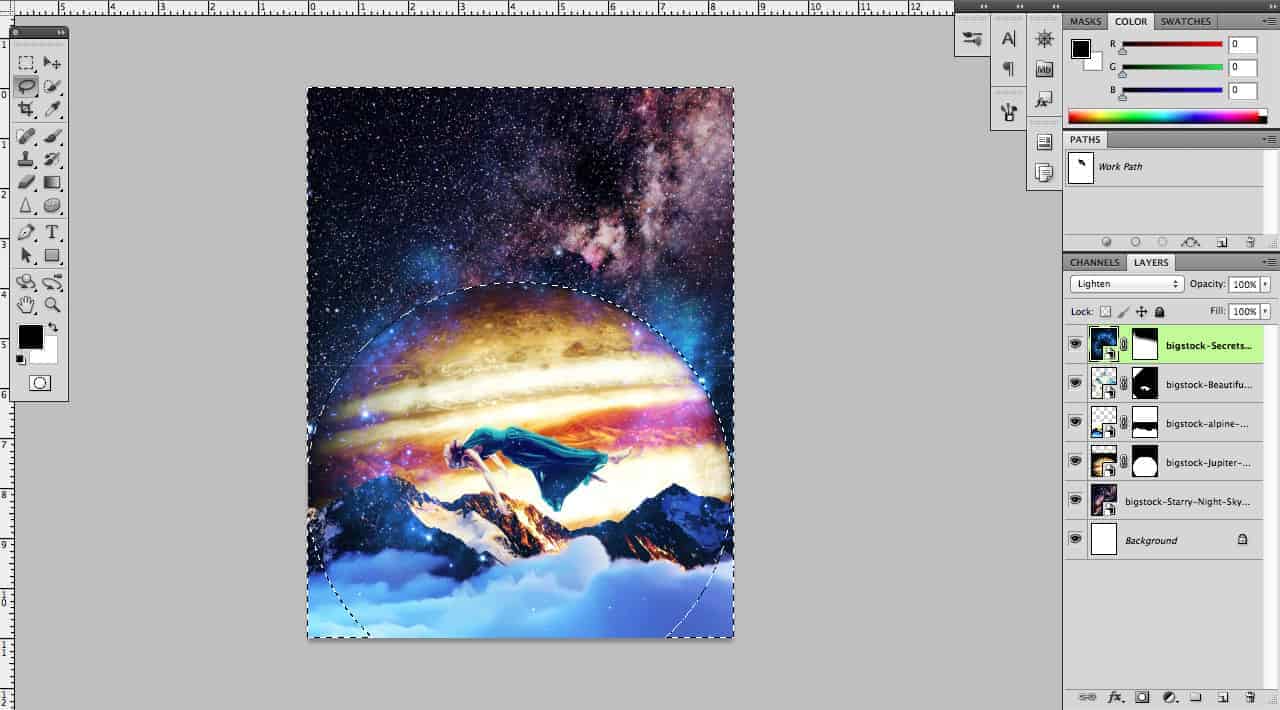
Step 31
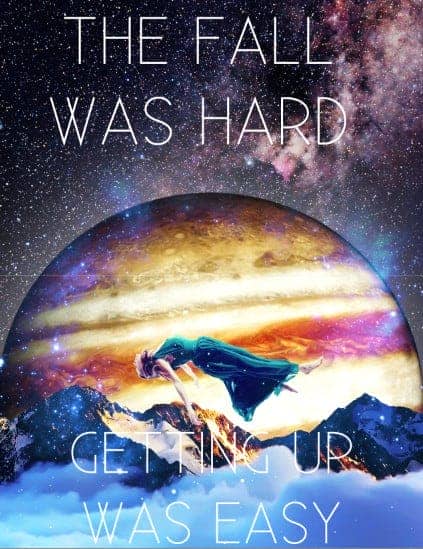
I used the max brush settings and I just placed down a hard brush mark in the center of jupiterwith out the edges touching the edge of jupiter. We just want a light white layer around the planet.


10 comments on “How to Create a Surreal Space Scene in Photoshop”
Nice one. Thank you for sharing
i love this class
hey Daniel T
bruh
i hate this class
This is definitely fantastic!
This tutorial is horrible omg
The type treatment is bad af
The mountains link takes you to the beautiful girl link instead of the mountains.
Link fixed thanks for letting us know!